Creating web pages using WebMatrix - Tutorial 2: Hello WebMatrix!
In this article we are going to create a simple “Hello World!” web page using WebMatrix.
Download complete CSHTML Project
Step 1: Start WebMatrix
Start WebMatrix ( Start > All Programs > Microsoft WebMatrix).

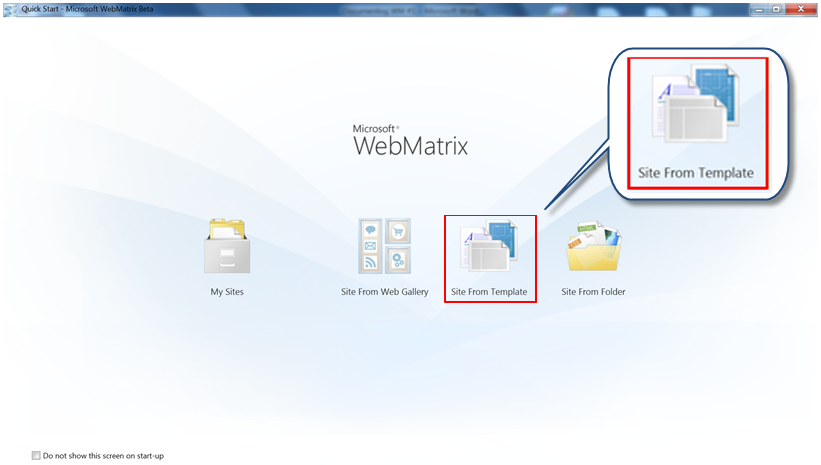
You’ll be presented with the “Quick Start” window. There are a number of things we can do here –you can select one of the recent sites, create a new site from Web Gallery or Template, or finally open a site from a folder. Here we’re going to use a Template, so elect “Site From Template”.

In the next window, make sure the “Empty Site” option is selected from the list of available templates.
Once you’ve done this set the name of the site to be: “Hello World” by editing the “Site Name” textbox. Next, click on the “OK” button.

Step 2: The WebMatrix IDE
The new site is created and you are presented with the main view of the IDE (see below). The left-side menu is divided into 4 categories, all of which are pretty self-explanatory.
For now we want to change the contents of the main (index) page of the site, so select the “Files” option from the left-side menu.

Next –double-click the “index.cshtml” file from the left-side menu.

Step 3: Writing some HTML
Change the title of the site to be: “Hello World!”, and then add an h1 paragraph to display the “Hello World!” message.

| 123456789 | <!DOCTYPE html><html> <head> <title>Hello World! :-)</title> </head> <body> <h1>Hello World! :-)</h1> </body></html> |
Step 4: Enjoy!
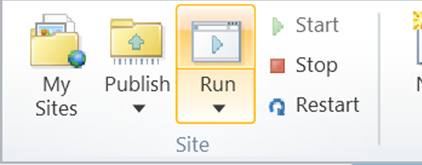
Now you’re ready to see your web page in action! To do this click on the “Run” option from the standard toolbar.

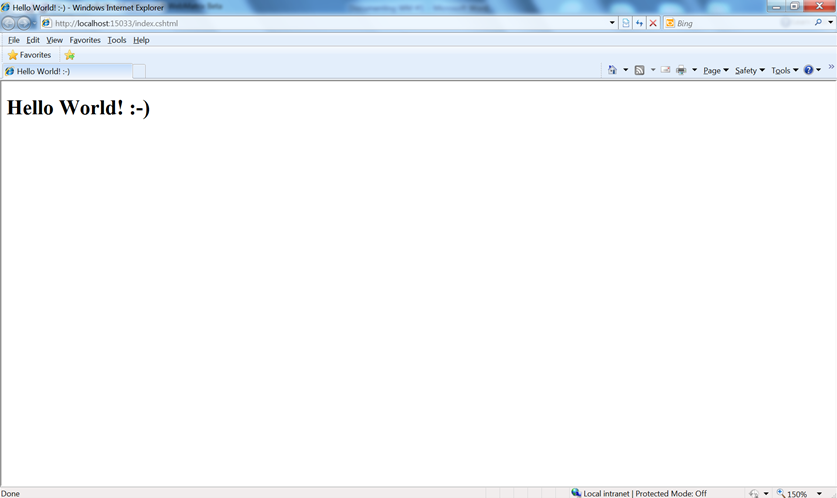
Your default web browser will be opened and your web page displayed using the built-in “IIS Express” development server.
What you will see should correspond to the image shown below.

What have we done?
In this tutorial we loaded WebMatrix, created a website, and edited a simple HTML page. In the next tutorial you’ll start to learn to create dynamic web pages using WebMatrix. Please stay tuned! :-)