Azure CLI - xPlat from Ubuntu
The following are the steps to Install Azure CLI on Ubuntu. Previously I blogged on how to do this from SUSE Linux ( https://blogs.msdn.microsoft.com/girishp/2015/08/20/azure-from-a-linux-mac-environmentinstall-linux-install-azure-cli-and-work-with-azure/ ). The one below is for Ubuntu Linux.
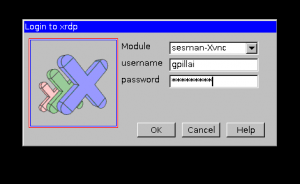
1. Login to your X-Window session manager on Linux 
2. Install NPM
curl -sL https://deb.nodesource.com/setup\_4.x | sudo -E bash -
sudo apt-get install -y nodejs
Alternatively, for Node.js v5:
curl -sL https://deb.nodesource.com/setup\_5.x | sudo -E bash -
sudo apt-get install -y nodejs
P.S.: curl package must be installed on server for these code lines.
3. Install Node js
Sudo apt-get install nodejs
5. Download Azure CLI from the below link and then extract it.
https://azure.microsoft.com/en-us/documentation/articles/xplat-cli-install/
6. Now Install Azure CLI
Sudo npm install azure-cli -g
9. Device Auth through browser 

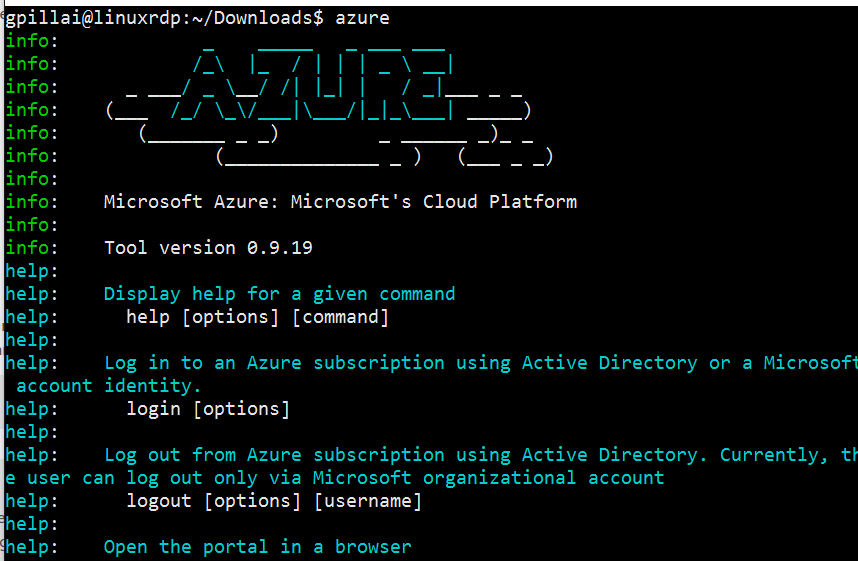
11. Run CLI commands
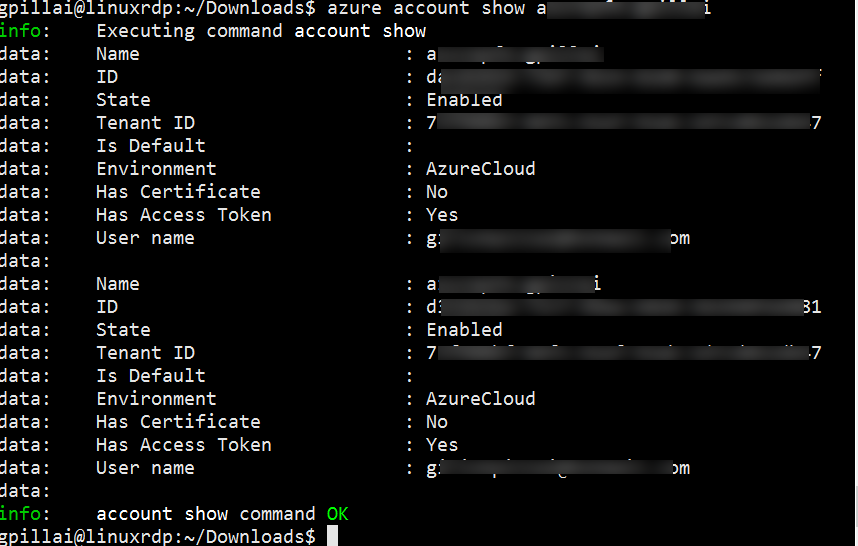
Show your account details. Last param is Subscription ID
Conclusion: Enjoy setting up, configuring, deploying and tearing down assets and resources in Azure from the command line, like a regular UNIX guy/gal.


