Automating WSS v3/MOSS 2007 development environment setup: part III – Windows Server 2003 unattended setup
Hello,
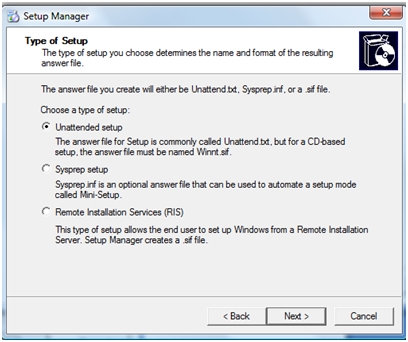
To setup Windows Server an unattended way, you have 3 options:
- Sysprep
- RIS (Remote Installation Services – named Windows Deployment Services (WDS) in Windows Server 2008)
- 1 answer file
I will use the answer file.
To create an answer file, insert or mount a Windows Server 2003 CD in any workstation (nothing is modified on the machine).
Launch explorer and navigate to the %CDDRIVE%\SUPPORT\TOOLS directory and launch “deploy.cab”
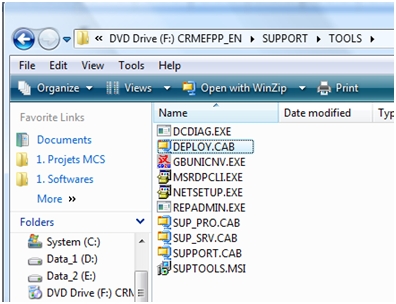
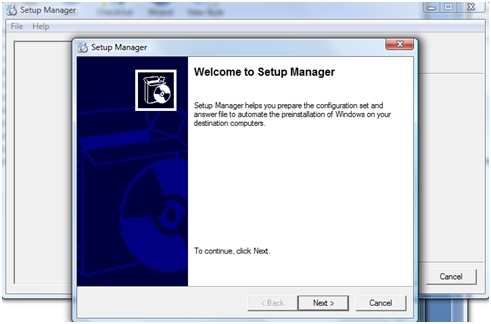
Then, launch “setupmgr.exe”
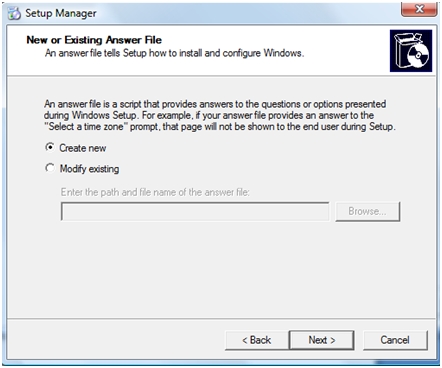
You can create a new file or edit an existing file:
Choose the type of installation you want to configure/use:
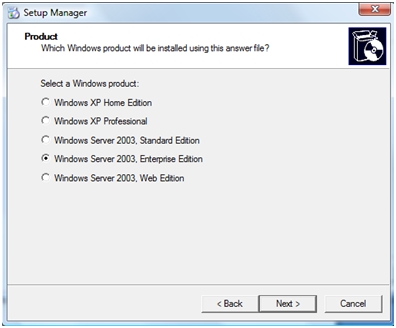
Select the product:
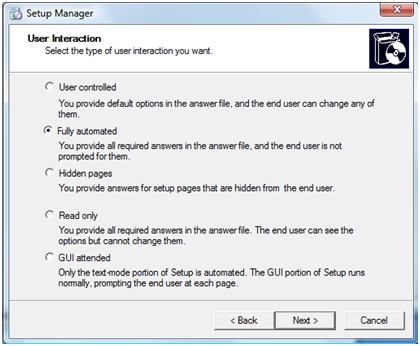
Choose the right option for you (here, I aim for fully automated):
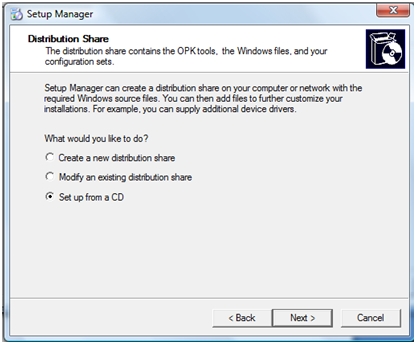
Select your source distribution system: for VMs “CD setup” is more convenient
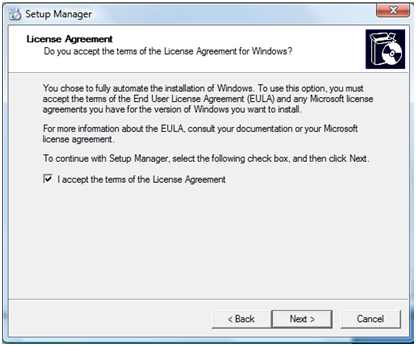
Accept the EULA:
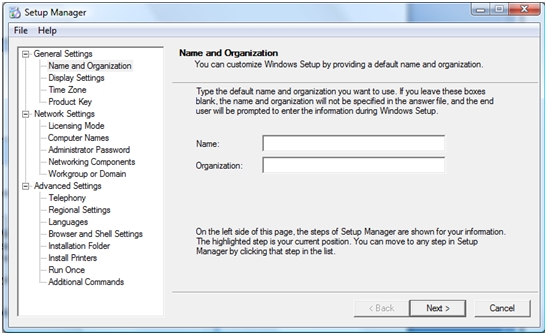
Fill-in the form with your data (the one asked with setup UI):
You can encounter this error:
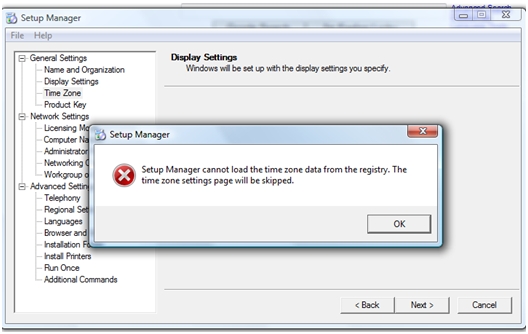
In that case, run the wizard on another server or workstation (physical or virtual, no impact).
Then setup manager generate the answer file for you:
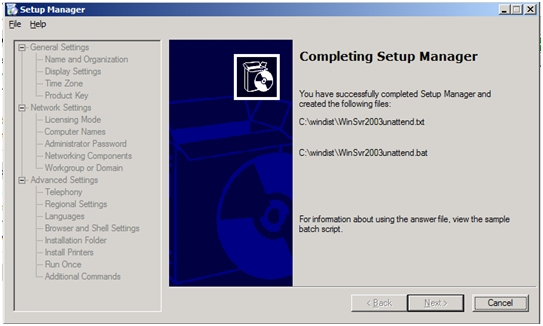
You end with an “answer file” (in that example, called “WinSvr2003unattend.txt”)
To use it efficiently, you’ll need to do 2 things:
1. Edit the content of the file to add Windows Server services needed for SharePoint:
Meaning setting up IIS6 adding those lines to the answer file:
[Components]
complusnetwork = on
appsrv_console = on
iis_common = on
iis_inetmer = on
iis_www = on
IEHardenAdmin = off
IEHardenUser = off
[InternetServer]
PathWWWRoot = “C:\WWWroot”
2. Create a Virtual floppy Disk (VFD file) then copy the 2 files on it, at the root, (to do that you can use any virtual machines to attach the virtual floppy and copy the file)
3. Rename “WinSvr2003unattend.txt” to “Winnt.sif”
Now, let’s setup the server from scratch:
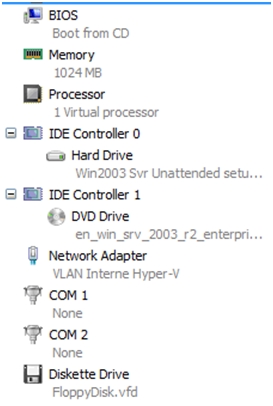
- Create the Virtual Machine, attaching:
- The Virtual Hard Disk(s) you plan to use for the OS
- The Virtual Floppy Disk with the “Winnt.sif” file at the root
- The “Windows Server 2003 setup CD”
- Plus your normal parameters (network, processor, memory, etc.)
- In Hyper-V, my Virtual Machine looks like that:
Then it’s very easy: launch the Virtual Machine
Unfortunately, the system asks for a “Create partition”, then “Format disk” confirmation.
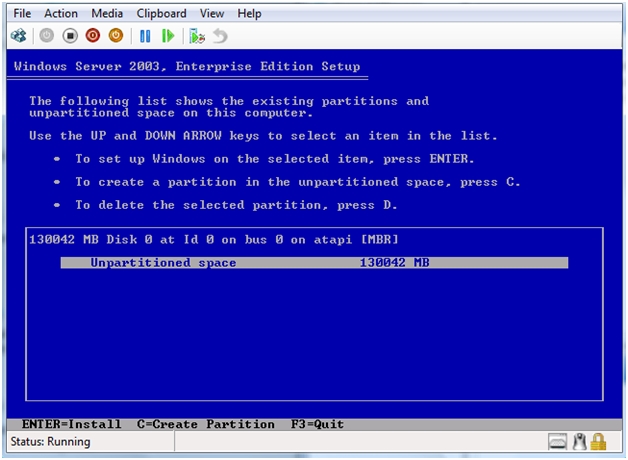
Type C (to create a partition), then Enter twice, Arrow Up, (to format quickly) then Enter …. and let it live:
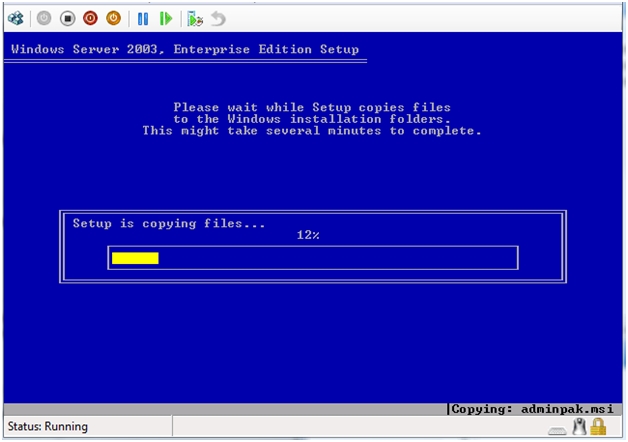
At the end (after few dozens of minutes), you have a fully setup Windows server ready to use:
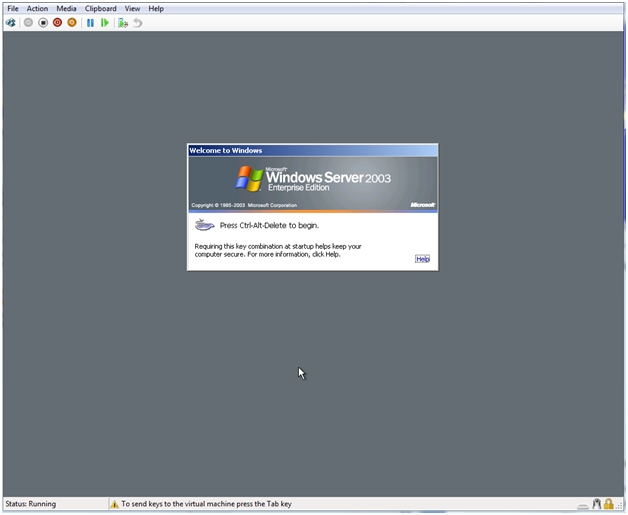
First step done!
<Emmanuel/>
Note: For virtual machines, it’s the good time to install Virtual Machine additions :-)
Windows Server 2003 automated setup resources:
- How Setup Works : https://technet.microsoft.com/en-us/library/cc758337.aspx
- Unattended Installation Technical Reference: https://technet.microsoft.com/en-us/library/cc785417.aspx
Comments
Anonymous
April 17, 2009
Hi, This long post series raised interest from many of you. Thanks for that. I was asked few times toAnonymous
April 20, 2009
Un petit post rapide pour linker une excellente série faite par Emmanuel Bergerat sur son blog : Automating