Azure AD App Proxy and MFA – Quick Demo
Most organisations have websites or intranets that are hosted on servers inside their corporate network.
Accessing these sites while mobile or working from home has traditionally used one of three approaches:
- Establish a VPN connection to the corporate network.
- Publish the website via some form of reverse proxy hosted in the DMZ
- Access the website via an RDS/VDI session (often using one of the first two mechanisms)
Each of these approaches work, but have complexities or downsides:
- VPN software may not work on mobile, home or BYO devices.
- DMZ networks and reverse proxies are complex and costly if not already in place.
- RDS/VDI requires infrastructure to establish and is a clumsy experience if all that is needed is a website.
Azure Active Directory Application Proxy provides an additional mechanism to allow internally hosted sites to be accessed externally without requiring VPNs, DMZs or RDS/VDI.
Testing App Proxy with MFA
Pre-requisites:
- An Azure AD instance with Basic or Premium features enabled or in trial mode.
- An Azure MFA provider configured and linked to the AAD instance
- The URL of an internal website
- A small Windows 2012R2 virtual machine that can :
- Access the internal website
- Access the internet (outbound)
Start the Classic Azure management portal, navigate to your Azure AD instance and select the Applications tab

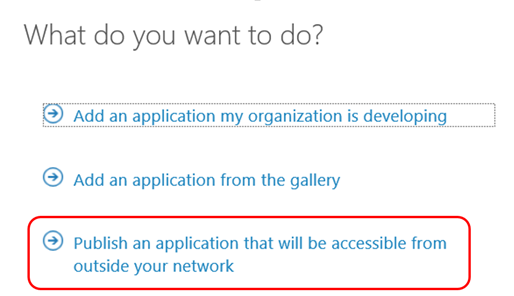
Select Add and pick Publish an application that will be accessible from outside your network
Enter the relevant details for the website. Note the internal URL is one you would use on a machine inside your corporate network.
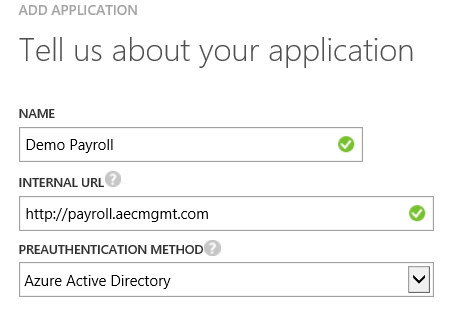
Click OK
The status page for the Azure AD Application will then be shown. Select Download a Connector
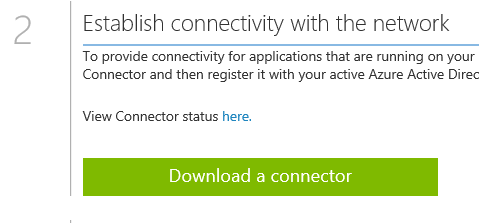
The connector should be downloaded and installed on the Windows 2012R2 VM
Once the connector is installed and tested, select the Configure tab of the application in the classic Azure management portal.

Scroll down to multi-factor authentication… and click ON

For the purposes of this demo, leave other settings unchanged.
Click Save at the bottom of the screen
Add user(s) to test with to the application – highlight the use and click Assign

Copy the external URL from the configure tab :

Note : In a production environment, you would typically use your own DNS suffix rather than the Azure provided one.
Paste into a browser. You may need InPrivate/Incognito or similar if you are already logged into Azure AD with different credentials.
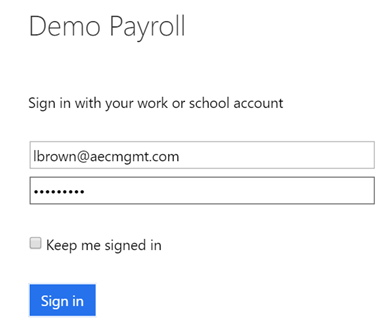
A logon screen similar to below should appear. The graphics/text on the left are due to customised branding on the AAD environment itseld
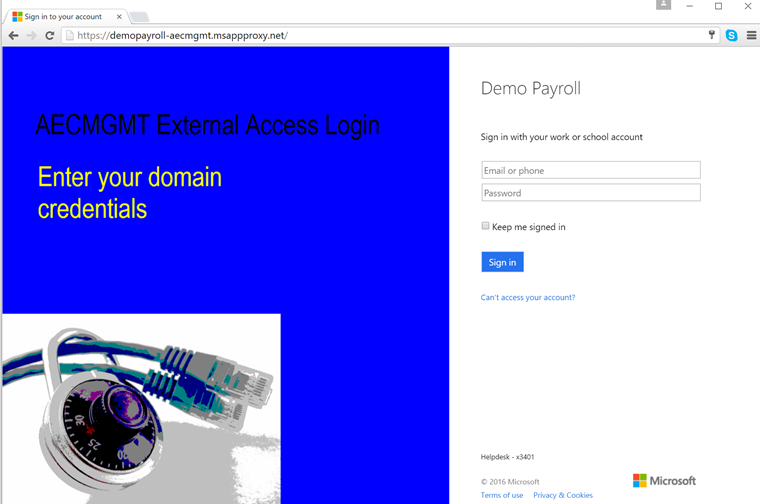
Log in with the user that you enabled for the application – in this case lbrown@aecmgmt.com
We are now being notified that MFA is required
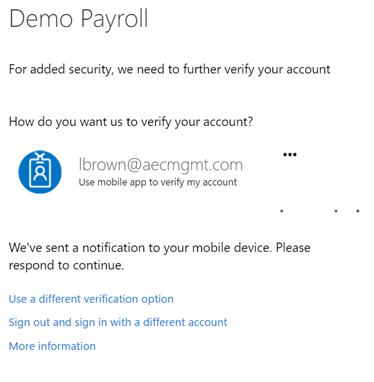
If this is the first time the user has been required to use MFA, an enrolment process will be initiated.
Once the MFA approval has gone through the website should be displayed.
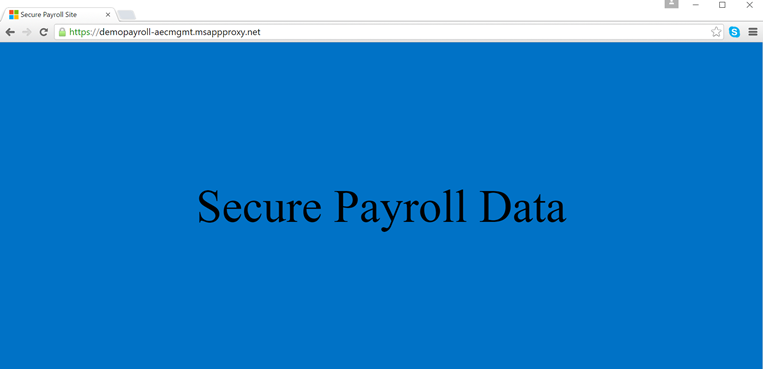
Notes on this demo :
- Screenshots and steps correct at Sep 9th 2016 – things change.
- The internal website in this case did not require any explicit authentication itself – if it did additional steps would be required to pass credentials through.
Comments
- Anonymous
September 08, 2016
The comment has been removed