练习 - 显示用户文件
在此练习中,你将扩展应用以显示 OneDrive for Business 中用户根文件夹里的文件列表。
获取文件列表
首先将 Microsoft Graph 调用添加到应用程序。
在代码编辑器中,打开 graph.js 文件。
在文件末尾,添加名为
getFiles()的新异步函数以检索文件列表。 使用 select 函数检索每个文件的id、name、folder和package属性。// Get files in root of user's OneDrive async function getFiles() { ensureScope('files.read'); try { const response = await graphClient .api('/me/drive/root/children') .select('id,name,folder,package') .get(); return response.value; } catch (error) { console.error(error); } }
添加 HTML 占位符以显示文件
接下来,添加将显示文件列表的 HTML。
在代码编辑器中,打开 index.html 文件。
使用水平规则、标签和无序列表扩展
content文本块,如下所示:<div id="content" style="display: none;"> <h4>Welcome <span id="userName"></span></h4> <!-- Add for file download --> <hr /> <label>Files in your OneDrive root folder:</label> <ul id="downloadLinks"></ul> </div>
在应用中显示文件
最后一步是添加少量代码来调用之前添加的函数并显示文件列表。
在代码编辑器中打开 ui.js 文件。
在文件末尾,添加
displayFiles()函数。async function displayFiles() { const files = await getFiles(); const ul = document.getElementById('downloadLinks'); while (ul.firstChild) { ul.removeChild(ul.firstChild); } for (let file of files) { if (!file.folder && !file.package) { let a = document.createElement('a'); a.href = '#'; a.appendChild(document.createTextNode(file.name)); let li = document.createElement('li'); li.appendChild(a); ul.appendChild(li); } } }请注意,
if语句跳过了任何文件夹或包以仅显示文件。 目前无法在 API 中筛选这些项。 另请注意,文件呈现为定位标记(超链接)。 在下一个练习中,你将添加一个功能,以在选择此链接时下载每个文件。在
displayUI()函数的末尾,右大括号前,添加对displayFiles()的调用。// beginning of function omitted for brevity content.style = "display: block"; displayFiles(); }
运行应用
现在,你已通过使用 Microsoft Graph 扩展了应用,以显示用户的一些文件。 请确保用户的 OneDrive 实例的根文件夹中存一些文件,然后在本地运行应用。
请通过在终端中执行以下命令来预览该 Web 应用:
npm start浏览器应指向
http://localhost:8080。选择“使用 Microsoft 登录”按钮,以使用 Microsoft 365 帐户登录。
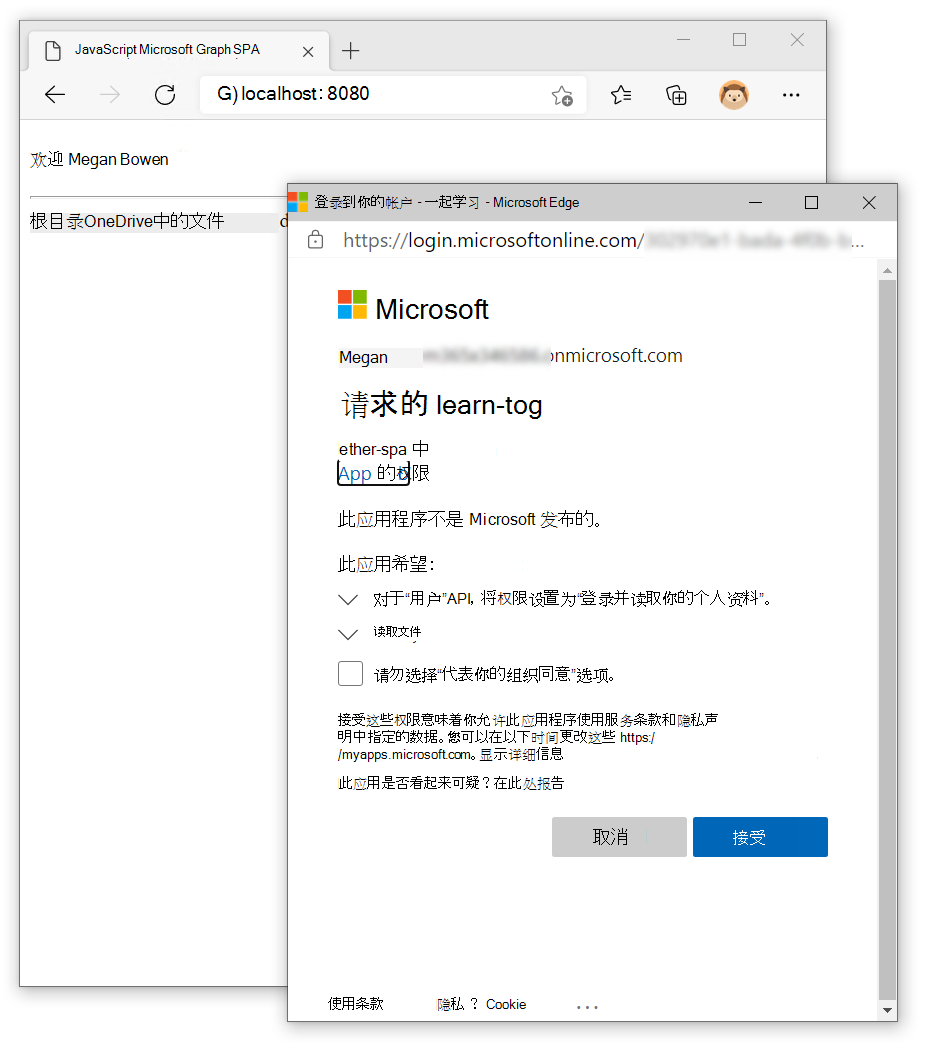
如果你是第一次运行该应用,系统将提示你授予该应用对文件的访问权限。 若要继续,请同意该请求。
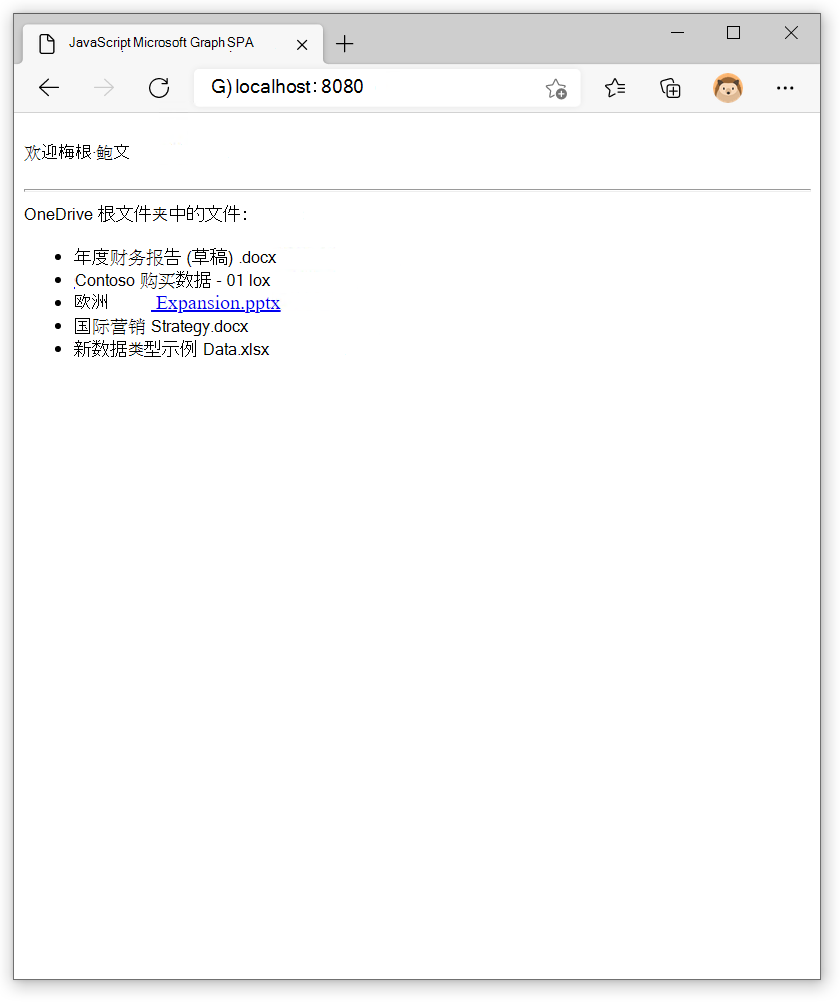
应会看到文件列表。
使 Node.js 服务器保持运行状态,因为你将在练习的下一部分使用它。