练习 - 创建 Azure DevOps 管道以部署云原生应用
你的经理希望你更改公司电子商店应用的 CI/CD,以使用 Azure Pipelines。 现在,你将创建一个 Azure DevOps 管道来生成和部署你的产品服务。
创建 Azure DevOps 管道
重要
在开始之前,你需要有一个 Azure DevOps 帐户。 如果没有帐户,可在 dev.azure.com 免费创建一个。
- 登录到 dev.azure.com。
- 选择“+ New project”。
- 对于项目名称,请输入“电子商店部署”。
- 将“可见性”设置为“专用”,然后选择“创建”。
- 在左侧,选择“管道”,然后选择“创建管道”。
- 在“连接”页上,对于“代码在哪里?”,选择“GitHub”。
- 如果出现提示,请登录到 GitHub,并授权 Azure Pipelines 访问 GitHub 帐户。
- 对于“选择存储库”,请选择分支存储库。
- 在“配置”页上,选择“部署到 Azure Kubernetes 服务”选项。
- 在“部署到 Azure Kubernetes 服务”窗格中,选择你的 Azure 订阅,然后选择“继续”。
- 如果出现提示,请登录到你的 Azure 订阅。
- 对于群集,请选择在上一单元中创建的 AKS 群集 aks-eshop。
- 对于命名空间,将“现有”保持在选中状态,然后选择“默认”。
- 对于容器注册表,请选择在上一单元中创建的Azure 容器注册表,例如 acseshop186748394。
- 对于映像名称,请输入 productservice。
- 对于服务端口,请输入 8080。
- 选择“Validate and configure”。
查看管道 YAML 文件
Azure Pipelines 使用 YAML 文件来定义生成和部署应用的步骤。 YAML 文件存储在 GitHub 存储库中,并根据你提供的信息自动创建。
让我们来查看 YAML 文件:
trigger:
- main

resources:
- repo: self

variables:

  # Container registry service connection established during pipeline creation
  dockerRegistryServiceConnection: '3bcbb23c-6fca-4ff0-8719-bfbdb64a89b1'
  imageRepository: 'productservice'
  containerRegistry: 'acseshop186748394.azurecr.io'
  dockerfilePath: '**/Dockerfile'
  tag: '$(Build.BuildId)'
  imagePullSecret: 'acseshop18674839414442d34-auth'

  # Agent VM image name
  vmImageName: 'ubuntu-latest'


stages:
- stage: Build
  displayName: Build stage
  jobs:
  - job: Build
    displayName: Build
    pool:
      vmImage: $(vmImageName)
    steps:
    - task: Docker@2
      displayName: Build and push an image to container registry
      inputs:
        command: buildAndPush
        repository: $(imageRepository)
        dockerfile: $(dockerfilePath)
        containerRegistry: $(dockerRegistryServiceConnection)
        tags: |
          $(tag)

    - upload: manifests
      artifact: manifests

- stage: Deploy
  displayName: Deploy stage
  dependsOn: Build

  jobs:
  - deployment: Deploy
    displayName: Deploy
    pool:
      vmImage: $(vmImageName)
    environment: 'PhilStollerymod9cloudnativeexercisecode-1959.default'
    strategy:
      runOnce:
        deploy:
          steps:
          - task: KubernetesManifest@0
            displayName: Create imagePullSecret
            inputs:
              action: createSecret
              secretName: $(imagePullSecret)
              dockerRegistryEndpoint: $(dockerRegistryServiceConnection)

          - task: KubernetesManifest@0
            displayName: Deploy to Kubernetes cluster
            inputs:
              action: deploy
              manifests: |
                $(Pipeline.Workspace)/manifests/deployment.yml
                $(Pipeline.Workspace)/manifests/service.yml
              imagePullSecrets: |
                $(imagePullSecret)
              containers: |
                $(containerRegistry)/$(imageRepository):$(tag)
“触发器”和“资源”部分定义了何时应运行管道。 在这种情况下,将更改提交到存储库的主分支时,管道将运行。
“变量”部分定义了在管道中使用的变量。 变量用于定义要使用的 Azure 容器注册表和 Dockerfile。
然后,YAML 定义使用 ubuntu-latest 代理的“生成”作业。 该作业使用 Docker 任务生成映像并将其推送到 Azure 容器注册表。
最后一个阶段是将更新后的产品和服务部署到 AKS。 该作业使用 KubernetesManifest 任务将映像部署到 AKS。
运行管道
在“查看管道 YAML”页的右上角,选择“保存并运行”。 在“保存并运行”窗格中:
- 选择“为此提交创建新分支”。
- 将所有其他选项设置为默认值。
- 选择保存并运行。
监视管道并对其进行故障排除
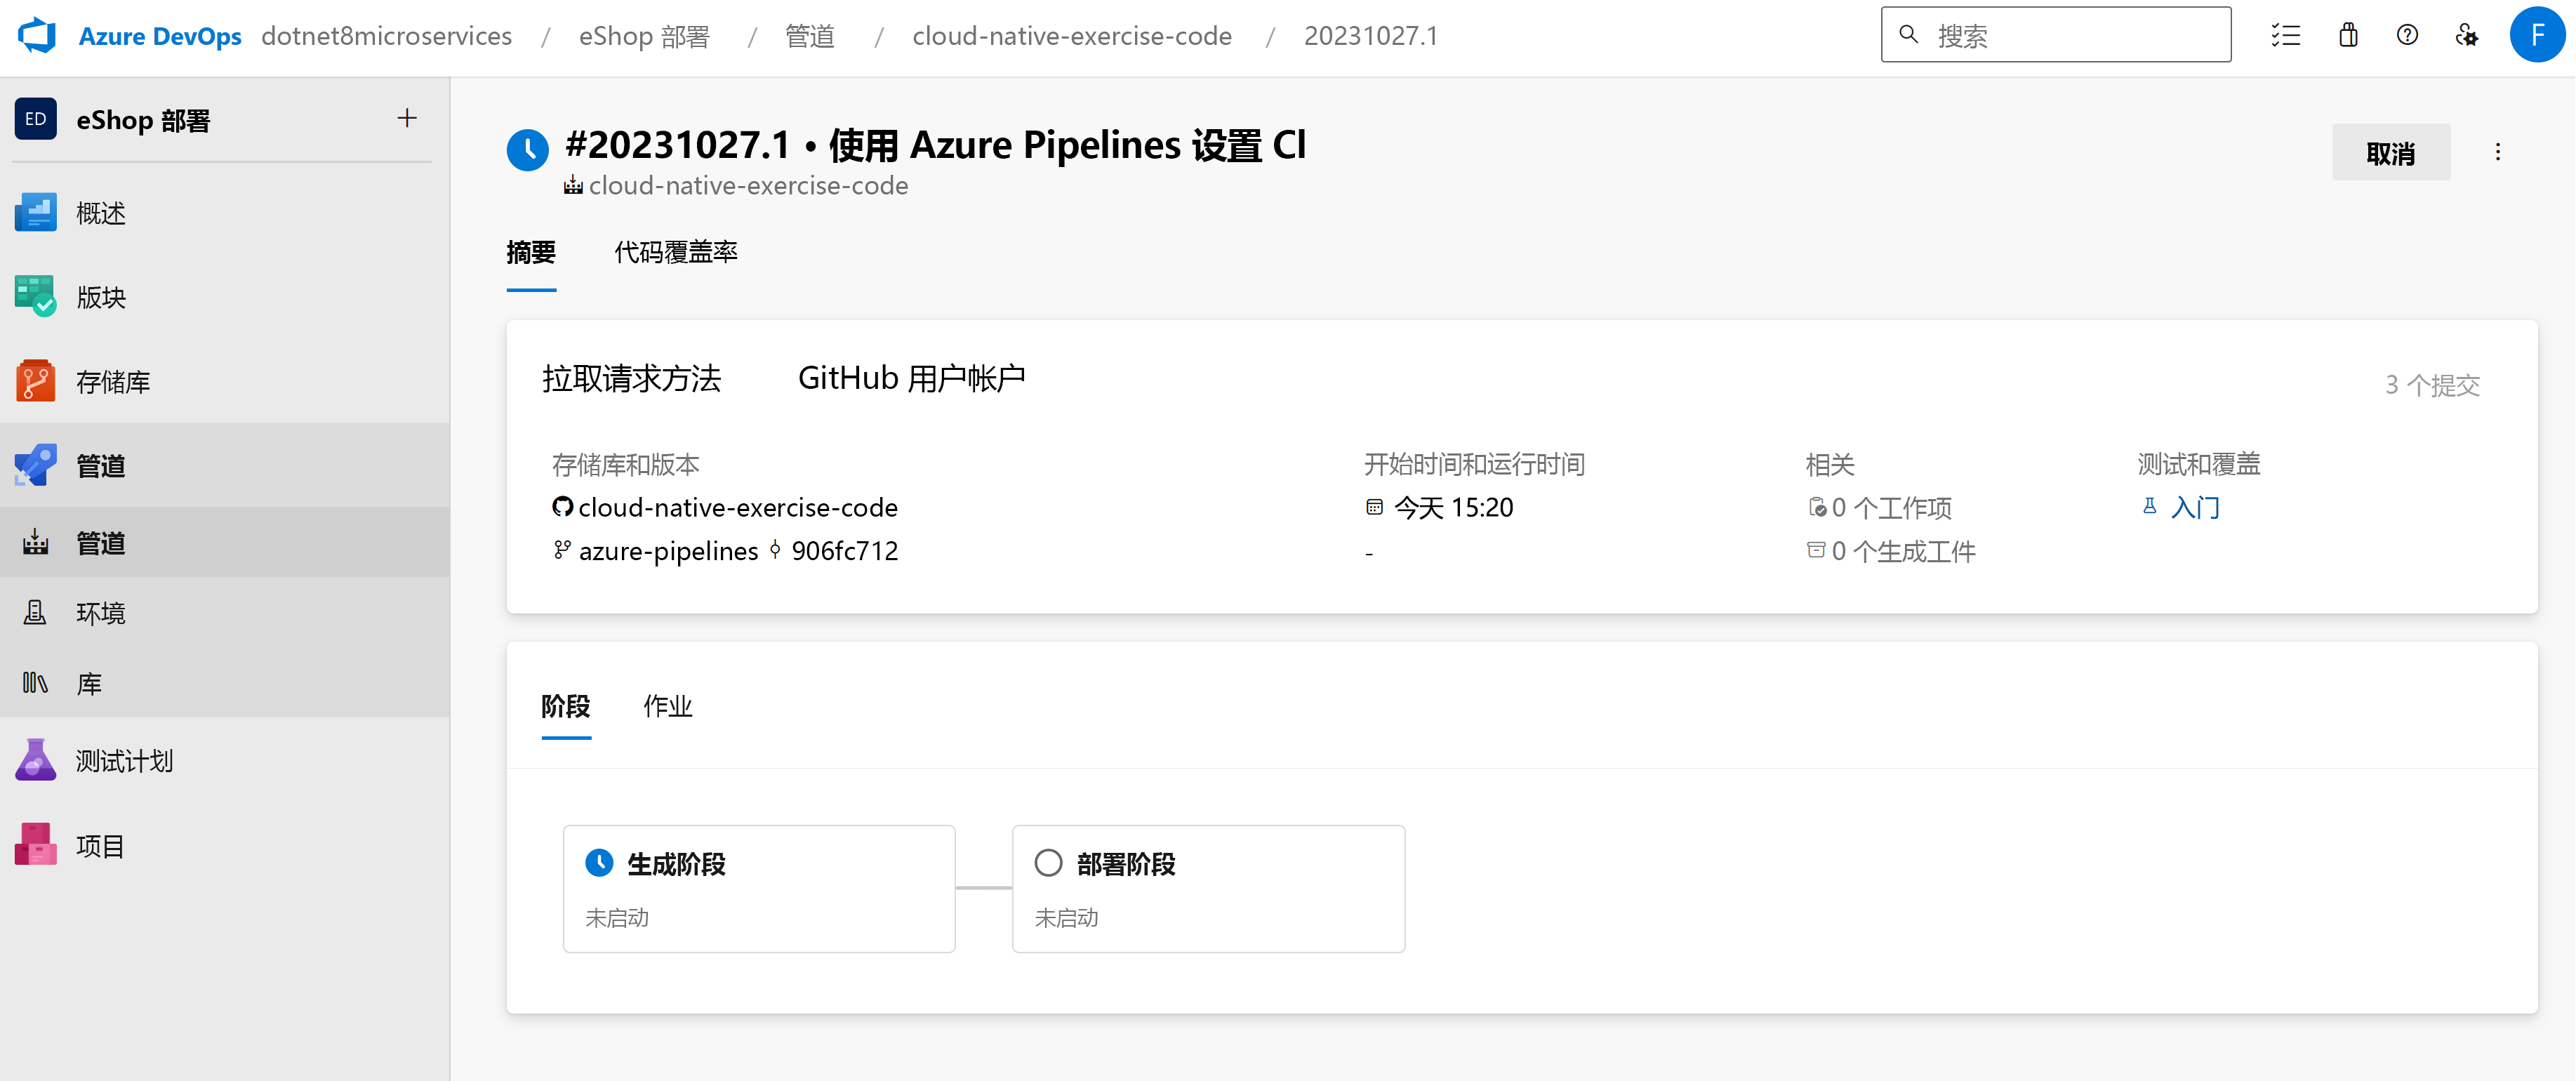
Azure Pipelines 通过 Azure DevOps 门户进行监视和管理。 让我们看看运行创建的管道所得到的输出。
摘要页显示正在运行的管道的所有阶段。 可以选择一个阶段来更详细地查看步骤。 片刻后,你将看到管道已失败。 选择“生成”阶段。
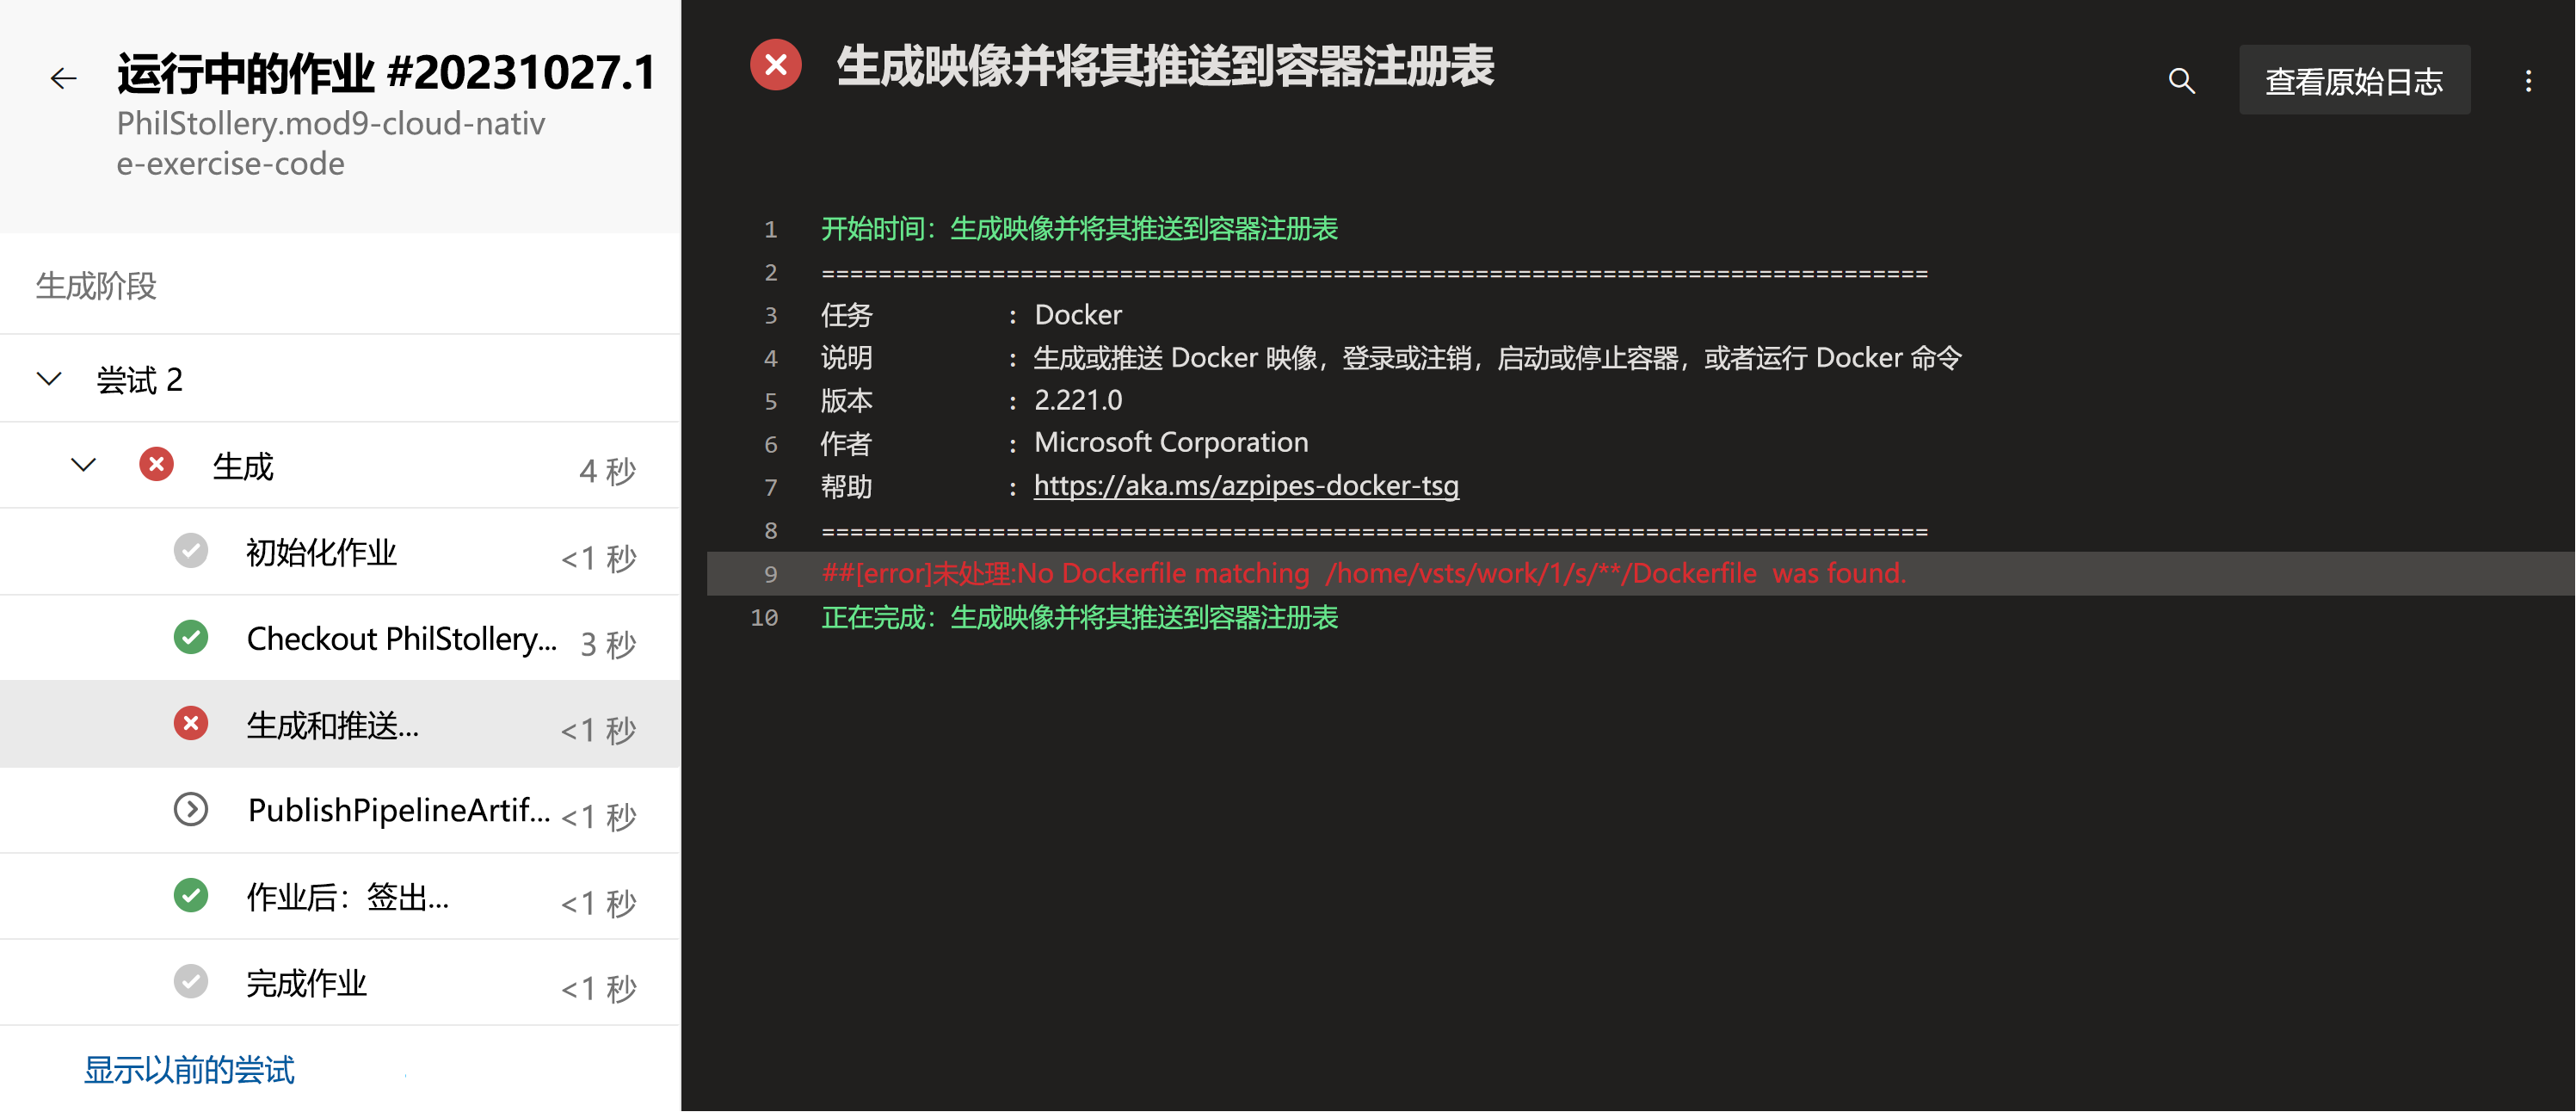
在生成阶段,可以看到生成失败。 选择“生成 Docker 映像并将其推送到 Azure 容器注册表”步骤。 日志文件中的错误显示:
##[error]Unhandled: No Dockerfile matching /home/vsts/work/1/s/**/Dockerfile was found.
修复错误
在 DevOps 中,返回到管道摘要页。 你将编辑所创建的管道来修复错误。
在右上角,选择“更多操作”菜单,然后选择“编辑管道”。
YAML 文件的第 17 行定义了要使用的 Dockerfile,默认情况下,管道要求存储库根目录中有一个名为 Dockerfile 的文件。
电子商店为名为 DockerfileProducts 的产品服务使用其他 docker 文件。 编辑第 17 行,如下所示:
dockerfilePath: '**/DockerfileProducts.acr'选择“保存”。
在“保存”窗格中,选择“保存”。
选择“运行”,然后在“运行管道”窗格中,选择“运行”。
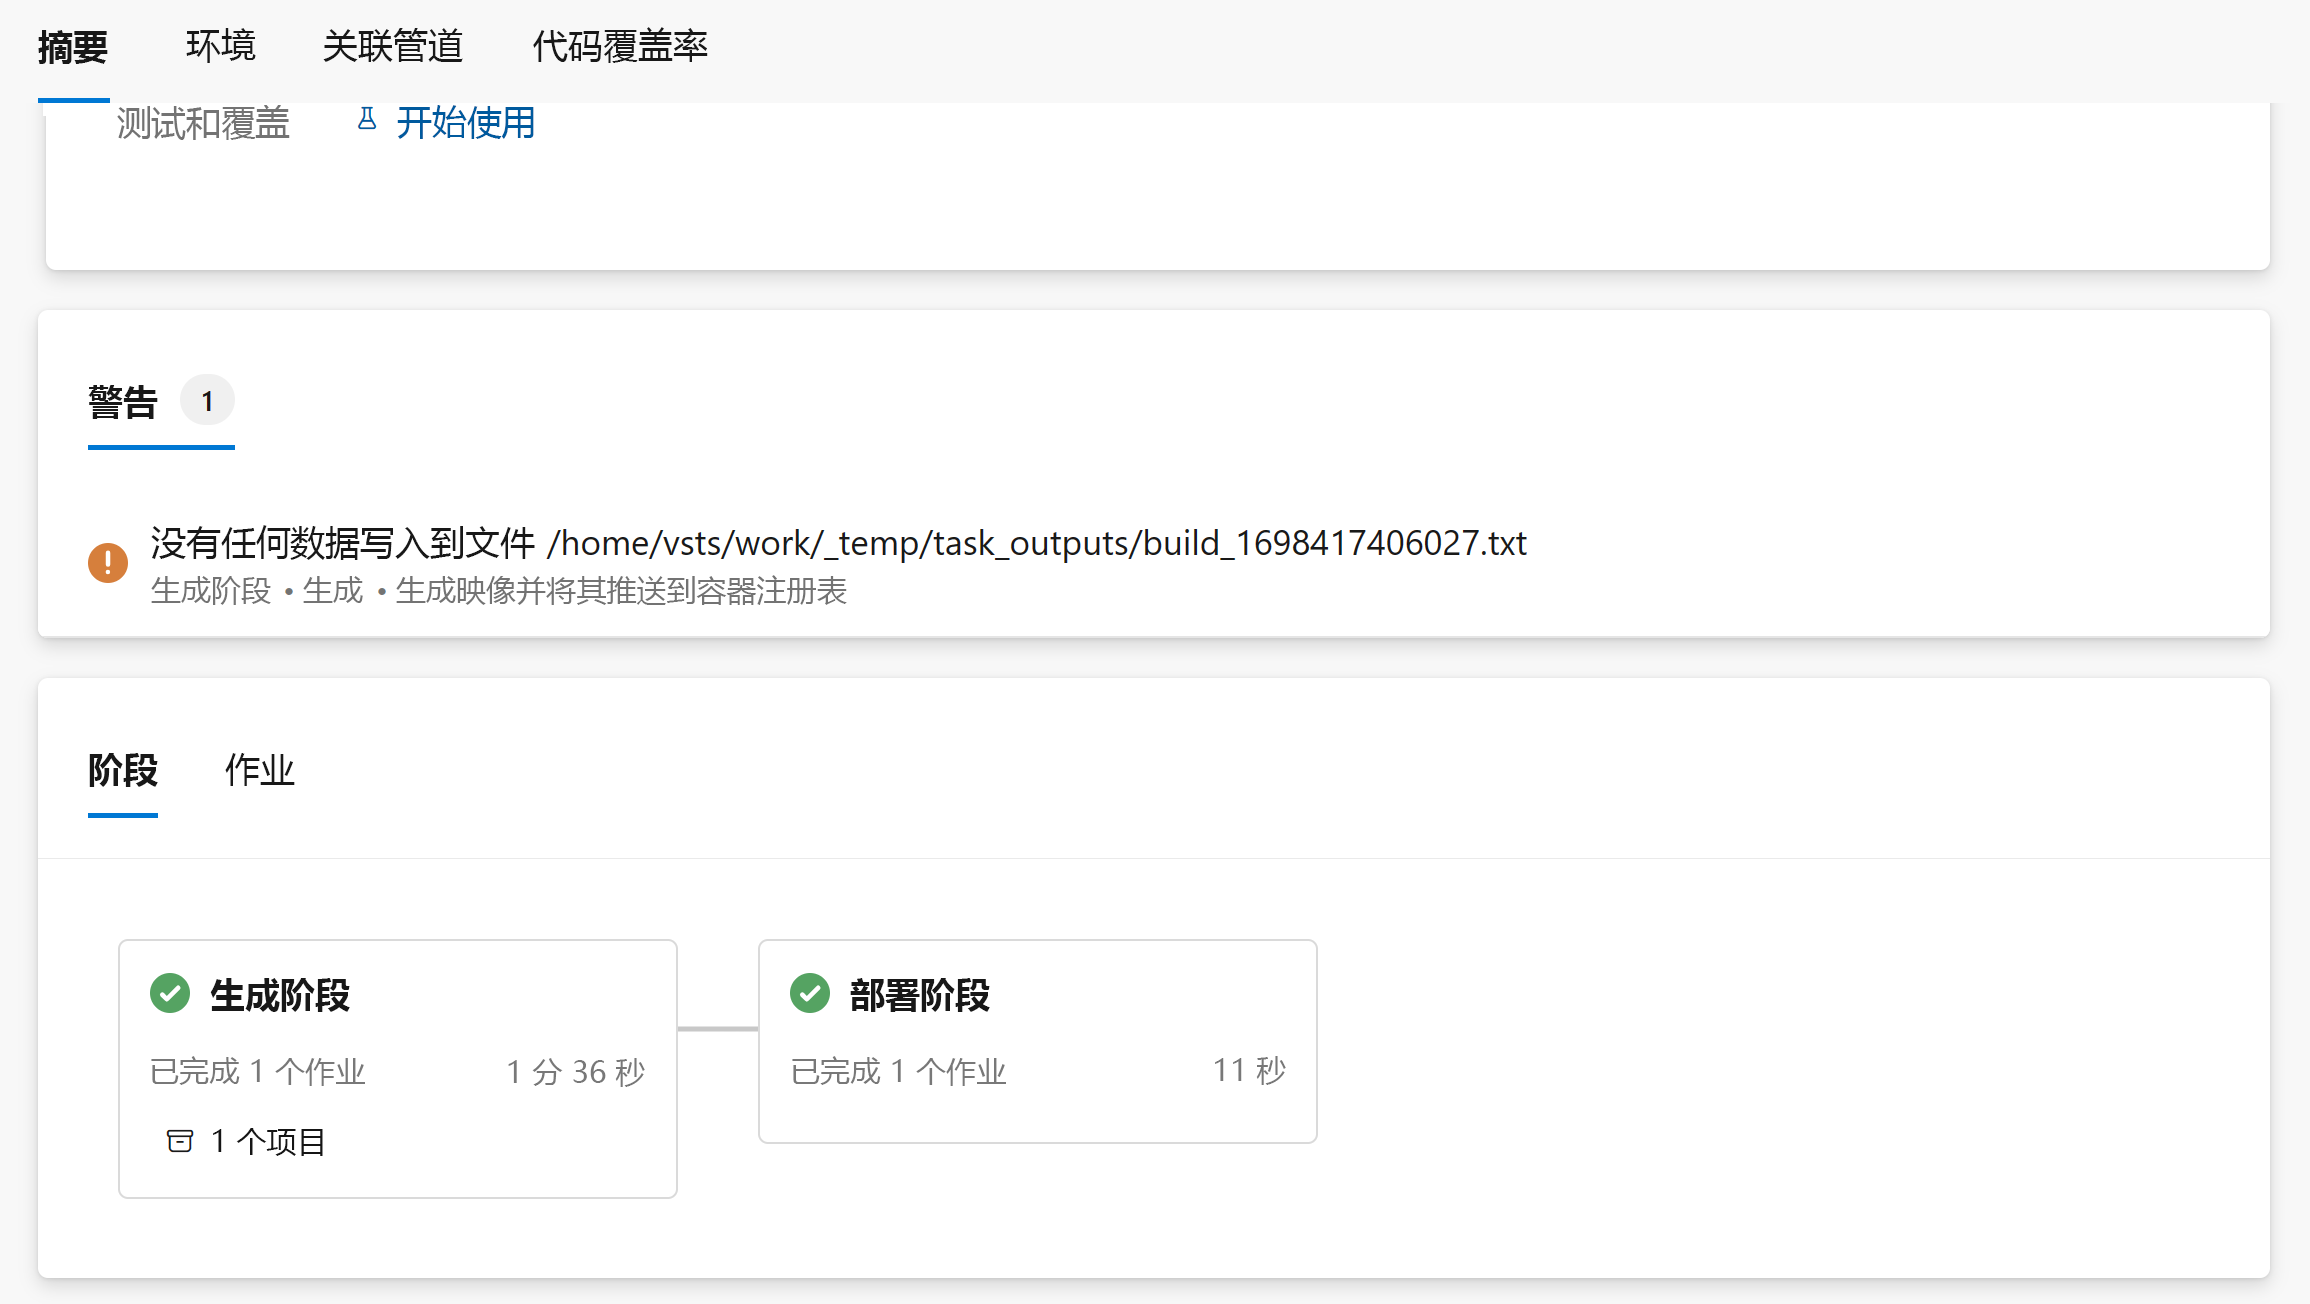
观看生成阶段完成。 部署阶段会暂停,直到你选择它并允许它运行。
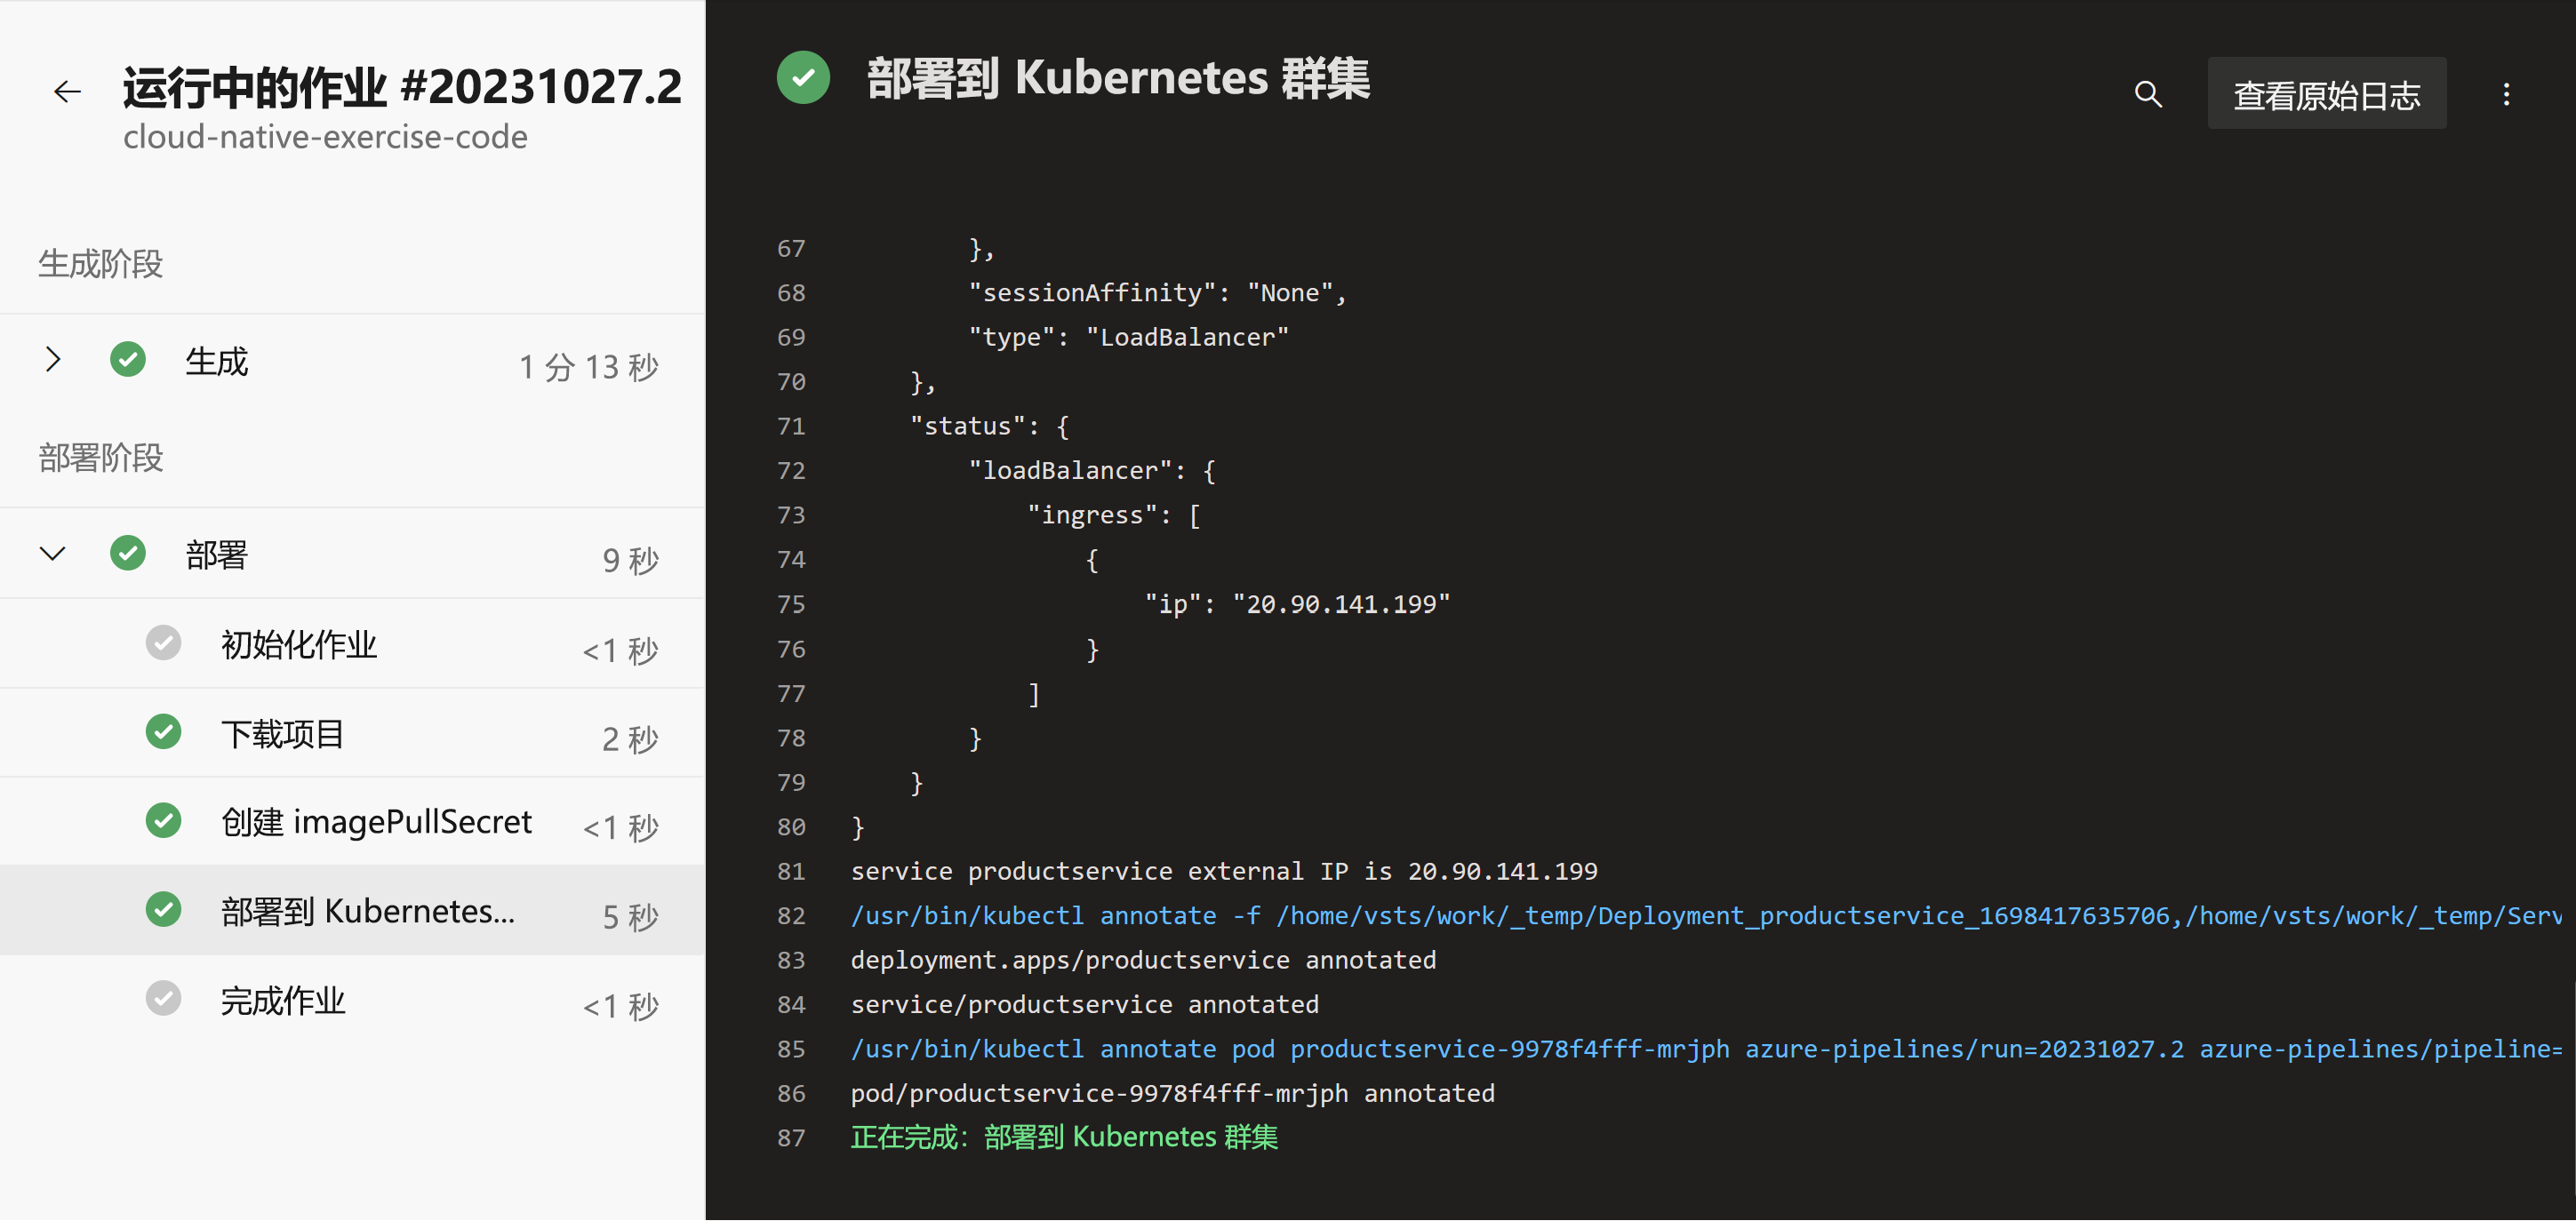
管道成功完成。 选择“部署”阶段以查看步骤。


