练习 - 对云原生应用程序中的敏感数据进行分类
在本练习中,你将对示例 eShopLite 应用程序中的敏感数据类型进行分类。
该应用正在积极开发中,目前有两个数据类:Product 和 Order。 目前正在建立订购流程,希望你添加代码来对数据类型进行分类。
在本练习中,了解如何:
- 浏览当前应用及其数据类型。
- 添加代码以对数据类型进行分类。
- 运行并测试应用。
开放开发环境
可以选择使用托管练习的 GitHub codespace,或者在 Visual Studio Code 中本地完成练习。
若要使用 codespace,请使用此 Codespace 创建链接创建预配置的 GitHub Codespace。
GitHub 需要几分钟时间来创建和配置 codespace。 完成此过程后,会显示练习的代码文件。 用于本模块其余部分的代码位于 /dotnet-compliance 目录中。
若要使用 Visual Studio Code,请创建 https://github.com/MicrosoftDocs/mslearn-dotnet-cloudnative 存储库分支到自己的 GitHub 帐户。 然后:
- 确保 Docker 正在运行。 在新的 Visual Studio Code 窗口中,按 Ctrl+Shift+P 以打开命令面板。
- 搜索并选择“开发容器: 克隆容器卷中的存储库”。
- 选择创建分支的存储库。 Visual Studio Code 会在本地创建你的开发容器。
测试 eShopLite 应用
在 Visual Studio Code 窗口底部,选择“终端”选项卡。
移动到练习文件夹:
cd dotnet-compliance/eShopLite构建应用容器。
dotnet publish /p:PublishProfile=DefaultContainer使用 docker 运行应用:
cd .. docker compose up选择“端口”选项卡,然后选择“前端(32000)”端口的“在浏览器中打开”地球图标。
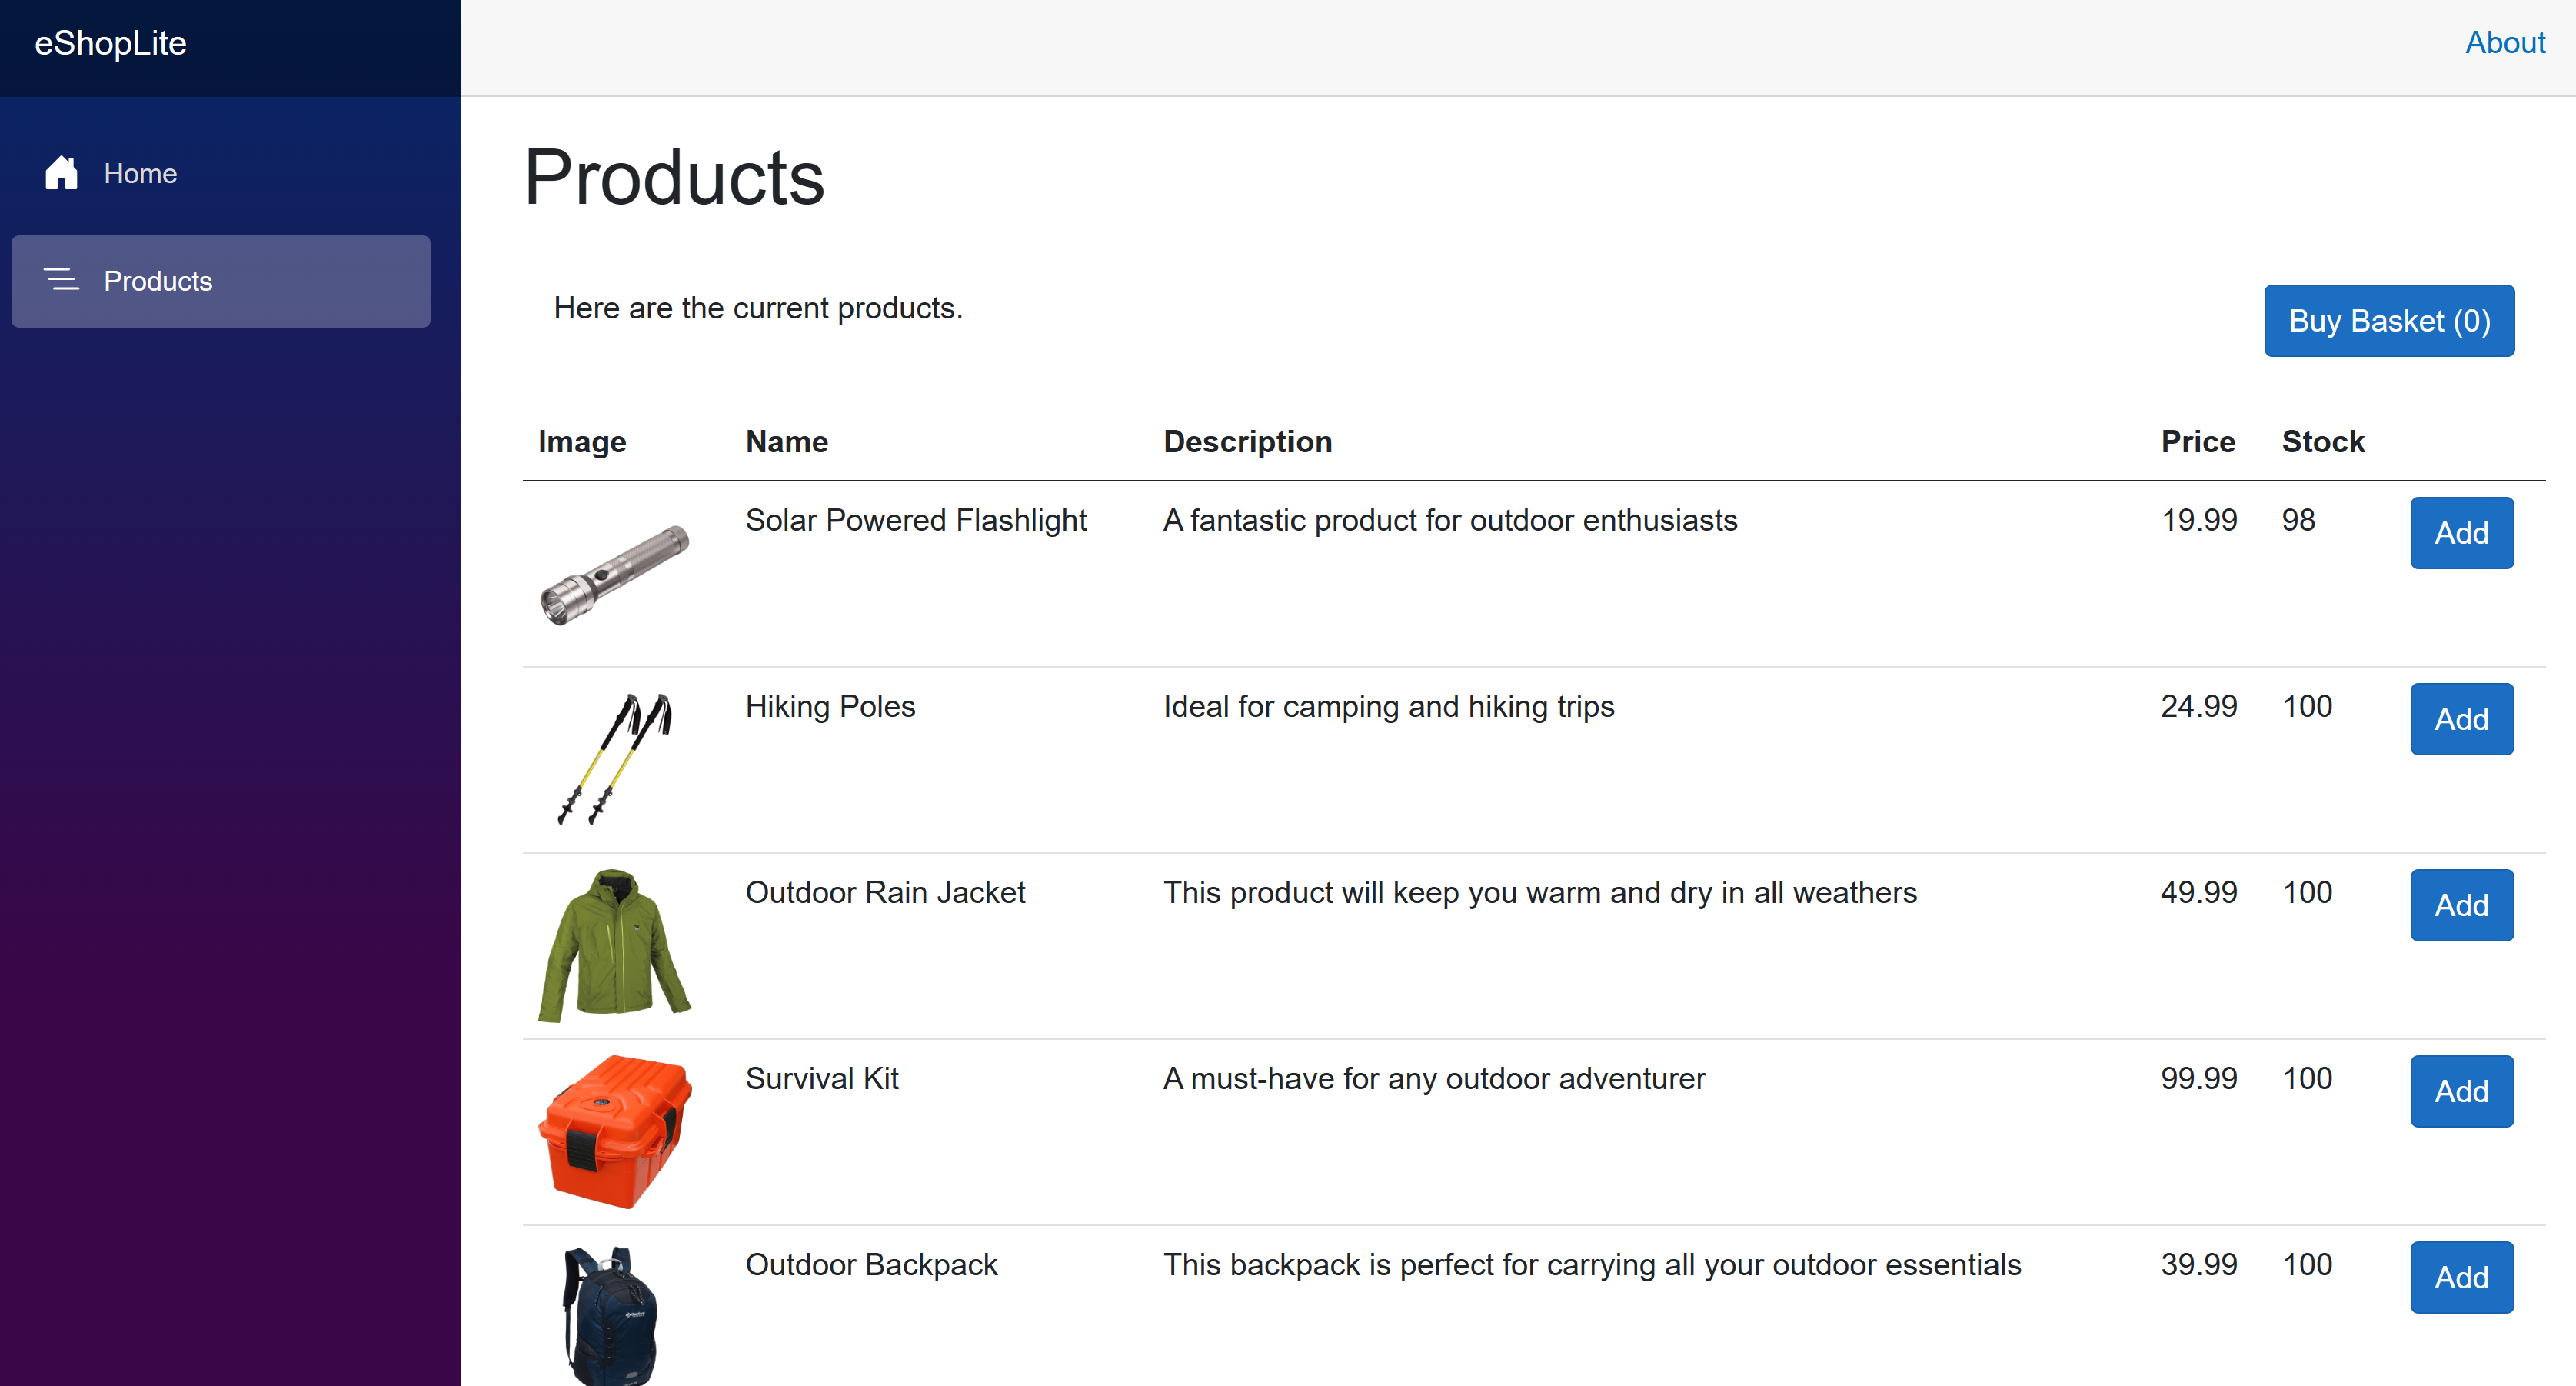
选择“产品”链接。 应用会显示产品列表。
选择“终端”选项卡,然后按 Ctrl+C 以停止应用。
创建分类和特性
在此任务中,添加代码以新建两个分类。 然后,使用相应的属性为 Product 和 Order 数据类型添加批注。
在“终端”选项卡中,移动到 eShopLite/DataEntities 文件夹:
cd eShopLite/DataEntities/添加合规性包:
dotnet add package Microsoft.Extensions.Compliance.Redaction在“资源管理器”窗格中,右键单击“DataEntities”文件夹,然后选择“新建文件”。
在文件名中,输入“Compliance.cs”。
在编辑器中,输入以下代码:
using Microsoft.Extensions.Compliance.Classification; using Microsoft.Extensions.Compliance.Redaction; public static class DataClassifications { // End User Identifiable Information public static DataClassification EUIIDataClassification {get;} = new DataClassification("EUIIDataTaxonomy", "EUIIData"); // End User Pseudonymous Information public static DataClassification EUPDataClassification {get;} = new DataClassification("EUPDataTaxonomy", "EUPData"); } public class EUIIDataAttribute : DataClassificationAttribute { public EUIIDataAttribute() : base(DataClassifications.EUIIDataClassification) { } } public class EUPDataAttribute : DataClassificationAttribute { public EUPDataAttribute() : base(DataClassifications.EUPDataClassification) { } }上述代码将创建两个分类:EUII 和 EUPI。 它还会创建两个特性:EUIIDataAttribute 和 EUPDataAttribute。 这些特性用于为数据类型添加批注。
对数据类型进行分类
使用这些分类和特性对 eShopLite 应用中的数据类型进行分类。
在“资源管理器”窗格中,展开“DataEntities”文件夹,然后选择“Product.cs”文件。
此类中没有特定的客户敏感数据,但如果产品 ID 属性连接到日志中的客户,应用可能会泄露假名数据。
将 EUPData 特性添加到 ProductId 属性:
[EUPData]
[Key]
[JsonPropertyName("id")]
public int Id { get; set; }
上面的代码告知编修引擎 Id 属性为假名数据。
在“资源管理器”窗格中,展开“DataEntities”文件夹,然后选择“Order.cs”文件。
Order 类包含敏感数据。 CustomerName 和 CustomerAddress 属性为最终用户身份信息。 Id 属性为最终用户假名信息。
将 EUIIData 特性添加到 CustomerName 和 CustomerAddress 属性:
[EUIIData]
[JsonPropertyName("customerName")]
public string? CustomerName { get; set; }

[EUIIData]
[JsonPropertyName("customerAddress")]
public string? CustomerAddress { get; set; }
上面的代码告知编修引擎 CustomerName 和 CustomerAddress 属性为最终用户身份信息。
将 EUPData 特性添加到 Id 属性:
[Key]
[EUPData]
[JsonPropertyName("id")]
public int Id { get; set; }
上面的代码告知编修引擎 Id 属性为最终用户假名信息。
测试对 eShopLite 应用的更改
在底部的“终端”窗格中,转到 dotnet-compliance/eShopLite 文件夹。
cd ..更新应用容器。
dotnet publish /p:PublishProfile=DefaultContainer转到 dotnet-compliance 文件夹,并使用 Docker 启动应用:
cd .. docker compose up如果在浏览器中关闭了该选项卡,请选择“端口”选项卡,然后选择“前端(32000)”端口的“在浏览器中打开”图标。
请注意,eShopLite 应用并未更改。
尝试将某些产品添加到购物篮,然后选择“购买购物篮商品”。
在“终端”窗口中,按 CTRL+C 以停止应用。
在下一个练习中,你将添加经过修订的日志记录。