演练 - 在 Xamarin.iOS 中使用本地通知
在本部分中,我们将演练如何在 Xamarin.iOS 应用程序中使用本地通知。 它将演示创建和发布通知的基础知识,通知将在应用收到通知时弹出警报。
重要
本部分中的信息是关于 iOS 9 及更低版本的,此处保留此信息是为了支持较旧的 iOS 版本。 对于 iOS 10 及更高版本,请参阅用户通知框架指南,了解如何在 iOS 设备上同时支持本地和远程通知。
演练
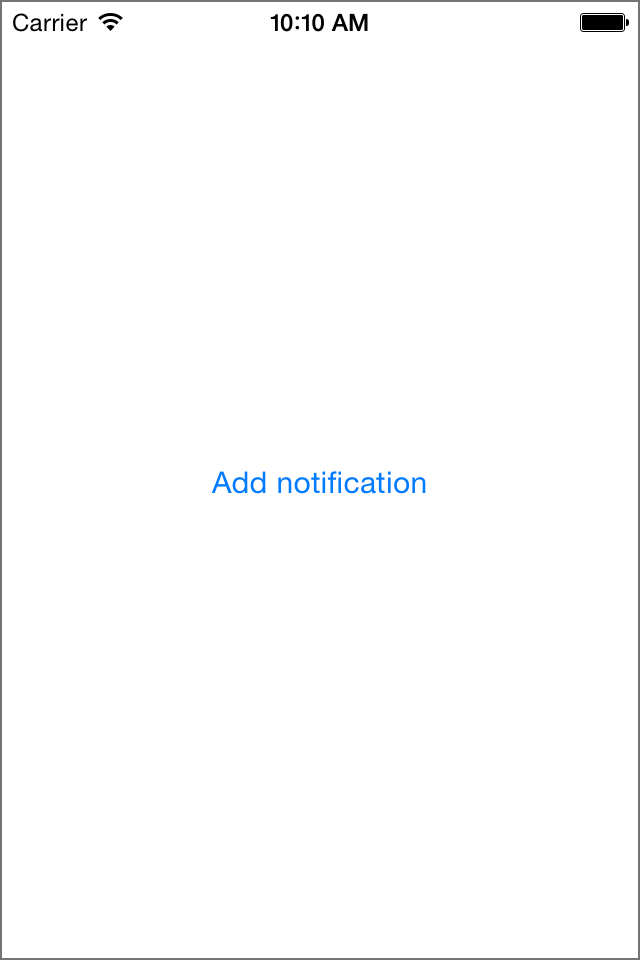
让我们创建一个简单的应用程序,用于在操作中显示本地通知。 此应用程序将只有一个按钮。 单击该按钮时,它将创建一条本地通知。 在指定的时间段过后,我们将看到该通知出现。
在 Visual Studio for Mac 中,创建一个新的单视图 iOS 解决方案并将其称为
Notifications。打开
Main.storyboard文件,将一个按钮拖到视图上。 将该按钮命名为“button”,并为其指定标题“添加通知”。 此时,你可能还希望为该按钮设置一些约束: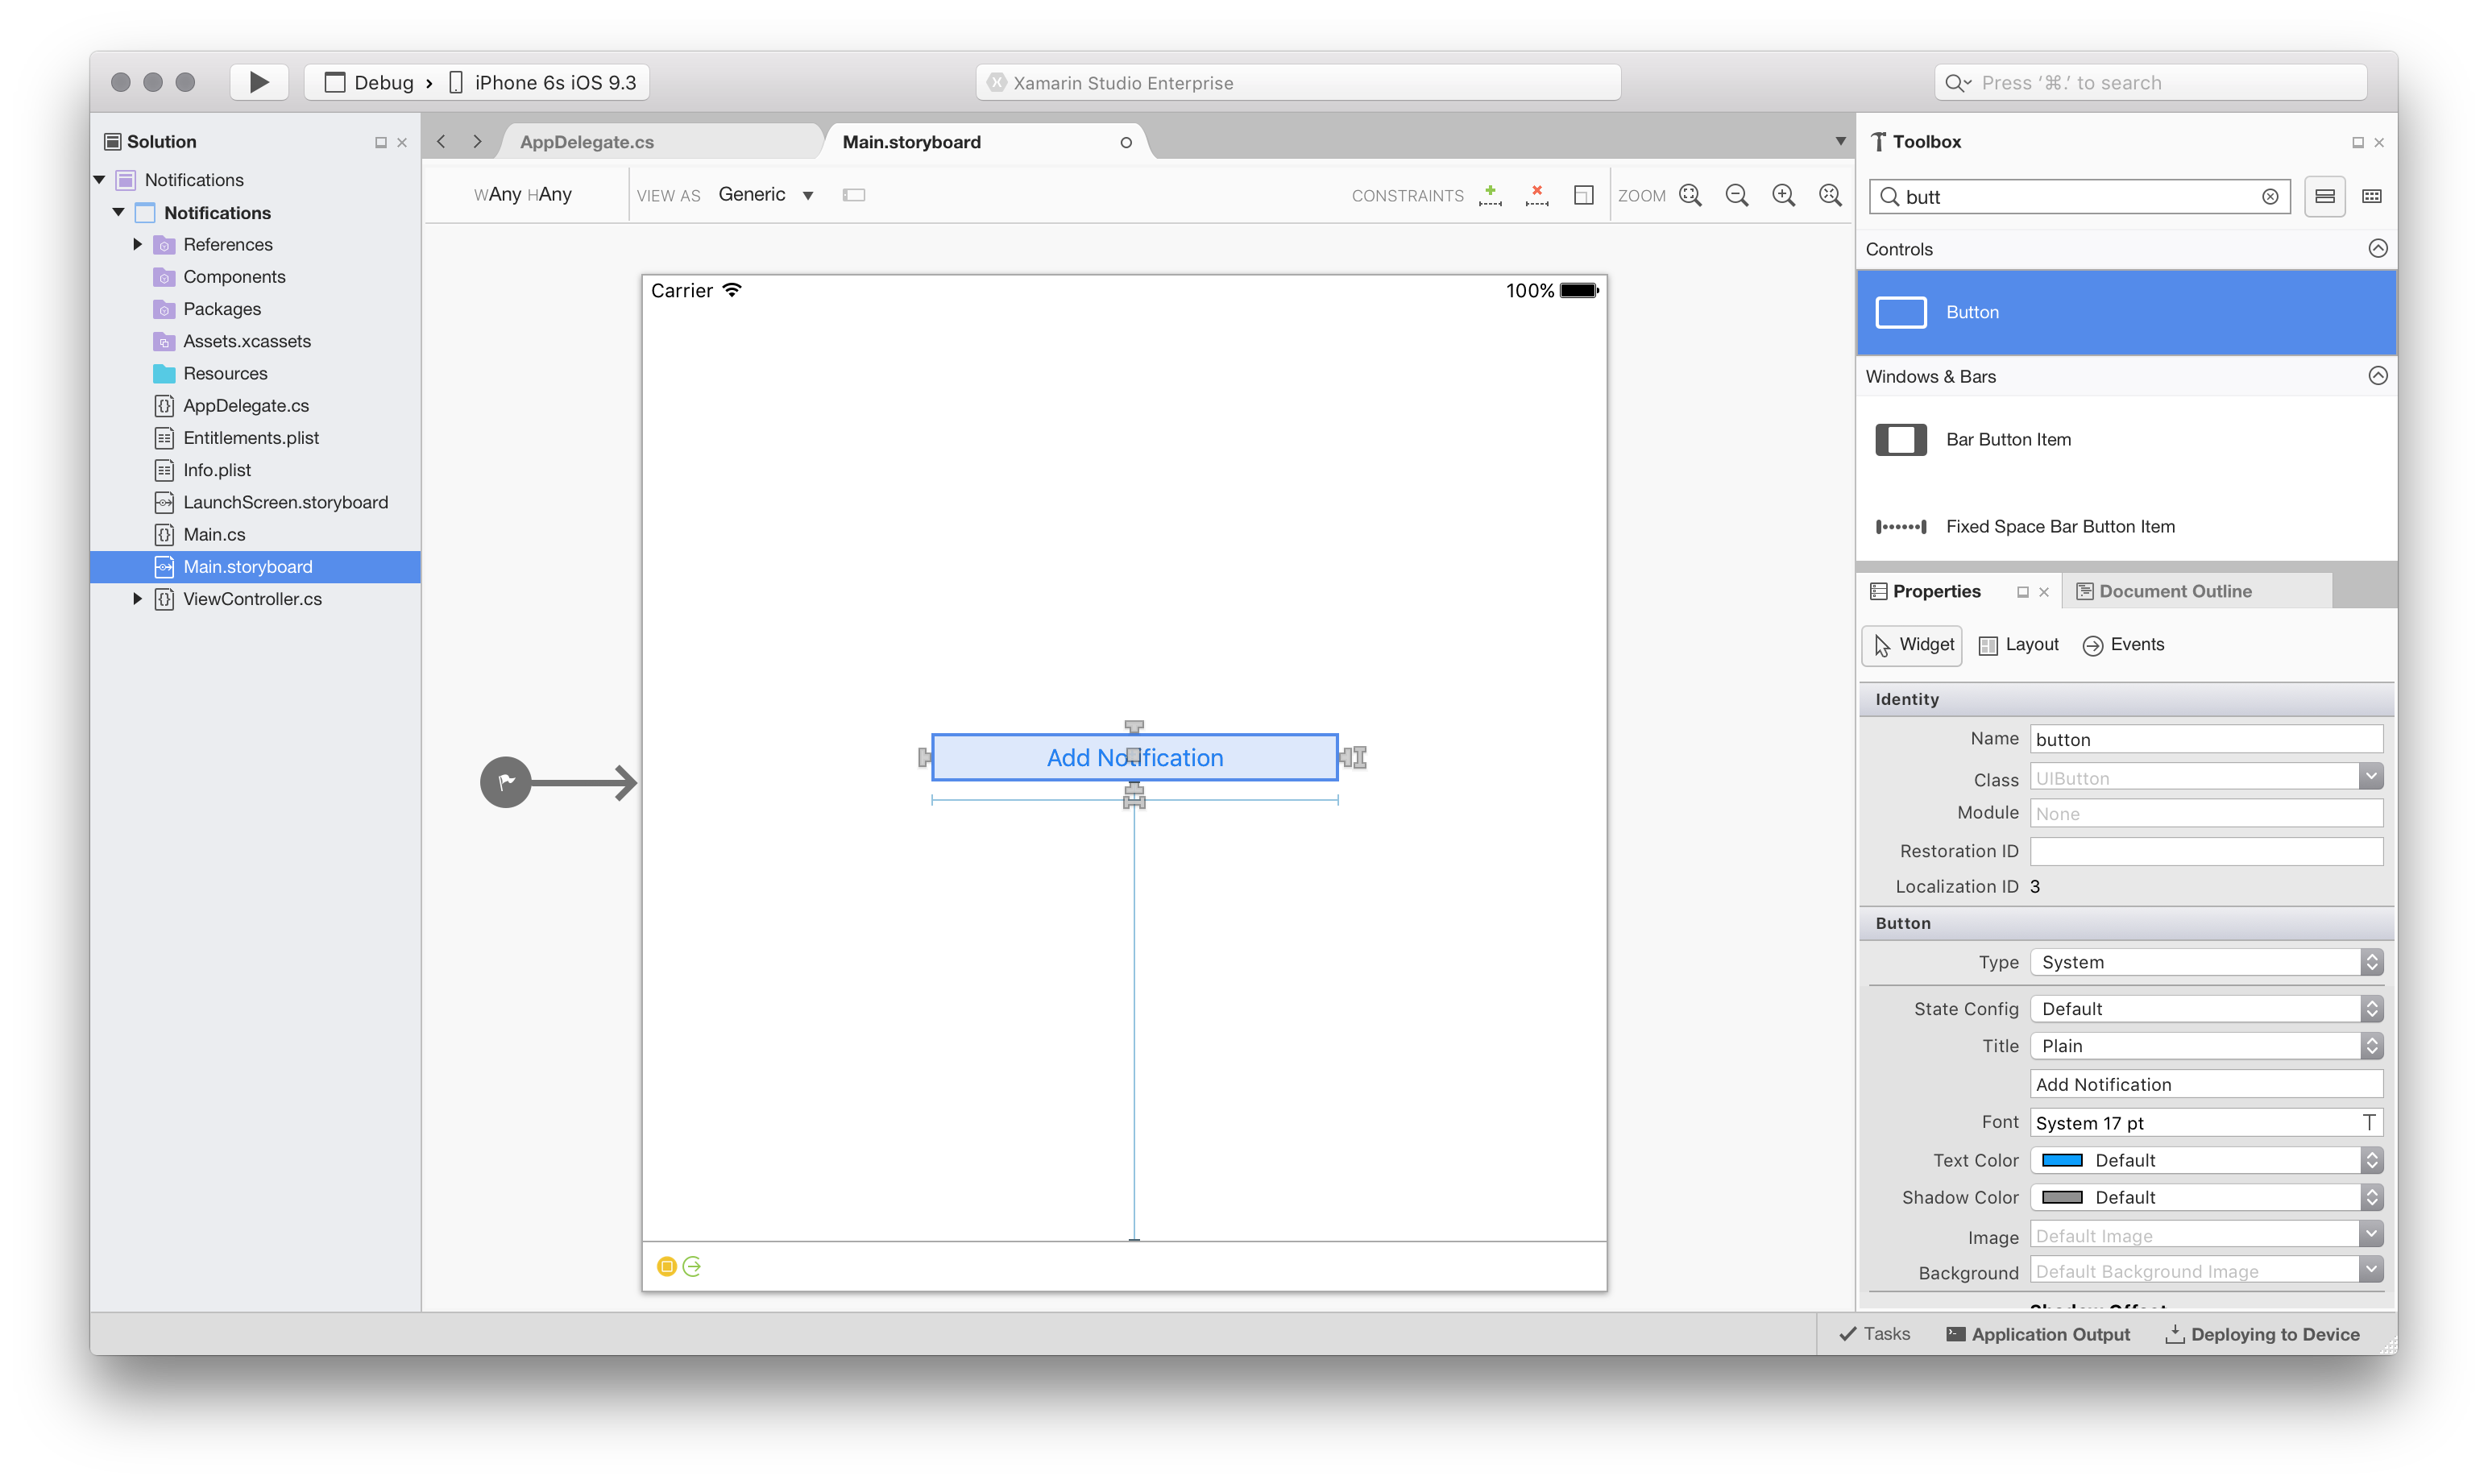
编辑
ViewController类,并将以下事件处理程序添加到 ViewDidLoad 方法:button.TouchUpInside += (sender, e) => { // create the notification var notification = new UILocalNotification(); // set the fire date (the date time in which it will fire) notification.FireDate = NSDate.FromTimeIntervalSinceNow(60); // configure the alert notification.AlertAction = "View Alert"; notification.AlertBody = "Your one minute alert has fired!"; // modify the badge notification.ApplicationIconBadgeNumber = 1; // set the sound to be the default sound notification.SoundName = UILocalNotification.DefaultSoundName; // schedule it UIApplication.SharedApplication.ScheduleLocalNotification(notification); };此代码将创建一个使用声音的通知,将图标徽章的值设置为 1,并向用户显示警报。
接下来,编辑文件
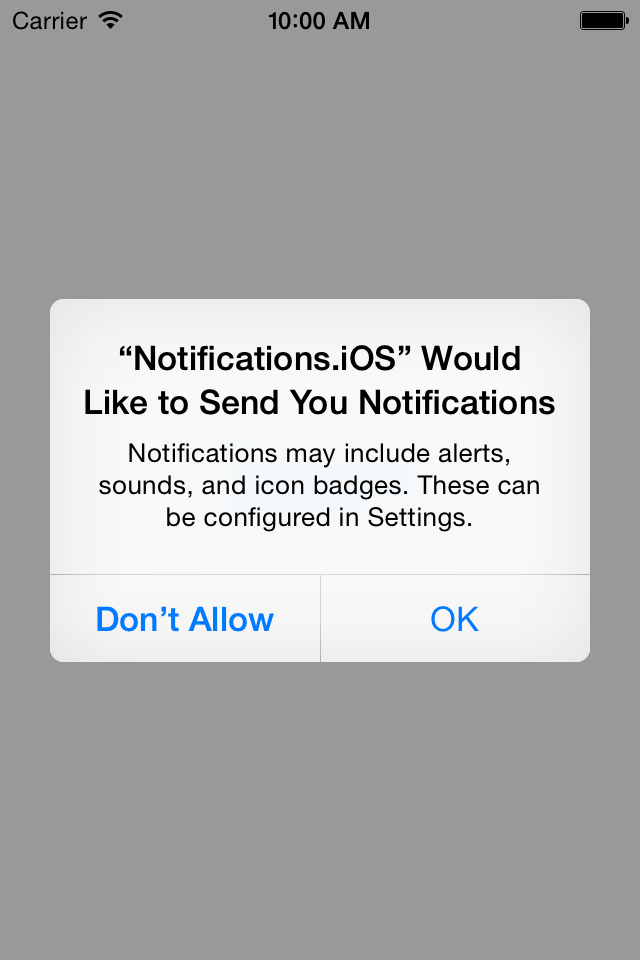
AppDelegate.cs,首先向FinishedLaunching方法中添加以下代码。 我们已检查设备是否正在运行 iOS 8,如果是,我们需要请求用户接收通知的权限:if (UIDevice.CurrentDevice.CheckSystemVersion (8, 0)) { var notificationSettings = UIUserNotificationSettings.GetSettingsForTypes ( UIUserNotificationType.Alert | UIUserNotificationType.Badge | UIUserNotificationType.Sound, null ); application.RegisterUserNotificationSettings (notificationSettings); }仍然是在
AppDelegate.cs中,添加以下方法,在收到通知时将调用该方法:public override void ReceivedLocalNotification(UIApplication application, UILocalNotification notification) { // show an alert UIAlertController okayAlertController = UIAlertController.Create(notification.AlertAction, notification.AlertBody, UIAlertControllerStyle.Alert); okayAlertController.AddAction(UIAlertAction.Create("OK", UIAlertActionStyle.Default, null)); UIApplication.SharedApplication.KeyWindow.RootViewController.PresentViewController(okayAlertController, true, null); // reset our badge UIApplication.SharedApplication.ApplicationIconBadgeNumber = 0; }我们需要处理由于本地通知而启动了该通知的情况。 编辑
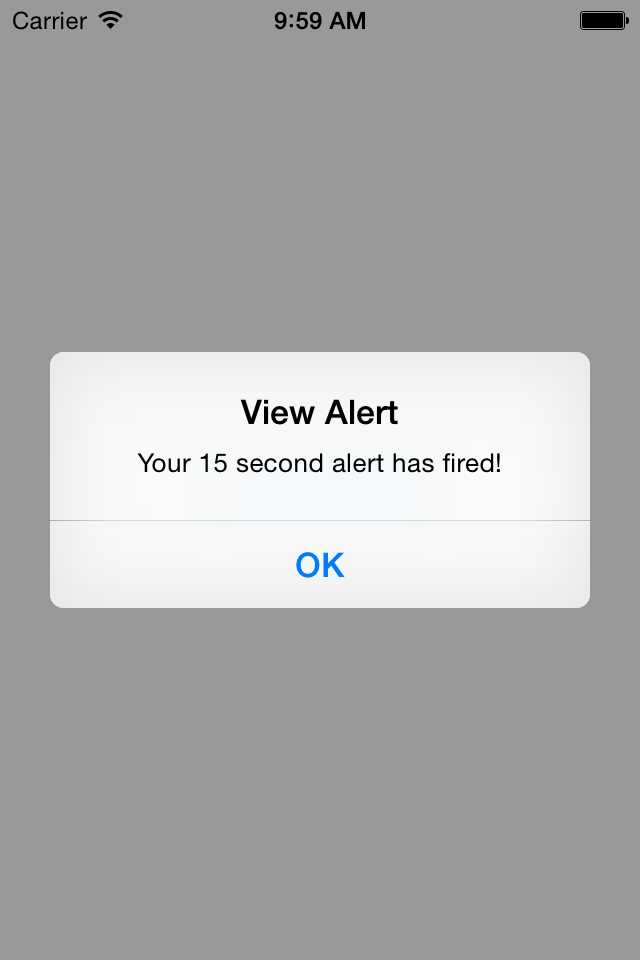
AppDelegate中的方法FinishedLaunching,以包含以下代码片段:// check for a notification if (launchOptions != null) { // check for a local notification if (launchOptions.ContainsKey(UIApplication.LaunchOptionsLocalNotificationKey)) { var localNotification = launchOptions[UIApplication.LaunchOptionsLocalNotificationKey] as UILocalNotification; if (localNotification != null) { UIAlertController okayAlertController = UIAlertController.Create(localNotification.AlertAction, localNotification.AlertBody, UIAlertControllerStyle.Alert); okayAlertController.AddAction(UIAlertAction.Create("OK", UIAlertActionStyle.Default, null)); Window.RootViewController.PresentViewController(okayAlertController, true, null); // reset our badge UIApplication.SharedApplication.ApplicationIconBadgeNumber = 0; } } }最后,运行应用程序。 在 iOS 8 上,系统会提示你允许通知。 单击“确定”,然后单击“添加通知”按钮。 在短暂暂停后,你应当会看到警报对话框,如以下屏幕截图所示:
总结
本演练演示了如何使用各种 API 在 iOS 中创建和发布通知。 它还演示了如何将应用程序图标更新为徽章,以便向用户提供一些特定于应用程序的反馈。