Xamarin.Android GridLayout
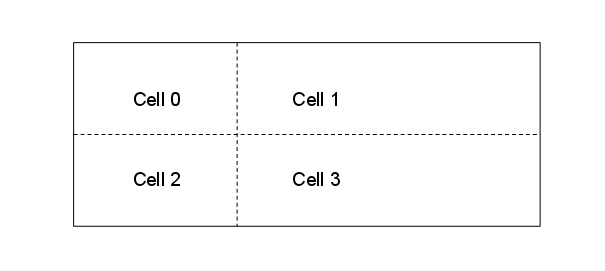
GridLayout 是一个新的 ViewGroup 子类,它支持在 2D 网格中布局视图,类似于 HTML 表,如下所示:
GridLayout 适用于平面视图层次结构,其中子视图通过指定它们应位于的行和列来设置它们在网格中的位置。 这样一来,GridLayout 就能够在网格中定位视图,而无需任何中间视图提供表结构,例如在 TableLayout 中使用的表行中的那些。 通过维护平面层次结构,GridLayout 能够更快速地布局其子视图。 让我们看一个示例来说明此概念在代码中的实际意义。
创建网格布局
以下 XML 将多个 TextView 控件添加到 GridLayout。
<?xml version="1.0" encoding="utf-8"?>
<GridLayout xmlns:android="http://schemas.android.com/apk/res/android"
        android:layout_width="match_parent"
        android:layout_height="match_parent"
        android:rowCount="2"
        android:columnCount="2">
     <TextView
            android:text="Cell 0"
            android:textSize="14dip" />
     <TextView
            android:text="Cell 1"
            android:textSize="14dip" />
     <TextView
            android:text="Cell 2"
            android:textSize="14dip" />
     <TextView
            android:text="Cell 3"
            android:textSize="14dip" />
</GridLayout>
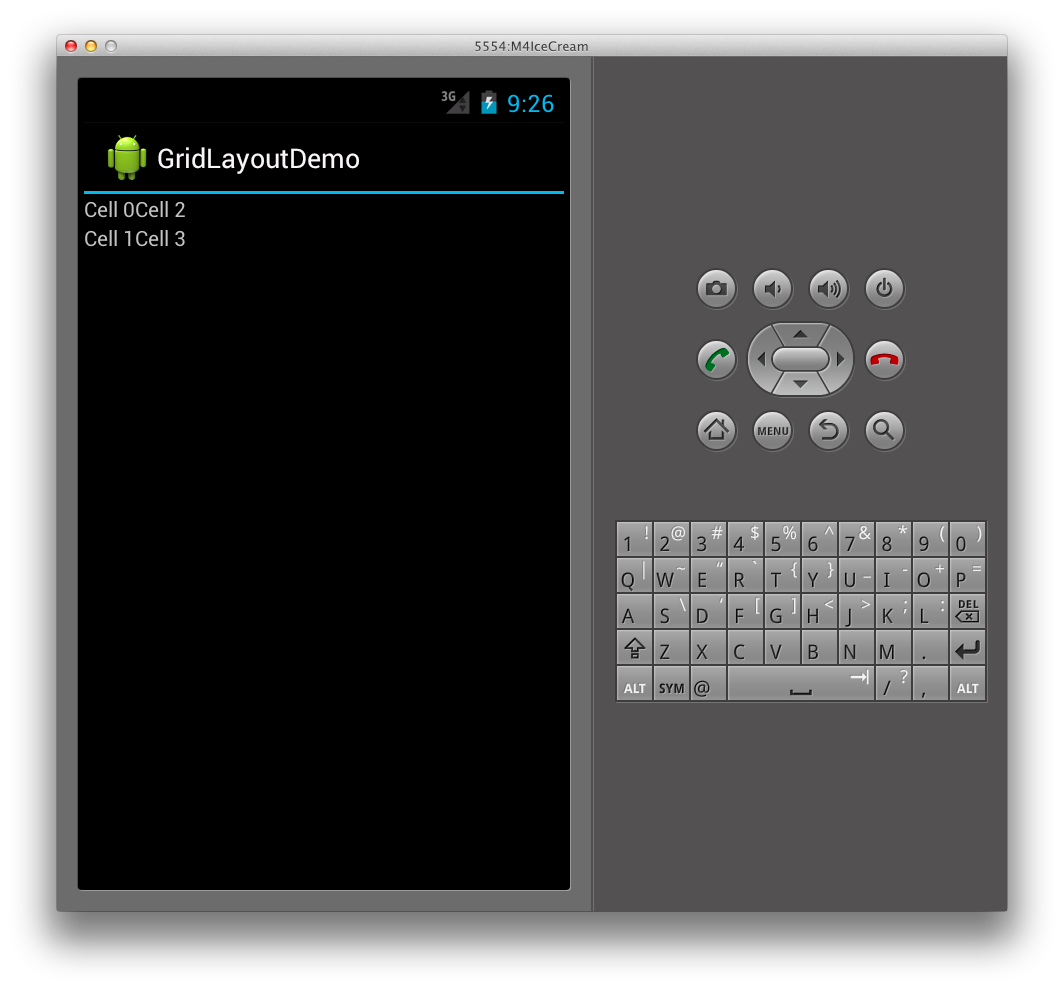
布局将调整行和列大小,以便单元格可以容纳其内容,如下图所示:
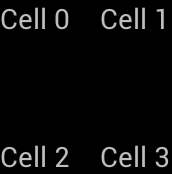
这会导致在应用程序中运行时出现以下用户界面:
指定方向
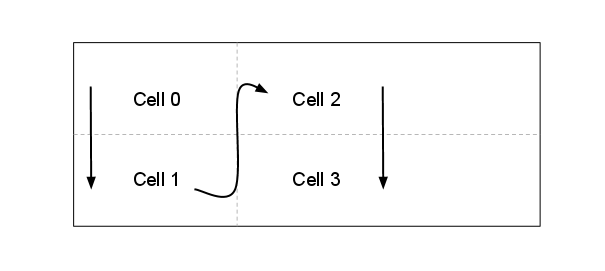
请注意,在上面的 XML 中,每个 TextView 都未指定行或列。 如果未指定这些,则 GridLayout 会根据方向按顺序分配每个子视图。 例如,让我们将 GridLayout 的方向从默认值(水平)更改为垂直,如下所示:
<GridLayout xmlns:android="http://schemas.android.com/apk/res/android"
        android:layout_width="match_parent"
        android:layout_height="match_parent"
        android:rowCount="2"
        android:columnCount="2"
        android:orientation="vertical">
</GridLayout>
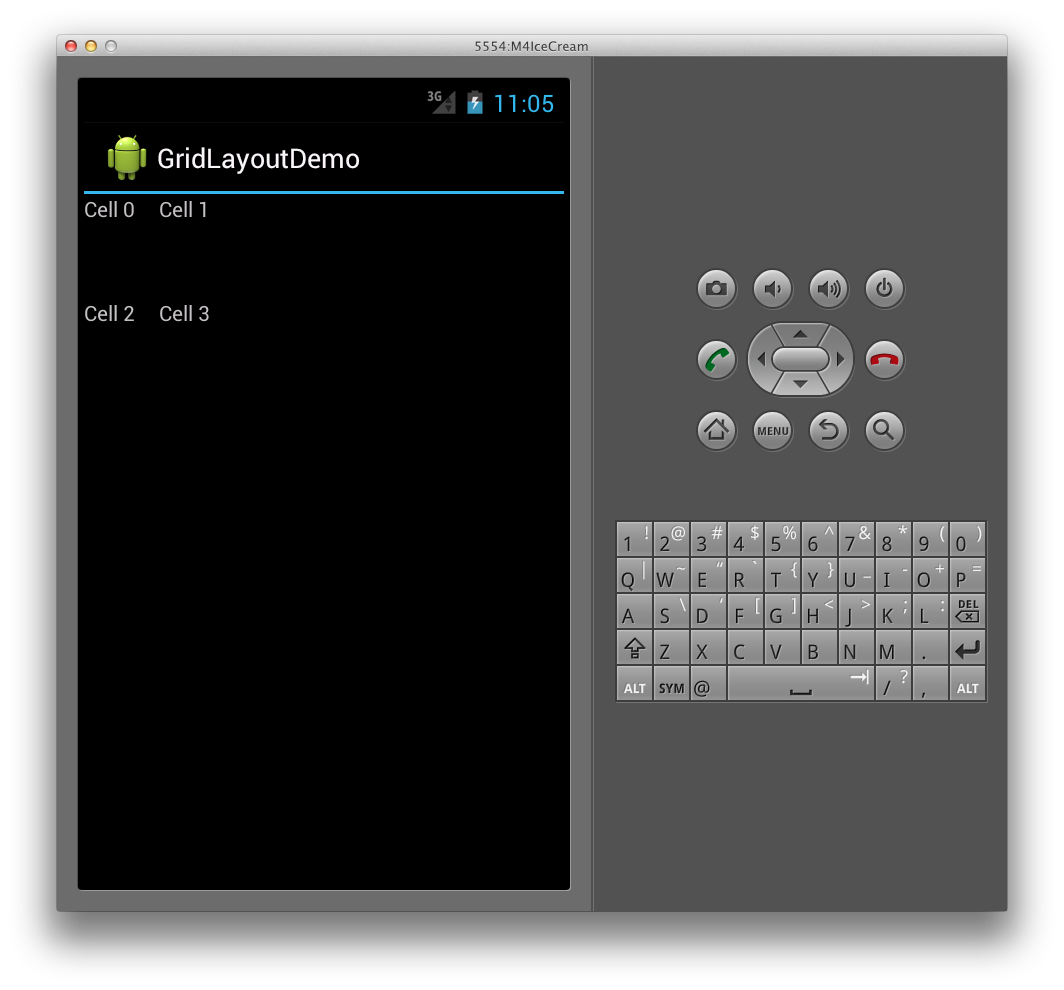
现在,GridLayout 会将每个列中的单元格从上到下放置,而不是从左到右,如下所示:
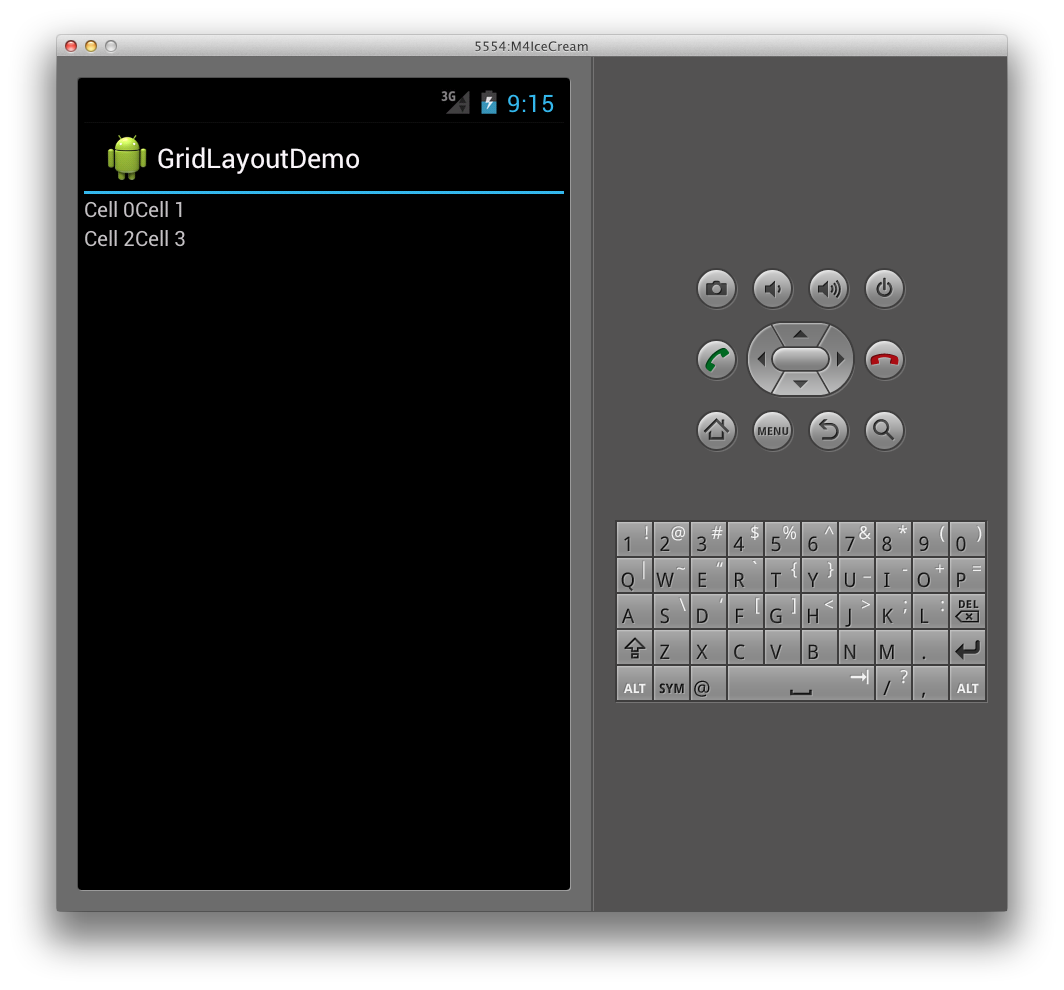
这会在运行时生成以下用户界面:
指定显式位置
如果要显式控制子视图在 GridLayout 中的位置,我们可以设置它们的 layout_row 和 layout_column 特性。 例如,以下 XML 将导致第一个屏幕截图(如上所示)中显示的布局,无论方向如何。
<?xml version="1.0" encoding="utf-8"?>
<GridLayout xmlns:android="http://schemas.android.com/apk/res/android"
        android:layout_width="match_parent"
        android:layout_height="match_parent"
        android:rowCount="2"
        android:columnCount="2">
     <TextView
            android:text="Cell 0"
            android:textSize="14dip"
            android:layout_row="0"
            android:layout_column="0" />
     <TextView
            android:text="Cell 1"
            android:textSize="14dip"
            android:layout_row="0"
            android:layout_column="1" />
     <TextView
            android:text="Cell 2"
            android:textSize="14dip"
            android:layout_row="1"
            android:layout_column="0" />
     <TextView
            android:text="Cell 3"
            android:textSize="14dip"
            android:layout_row="1"
            android:layout_column="1"  />
</GridLayout>
指定间距
我们有几个提供 GridLayout 的子视图之间的间距的选项。 我们可以使用 layout_margin 特性直接设置每个子视图的边距,如下所示
<TextView
            android:text="Cell 0"
            android:textSize="14dip"
            android:layout_row="0"
            android:layout_column="0"
            android:layout_margin="10dp" />
此外,在 Android 4 中,现已推出一种名为“Space”的新常规用途间距视图。 若要使用它,只需将其添加为子视图。
例如,下面的 XML 向 GridLayout 添加了一个额外的行,方法是将其 rowcount 设置为 3,它还添加了一个在 TextViews 之间提供间距的 Space 视图。
<?xml version="1.0" encoding="utf-8"?>
<GridLayout xmlns:android="http://schemas.android.com/apk/res/android"
        android:layout_width="match_parent"
        android:layout_height="match_parent"
        android:rowCount="3"
        android:columnCount="2"
        android:orientation="vertical">
     <TextView
            android:text="Cell 0"
            android:textSize="14dip"
            android:layout_row="0"
            android:layout_column="0" />
     <TextView
            android:text="Cell 1"
            android:textSize="14dip"
            android:layout_row="0"
            android:layout_column="1" />
     <Space
            android:layout_row="1"
            android:layout_column="0"
            android:layout_width="50dp"
            android:layout_height="50dp" />
     <TextView
            android:text="Cell 2"
            android:textSize="14dip"
            android:layout_row="2"
            android:layout_column="0" />
     <TextView
            android:text="Cell 3"
            android:textSize="14dip"
            android:layout_row="2"
            android:layout_column="1" />
</GridLayout>
此 XML 在 GridLayout 中创建间距,如下所示:
使用新的 Space 视图的好处是,它允许间距,且不需要我们为每个子视图设置特性。
跨越列和行
GridLayout 还支持跨多个列和行的单元格。 例如,假设我们向 GridLayout 添加另一个包含按钮的行,如下所示:
<?xml version="1.0" encoding="utf-8"?>
<GridLayout xmlns:android="http://schemas.android.com/apk/res/android"
        android:layout_width="match_parent"
        android:layout_height="match_parent"
        android:rowCount="4"
        android:columnCount="2"
        android:orientation="vertical">
     <TextView
            android:text="Cell 0"
            android:textSize="14dip"
            android:layout_row="0"
            android:layout_column="0" />
     <TextView
            android:text="Cell 1"
            android:textSize="14dip"
            android:layout_row="0"
            android:layout_column="1" />
     <Space
            android:layout_row="1"
            android:layout_column="0"
            android:layout_width="50dp"
            android:layout_height="50dp" />
     <TextView
            android:text="Cell 2"
            android:textSize="14dip"
            android:layout_row="2"
            android:layout_column="0" />
     <TextView
            android:text="Cell 3"
            android:textSize="14dip"
            android:layout_row="2"
            android:layout_column="1" />
     <Button
            android:id="@+id/myButton"
            android:text="@string/hello"
            android:layout_row="3"
            android:layout_column="0" />
</GridLayout>
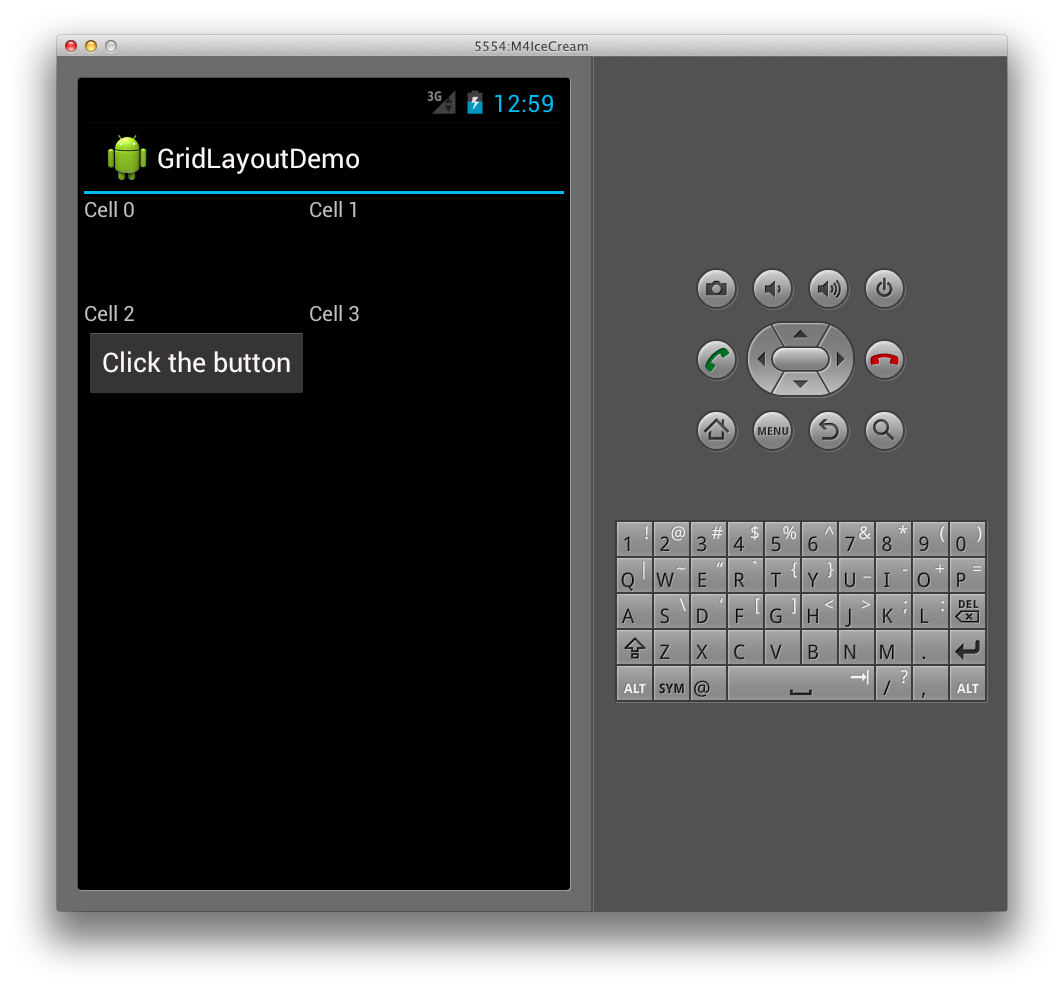
这将导致 GridLayout 的第一列被拉伸以适应按钮的大小,如下所示:
若要防止第一列被拉伸,可以将按钮设置为跨越两列,方法是设置它的 columnspan,如下所示:
<Button
    android:id="@+id/myButton"
    android:text="@string/hello"
    android:layout_row="3"
    android:layout_column="0"
    android:layout_columnSpan="2" />
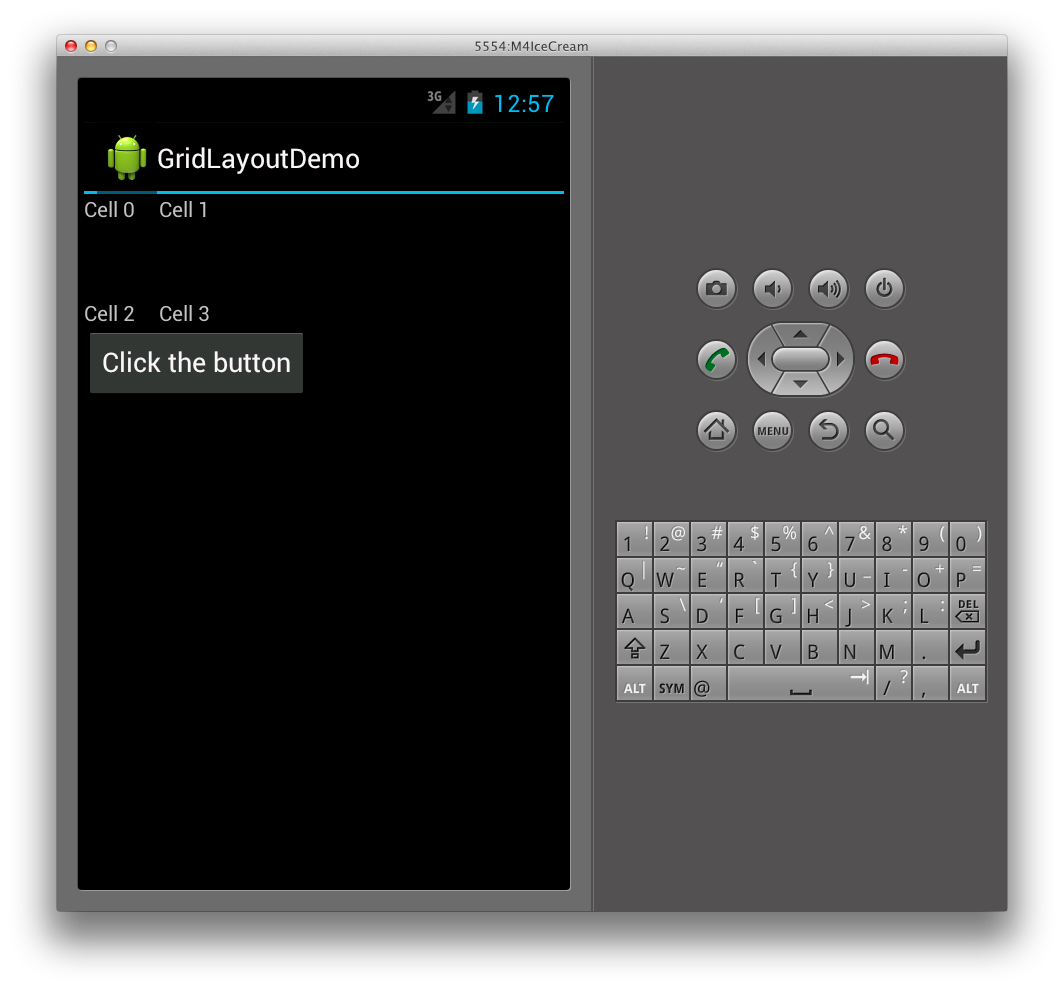
执行此操作会导致 TextViews 的布局类似于我们之前的布局那样,并使按钮添加到 GridLayout 的底部,如下所示:
