你当前正在访问 Microsoft Azure Global Edition 技术文档网站。 如果需要访问由世纪互联运营的 Microsoft Azure 中国技术文档网站,请访问 https://docs.azure.cn。
快速入门:生成应用并将其部署到 Azure Spring Apps
注意
基本、标准和企业计划将从 2025 年 3 月中旬开始弃用,停用期为 3 年。 建议转换到 Azure 容器应用。 有关详细信息,请参阅 Azure Spring Apps 停用公告。
标准消耗和专用计划将于 2024 年 9 月 30 日开始弃用,并在六个月后完全关闭。 建议转换到 Azure 容器应用。 有关详细信息,请参阅将 Azure Spring Apps 标准消耗和专用计划迁移到 Azure 容器应用。
本文适用于:✅ 基本计划/标准计划 ❎ 企业计划
本快速入门说明如何使用 Azure CLI 生成 Spring 应用程序并将其部署到 Azure Spring Apps。
先决条件
- 完成此系列中之前的快速入门:
下载示例应用
使用以下步骤下载示例应用。 如果你一直在使用 Azure Cloud Shell,请切换到本地命令提示符。
创建一个新文件夹,并克隆示例应用存储库。
mkdir source-codecd source-codegit clone https://github.com/Azure-Samples/azure-spring-apps-samples导航到存储库目录中。
cd azure-spring-apps-samples
部署 PlanetWeatherProvider
使用以下步骤部署 PlanetWeatherProvider 项目。
在 Azure Spring Apps 实例中为
PlanetWeatherProvider项目创建应用。az spring app create --name planet-weather-provider --runtime-version NetCore_31为了启用自动服务注册,你已将应用命名为与项目 appsettings.json 文件中的
spring.application.name值相同的名称:"spring": { "application": { "name": "planet-weather-provider" } }此命令可能需要几分钟才能运行。
将目录切换到
PlanetWeatherProvider项目文件夹。cd steeltoe-sample/src/planet-weather-provider创建要部署的二进制文件和 .zip 文件。
dotnet publish -c release -o ./publish提示
项目文件包含以下 XML,以便在将二进制文件写入 ./publish 文件夹之后,将它们打包为 .zip 文件 :
<Target Name="Publish-Zip" AfterTargets="Publish">
  <ZipDirectory SourceDirectory="$(PublishDir)" DestinationFile="$(MSBuildProjectDirectory)/publish-deploy-planet.zip" Overwrite="true" />
</Target>
将项目部署到 Azure。
运行以下命令之前,请确保命令提示符处于项目文件夹中。
az spring app deploy \ --name planet-weather-provider \ --runtime-version NetCore_31 \ --main-entry Microsoft.Azure.SpringCloud.Sample.PlanetWeatherProvider.dll \ --artifact-path ./publish-deploy-planet.zip--main-entry选项指定从 .zip 文件的根文件夹到包含应用程序入口点的 .dll 文件的相对路径。 服务上传 .zip 文件之后,它会提取所有文件和文件夹,然后尝试执行指定 .dll 文件中的入口点。此命令可能需要几分钟才能运行。
部署 SolarSystemWeather
使用以下步骤部署 SolarSystemWeather 项目。
在 Azure Spring Apps 实例中为该项目创建另一个应用。
az spring app create --name solar-system-weather --runtime-version NetCore_31solar-system-weather是在SolarSystemWeather项目的 appsettings.json 文件中指定的名称。此命令可能需要几分钟才能运行。
将目录切换到
SolarSystemWeather项目。cd ../solar-system-weather创建要部署的二进制文件和 .zip 文件。
dotnet publish -c release -o ./publish将项目部署到 Azure。
az spring app deploy \
    --name solar-system-weather \
    --runtime-version NetCore_31 \
    --main-entry Microsoft.Azure.SpringCloud.Sample.SolarSystemWeather.dll \
    --artifact-path ./publish-deploy-solar.zip
此命令可能需要几分钟才能运行。
分配公共终结点
在测试应用程序之前,请为 solar-system-weather 应用程序的 HTTP GET 请求获取公共端点。
请运行以下命令以分配终结点。
az spring app update --name solar-system-weather --assign-endpoint true请运行以下命令以获取终结点的 URL。
Windows:
az spring app show --name solar-system-weather --output tableLinux:
az spring app show --name solar-system-weather | grep url
测试应用程序
若要测试应用程序,请向 solar-system-weather 应用发送 GET 请求。 在浏览器中,导航到追加了 /weatherforecast 的公共 URL。 例如: https://servicename-solar-system-weather.azuremicroservices.io/weatherforecast
输出为 JSON:
[{"Key":"Mercury","Value":"very warm"},{"Key":"Venus","Value":"quite unpleasant"},{"Key":"Mars","Value":"very cool"},{"Key":"Saturn","Value":"a little bit sandy"}]
此响应显示两个 Spring 应用都在运行。 SolarSystemWeather 应用返回从 PlanetWeatherProvider 应用检索的数据。
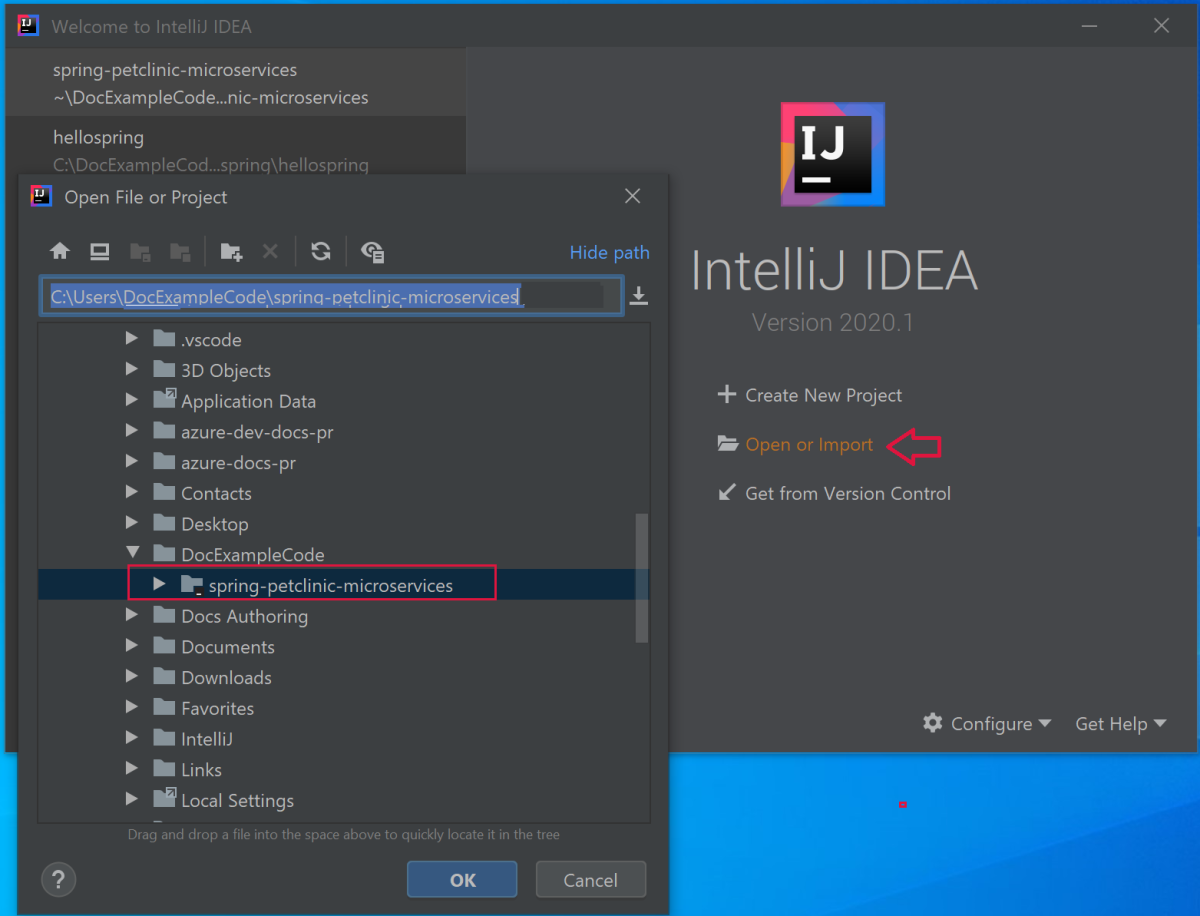
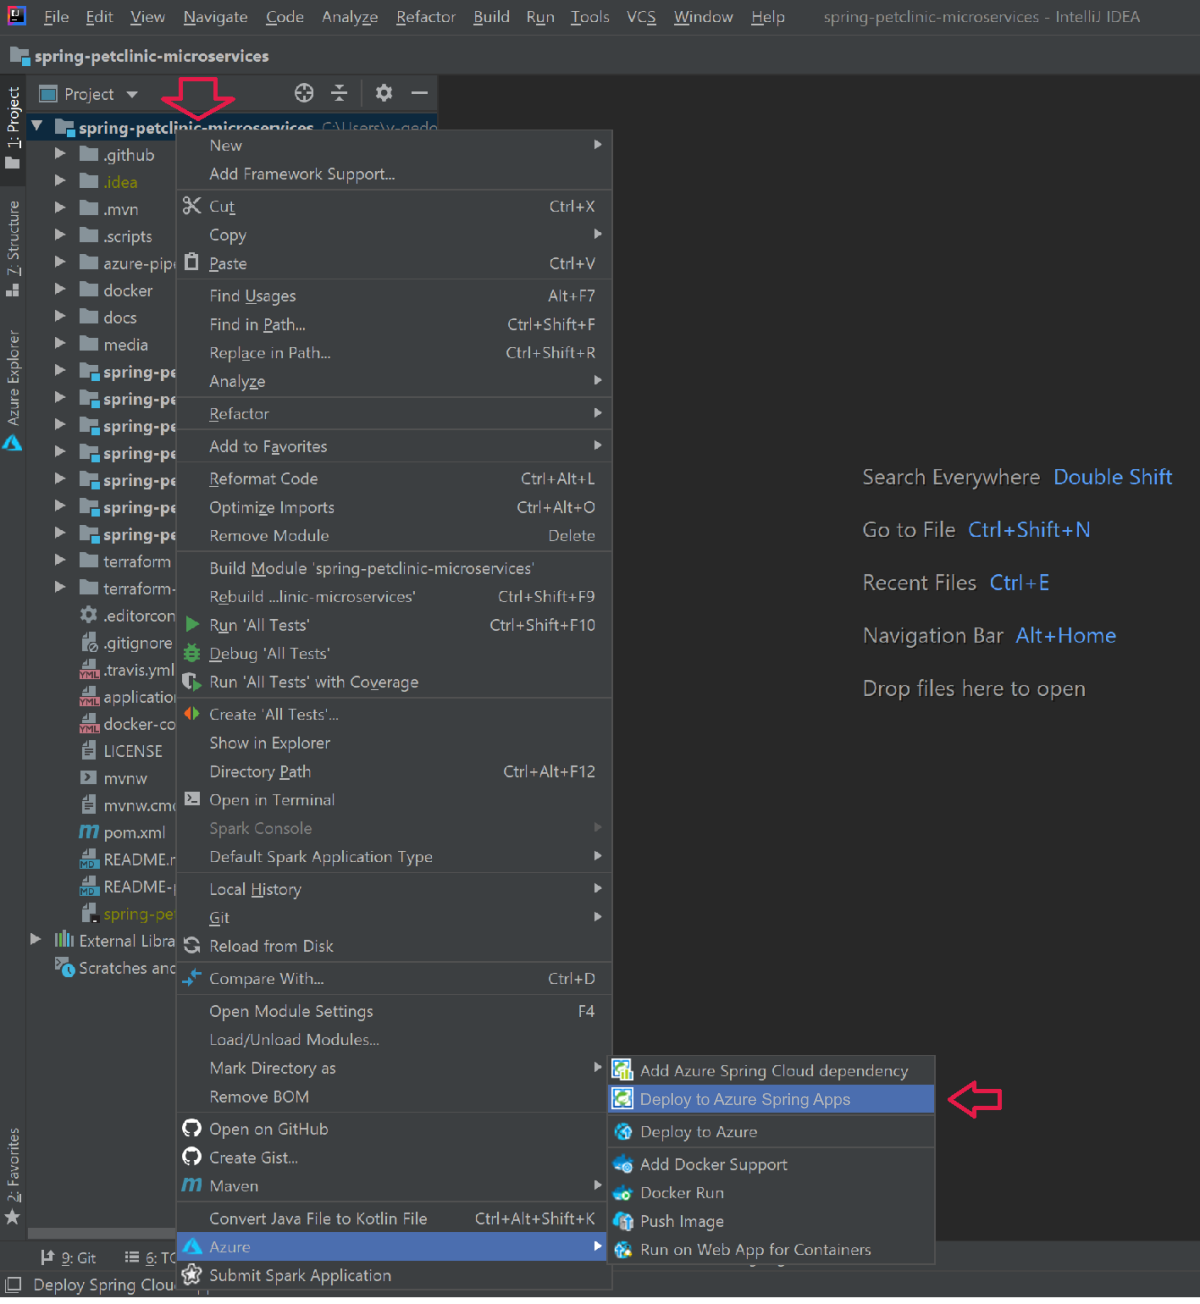
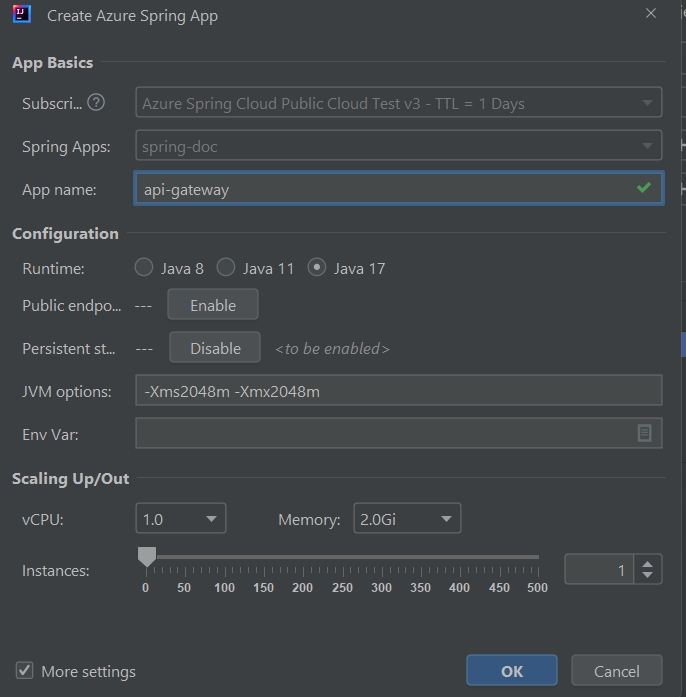
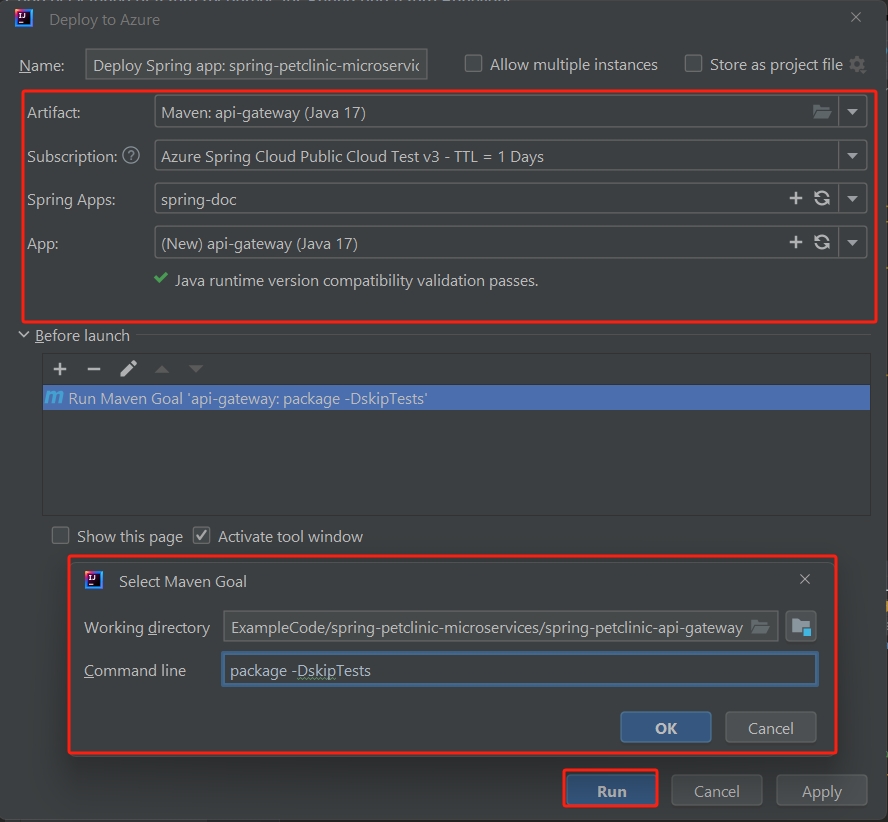
本文说明如何生成 Spring 应用并将其部署到 Azure Spring Apps。 可以使用 Azure CLI、Maven 插件或 Intellij。 本文将介绍每个可选方案。
先决条件
- 完成此系列中之前的快速入门:
- JDK 17
- Maven 3.0 或更高版本
- Azure 订阅。 如果你没有订阅,请在开始之前创建一个免费帐户。
- (可选)Azure CLI 2.45.0 或更高版本。 使用以下命令安装 Azure Spring Apps 扩展:
az extension add --name spring - (可选)Azure Toolkit for IntelliJ。
本地构建 Spring 应用程序
使用以下命令克隆示例存储库,导航到示例文件夹,然后生成项目。
git clone https://github.com/azure-samples/spring-petclinic-microservices
cd spring-petclinic-microservices
mvn clean package -DskipTests -Denv=cloud
编译项目需要 5 至 10 分钟时间。 编译项目后,相应的文件夹中应会包含每个服务单独的 JAR 文件。
生成应用并将其部署到 Azure Spring Apps
按照以下步骤,使用 CLI 在 Azure Spring Apps 上创建和部署应用。
如果在之前的快速入门中未运行以下命令,请立即运行这些命令来设置 CLI 默认值。
az configure --defaults group=<resource-group-name> spring=<service-name>为 PetClinic 创建两个核心 Spring 应用程序:
api-gateway和customers-service。az spring app create \ --name api-gateway \ --runtime-version Java_17 \ --instance-count 1 \ --memory 2Gi \ --assign-endpoint az spring app create \ --name customers-service \ --runtime-version Java_17 \ --instance-count 1 \ --memory 2Gi部署上一步骤中生成的 JAR 文件。
az spring app deploy \
    --name api-gateway \
    --artifact-path spring-petclinic-api-gateway/target/api-gateway-3.0.1.jar \
    --jvm-options="-Xms2048m -Xmx2048m"
az spring app deploy \
    --name customers-service \
    --artifact-path spring-petclinic-customers-service/target/customers-service-3.0.1.jar \
    --jvm-options="-Xms2048m -Xmx2048m"
在部署后通过以下命令查询应用状态。
az spring app list --output table此命令会生成类似于以下示例的输出:
Name               Location    ResourceGroup    Production Deployment    Public Url                                           Provisioning Status    CPU    Memory    Running Instance    Registered Instance    Persistent Storage
-----------------  ----------  ---------------  -----------------------  ---------------------------------------------------  ---------------------  -----  --------  ------------------  ---------------------  --------------------
api-gateway        eastus      xxxxxx-sp         default                  https://<service name>-api-gateway.azuremicroservices.io   Succeeded              1      2         1/1                 1/1                    -
customers-service  eastus      <service name>         default                                                                       Succeeded              1      2         1/1                 1/1                    -
验证服务
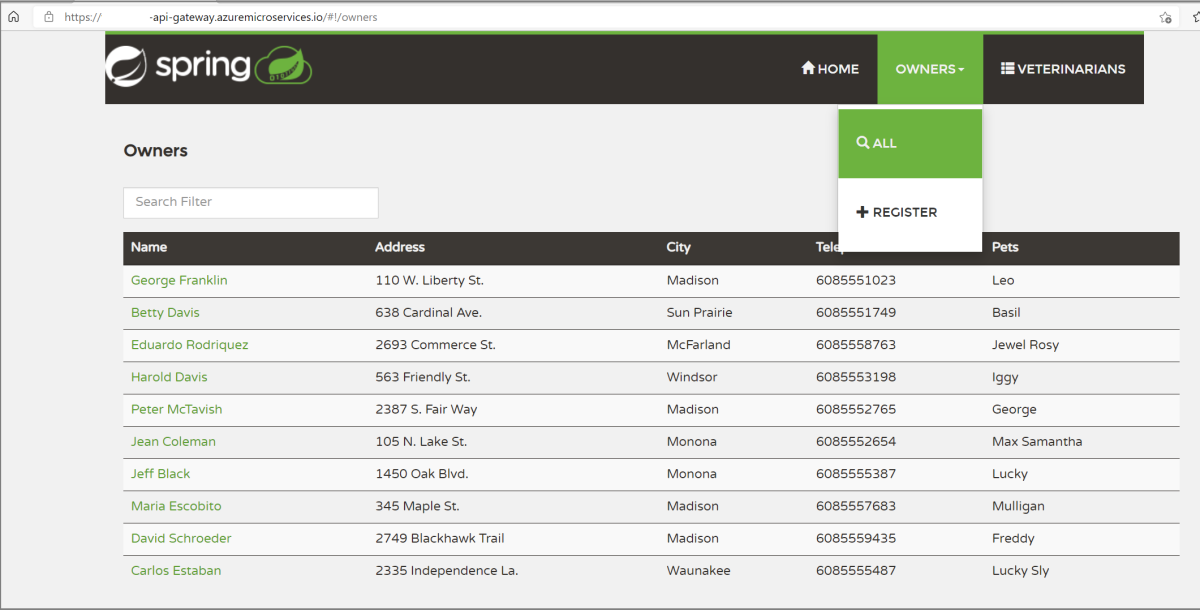
使用前面所示的公共 URL(格式为 https://<service name>-api-gateway.azuremicroservices.io)从浏览器评估 api-gateway 和 customers-service。
提示
若要对部署进行故障排除,可以使用以下命令在每次应用运行 az spring app logs --name <app name> --follow 时实时获取日志流式处理。
部署额外的应用
若要让 PetClinic 应用正常运行所有功能(如“管理服务器”、“访问”和“兽医”功能),请通过以下命令部署其他应用:
az spring app create \
    --name admin-server \
    --runtime-version Java_17 \
    --instance-count 1 \
    --memory 2Gi \
    --assign-endpoint
az spring app create \
    --name vets-service \
    --runtime-version Java_17 \
    --instance-count 1 \
    --memory 2Gi
az spring app create \
    --name visits-service \
    --runtime-version Java_17 \
    --instance-count 1 \
    --memory 2Gi
az spring app deploy \
    --name admin-server \
    --runtime-version Java_17 \
    --artifact-path spring-petclinic-admin-server/target/admin-server-3.0.1.jar \
    --jvm-options="-Xms1536m -Xmx1536m"
az spring app deploy \
    --name vets-service \
    --runtime-version Java_17 \
    --artifact-path spring-petclinic-vets-service/target/vets-service-3.0.1.jar \
    --jvm-options="-Xms1536m -Xmx1536m"
az spring app deploy \
    --name visits-service \
    --runtime-version Java_17 \
    --artifact-path spring-petclinic-visits-service/target/visits-service-3.0.1.jar \
    --jvm-options="-Xms1536m -Xmx1536m"
清理资源
如果打算继续使用后续的快速入门和教程,则可能需要保留这些资源。 如果不再需要资源组,可以将其删除,这将删除资源组中的资源。 若要使用 Azure CLI 删除资源组,请使用以下命令:
echo "Enter the Resource Group name:" &&
read resourceGroupName &&
az group delete --name $resourceGroupName &&
echo "Press [ENTER] to continue ..."
