使用 Azure Pipelines 发布 Cargo 包
Azure DevOps Services | Azure DevOps Server 2022
Azure Pipelines 使开发人员能够将 Cargo 包发布到 Azure Artifacts 源和公共注册表,例如 Crates.io。 本文介绍如何使用 YAML 和经典管道将 Cargo 包发布到 Azure Artifacts 源。
先决条件
使用源 进行身份验证
登录到 Azure DevOps 组织,并导航到你的项目。
选择“项目”,然后选择源。
选择“连接到源”,然后从左侧窗格中选择“Cargo”。
从 Project 安装程序 部分复制提供的代码片段,并将其添加到源存储库中的 config.toml 文件中。 文件应如下所示:
项目作用域的源:
[registries]
<FEED_NAME> = { index = "sparse+https://pkgs.dev.azure.com/<ORGANIZATION_NAME>/<PROJECT_NAME>/_packaging/<FEED_NAME>/Cargo/index/" }

[source.crates-io]
replace-with = "<FEED_NAME>"
组织作用域的源:
[registries]
<FEED_NAME> = { index = "sparse+https://pkgs.dev.azure.com/<ORGANIZATION_NAME>/_packaging/<FEED_NAME>/Cargo/index/" }

[source.crates-io]
replace-with = "<FEED_NAME>"
登录到 Azure DevOps 组织,并导航到你的项目。
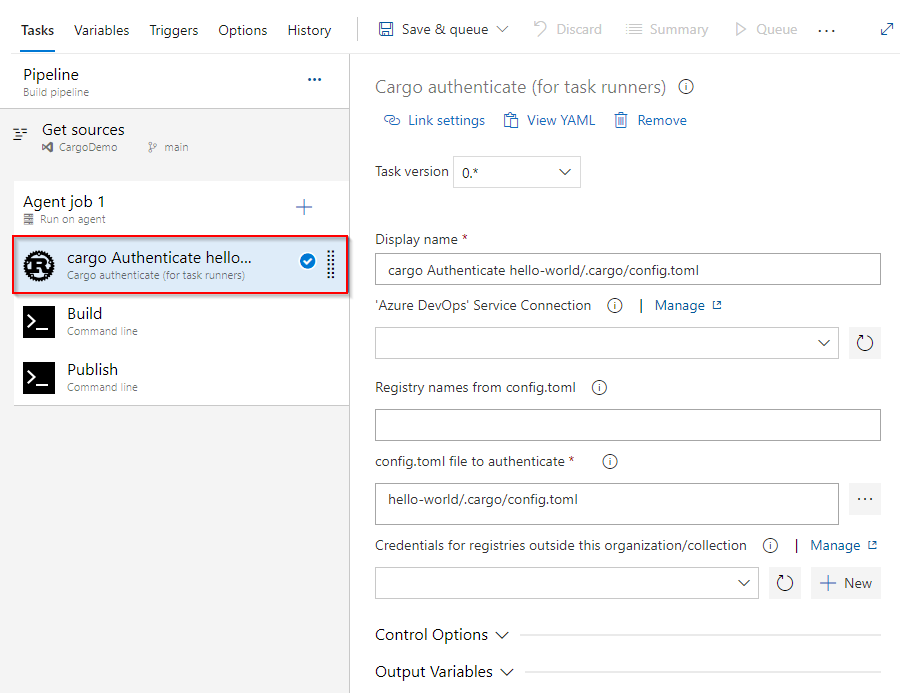
选择管道,然后选择您的管道定义。
选择 编辑,然后将以下代码片段添加到你的 YAML 管道中。
- task: CargoAuthenticate@0
  displayName: 'Cargo Authenticate'
  inputs:
    configFile: '.cargo/config.toml'    ## Path to the config.toml file that specifies the registries you want to work with. Select the file, not the folder e.g. "/.cargo/config.toml"
将箱发布到源
登录到 Azure DevOps 组织,并导航到你的项目。
选择管道,然后选择您的管道定义。
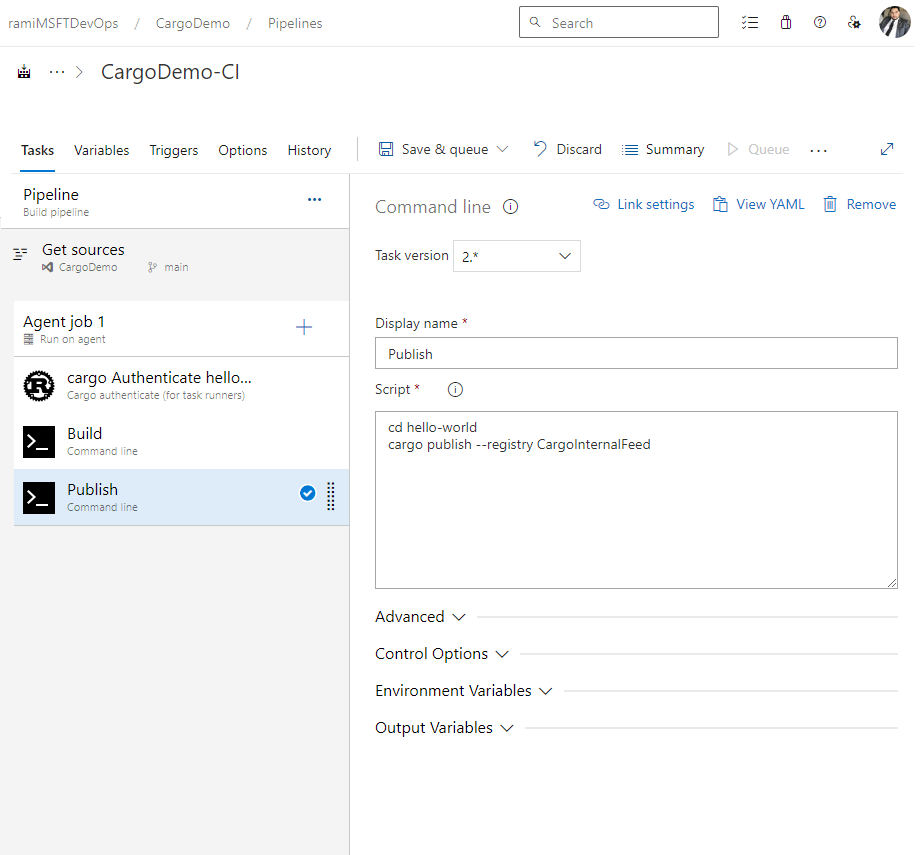
选择 编辑,然后将以下代码片段添加到 YAML 管道。
- powershell: |
   cargo publish --registry <FEED_NAME>        ## Replace the placeholder with your feed name
  env:
    SYSTEM_ACCESSTOKEN: $(system.accesstoken)
示例
以下示例演示如何在代理上安装 Rustup、配置 PATH 环境变量、生成项目、使用 CargoAuthenticate 进行身份验证以及发布到 Azure Artifacts 源:
trigger:
- main

pool:
  vmImage: windows-latest

steps:
- powershell: |
   Invoke-WebRequest -Uri https://sh.rustup.rs -OutFile rustup-init.sh
   bash .\rustup-init.sh -y
   echo "##vso[task.prependpath]$env:USERPROFILE\.cargo\bin"
  displayName: Install

- task: CargoAuthenticate@0
  displayName: 'cargo Authenticate'
  inputs:
    configFile: '.cargo/config.toml'

- script: |
   cargo build --all
  displayName: Build

- powershell: |
   cargo publish --registry CargoInternalFeed
  displayName: Publish
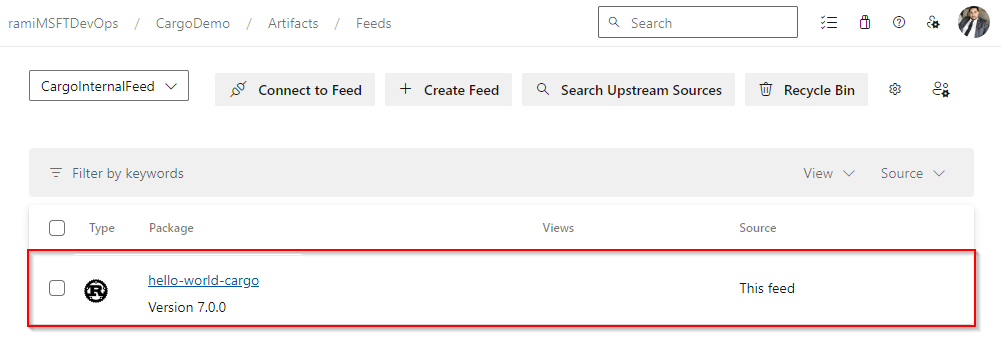
一旦您的流水线运行完成,您的包应该在内容源中可用,如下所示:


