你当前正在访问 Microsoft Azure Global Edition 技术文档网站。 如果需要访问由世纪互联运营的 Microsoft Azure 中国技术文档网站,请访问 https://docs.azure.cn。
Azure Government Marketplace
Azure Government Marketplace helps connect government agencies and partners with independent software vendors (ISVs) and start-ups that are offering their solutions in Azure Government.
Note
For information on making your images available in Azure Government, see the partner onboarding guidelines.
Variations
Azure Government Marketplace differs from Azure Marketplace in the following ways:
- Only Bring Your Own License (BYOL) and Pay-as-you-Go (PayGo) images are available.
- A different set of images is available. For a list of available images, see Azure Government Marketplace images.
Note
Red Hat Enterprise Linux is available in Azure Government with Azure Marketplace billing. This offering is a special case exception to the above statement about license options in Azure Government.
Enable the Azure Government Marketplace
If your subscription is under an Enterprise Agreement (EA), the Azure Government Marketplace must be enabled before you can deploy a Marketplace solution to your subscription.
- Log in to the Enterprise Account Portal as an Enterprise Administrator
- Navigate to Manage
- Under Enrollment Details, click the pencil icon next to the Azure Marketplace line item
- Toggle Enabled/Disabled as appropriate
- Click Save
Note
It can take up to 24 hours for the change to take effect.
Deploy a Solution to your Subscription
Log in to the Azure Government portal.
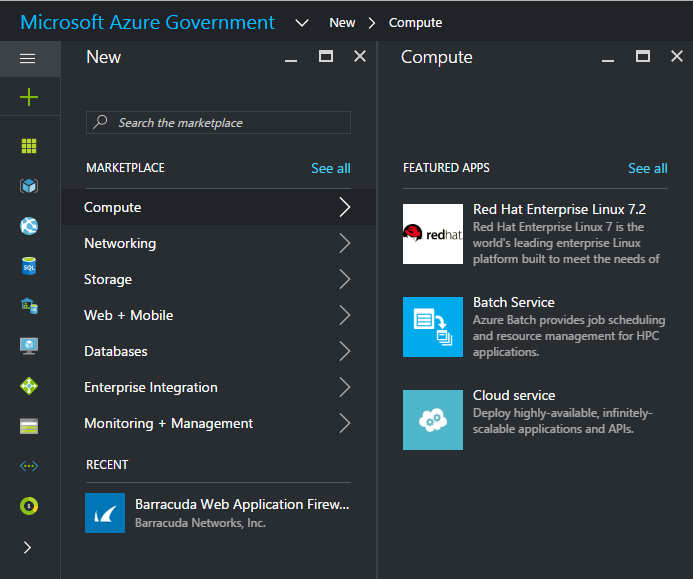
Click on +New.

Browse through different products to find the right one. The marketplace publisher provides a list of certifications as part of the product description to help you make the right choice.

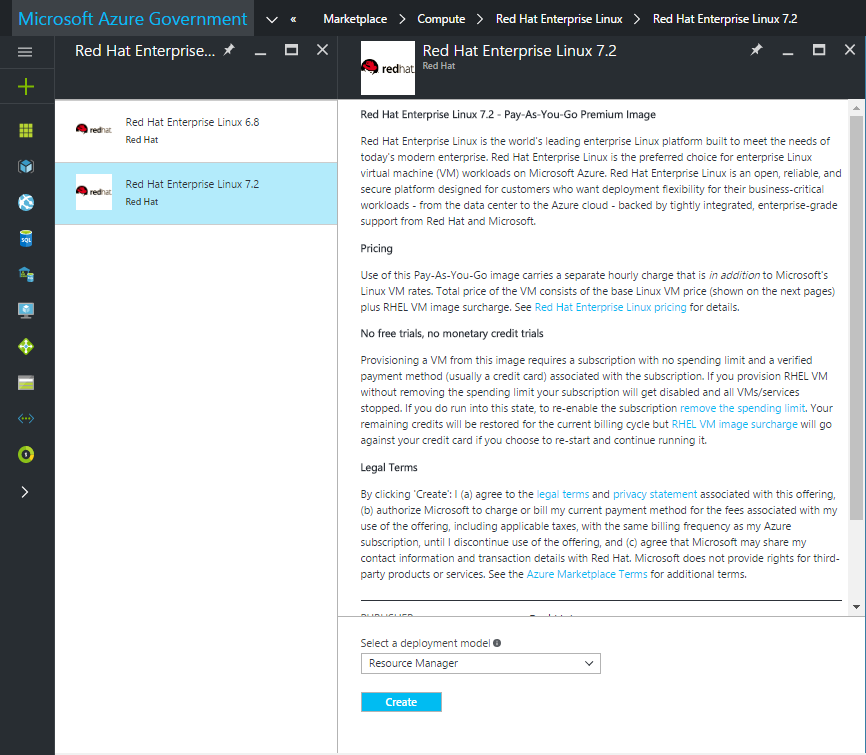
Choose a product/image and click Create.

Enter the required parameters for deployment.
Note
In the Location dropdown, only Azure Government locations are visible

To start the provisioning process, click Ok.
Next steps
- Subscribe to the Azure Government blog
- Get help on Stack Overflow by using the azure-gov tag