你当前正在访问 Microsoft Azure Global Edition 技术文档网站。 如果需要访问由世纪互联运营的 Microsoft Azure 中国技术文档网站,请访问 https://docs.azure.cn。
在 ASP.NET Core 应用程序中向目标受众推出功能
在本指南中,你将使用目标筛选器为 ASP.NET Core 应用程序的目标受众推出功能。 有关目标筛选器的详细信息,请参阅《向目标受众推出功能》。
先决条件
- 具有活动订阅的 Azure 帐户。 免费创建一个。
- 应用程序配置存储区。 创建存储区。
- 具有目标筛选器的功能标志。 创建功能标志。
- .NET SDK 6.0 或更高版本。
使用功能标志创建 Web 应用程序
在本部分,你将创建一个 Web 应用程序,它允许用户登录并使用之前创建的 Beta 功能标志。
使用以下命令创建一个对本地数据库进行身份验证的 Web 应用。
dotnet new webapp --auth Individual -o TestFeatureFlags导航到新创建的 TestFeatureFlags 目录,并添加对以下 NuGet 包的引用。
dotnet add package Microsoft.Azure.AppConfiguration.AspNetCore dotnet add package Microsoft.FeatureManagement.AspNetCore dotnet add package Azure.Identity通过运行以下命令为应用程序创建用户机密。
该命令使用机密管理器来存储名为
Endpoints:AppConfiguration的机密,该机密存储应用程序配置存储区的终结点。 将<your-App-Configuration-endpoint>占位符替换为应用程序配置存储区的终结点。 在 Azure 门户中,可以在应用程序配置存储区的“概览”边栏选项卡中找到终结点。dotnet user-secrets init dotnet user-secrets set Endpoints:AppConfiguration "<your-App-Configuration-endpoint>"将 Azure 应用程序配置和功能管理添加到应用程序。
可以使用
DefaultAzureCredential向应用程序配置存储区进行身份验证。 按照说明为凭据分配应用程序配置数据读取者角色。 在运行应用程序之前,请务必留出足够的时间来传播权限。使用以下代码更新 Program.cs 文件。
// Existing code in Program.cs
// ... ...

using Azure.Identity;

var builder = WebApplication.CreateBuilder(args);

// Retrieve the endpoint
string endpoint = builder.Configuration.GetValue<string>("Endpoints:AppConfiguration")
    ?? throw new InvalidOperationException("The setting `Endpoints:AppConfiguration` was not found.");

// Connect to Azure App Configuration and load all feature flags with no label
builder.Configuration.AddAzureAppConfiguration(options =>
{
    options.Connect(new Uri(endpoint), new DefaultAzureCredential())
           .UseFeatureFlags();
});

// Add Azure App Configuration middleware to the container of services
builder.Services.AddAzureAppConfiguration();

// Add feature management to the container of services
builder.Services.AddFeatureManagement();

// The rest of existing code in Program.cs
// ... ...
使用应用程序配置中间件从 Azure 应用程序配置启用配置和功能标志刷新。
使用以下代码更新 Program.cs。
// Existing code in Program.cs
// ... ...

var app = builder.Build();

// Use Azure App Configuration middleware for dynamic configuration refresh
app.UseAzureAppConfiguration();

// The rest of existing code in Program.cs
// ... ...
在 Pages 目录下添加一个名为 Beta 的新空白 Razor 页。 该页包含两个文件:Beta.cshtml 和 Beta.cshtml.cs。
@page
@model TestFeatureFlags.Pages.BetaModel
@{
    ViewData["Title"] = "Beta Page";
}

<h1>This is the beta website.</h1>
打开 Beta.cshtml.cs,并将
FeatureGate属性添加到BetaModel类。using Microsoft.AspNetCore.Mvc.RazorPages; using Microsoft.FeatureManagement.Mvc; namespace TestFeatureFlags.Pages { [FeatureGate("Beta")] public class BetaModel : PageModel { public void OnGet() { } } }打开 Pages/_ViewImports.cshtml,使用
@addTagHelper指令注册功能管理器标记帮助器。@addTagHelper *, Microsoft.FeatureManagement.AspNetCore打开 Pages/Shared 目录中的 _Layout.cshtml。 在“主页”和“隐私”导航栏项之间插入新的
<feature>标记,如以下突出显示的行中所示 。<nav class="navbar navbar-expand-sm navbar-toggleable-sm navbar-light bg-white border-bottom box-shadow mb-3"> <div class="container"> <a class="navbar-brand" asp-area="" asp-page="/Index">TestAppConfigNet3</a> <button class="navbar-toggler" type="button" data-toggle="collapse" data-target=".navbar-collapse" aria-controls="navbarSupportedContent" aria-expanded="false" aria-label="Toggle navigation"> <span class="navbar-toggler-icon"></span> </button> <div class="navbar-collapse collapse d-sm-inline-flex flex-sm-row-reverse"> <ul class="navbar-nav flex-grow-1"> <li class="nav-item"> <a class="nav-link text-dark" asp-area="" asp-page="/Index">Home</a> </li> <feature name="Beta"> <li class="nav-item"> <a class="nav-link text-dark" asp-area="" asp-page="/Beta">Beta</a> </li> </feature> <li class="nav-item"> <a class="nav-link text-dark" asp-area="" asp-page="/Privacy">Privacy</a> </li> </ul> </div> </div> </nav>
为 Web 应用程序启用目标
带有目标的功能评估需要目标上下文。 可以显式地将其作为参数提供给 featureManager.IsEnabledAsync API。 在 ASP.NET Core 中,还可以通过实现 ITargetingContextAccessor 接口,使用服务集合将目标上下文作为环境上下文提供。
目标上下文访问器
若要提供目标上下文,请将 ITargetingContextAccessor 的实现类型传递给 WithTargeting<T> 方法。 如果没有提供类型,则使用默认实现,如以下代码片段所示。 默认目标上下文访问器使用 HttpContext.User.Identity.Name 作为 UserId,并使用类型为 Role 的 HttpContext.User.Claims 作为 Groups。 如果需要自定义,可以参考 DefaultHttpTargetingContextAccessor 来实现你自己的。 若要详细了解如何实现 ITargetingContextAccessor,请参阅用于目标的功能参考。
// Existing code in Program.cs
// ... ...

// Add feature management to the container of services
builder.Services.AddFeatureManagement()
                .WithTargeting();

// The rest of existing code in Program.cs
// ... ...
注意
对于 Blazor 应用程序,请参阅有关如何启用功能管理作为限定范围的服务的说明。
实际操作中的目标筛选器
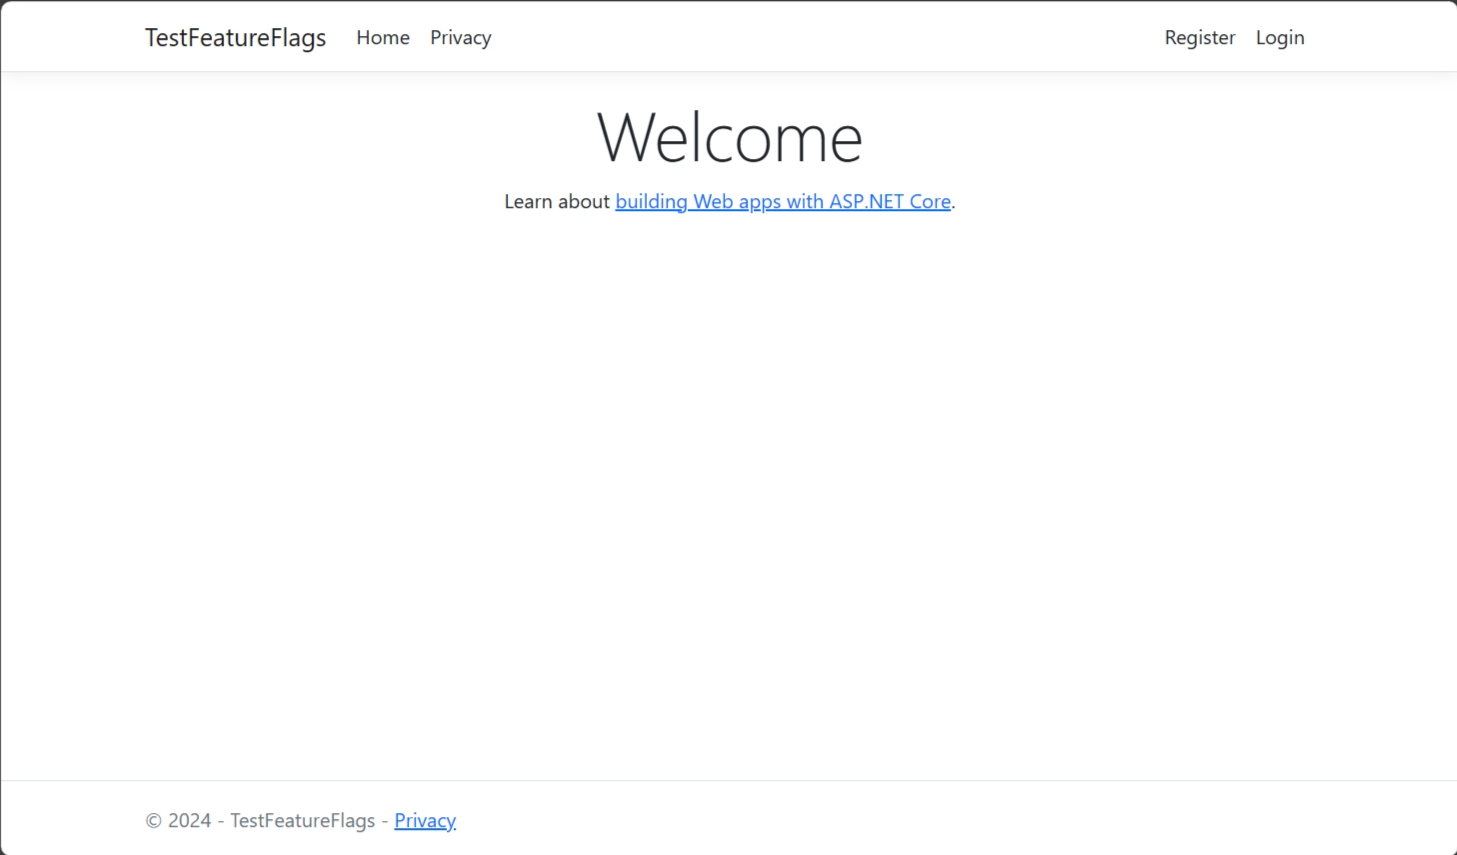
生成并运行应用程序。 一开始,“默认百分比”选项设为 0,因此 Beta 项不在工具栏上显示。
选择右上角的“注册”链接,新建一个用户帐户。 使用电子邮件地址
test@contoso.com。 在“注册确认”屏幕上,选择“单击此处以确认帐户” 。立即使用注册时设置的密码,以
test@contoso.com的身份登录。由于
test@contoso.com被指定为目标用户,因此 Beta 项现显示在工具栏上。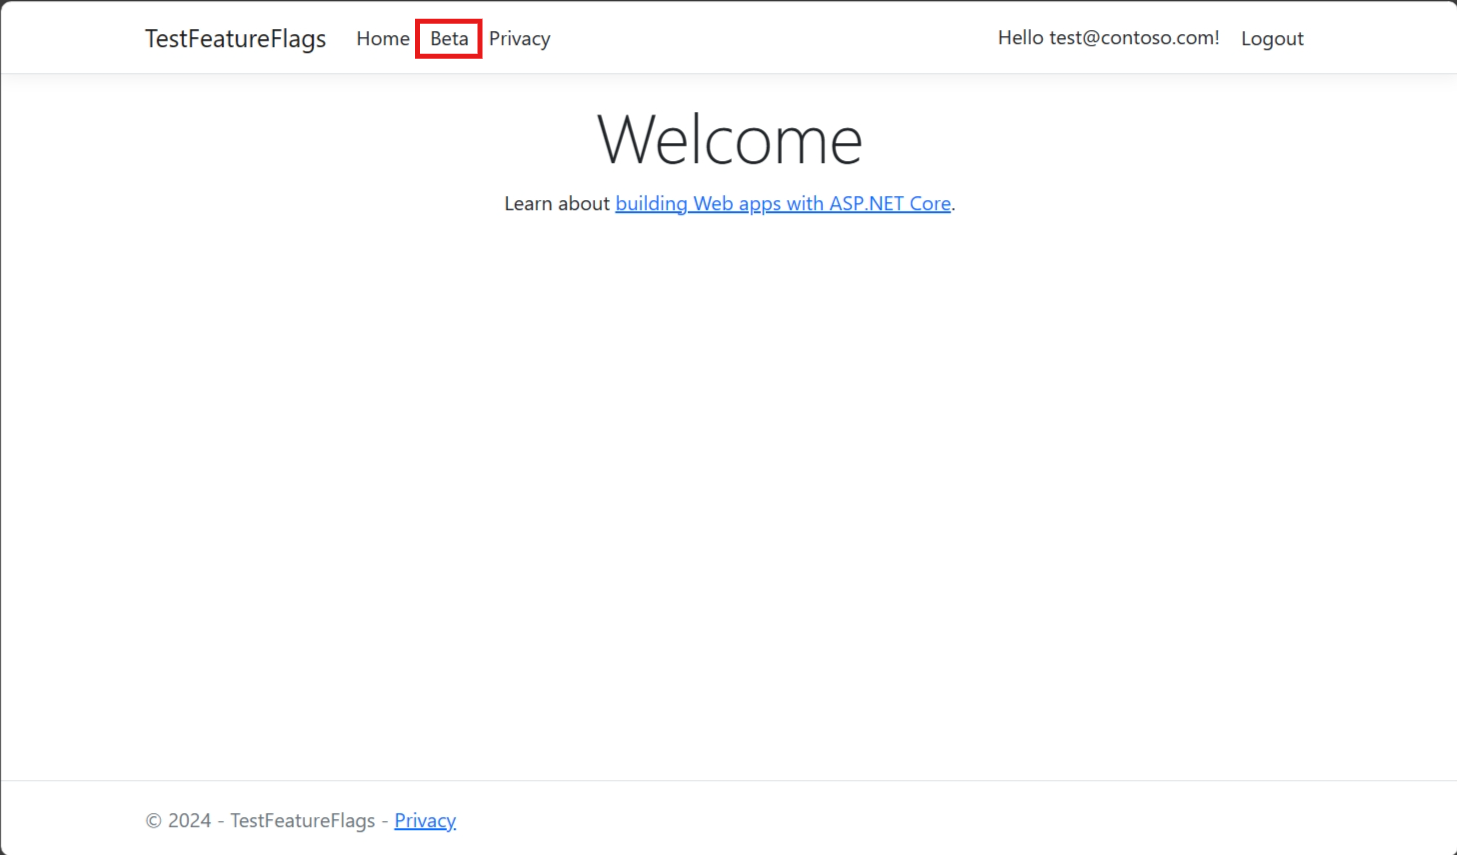
现在立即使用注册时设置的密码,以
testuser@contoso.com身份登录。 Beta 版项目不会显示在工具栏上,因为testuser@contoso.com被指定为排除的用户。
后续步骤
若要了解有关功能筛选器的详细信息,请继续学习以下文档。
有关 .NET 功能管理库的完整功能概要,请继续阅读以下文档。