Change the default RDP port (3389) on a Azure Windows ARM VM to a high range port
I recommend leveraging site to site VPN or point to site VPN for admin port access (RDP, SQL, etc). If VPN is not option, next method is to secure the exposed inbound port/source ip to only known ip addresses (ACL).
Last method is to change the default port to higher range port - making it more expensive to probe up to the exposed RDP port. This is not good security as the port is still fully exposed to internets but this is somewhat better than 3389 direct.
The following Procedure will update the RDP port, create a inbound windows firewall rule and update the Azure Network Security Group (NSG).
Note: As with any change, sandbox this change before executing in production, make sure you fully understand the changes you are making and you have a rollback plan.
#PS Code for the Windows registry and firewall change:
|
|
Procedure
#update VM with new port
a. Admin Powershell

b. Paste the first line, enter the high range port you will use (document the port number otherwise you might forget, RDP = $null)

c. Paste the next two lines
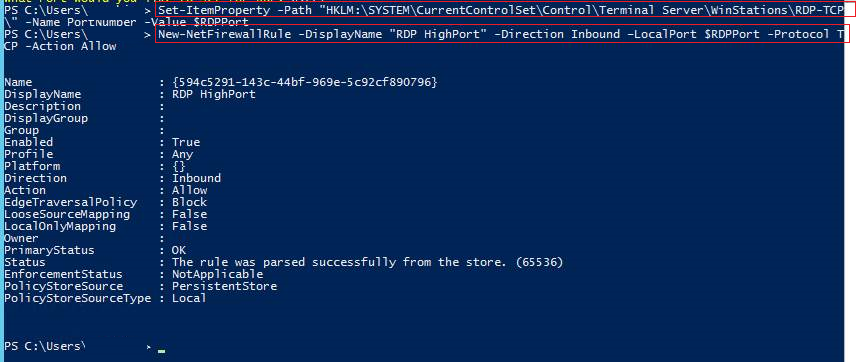
Both RDP and Windows Firewall have been updated with the new port.
You can now restart the VM.
# Update the Network Security Group (NSG) with the new port.
a. VM Properties – Network Interfaces

b. Click on the network interface name

c. Network Security Group

d. Click on the name

e. Click on default-allow-rdp

f. Click on Advanced
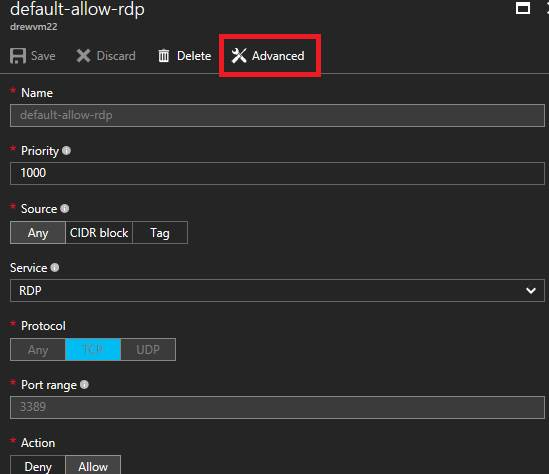
g. Update the port range to port your defined in step 1.
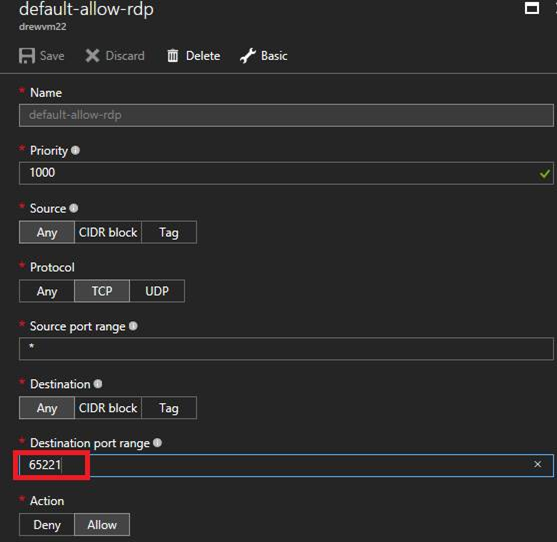
h. Click outside the dialog, Save button should light up .. save
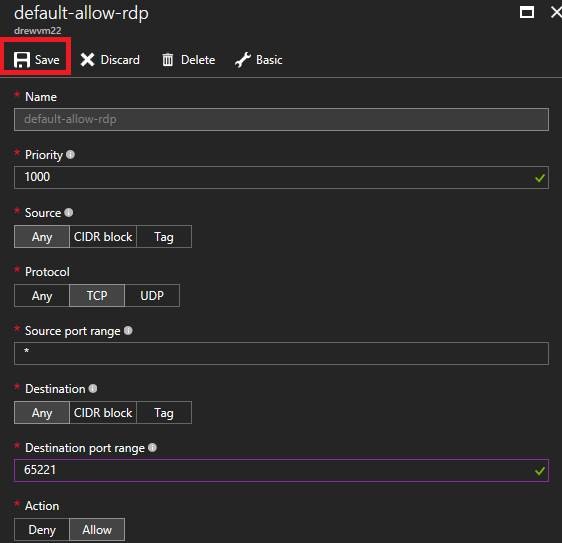
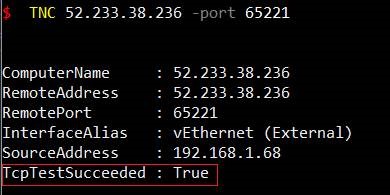
Wait for the NSG to update, you can confirm the port is listening via Powershell TNC: {TNC IPAddress -Port PORT} confirm true.
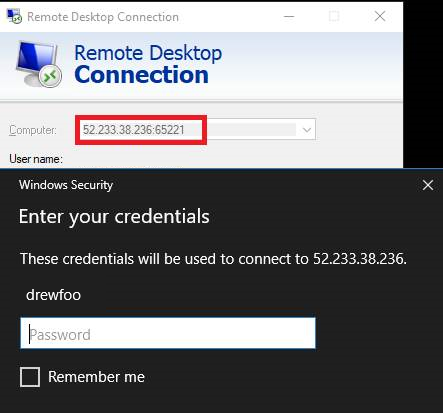
Launch RDP, usage {IPAddress:Port}
Comments
- Anonymous
June 12, 2017
The comment has been removed - Anonymous
August 09, 2017
Is it really work?- Anonymous
August 09, 2017
Thanks It's working. Great work.
- Anonymous