Configure Toll-Free Numbers for Dial-In Conferencing in Office365
In this post we will discover how to configure Toll-Free Numbers for Dial-In Conferencing in Office365. Total time 5 minutes.
What is Dial-In Conferencing? (a.k.a. Cloud PSTN Conferencing or CPC)
Please see the following for more information: How To Enable Cloud PSTN Conferencing in Office365 in Skype for Business Online
What are the requirements for Toll-Free Numbers?
- You must meet the licensing requirements. See Skype for Business Online Licensing Overview for details.
- PSTN Consumption billing is required. See What is PSTN Consumption billing? for details. If PSTN Consumption billing is not purchased, you will receive an error message when attempting to acquire toll-free service numbers.
- For more information on Toll-Free numbers, see Getting Skype for Business service phone numbers
IMPORTANT: Existing toll-free service numbers can be ported from your existing telephony carrier. See Port a Phone Number to Cloud PBX in Office365 for more details on number porting. When porting, open a service request with Office365 Support to ensure the toll-free number being ported is configured to support higher concurrent calling capacity.
How Do I Configure? (Click on the images to zoom in if needed)
- Login to the Office 365 Admin Portal as an administrator by browsing to https://portal.office.com.
- On the left side, hover the mouse cursor over the
 icon and select Skype for Business.
3. Within the Skype for Business Admin Center, on the left side click Voice. 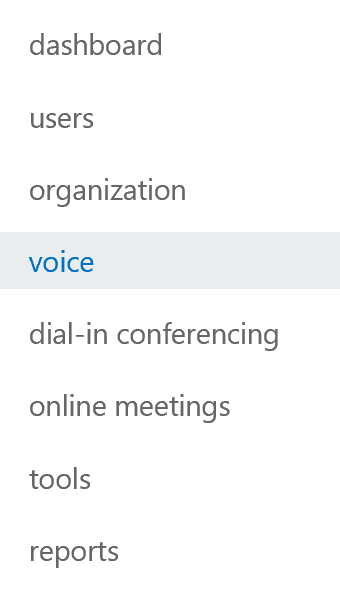
4. Within the Voice section, the Phone Numbers tab will be displayed. Click the + sign.
5. You will be presented with two options 1) New User Numbers 2) New Service Numbers. Click New Service Numbers. 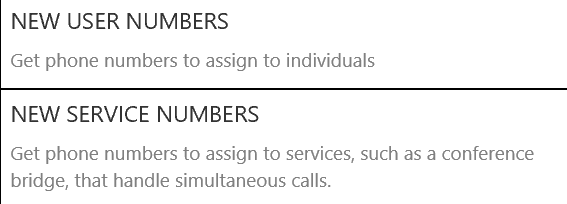
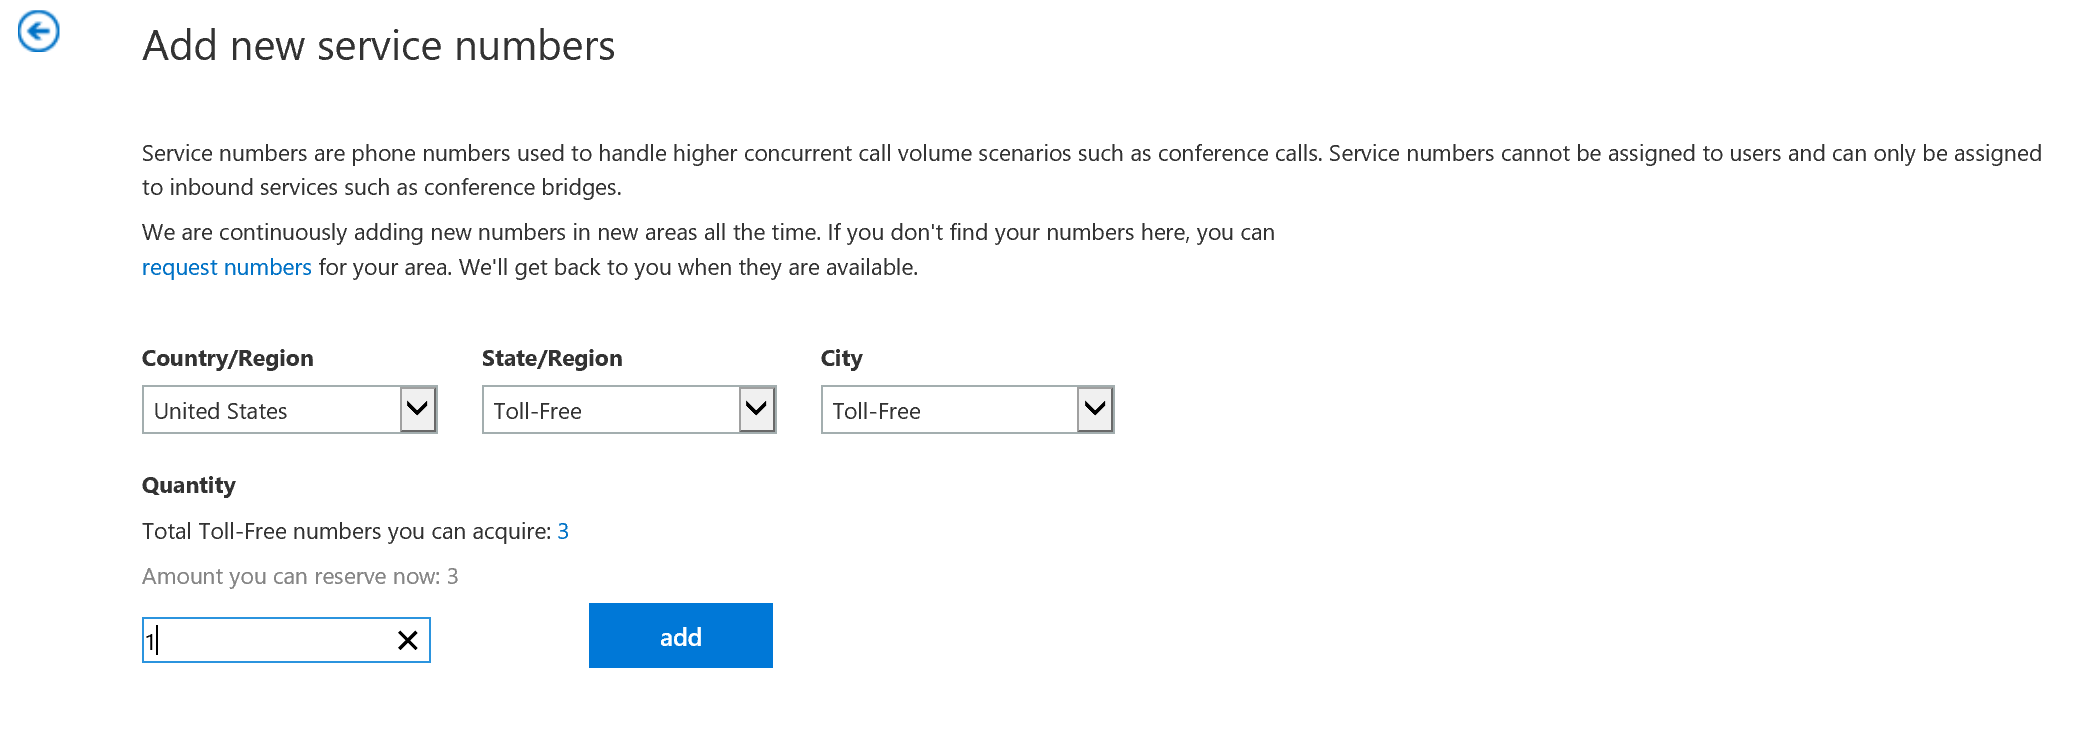
6. On the Add New Service Numbers section, from the State/Region drop down menu select Toll-Free. In the Quantity field, type the amount of numbers you wish to acquire. When finished, click Add.
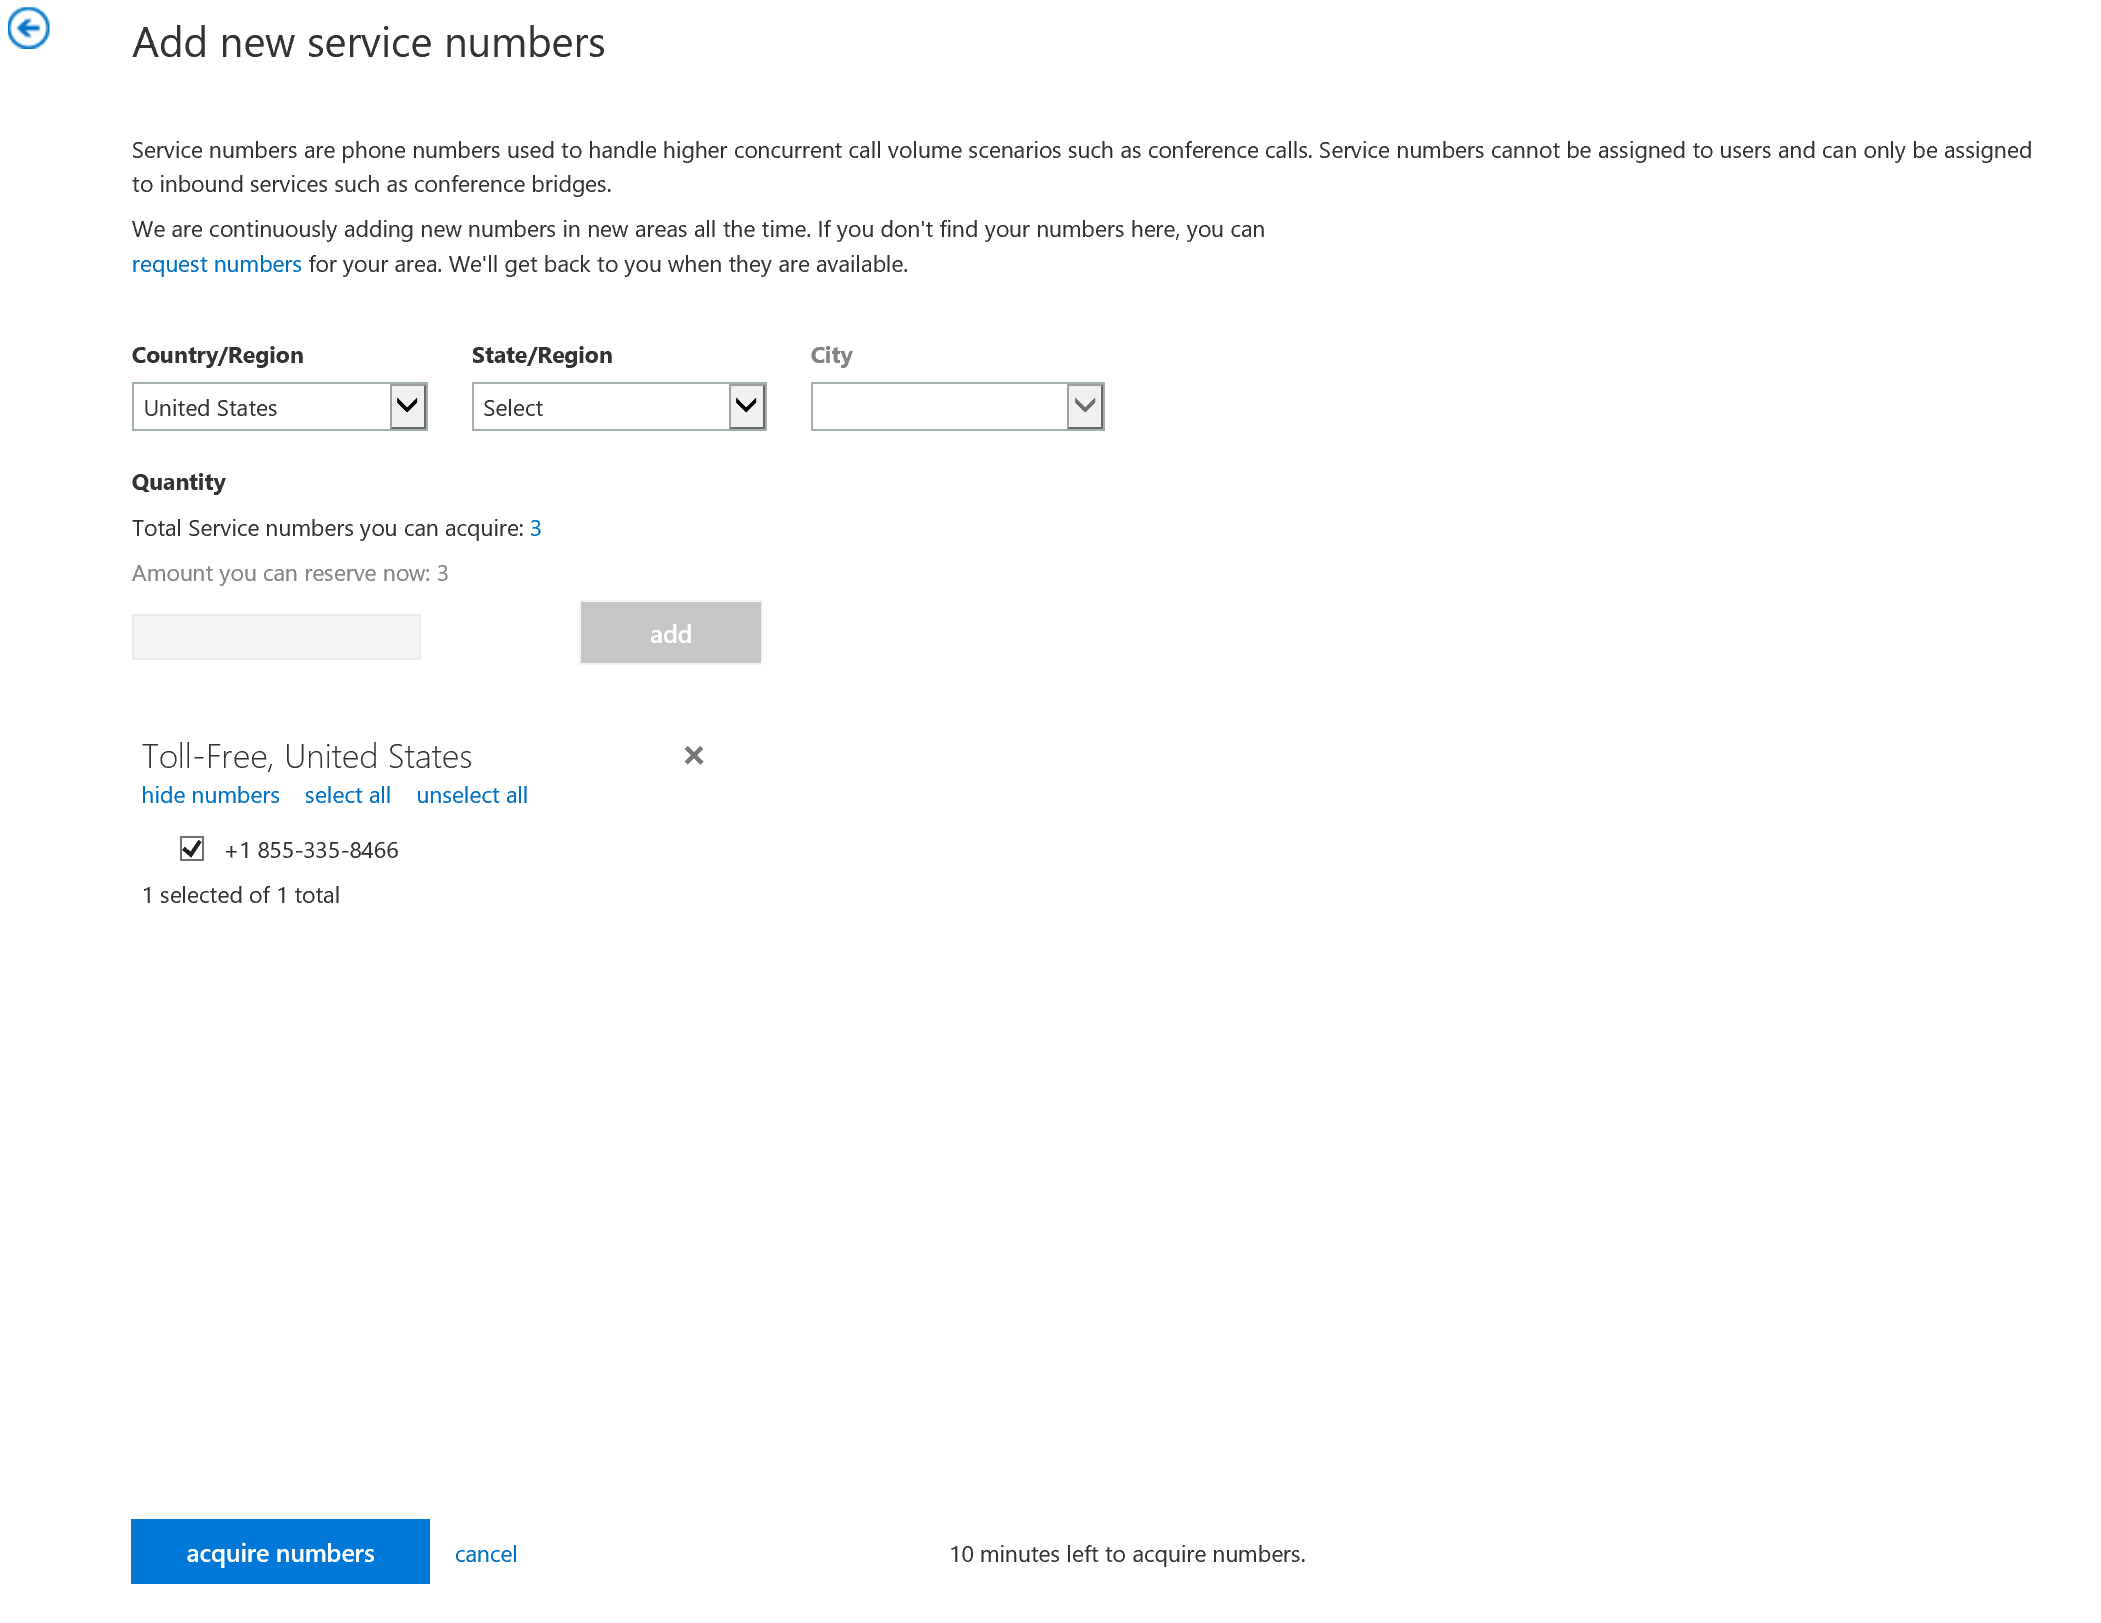
7. In the Toll-Free, United States section, click Show Numbers to see the toll-free number that will be acquired. When finished click Acquire Numbers.
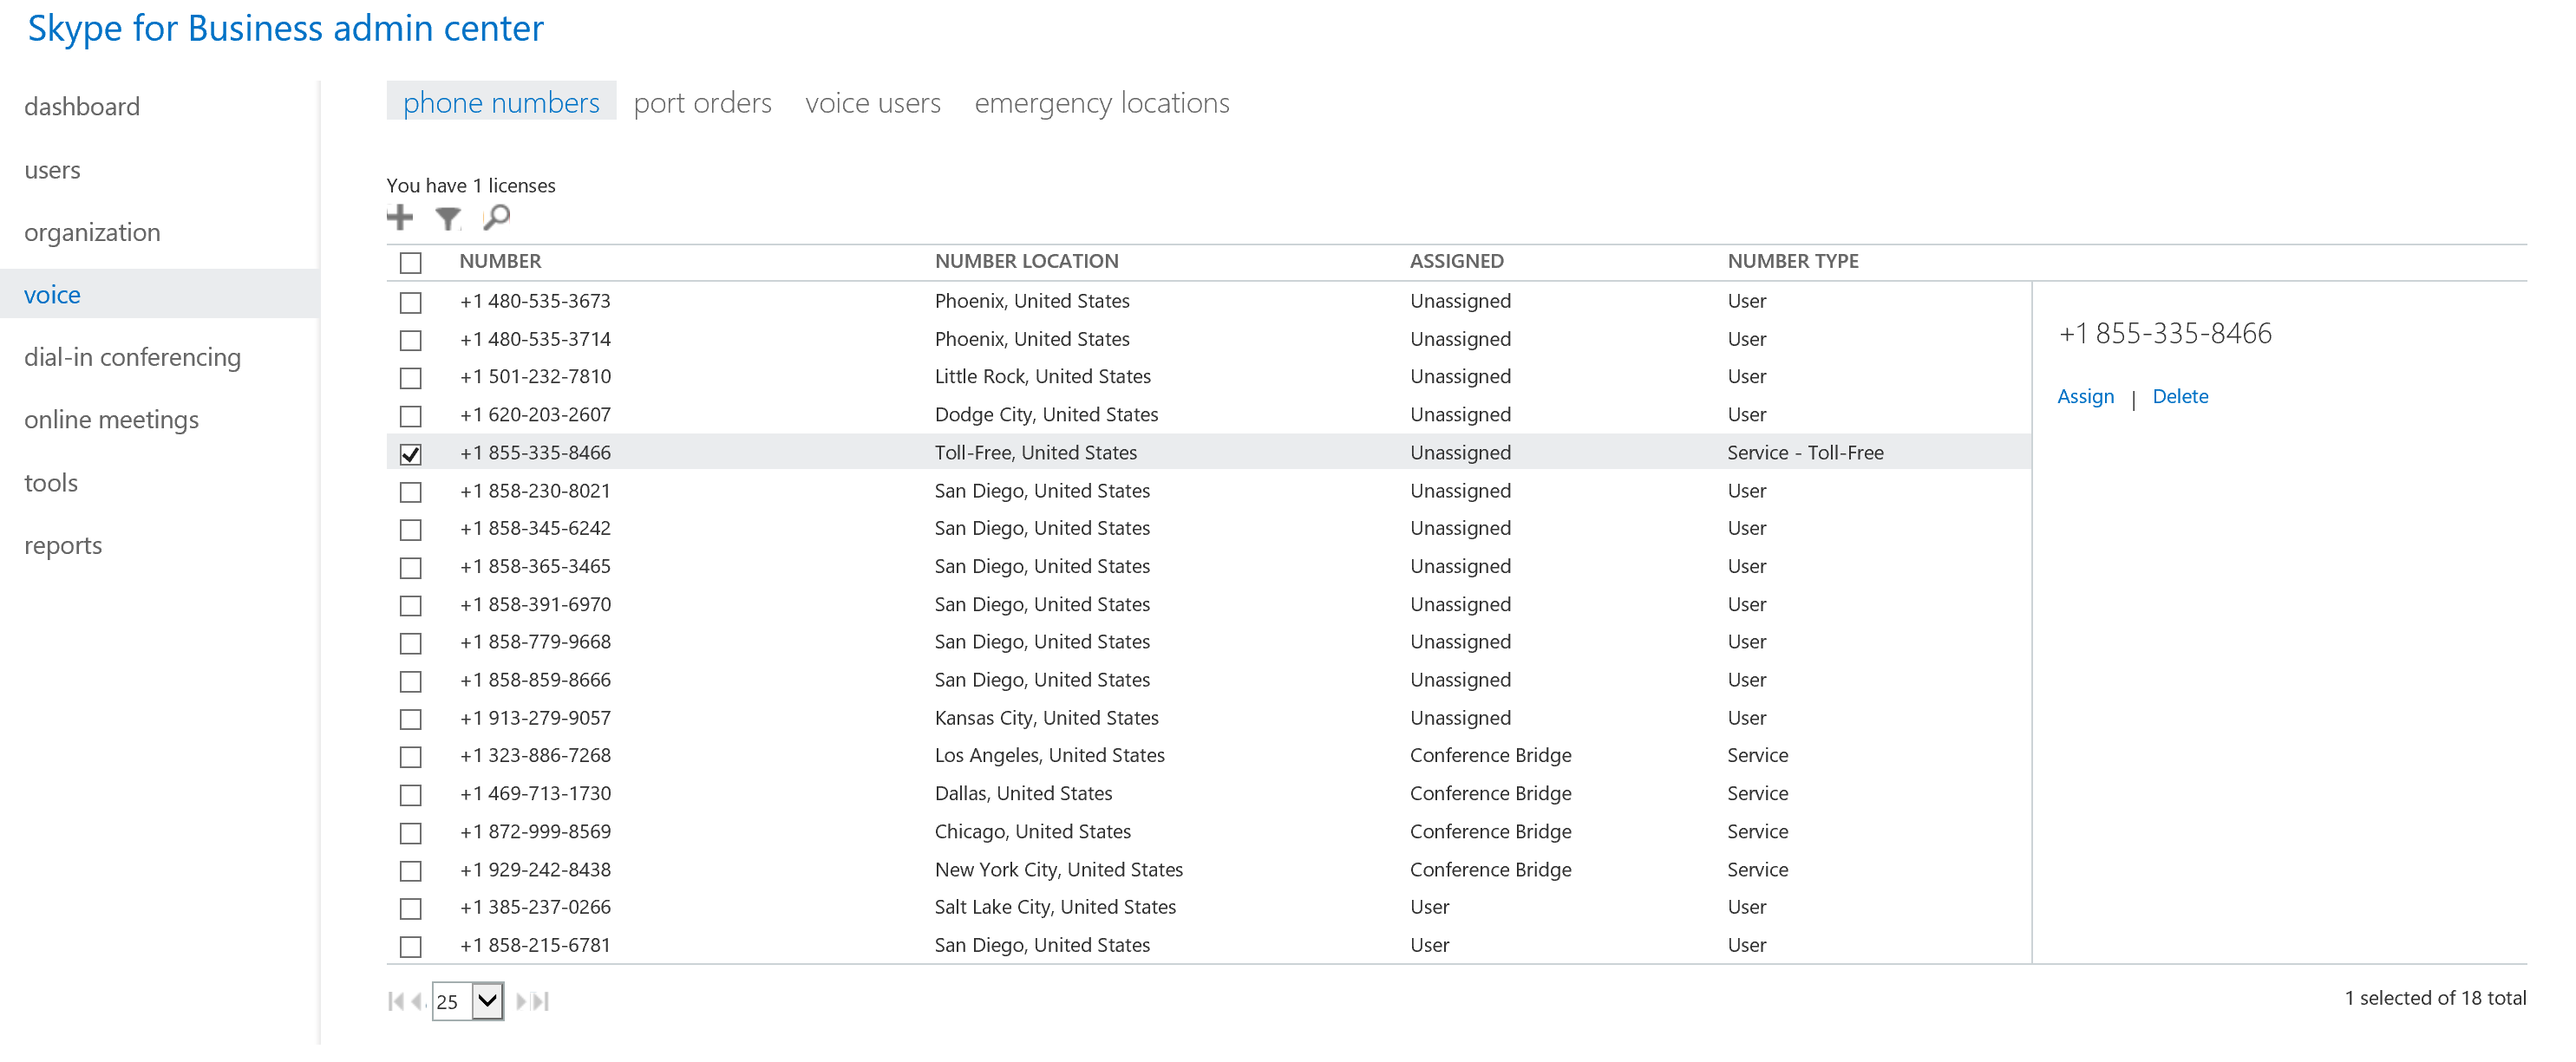
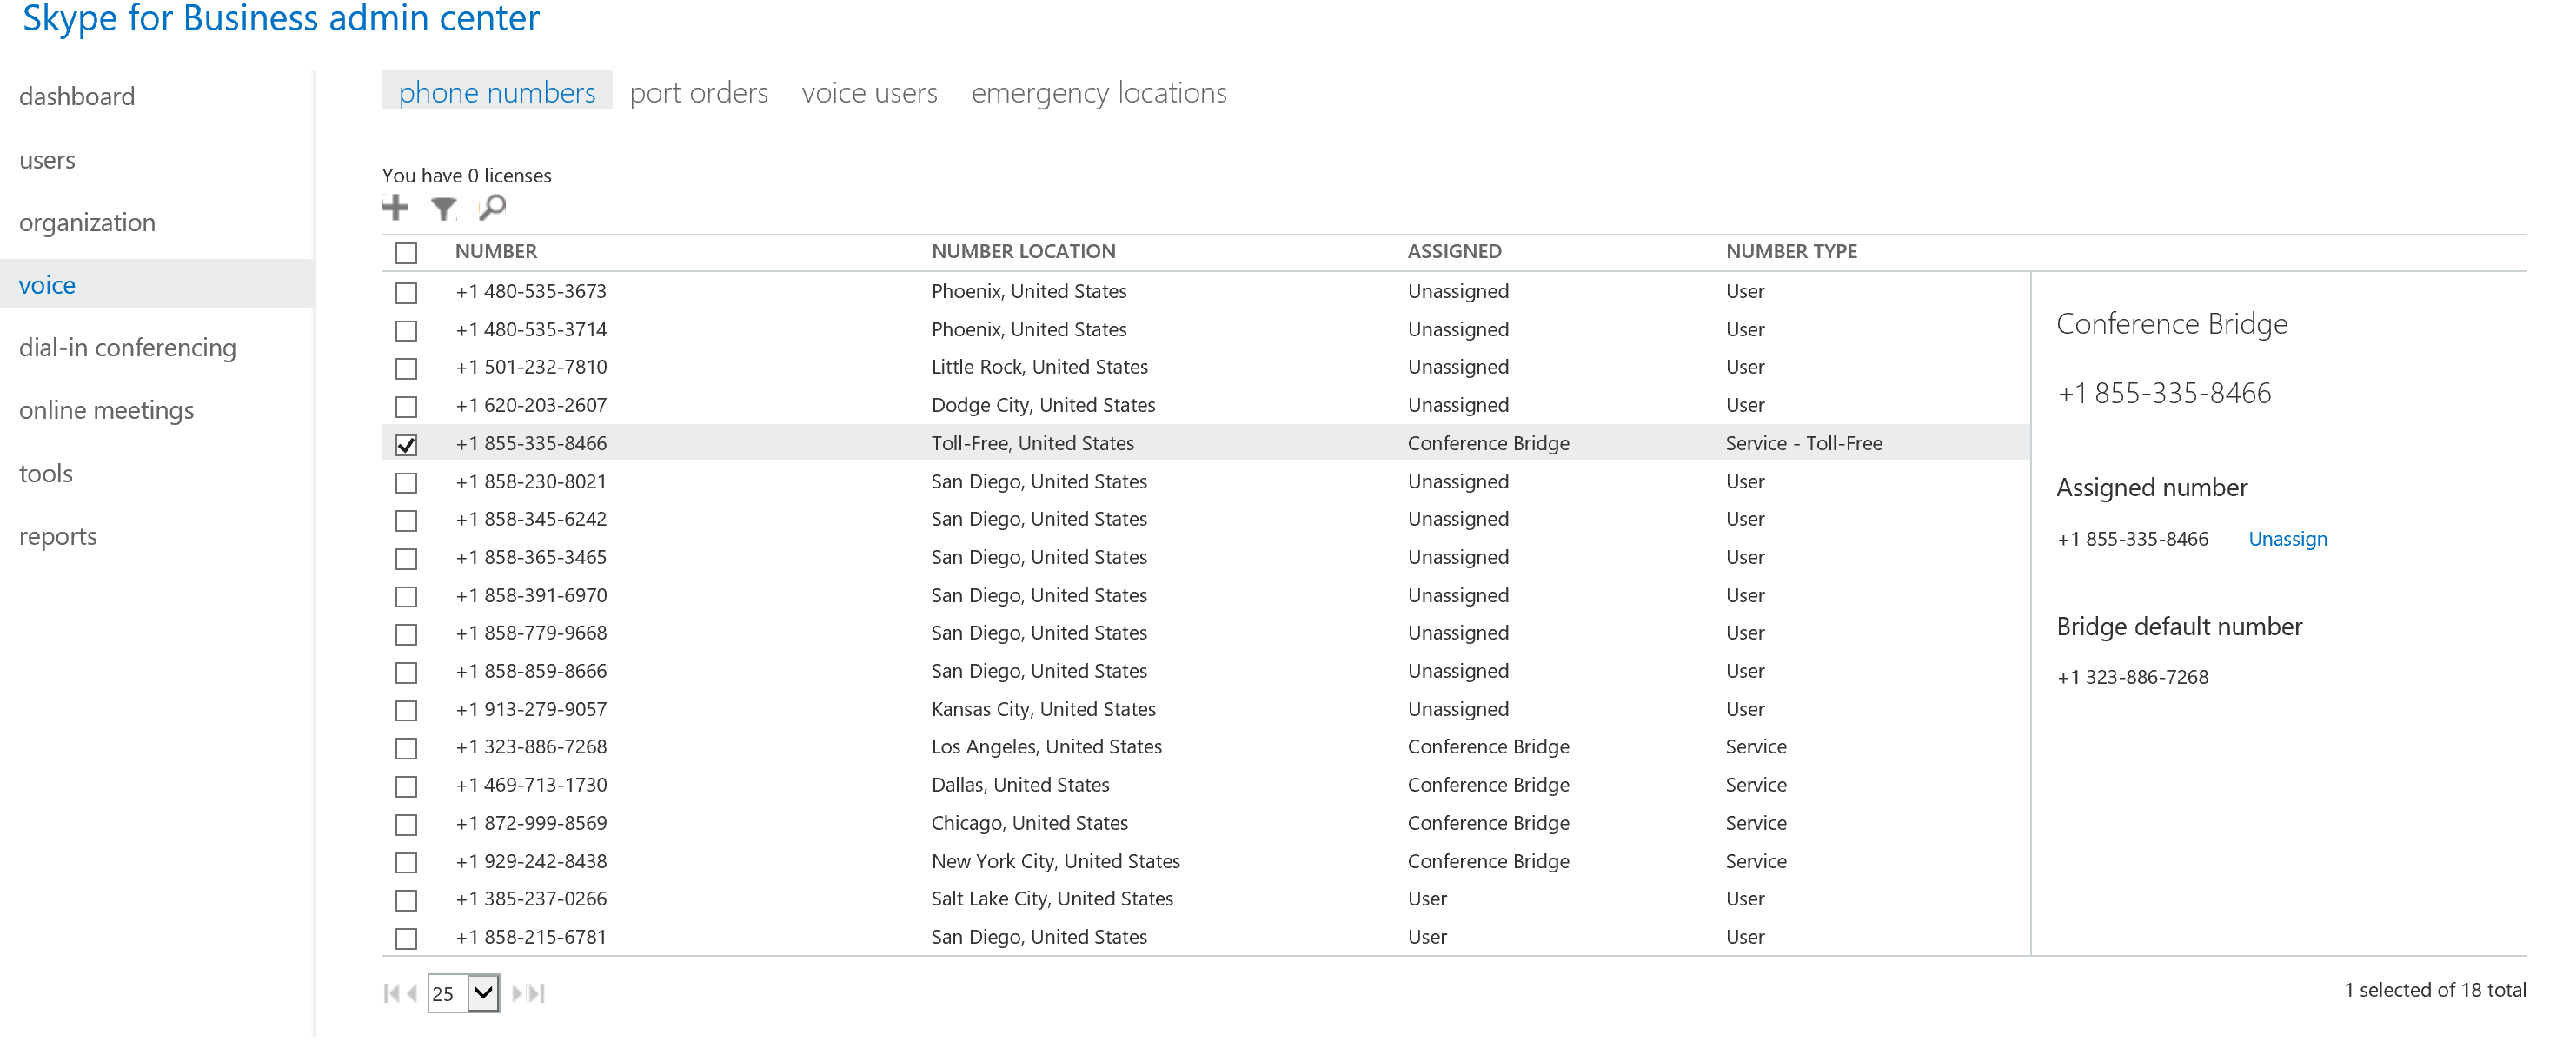
8. You will be returned to the phone numbers tab. Locate the new toll-free number that was just acquired in the list, and check the box next to it to display it's details:
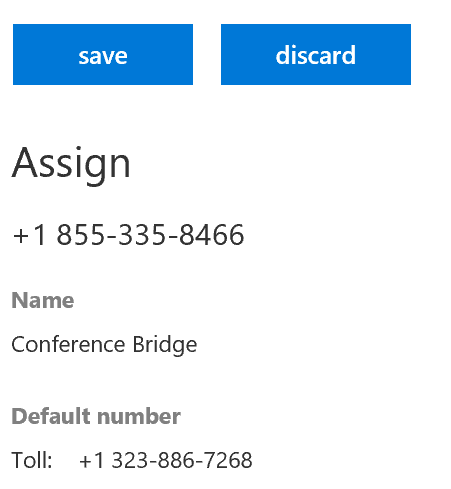
9. Click Assign. Review the configuration on the fly out then click Save.
10. You will be returned to the Phone Numbers tab. Confirm the number has been assigned on the right side.
Congratulations! You have successfully configured Toll-Free numbers in Office365! The next section will demonstrate how to test.
11. Create a new user account and assign the Office365 E5 license to the user. Allow time to pass for the user account to be enabled for Skype for Business.
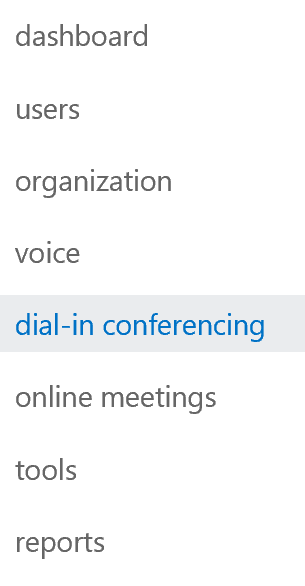
12. Return to the Skype for Business Admin Portal. On the left side click Dial-In Conferencing.
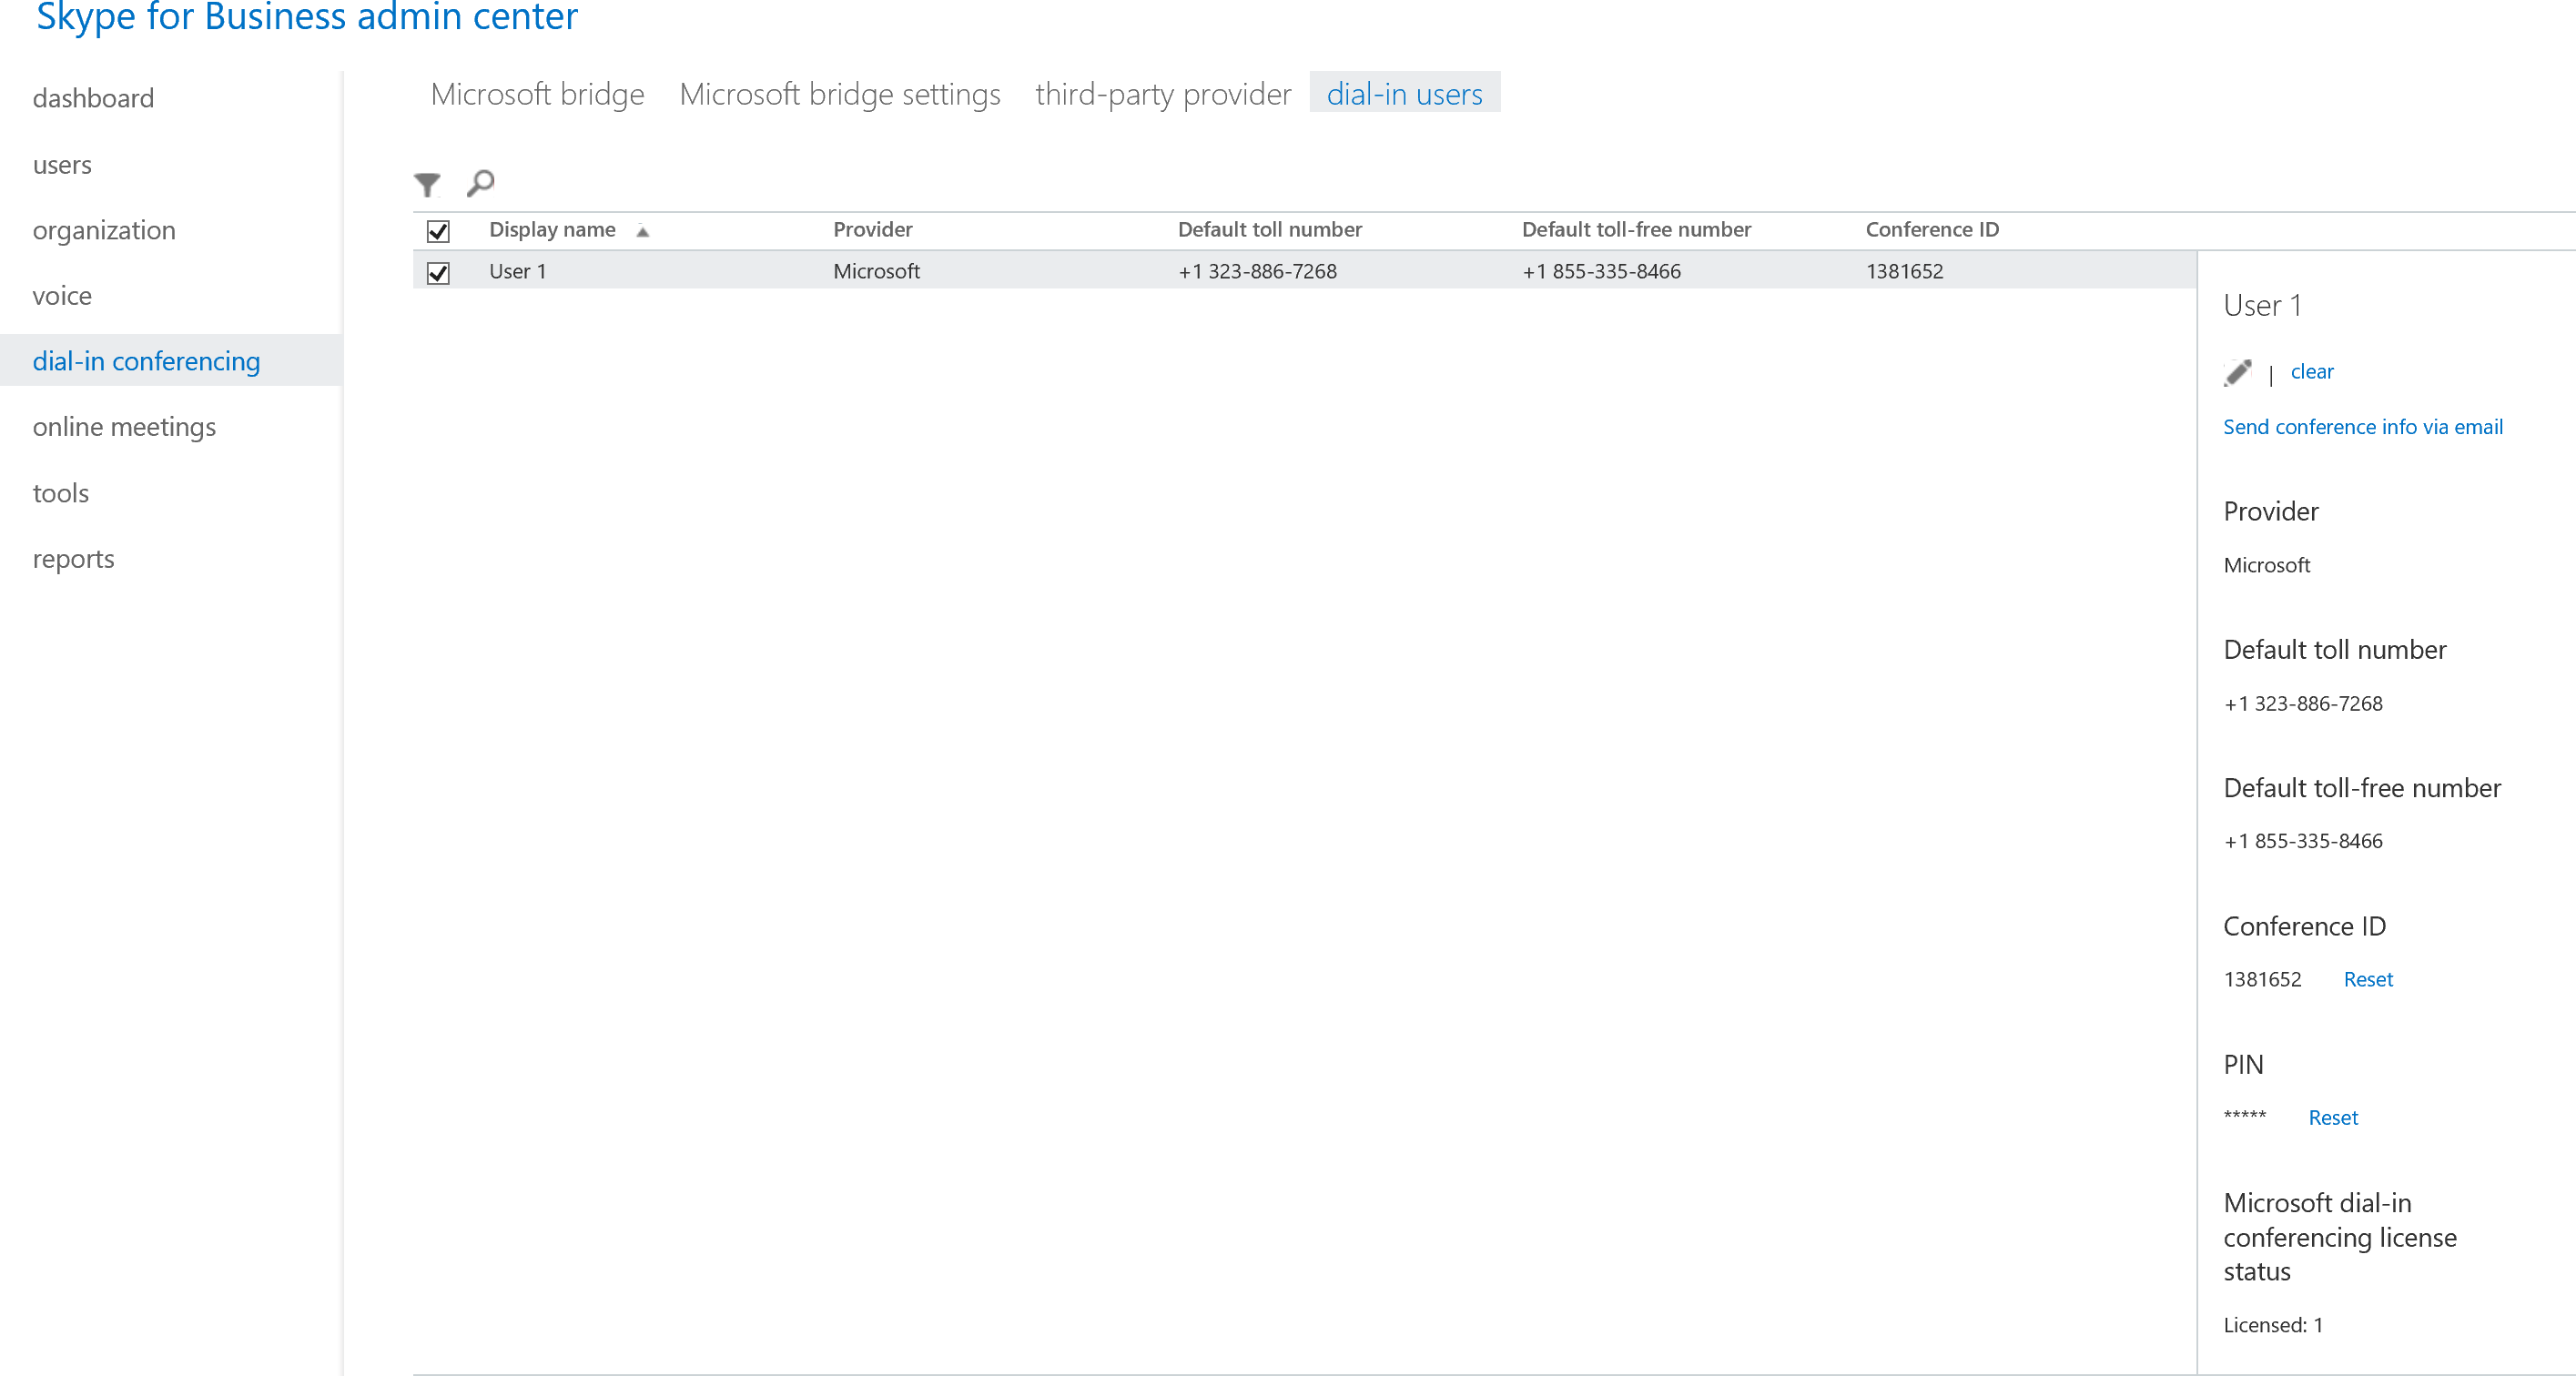
13. Click the Dial-In Users tab. Click the user account you just created. Confirm the Default toll free number for the user is the number that was previously acquired.
14. Create an Outlook profile for the user account you just created and launch Outlook to connect to that user's mailbox. Launch Skype for Business and sign-in as that user account.
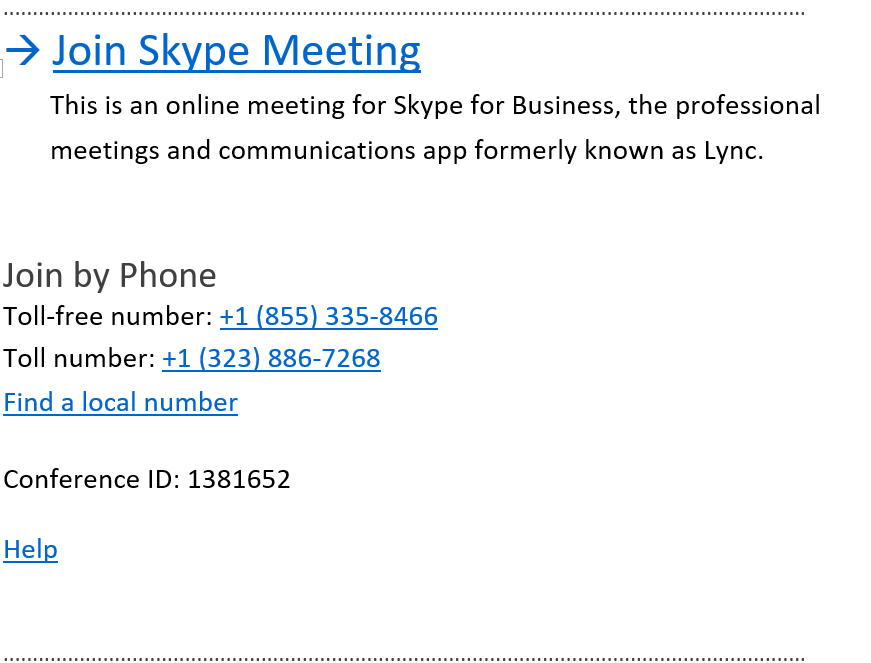
15. From within Outlook, create a new Skype Meeting.
16. In the body of the Skype Meeting, confirm the toll-free number is displayed.
Comments
- Anonymous
July 10, 2016
thanks - Anonymous
July 12, 2016
Nice article. Question: can you port an existing number into o365 and then use it for o365 dialin conferencing?- Anonymous
October 17, 2016
Yes numbers can be ported and used as a Service Number
- Anonymous


