Configuring CouchDB on Azure
I know installing a Linux/Windows VM and setting up NoSQL databases such as MongoDB and Couch DB are just pain. But, here’s a quick solution to how you can install CouchDB without going through any configuration hassle at all. You can choose from hundreds of pre-configured VMs, and install in just one click from VM Depot. For this particular post, we are going to choose CouchDB on Ubuntu. You can easily follow along the instruction and get started with deploying to your Azure account.
Step 1: Download Publish settings of your Azure account, by visiting this.
Step 2: Visit the CouchDB on Ubuntu VM at VM Depot here.
Step 3: Click on Create Virtual Machine, and if it asks you to login, do so using your Microsoft Account associated with Azure. Provide with basic information and also keep the user and password handy.
Step 4: It will then ask you to drag and drop the Publish settings file that you have downloaded in Step 1. Do that. It will take nearly 30 minutes to complete configuring the VM to be used.
Securing CouchDB
By default, CouchDB is completely open and exposed to https://your-dns-name-here.cloudapp.net:5984/ and even better it’s control panel is exposed at https://your-dns-name-here.cloudapp.net:5984/_utils/fauxton/ and https://your-dns-name-here.cloudapp.net:5984/_utils/. Anyone can go ahead and delete all databases without asking for any credential whatsoever.
Go to https://your-dns-name-here.cloudapp.net:5984/_utils/fauxton/#createAdmin and create an admin immediately, and of course store the user/password pair.
Now that you have secured the basic administration privileges of CouchDB, yet your databases are still exposed. For example: in order to create a new database, you can always go to Databases tab and click Add New Database. Really anyone can go ahead and check out the rows without needing to login at all.
General principle of CouchDB is that databases are public unless you specify an user and its permission level to the database. Here’s how you can do it. For this part, I am going to switch to the old UI of CouchDB which can be accessed via: https://your-dns-name-here.cloudapp.net:5984/_utils/ and go to _users table by navigating to https://your-dns-name-here.cloudapp.net:5984/_utils/database.html?_users, so that you may click on “New Document.” Complete a document like so and “Save Document” it:
Do not worry about your password – it won’t be saved in clear text. Once you have saved, you will be able to see the following screen which indicates that your password was encrypted before it was saved – voila! You’ve a secure database now:
Now open your database and click “Security…” which will bring up the following screen. Go ahead and input the newly created username so that this user can get access to that database:
Accessing the Linux VM
Remember, at the beginning you have completed a pair of user/password for your Linux VM which we haven’t used yet. We can connect to the VM using a terminal environment and for that I use PuTTY. It’s a nice little tool and it gets the job done. Put your DNS name there and Open:
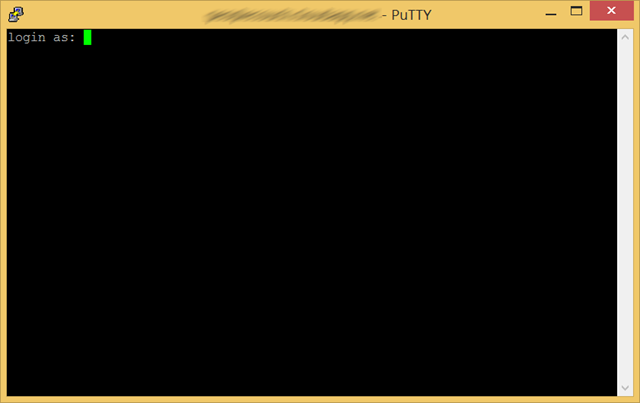
It will then launch a terminal window where you can put that user/password pair and logon to your Linux VM:
Hope this post helps you to setup your own CouchDB instance on Azure.


