How to configure SSL with SharePoint site
The fore most thing is to generate certificate for the web application, to do that follow the below steps:
1. Go to the IIS server in the Share Point server [WFE] and generate the certificate request.
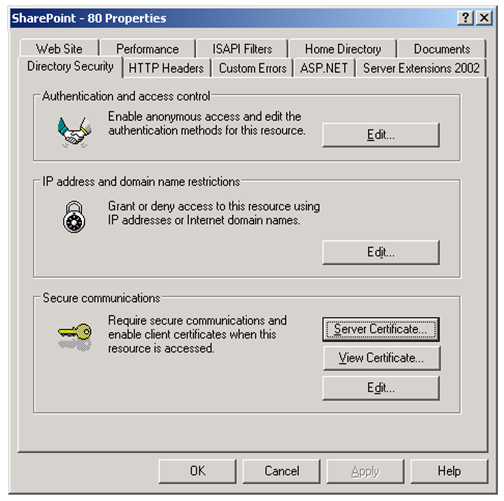
Ø Right click on the web site in IIS and go to properties
Ø Click Directory Security tab
Ø Click the Server Certificate
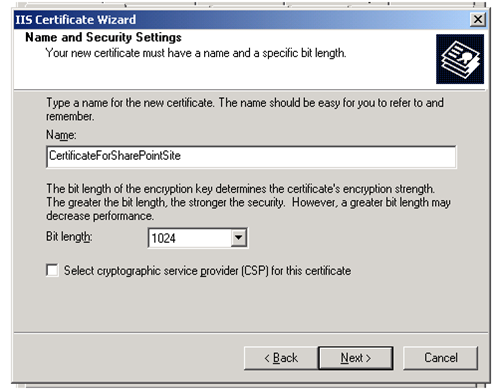
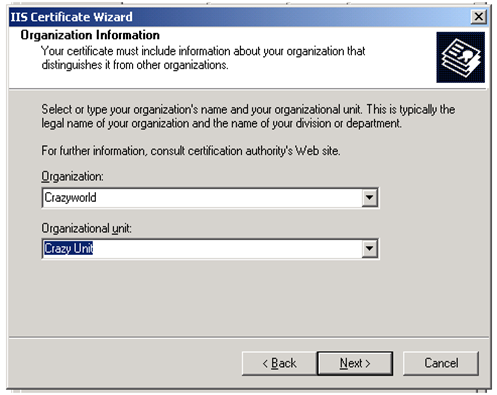
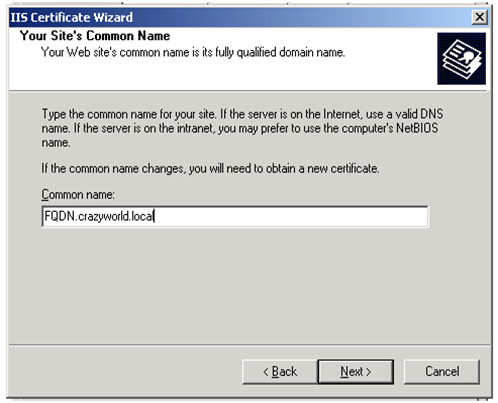
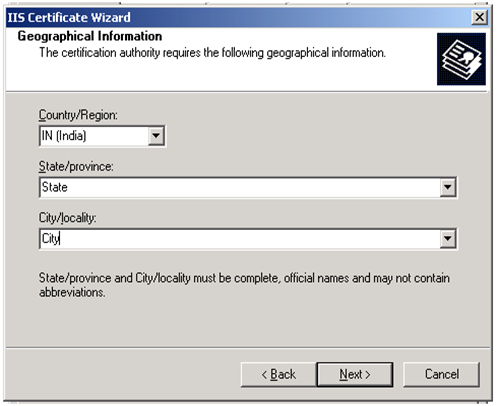
2. Follow the IIS Certificate Wizard, select the first option “Create a new certificate” in Server Certificate
3. Select the option in the “Delayed or Immediate Request” category as per the need:
- Prepare the request now, but send it later: This you can use for getting the certificate from a 3rd party
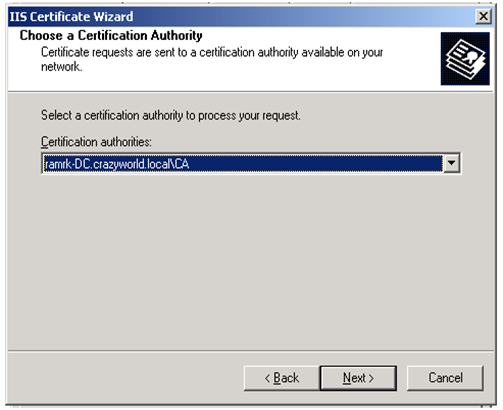
- Send the request immediately to an online certification authority: This is used for getting the certificate from local CA.
NOTE: In this case I am generating certificate localy
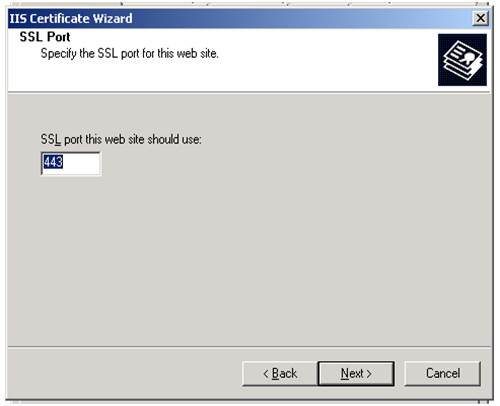
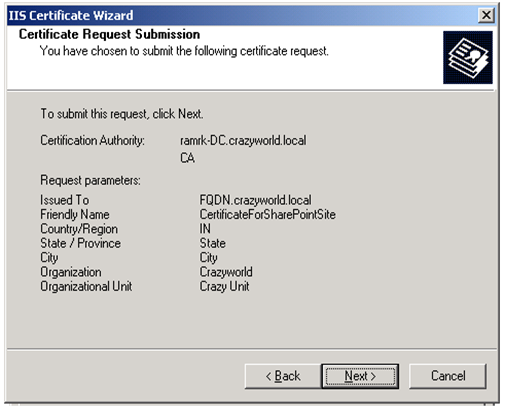
4. Follow the wizard
5. After hitting finish in the wizard the certificate will get issued and installed to the web site.
6. Click on the view certificate:
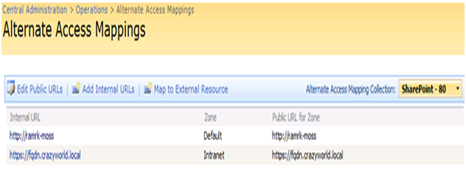
7. Now we have the certificate issued to the site. In order to access the site over HTTPS we need to do an Alternate Access Mapping entry as below:
8. Now we can access the site in HTTPS. If you want the site should be accessed only over HTTPS then below setting needs to be done:
Ø Go to IIS right click on the web site and go to properties
Ø Click “Edit” under “Secure Communication”
Ø Check the “Require secure channel (SSL)


