Working with the converged Azure AD v2 app model
Microsoft recently announced the public preview of a new application model that offers a unified developer experience across Microsoft consumer and commercial services. This is so significant it is being called the “V2” application model. Why is it so significant? Now a single application definition and OAuth flow can be used for consumer services (ex: OneDrive, Outlook.com, etc) AND commercial services in Office 365 (ex: Exchange Online, SharePoint Online, OneDrive for Business). In this post, I’ll outline the major differences in the v2 app model and how to perform a basic OAuth flow using it.
[View:https://www.youtube.com/watch?v=ZhGemMWFEWI]
What’s Different
Registering applications and performing OAuth have become common practices when building applications that connect to Microsoft services. However, the new converged “V2” app model brings some significant changes to both of these tasks. I have listed the major differences below, but you should also read the announcement by the Azure Active Directory team.
- Unified Applications – V2 Apps converge the disparate application definitions that exist today between Microsoft Accounts (MSA) that are used for consumer services and Azure AD (AAD) accounts that are used for Office 365. By offering one unified application, developers can register apps from a centralized portal (https://apps.dev.microsoft.com) that work with either MSA or AAD accounts.
- One App, Multiple Platforms – V2 Apps support multiple platforms within a single application definition. In the past, multiple application definitions were required to deliver web and mobile experiences. In V2 apps, both web and mobile experiences can be delivered from the same application definition.
- Permissions at Runtime – V2 apps don’t declare permissions during app registration. Instead, they request permission dynamically by providing a scope parameter in token requests.
- Deferred Resources – V2 apps no longer pass a resource parameter to get resource-specific access tokens. Instead, the resource can be automatically determined by the service based on the scopes passed in.
- Refresh Tokens by Request – V2 apps do not automatically get refresh tokens when requesting tokens from the service. Instead, you must explicitly request a refresh token by using the offline_access permission scope in the request a token.
Performing OAuth
There are a number of OAuth flows that the V2 model supports. I’m going to walk through the OAuth2 Authorization Code Flow, which is the most popular and used in most web applications. To demonstrate the flow, I’m going to take the raw browser/fiddler approach popularized by Rob Howard and Chakkaradeep “Chaks” Chandran blogged about HERE. The OAuth2 Authorization Code Flow can be simplified into these simple steps:
- Redirect the user to an authorize URL in Azure AD with some app details, including the URL Azure should reply back with an authorization code once the user logs in and consents the application.
- Post additional app details (including the authorization code from Step 1) to a token end-point in Azure AD to get an access token.
- Include the access token from Step 2 in the header when calling services secured by the V2 app model.
Sounds simple enough right? The Azure Active Directory Authentication Libraries (ADAL) make this flow simple on a number of platforms, but I find it very helpful to understand the flow ADAL manages. Let’s perform this flow using nothing but a browser and Fiddler (any web request editor will work in place of Fiddler).
Step 0 – Register the V2 Application
Before we can perform an OAuth flow, we need to register a new V2 application in the new registration portal.
- Open a browser and navigate to https://apps.dev.microsoft.com .
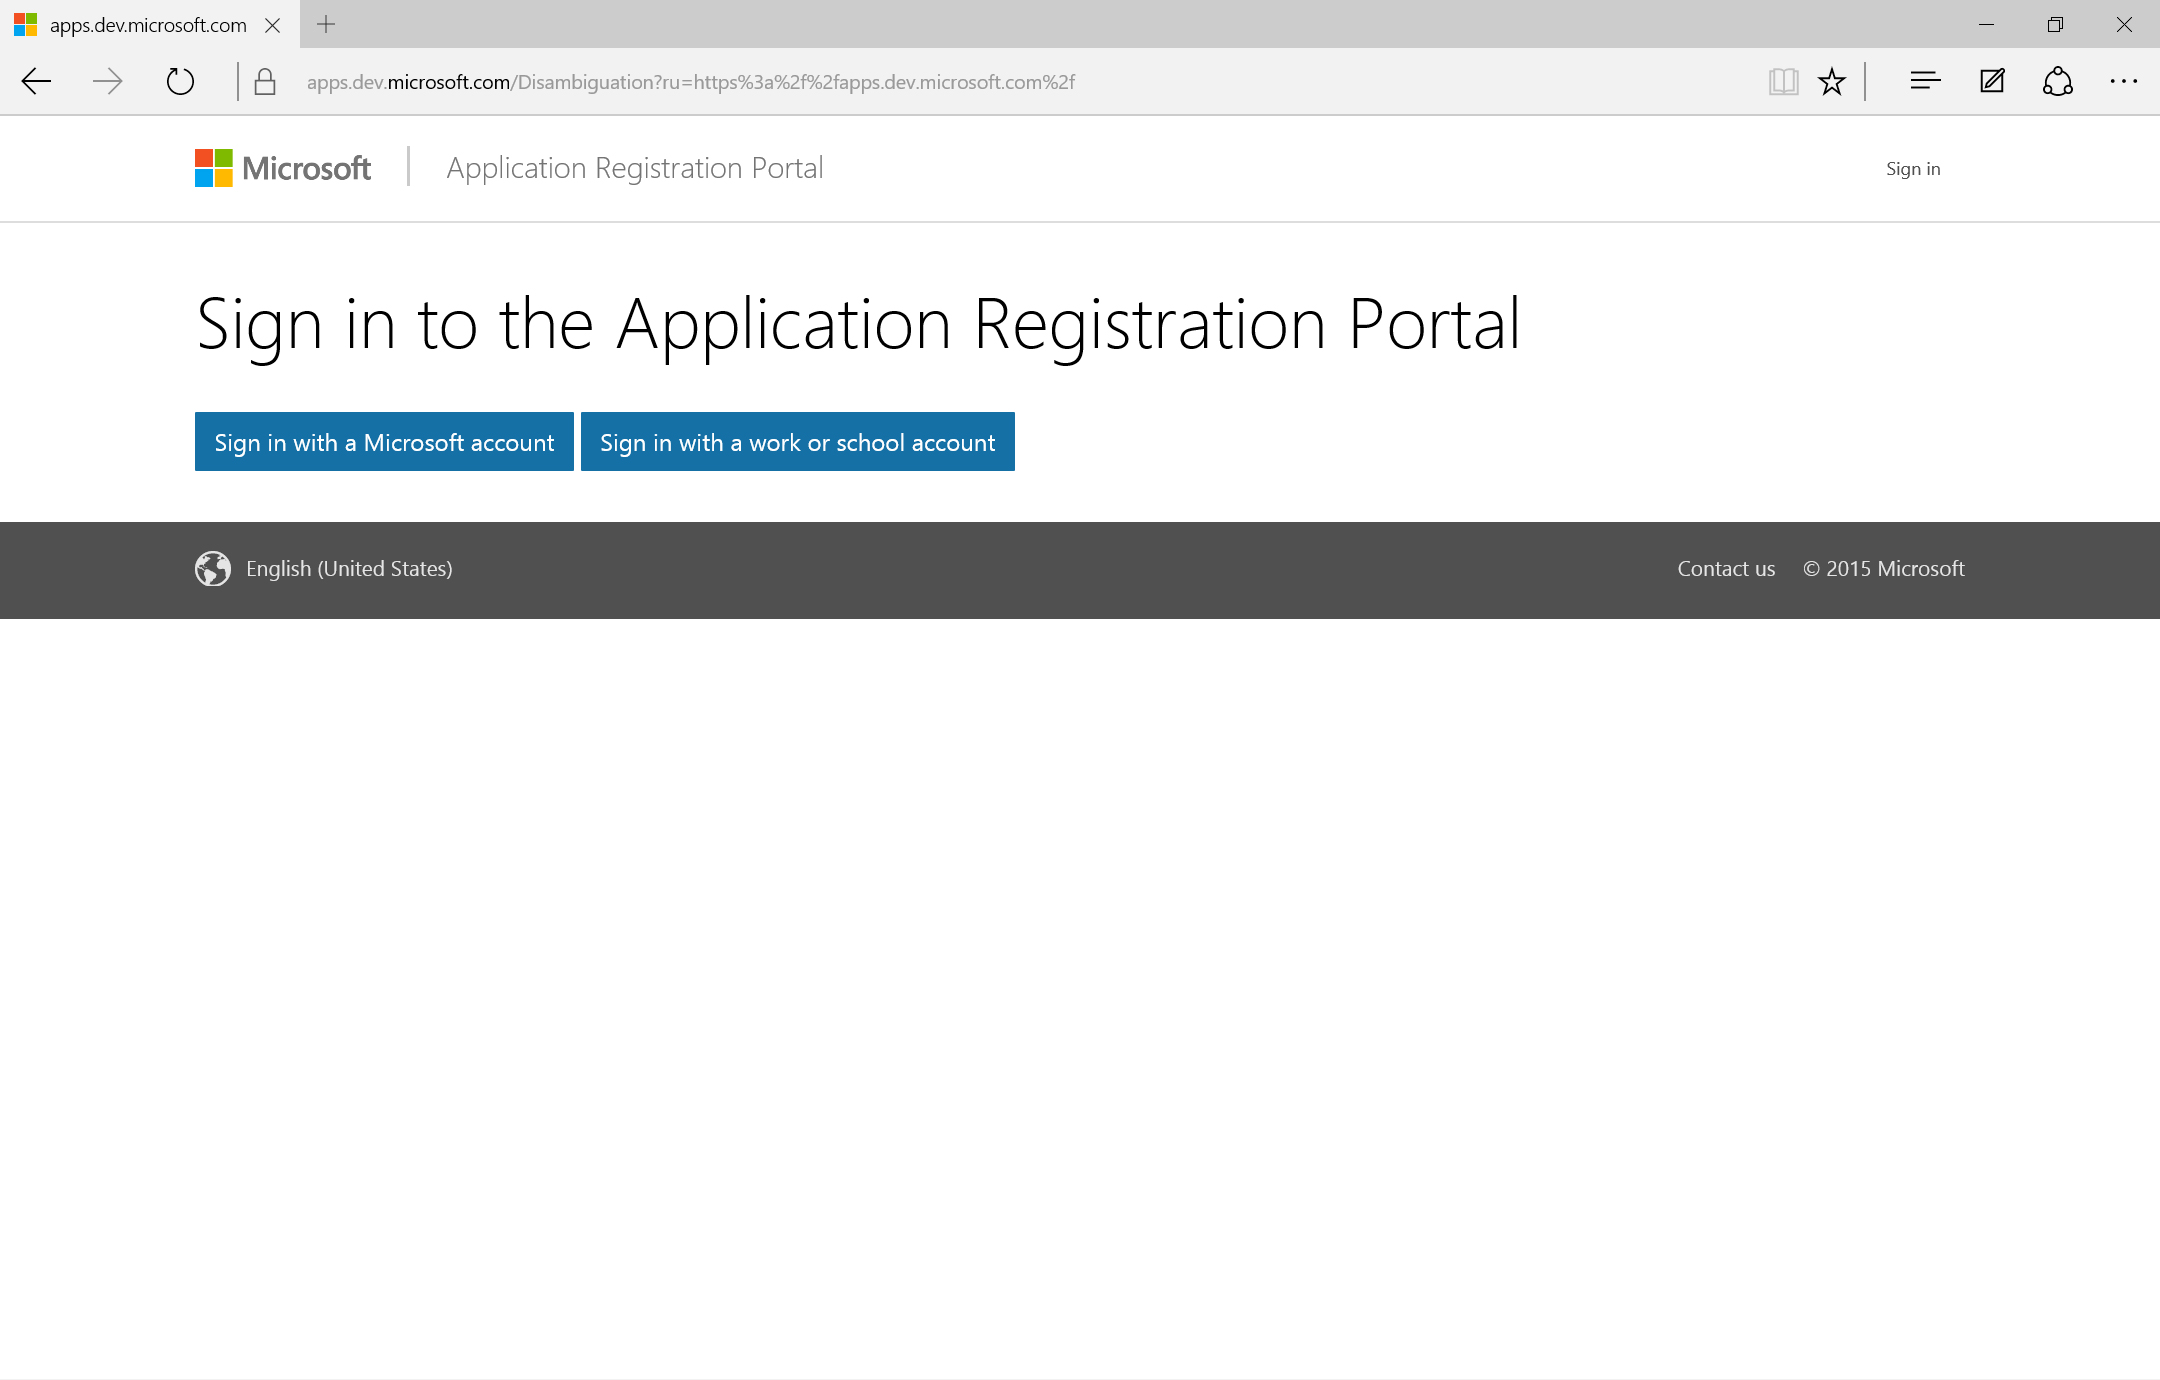
- Sign in with either a Microsoft Account (MSA) such as outlook.com/live.com/hotmail.com or an Azure AD account you use for Office 365.
- Once you are signed in, click the Add an app button in the upper right.
- Give the application a name and click Create application.
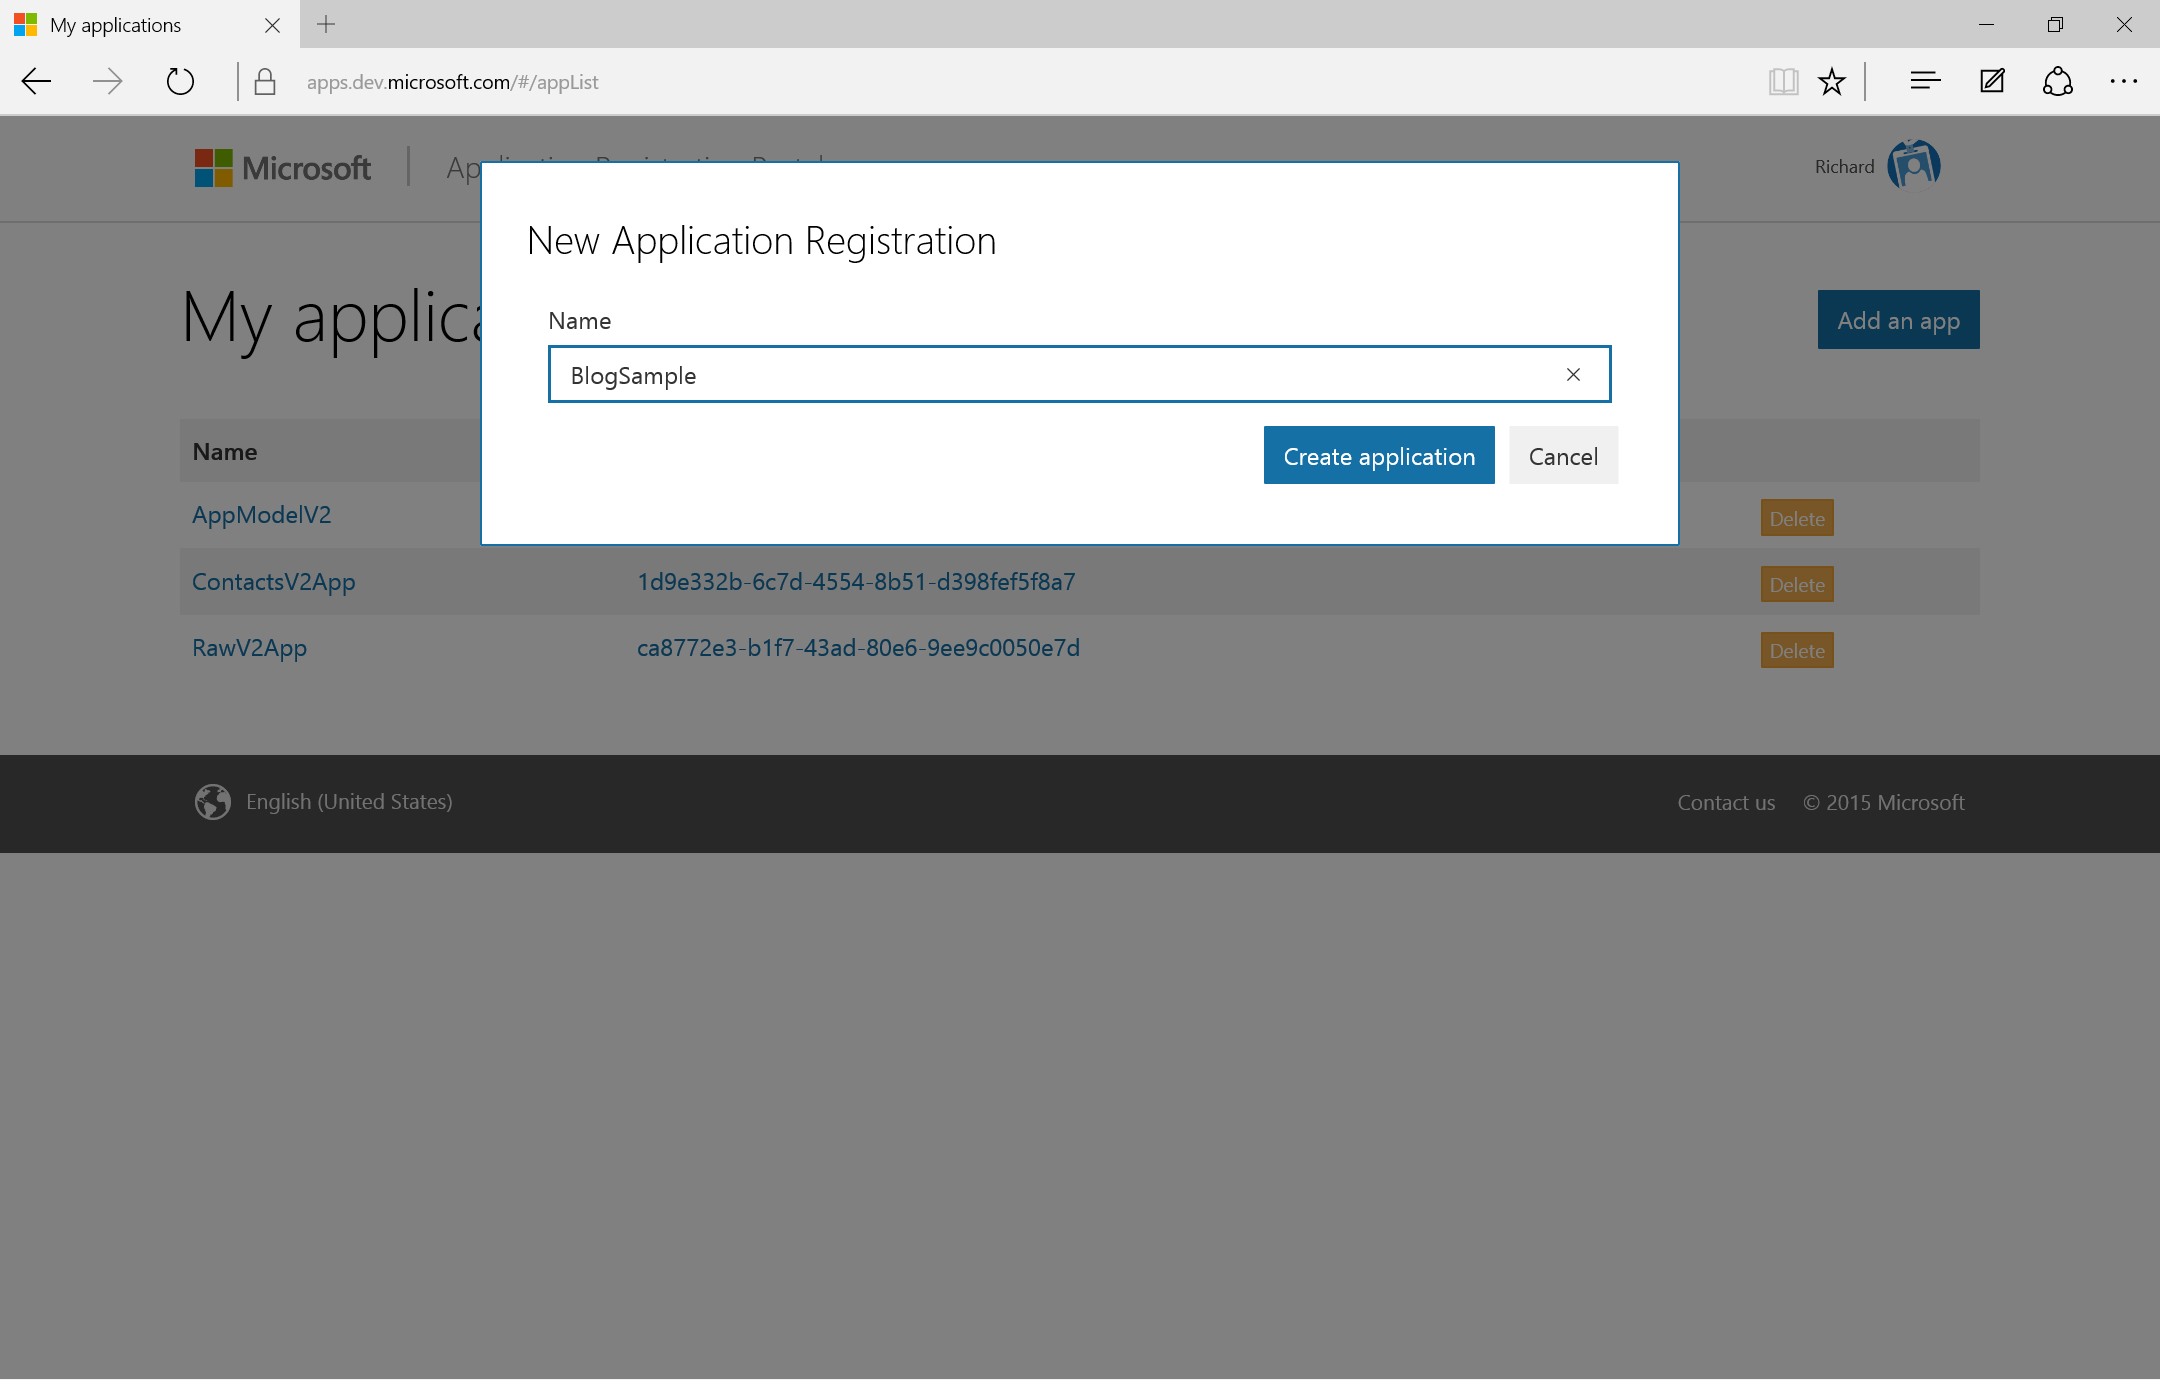
- Once the application is provisioned, copy the Application Id somewhere where it will be readily available for the next section.
- Next, generate a new application password by clicking the Generate New Password button in the Application Secrets section. When the password is displayed, copy it down for use in the next section. Warning: this is the only time the app registration portal will display the password.
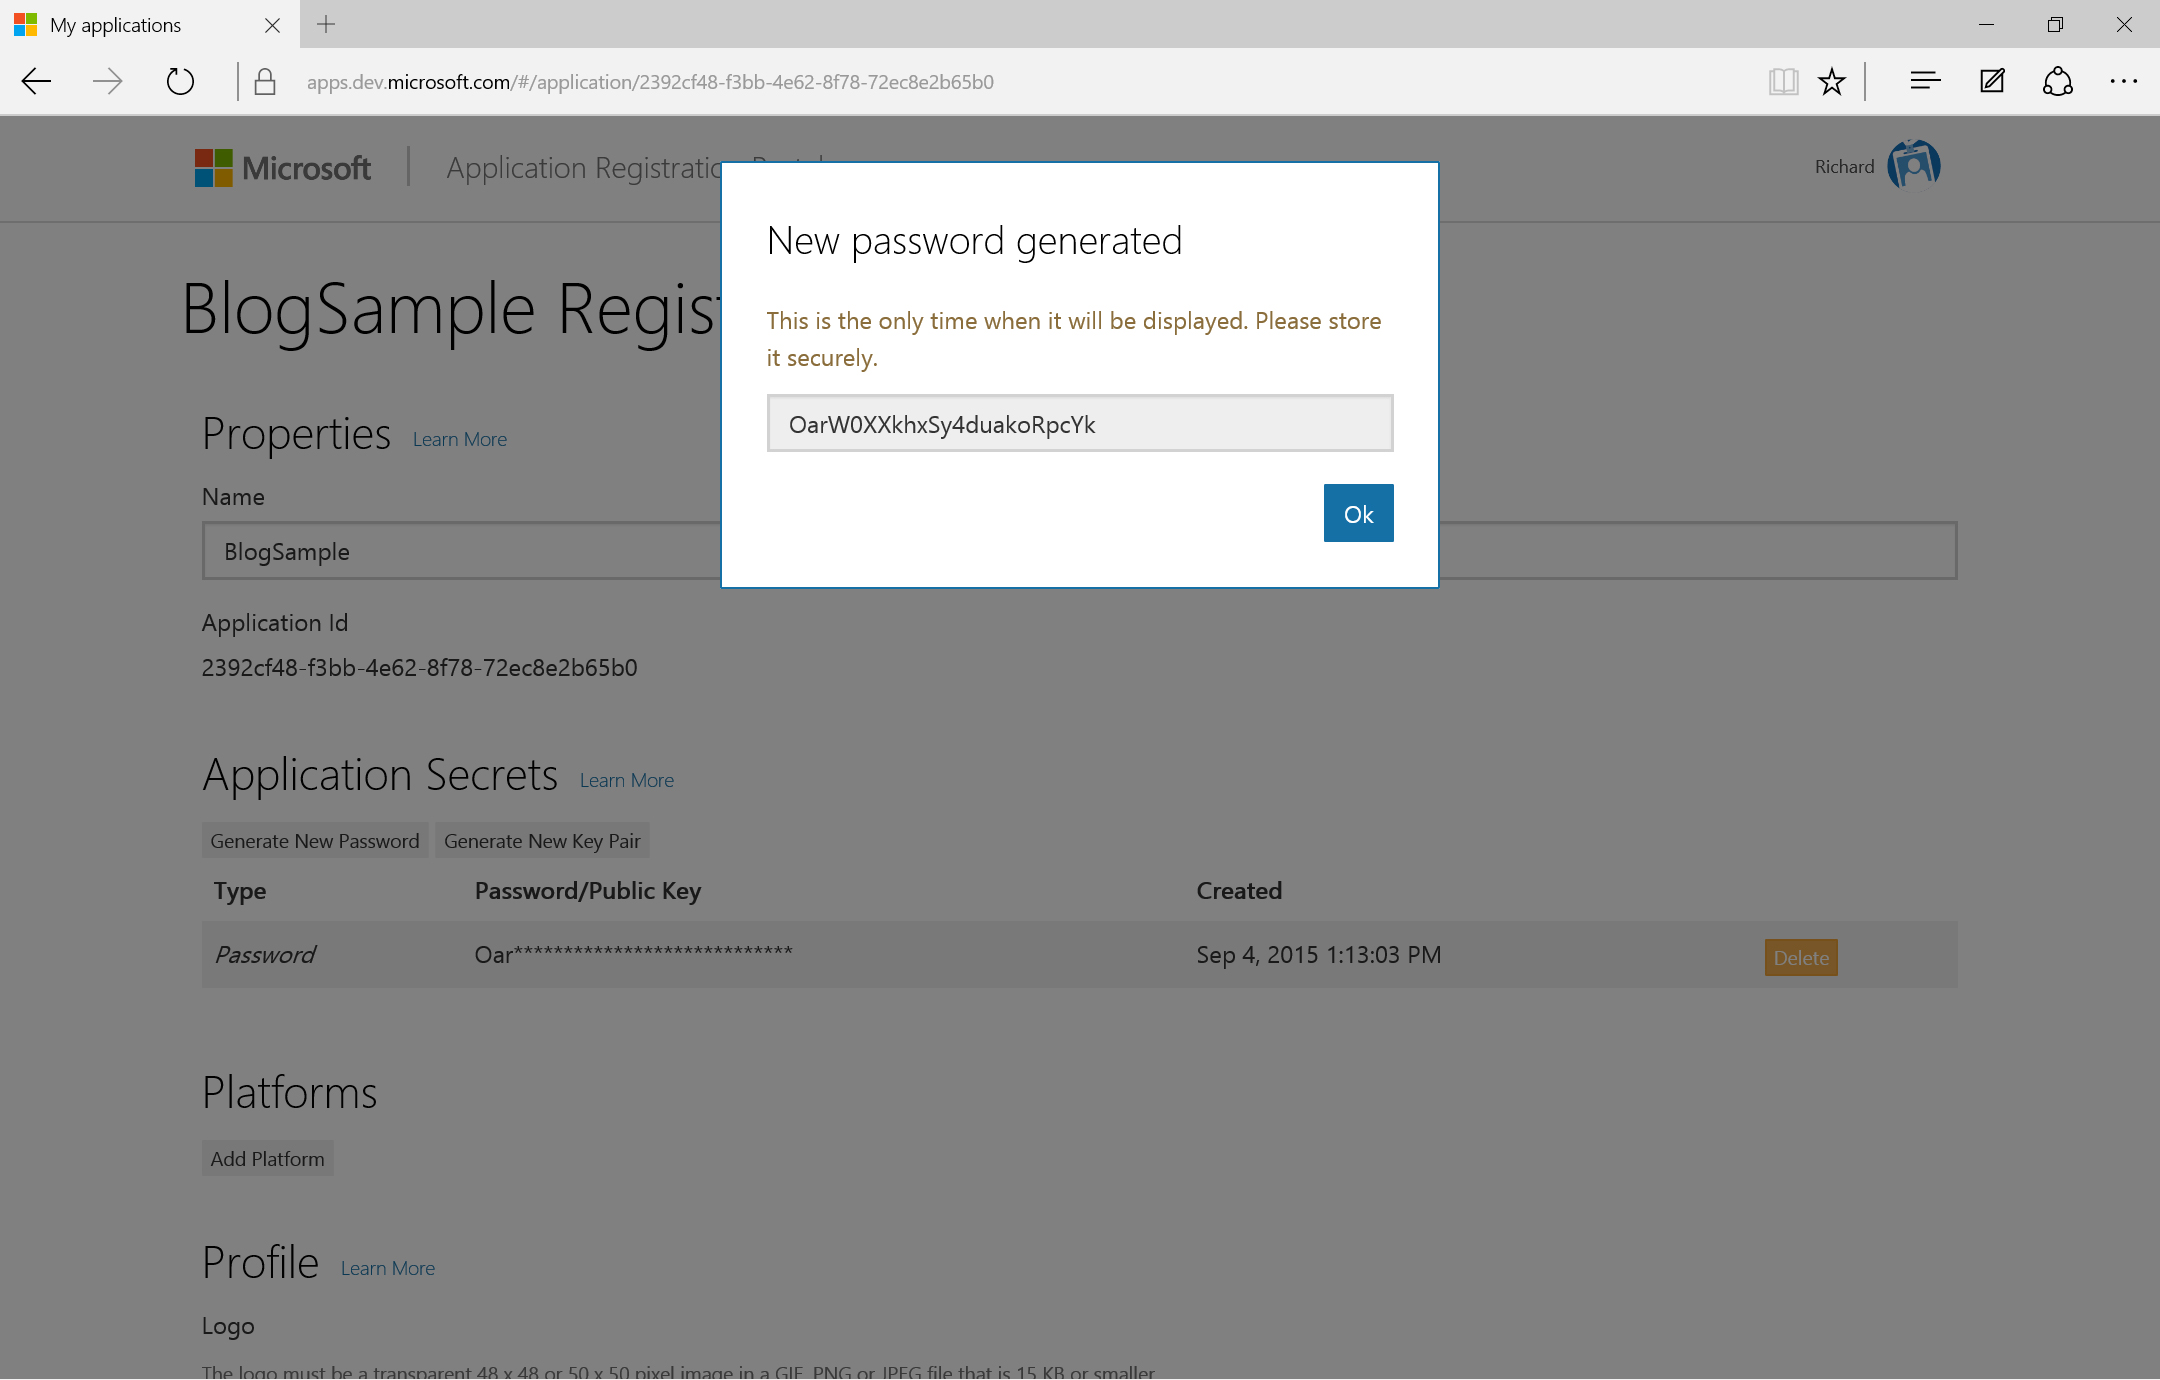
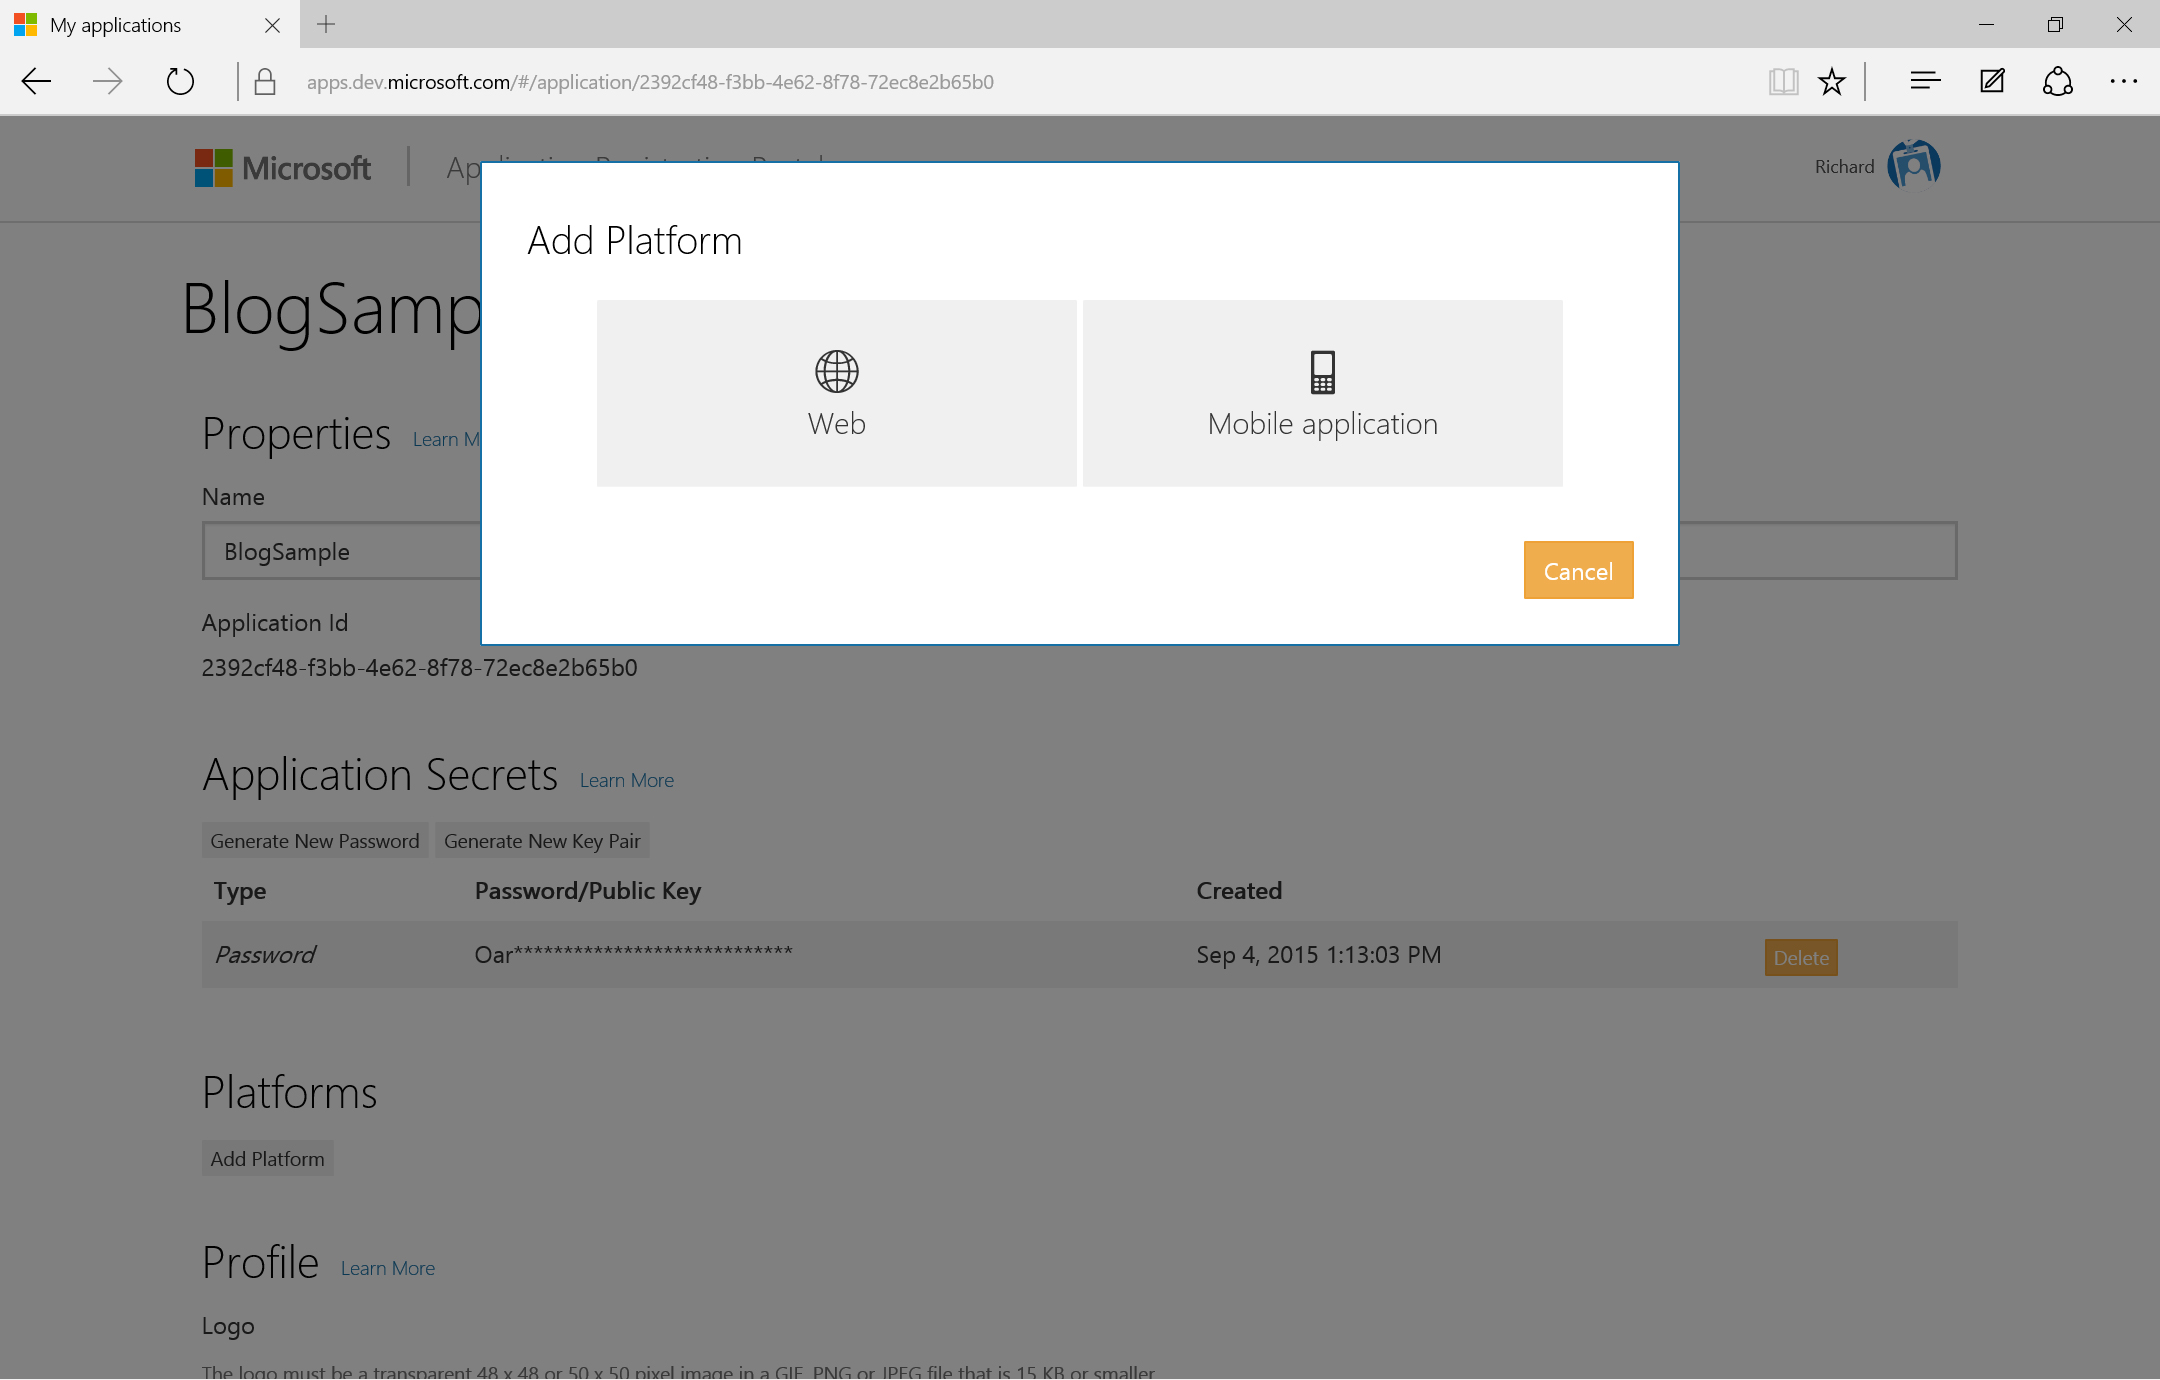
- Next, locate the Platforms section and click Add Platform to launch the Add Platform dialog.
- Select Web for the application type. Notice that the V2 application model supports multiple platforms in the same application.
- Finally, update the Redirect URI of the new platform to https://localhost and save your changes by clicking the Save button at the bottom of the screen.
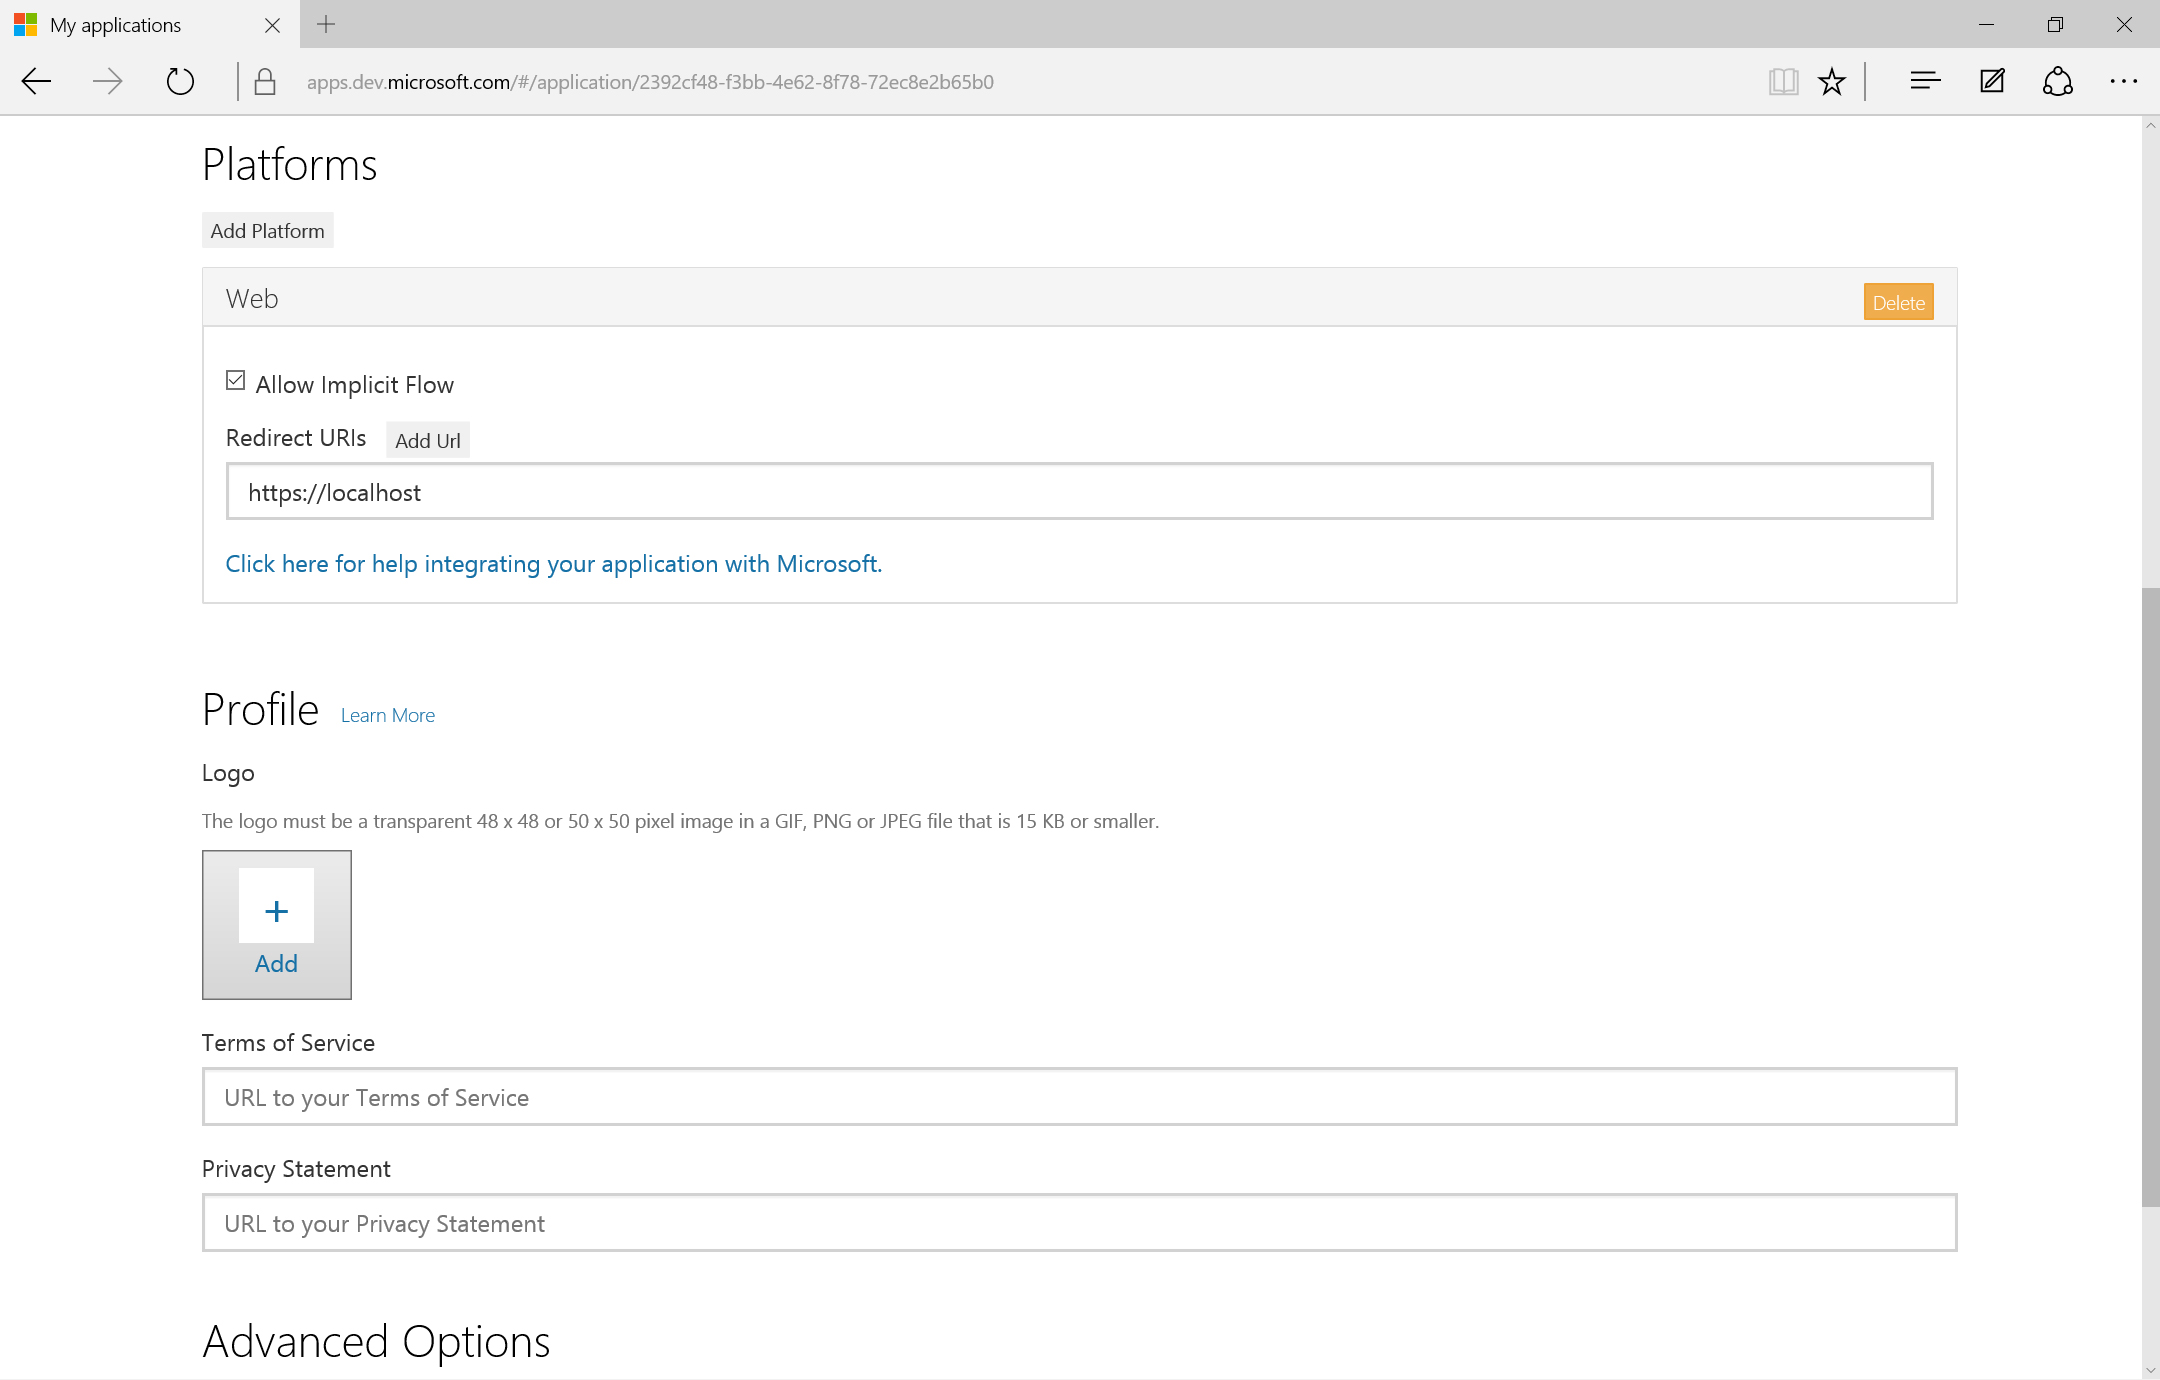
- The V2 application should be ready to use!
Step 1 – Get Authorization Code
The first step of the OAuth2 Authorization Code Flow is to redirect the user to an authorize URL in Azure AD with some app details, including the URL Azure should reply back with an authorization code once the user logs in and consents the application. The format of this authorize URL is listed below. Replace the placeholders with details from your app registration and paste the entire URI into your browser.
| NOTE: The authorize URI uses the new v2.0 end-point versioning. It also uses the scope parameter to tell the authorize flow what permissions the application is requesting (aka – Runtime Permissions). Here we are requesting openid (sign-in), https://outlook.office.com/contacts.read (read access to contacts), and offline_access (required to get refresh tokens back for long-term access). |
Authorize URI
| https://login.microsoftonline.com/common/oauth2/v2.0/authorize?client_id= {paste your client id} &scope=openid+https://outlook.office.com/contacts.read+offline_access&redirect_uri= {paste your reply url} &response_type=code |
Immediately after pasting the authorization URI into the browser, the user should be directed to a login screen. Here, they can provide either a consumer account (MSA) or an Azure AD account (if an MSA account is provided, the login screen change)
| Azure AD Sign-in | MSA Sign-in |
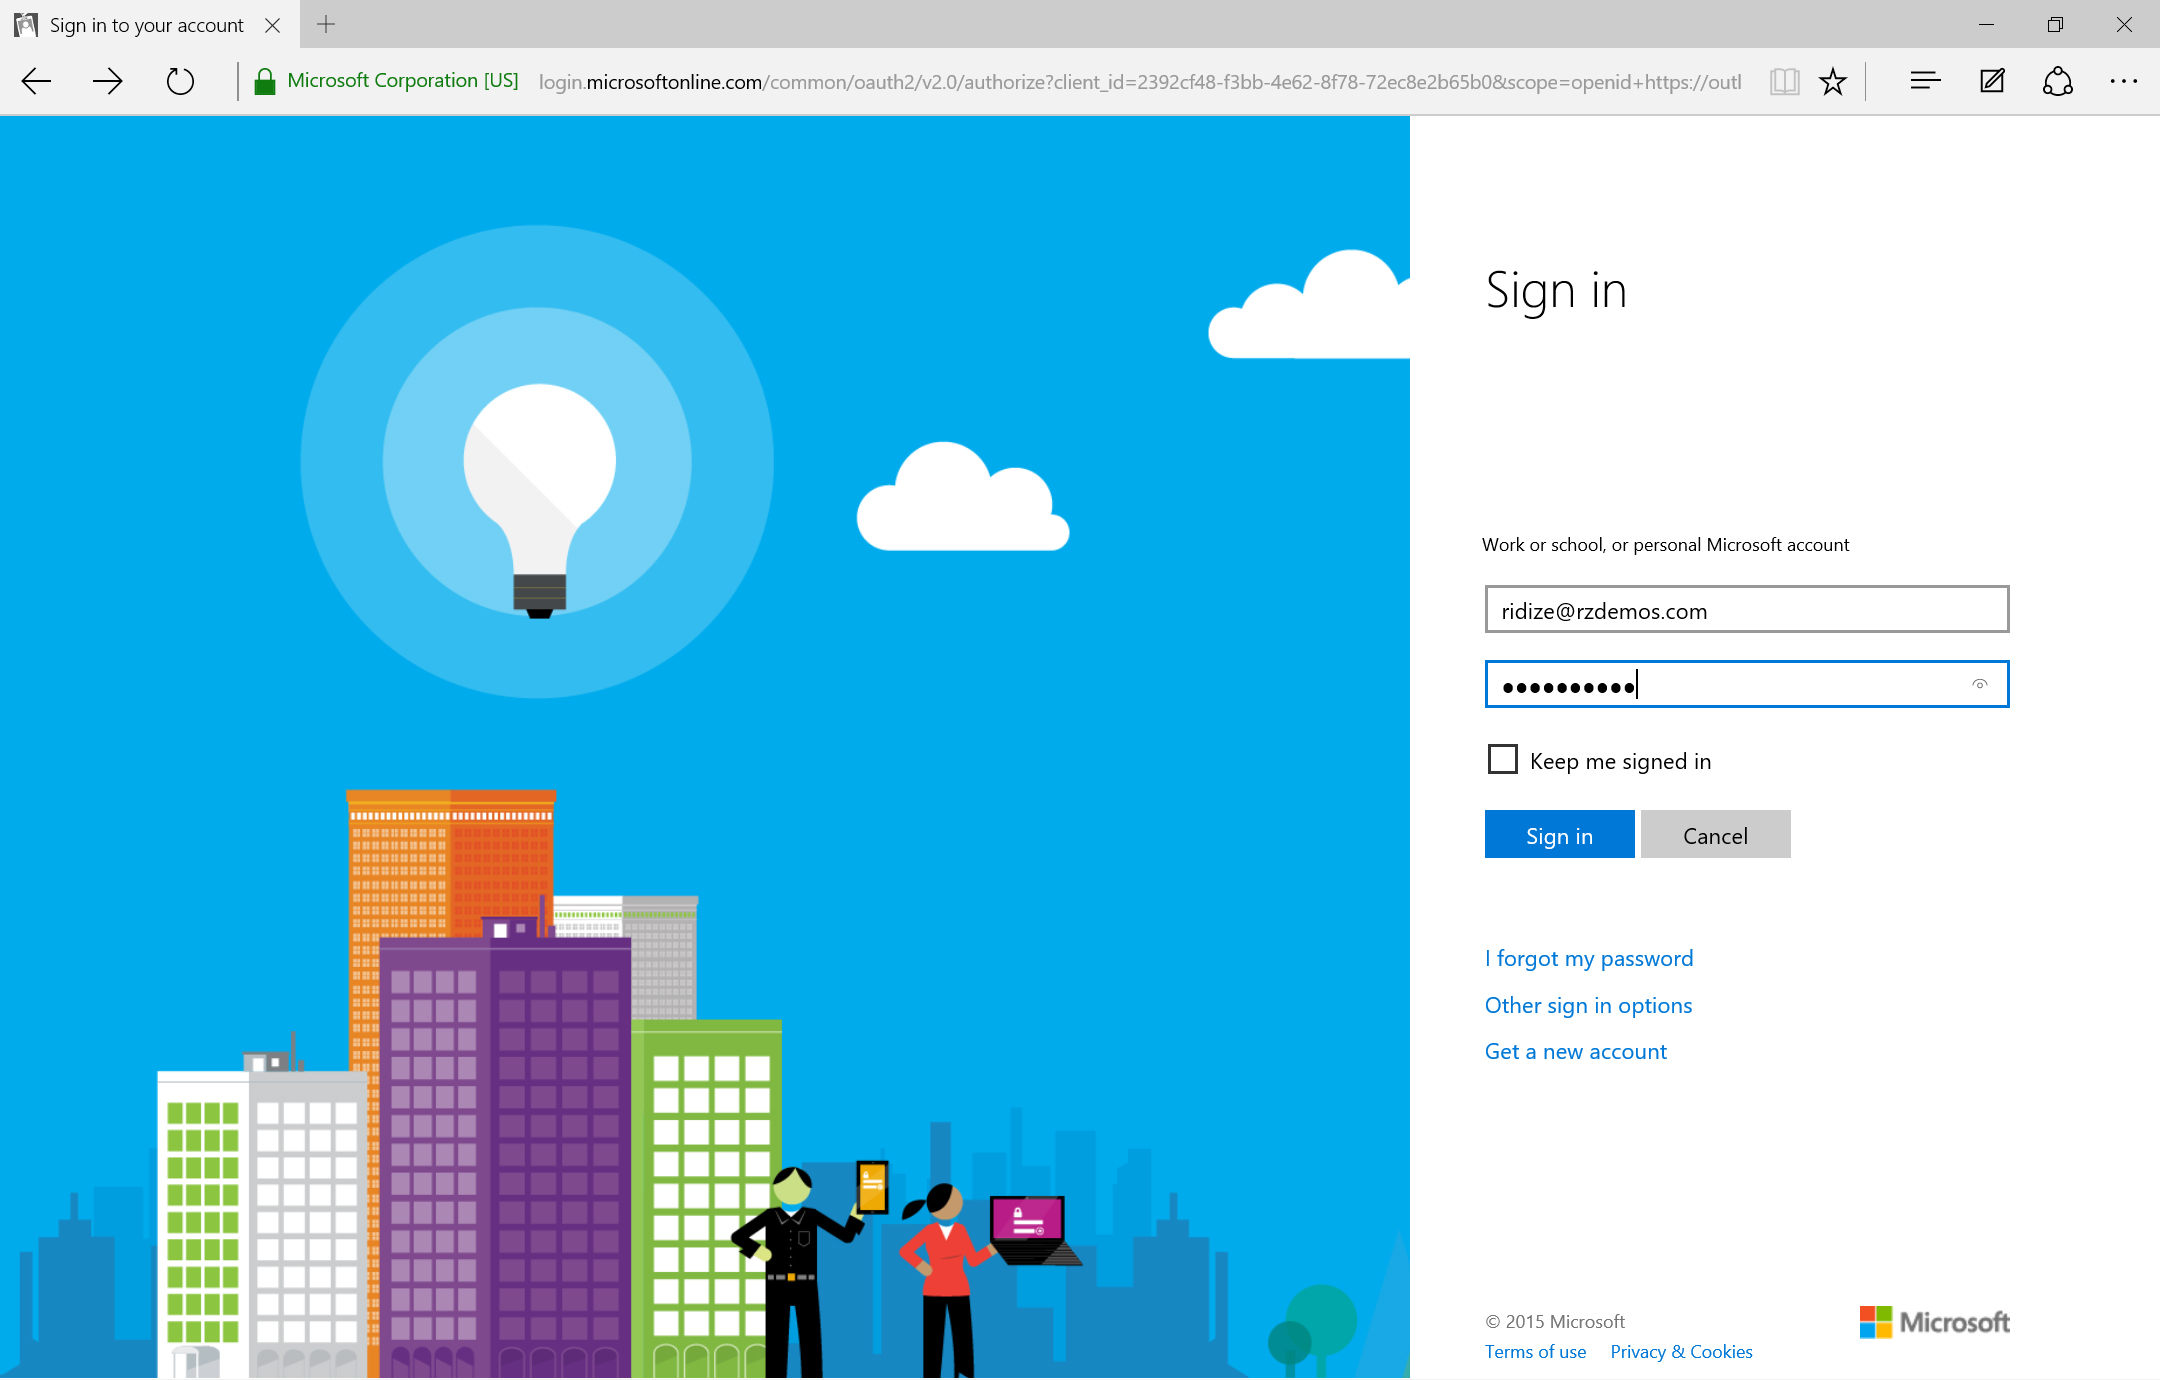 |
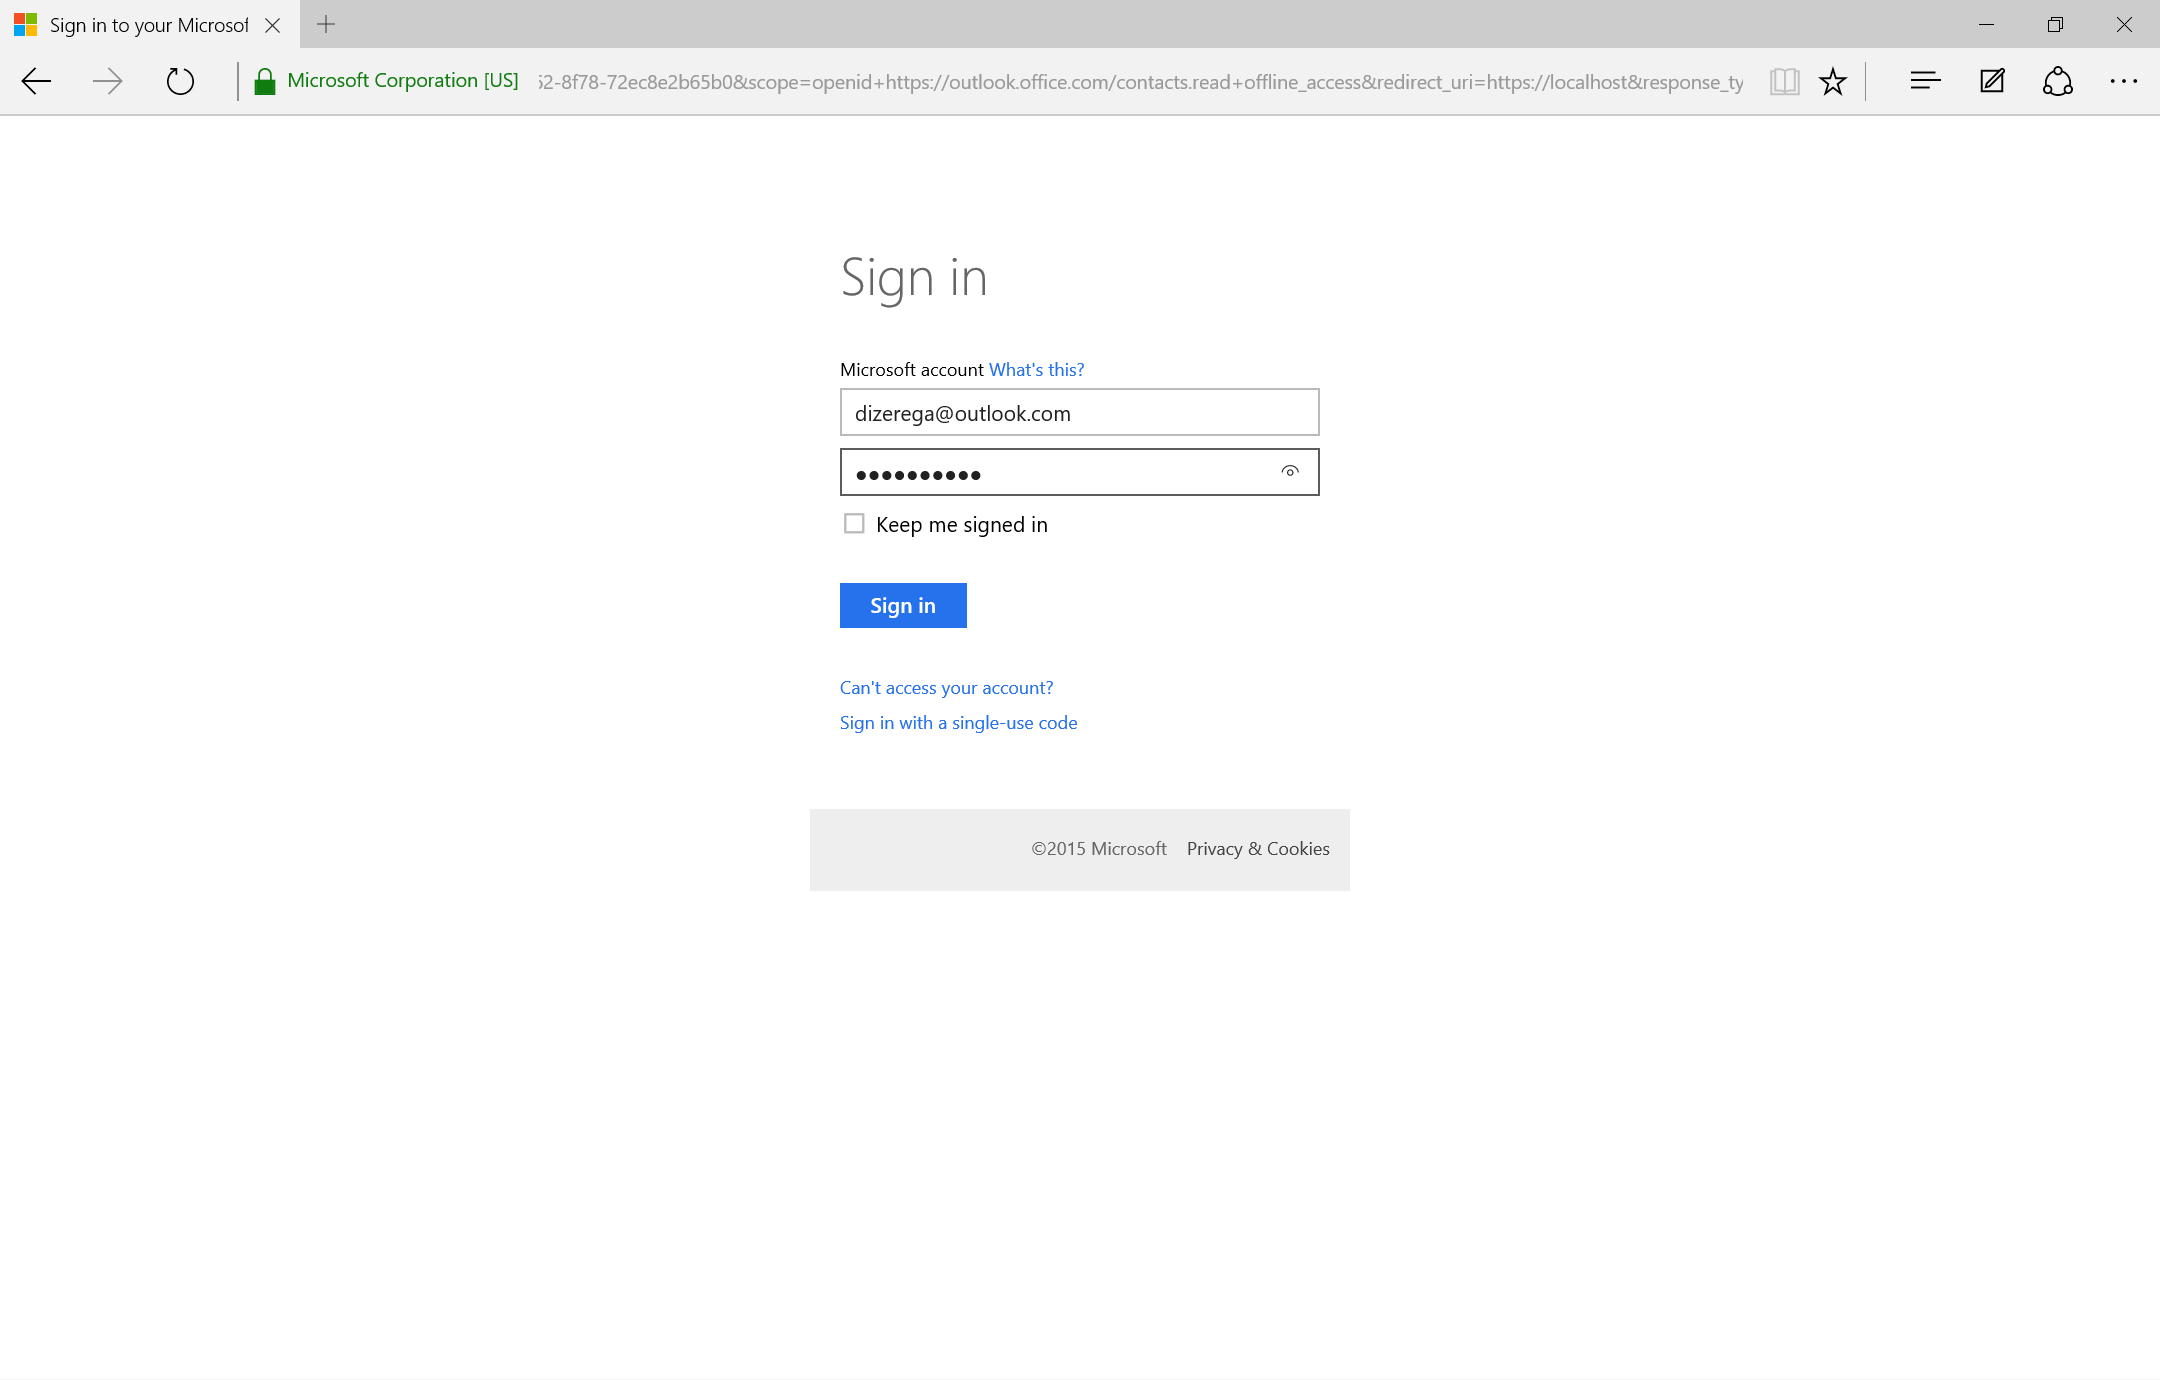 |
Once the user signs in, they will be asked to grant consent for the permissions the application is requesting. This consent screen will only display the first time through this flow. The screen will look a little different based on the type of account provided.
| Azure AD Grant Consent | MSA Grant Consent |
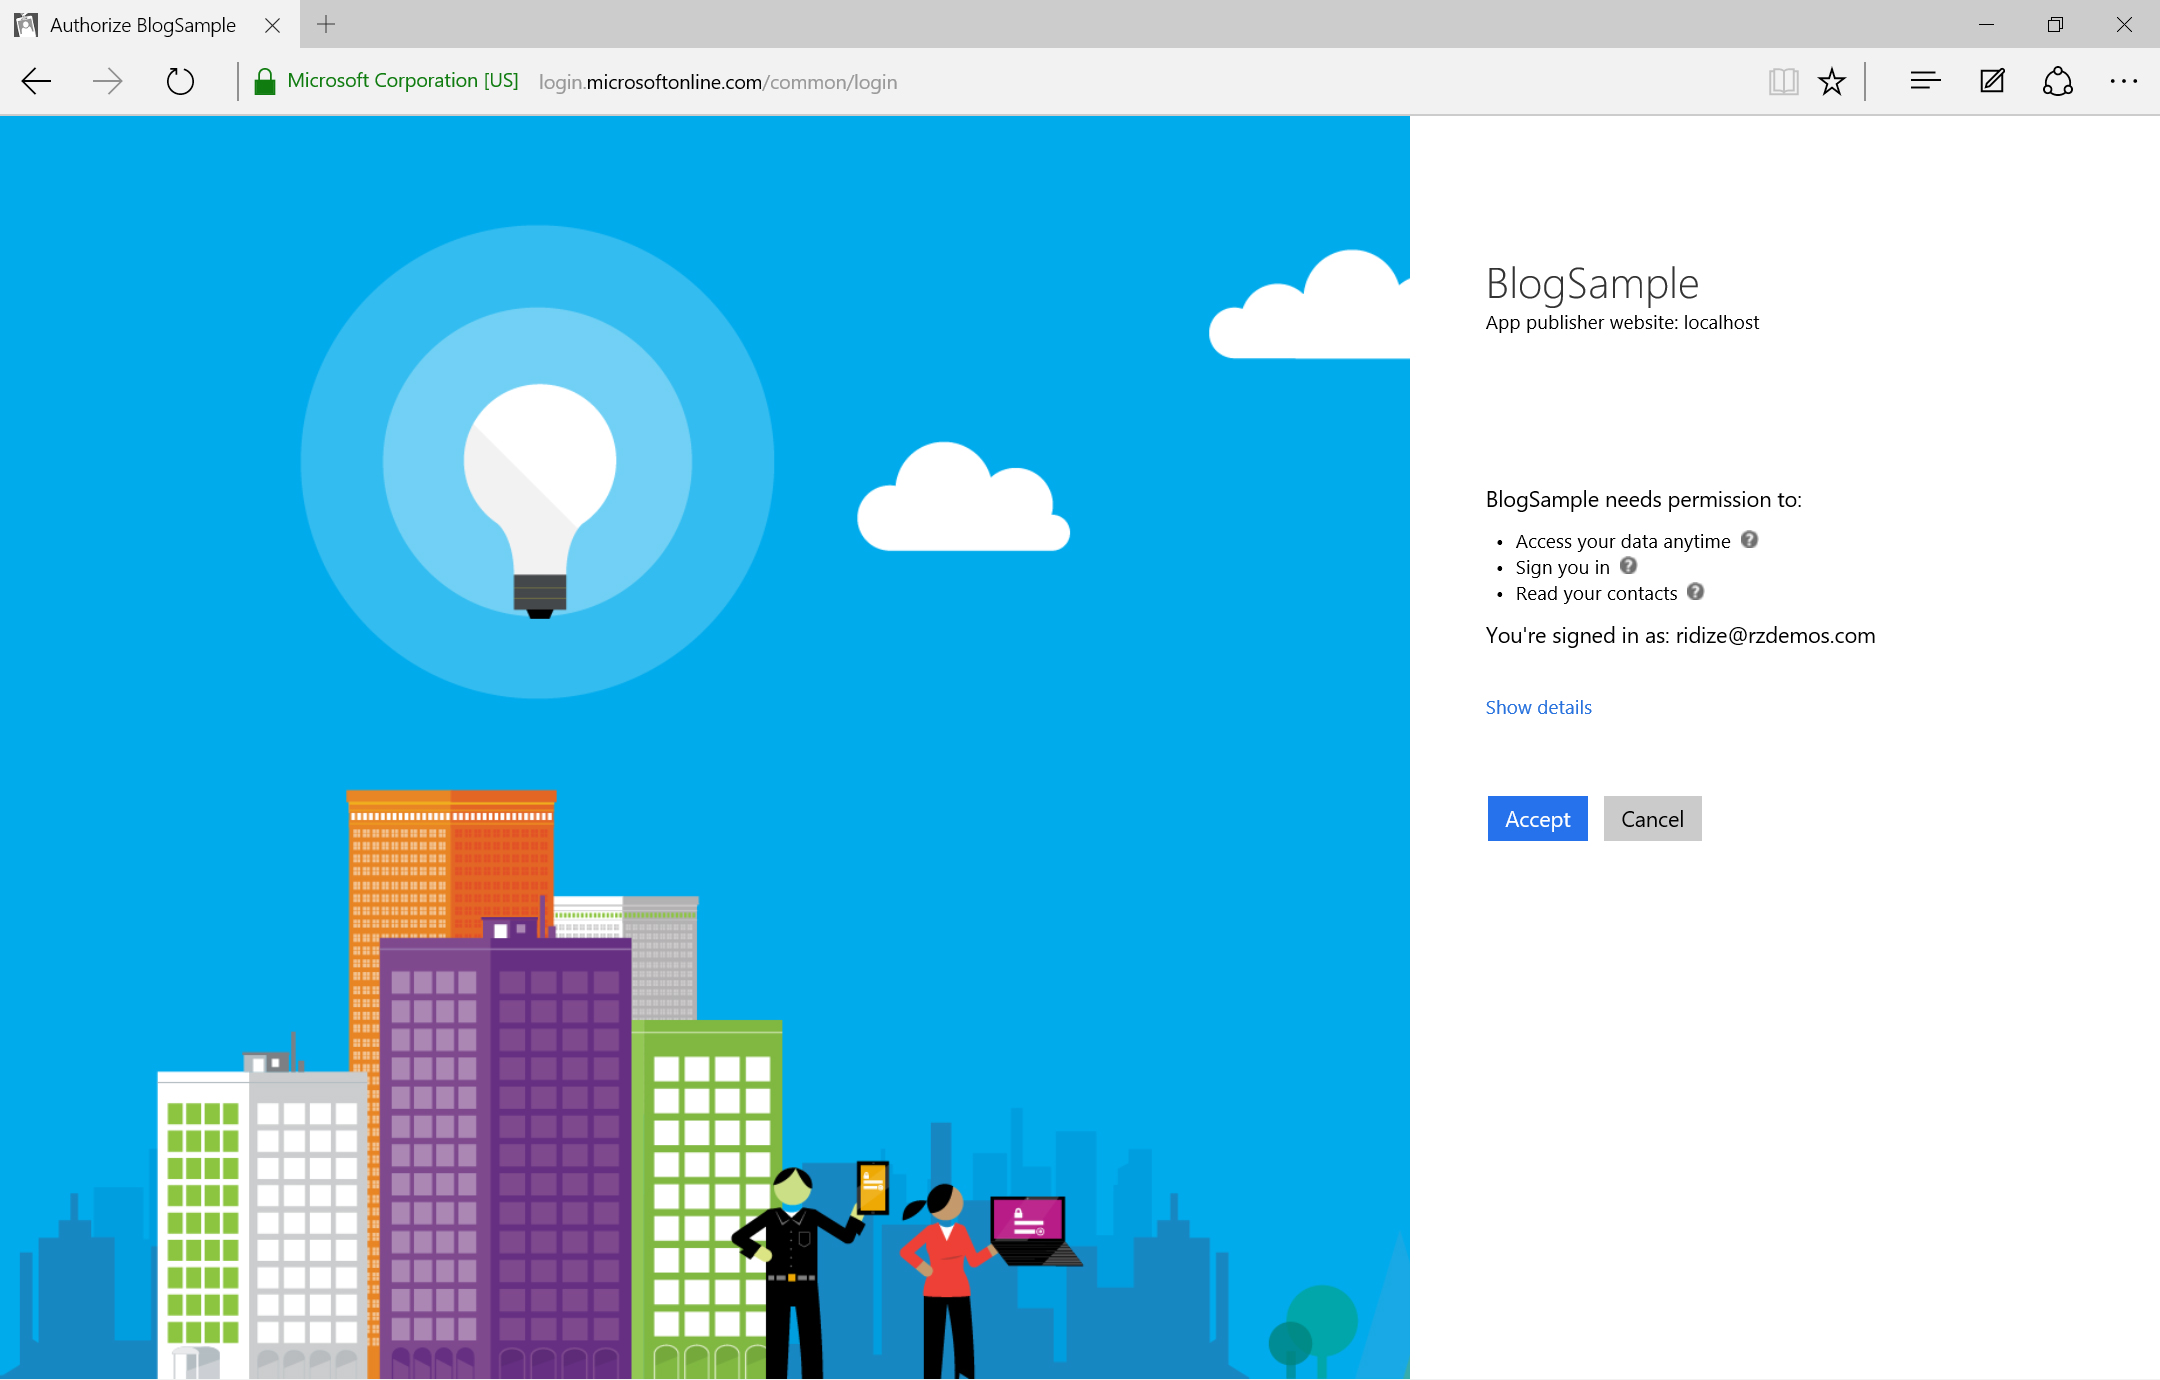 |
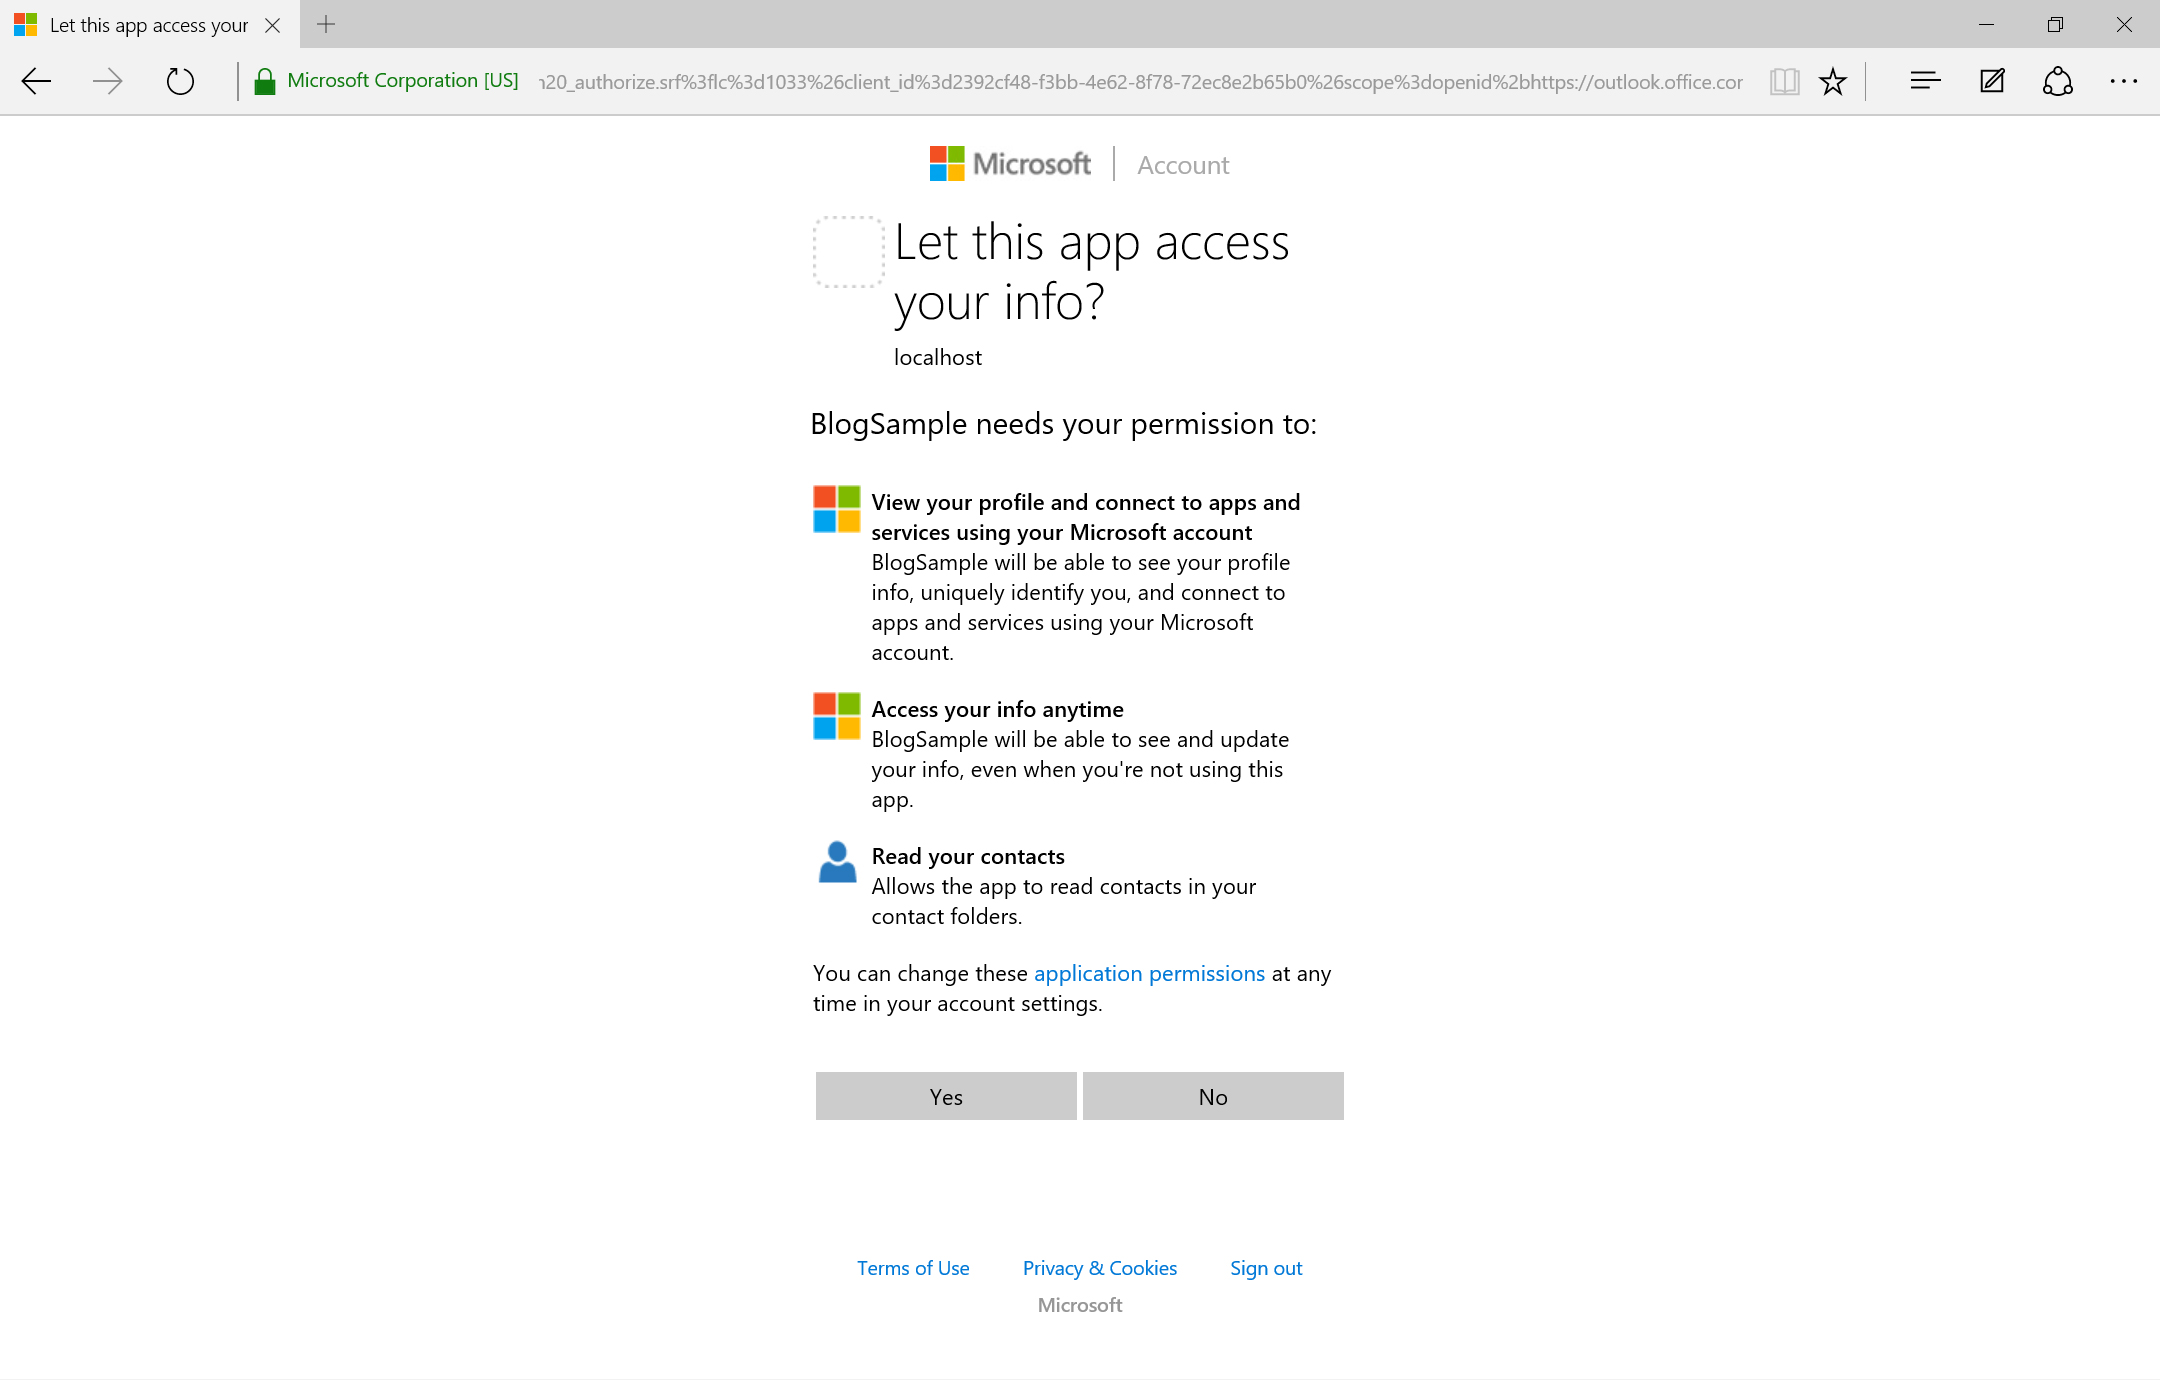 |
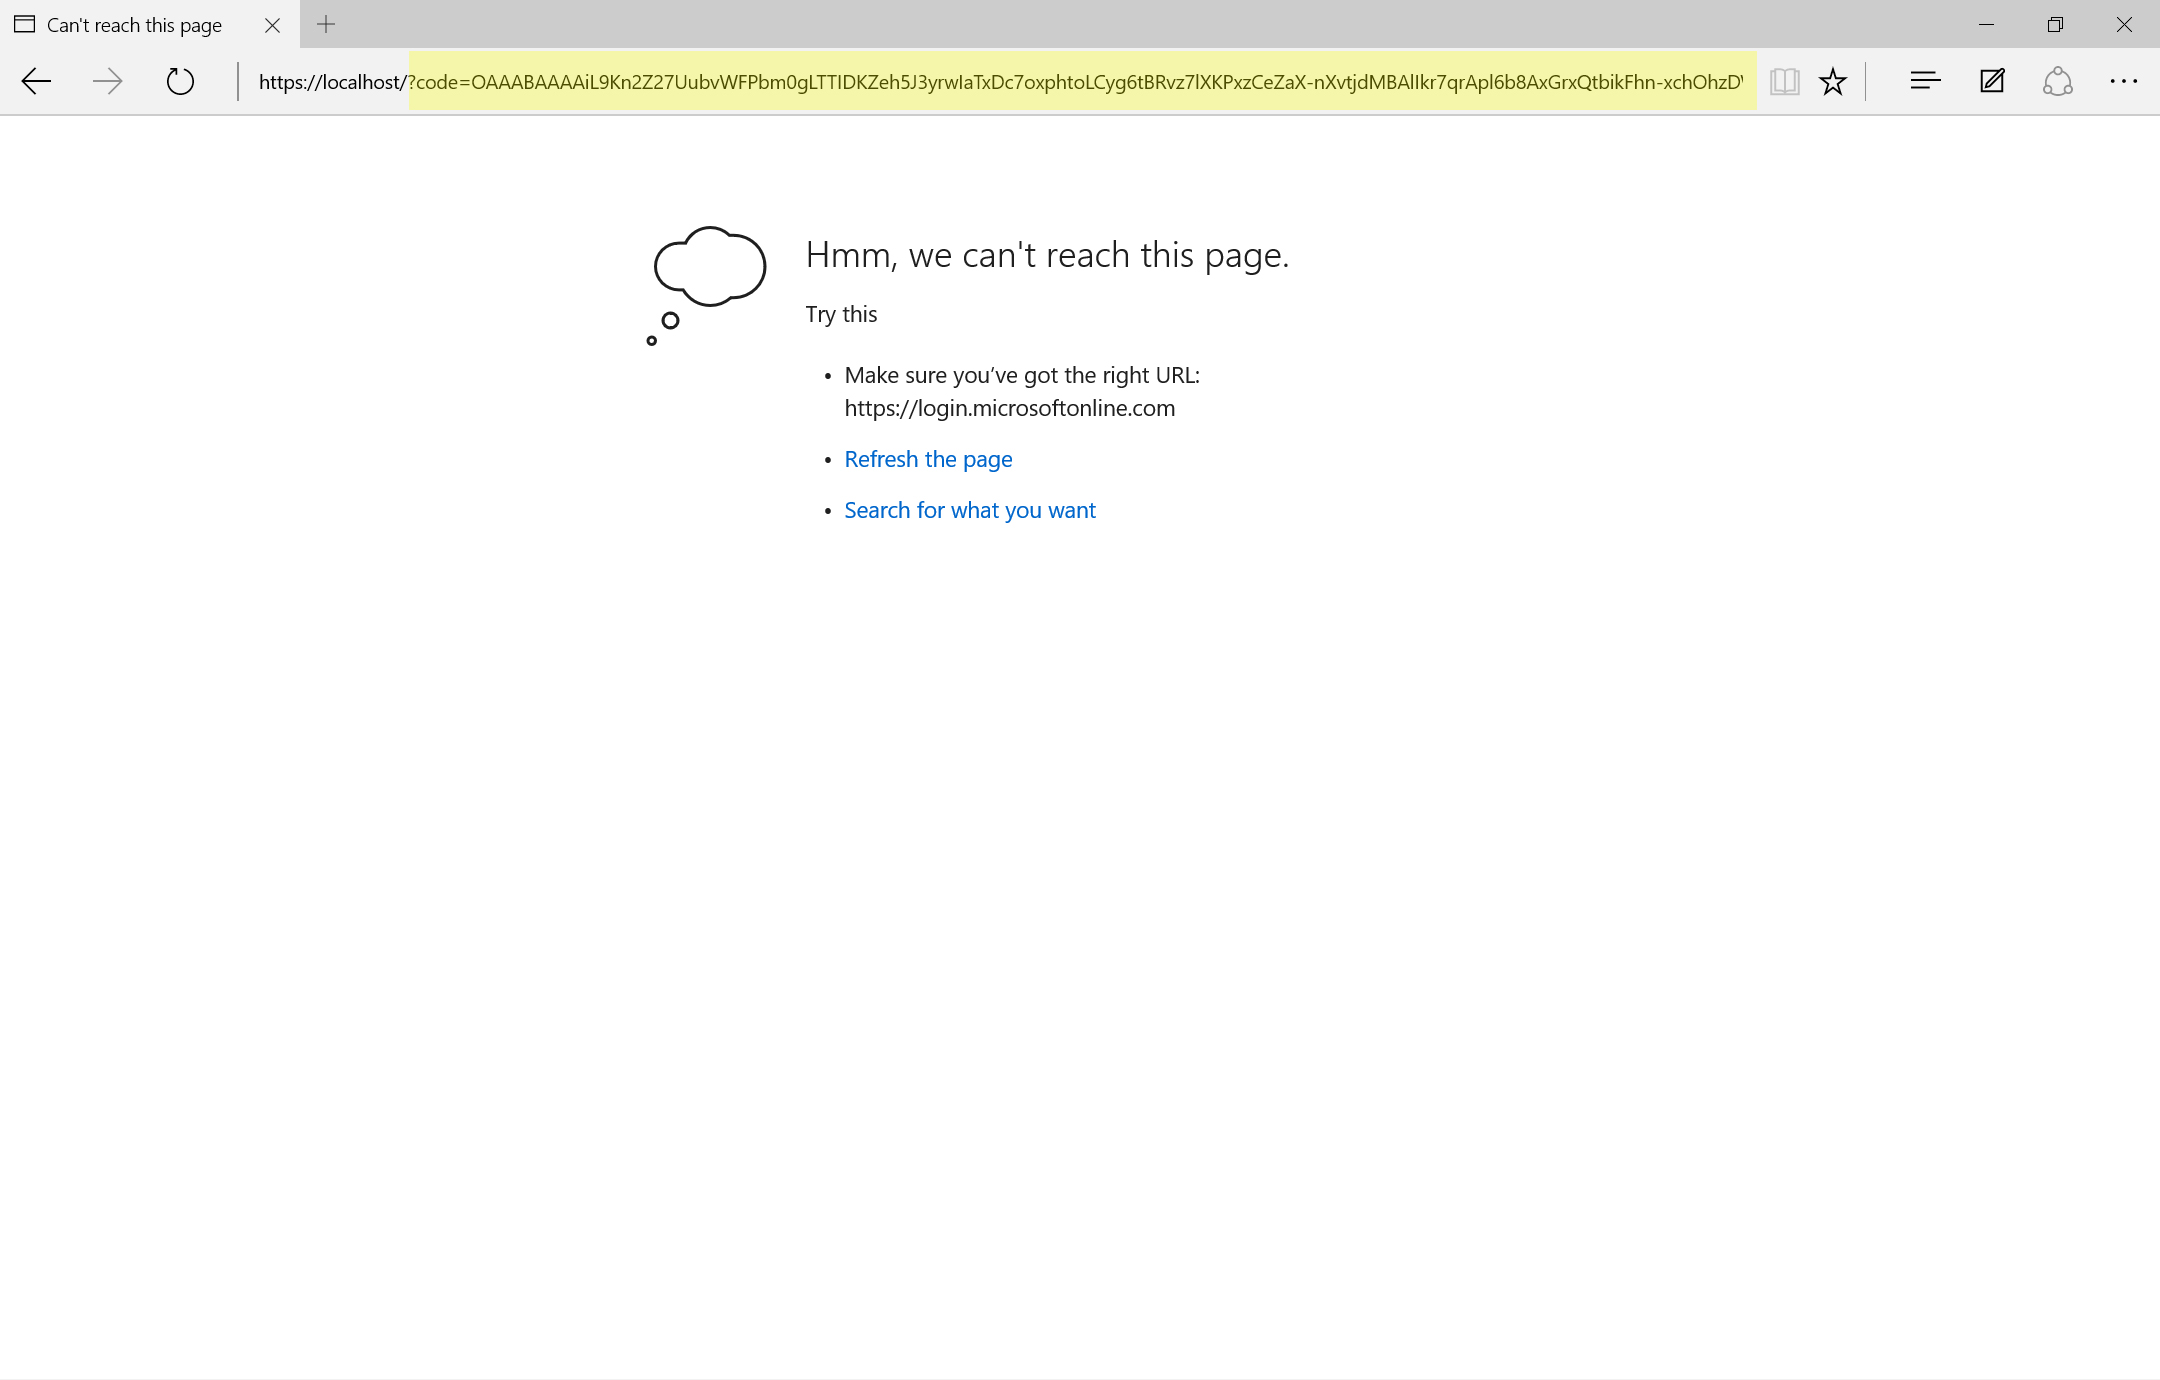
After granting consent to the application, the browser will be redirected to the location specified in the redirect_uri parameter. However, the authorization flow will include a code URL parameter as part of this redirect. This is your authorization code and completes this section!
Step 2 – Get Access Token
After acquiring the authorization code with the help of the user (logging in and granting consent) you can get an access token silently. To do this, POST additional app details (including the authorization code, application password, and permission scopes) to a token end-point in Azure AD. To perform the POST, you need a web request editor such as Fiddler or Postman. The end-point, headers, and body are listed below, but make sure you replace the placeholders with details from your app registration.
| NOTE: The token end-point also uses the new v2.0 end-point versioning. The POST body also uses the same scope parameters you used to get the authorization code. |
Get Access Token with Authorization Code
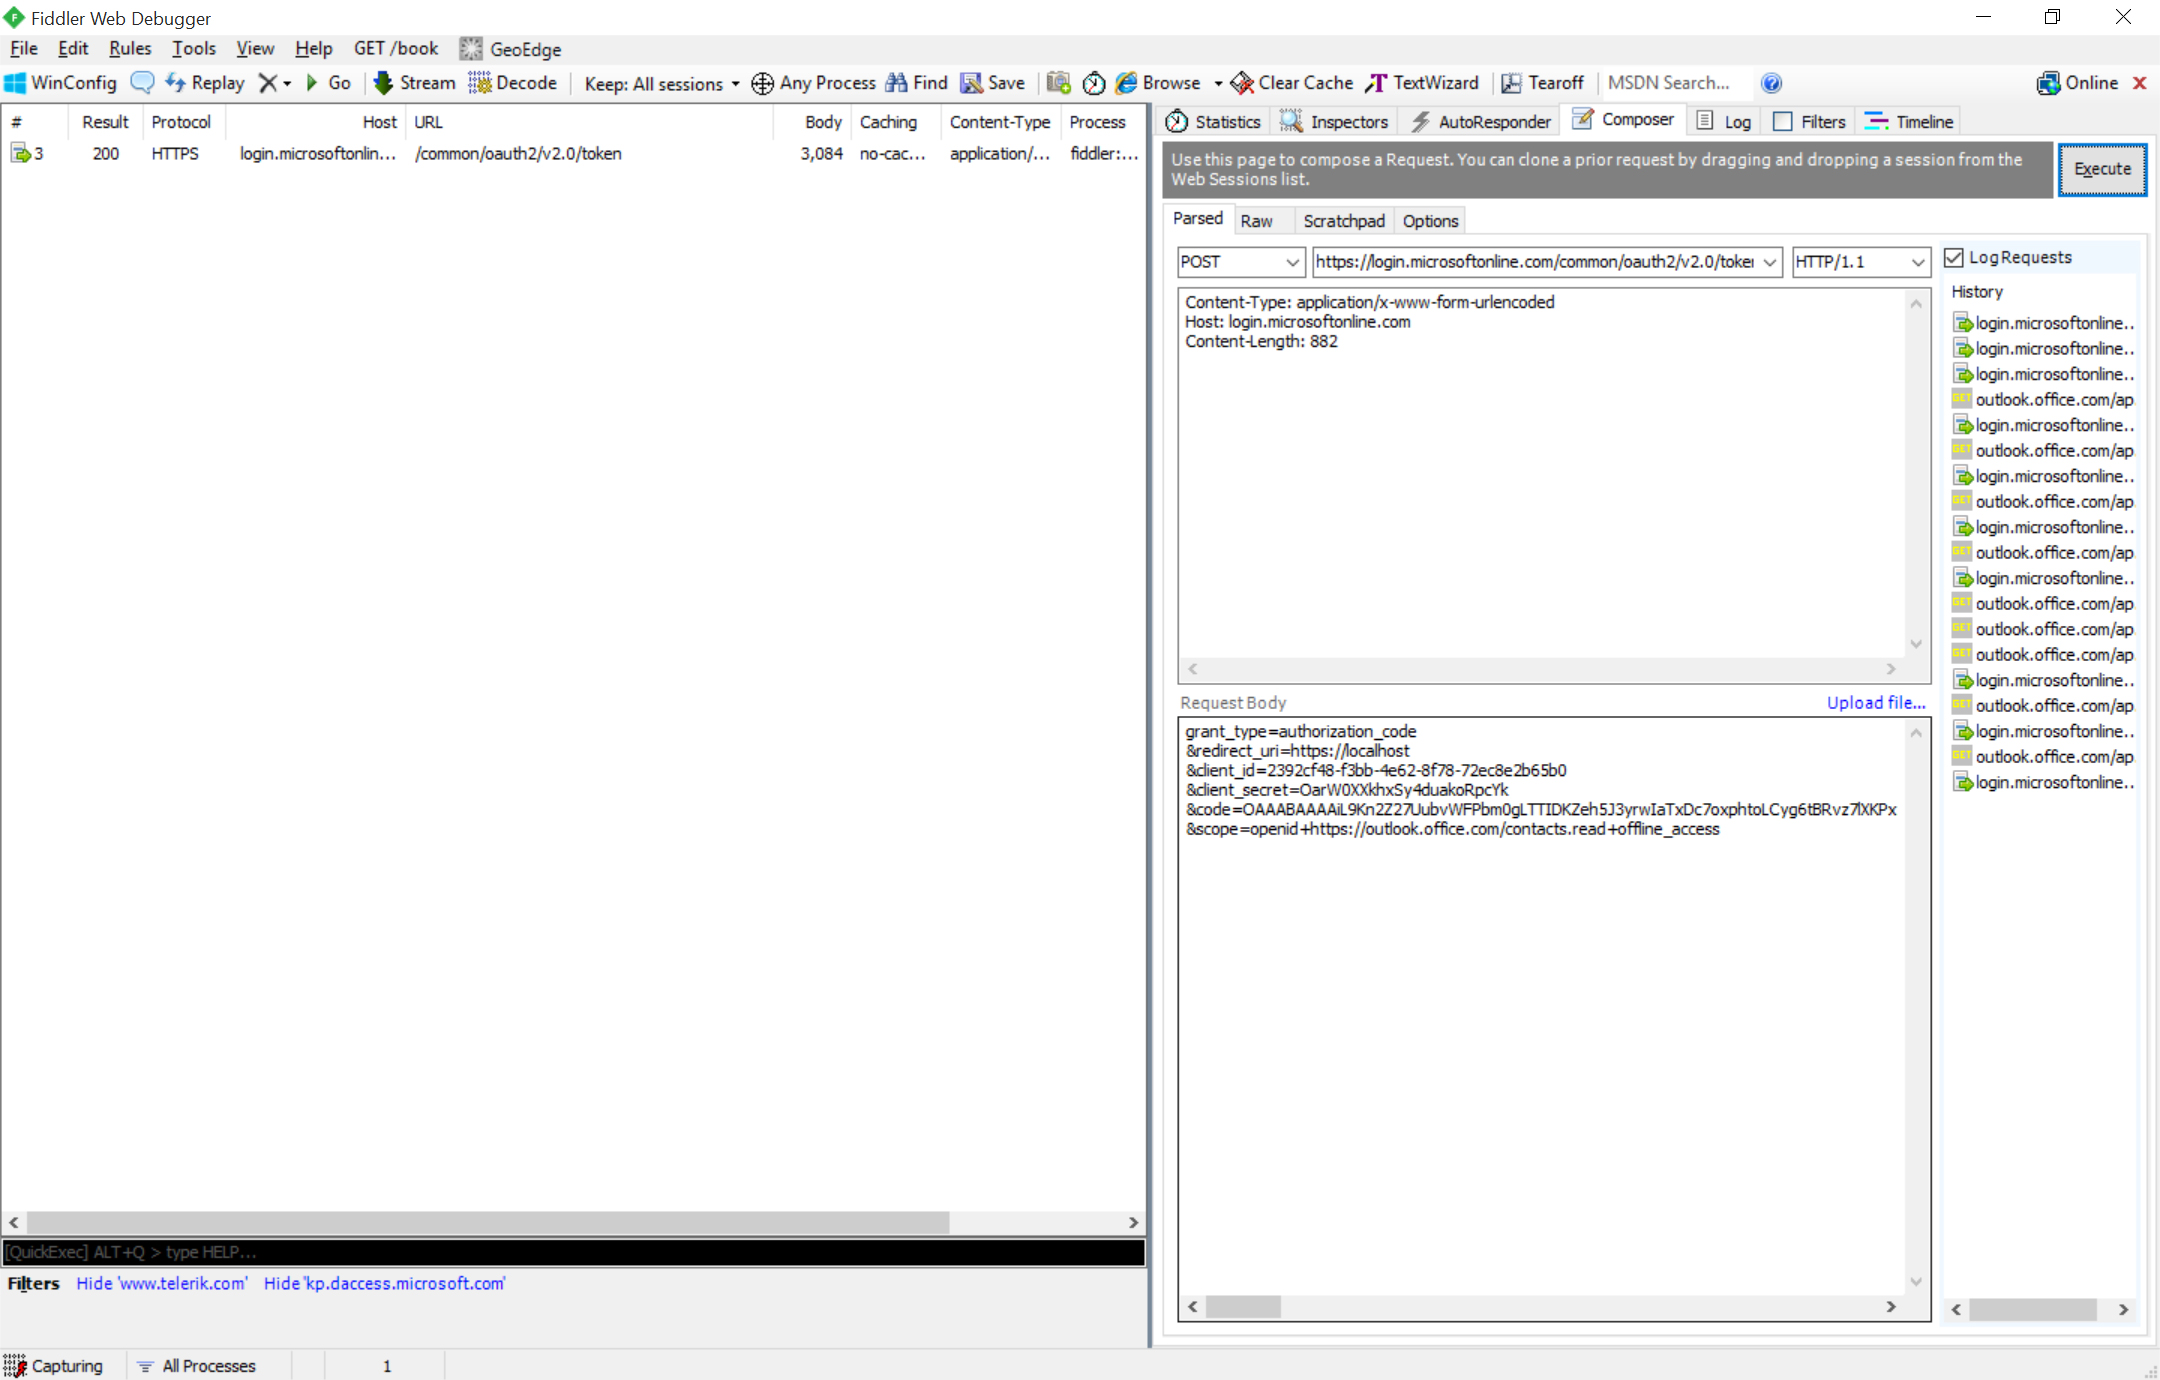
| Method: POST ----------------------------------------------------------End-Point: https://login.microsoftonline.com/common/oauth2/v2.0/token ---------------------------------------------------------- Headers: Content-Type: application/x-www-form-urlencoded ---------------------------------------------------------- Body: grant_type=authorization_code &redirect_uri= {paste your reply url} &client_id= {paste your client id} &client_secret= {paste your client secret} &code= {paste authorization code from previous step} &scope=openid+https://outlook.office.com/contacts.read+offline_access |
Here I’m using Fiddler’s Composer to perform the POST to get an access token.
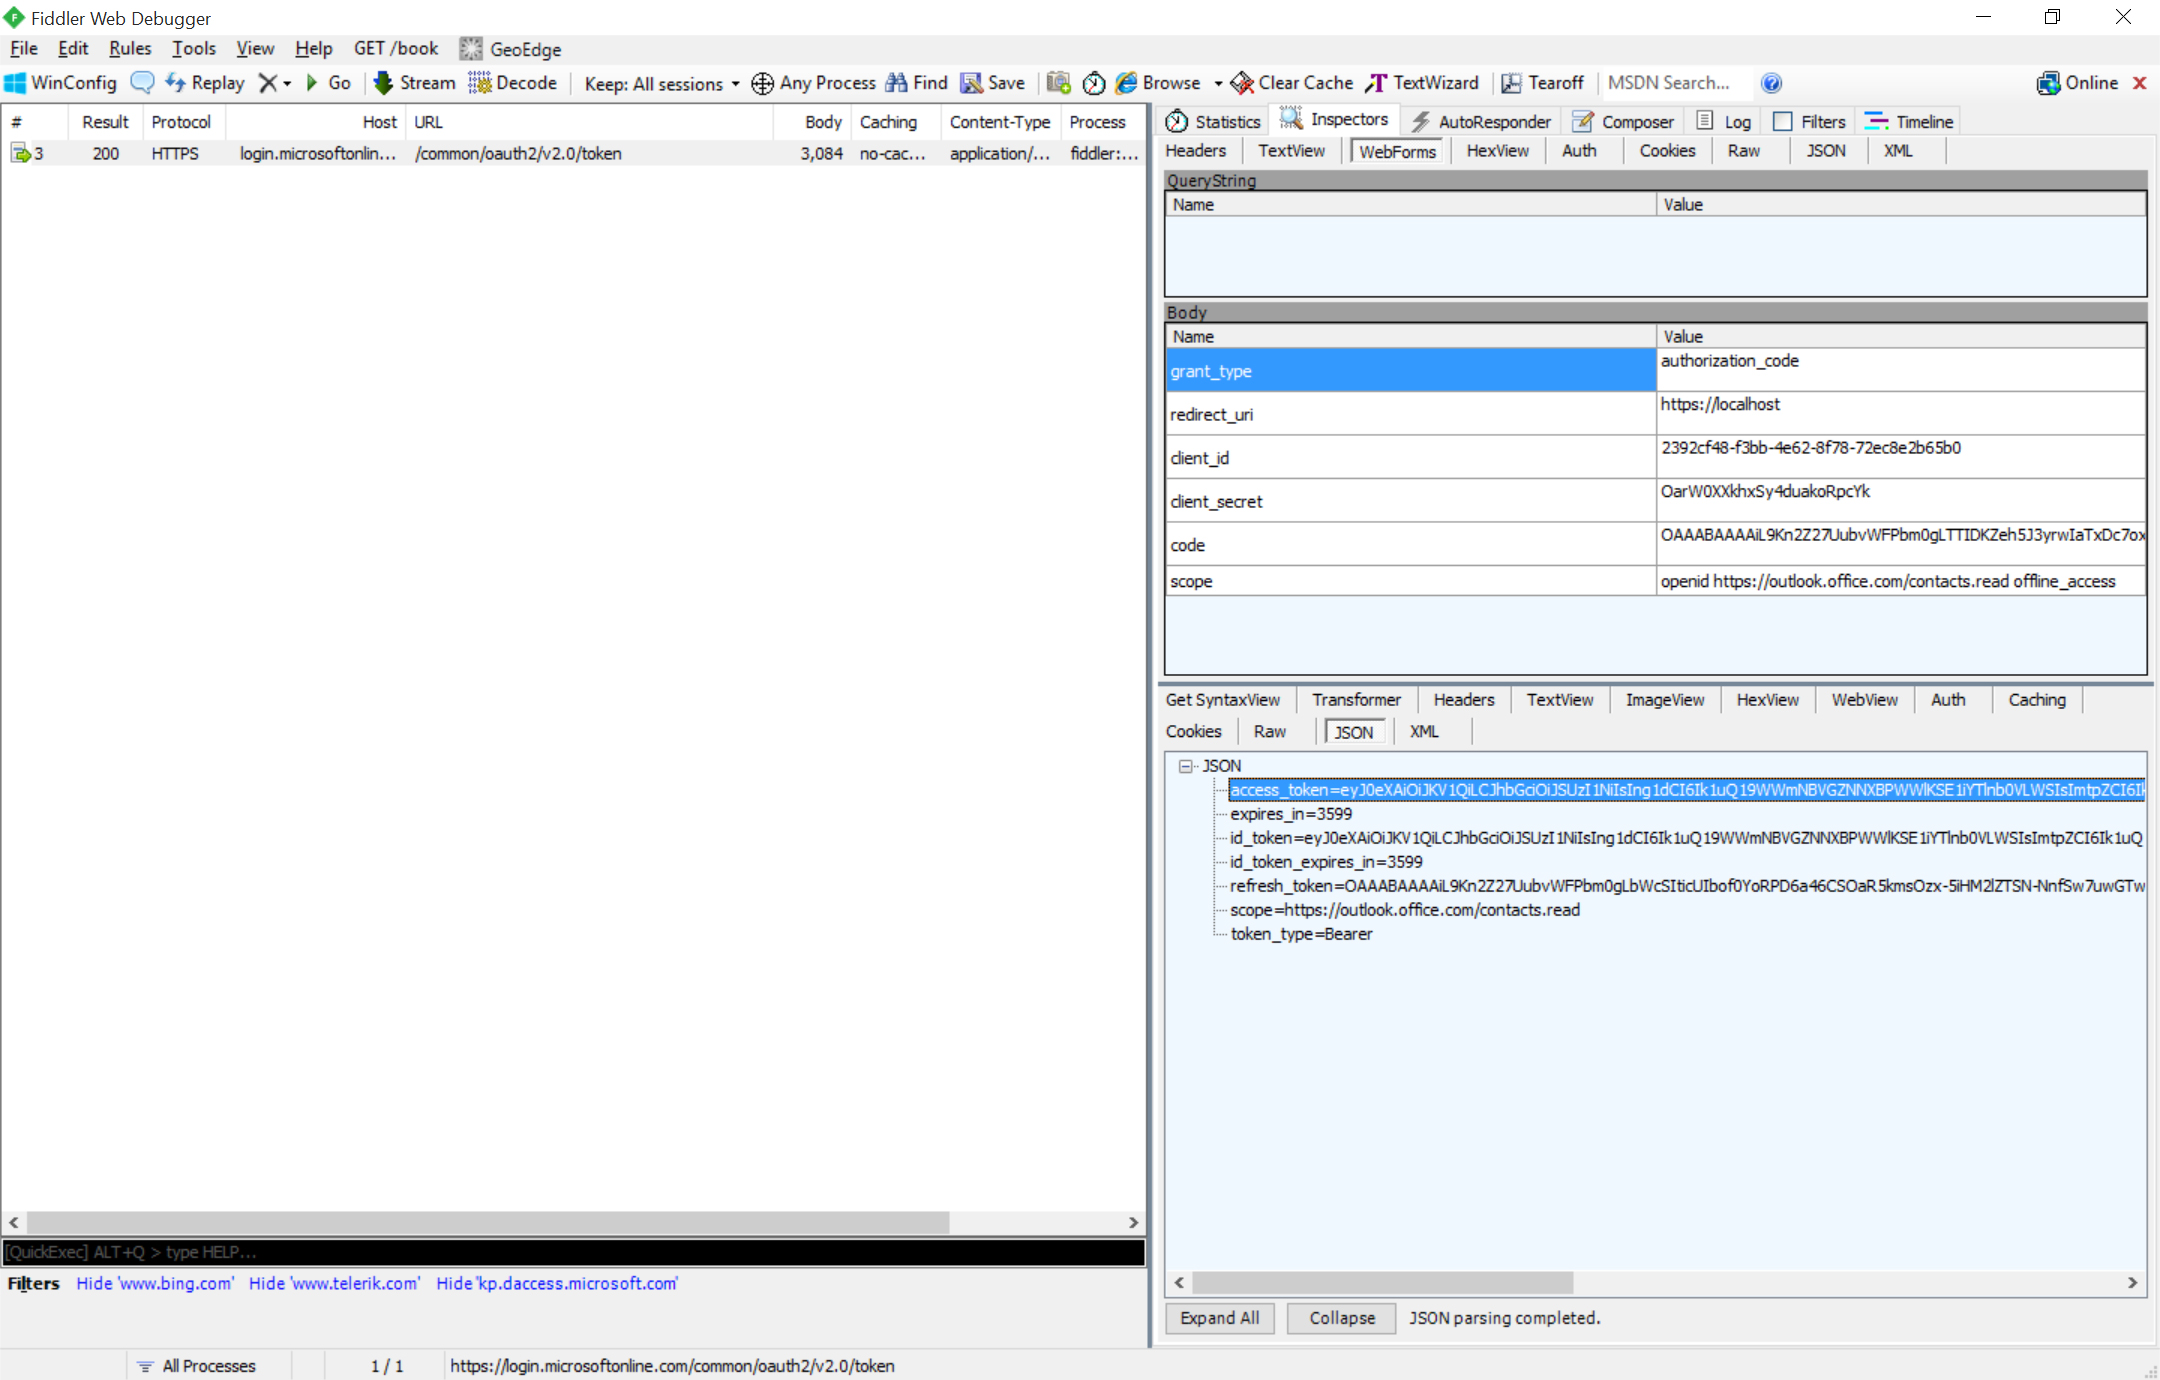
The response to this POST should include both an access token and refresh token (because we included the offline_access scope).
Step 3 – Call Service with Access Token
Congratulations…you have an access token, which is your key to calling services secured by the V2 application model. For the initial preview, only Outlook.com/Exchange Online services support this new flow. However, Microsoft is working hard deliver widespread support for this flow, so other popular services will become available very soon. For Outlook.com/Exchange Online, we can hit one API end-point and the service will determine which mail platform to use based on the token provided. Use an MSA account and the API will automatically go against Outlook.com. Use an AAD Account and the API will automatically hit Exchange Online in Office 365. It’s magic!
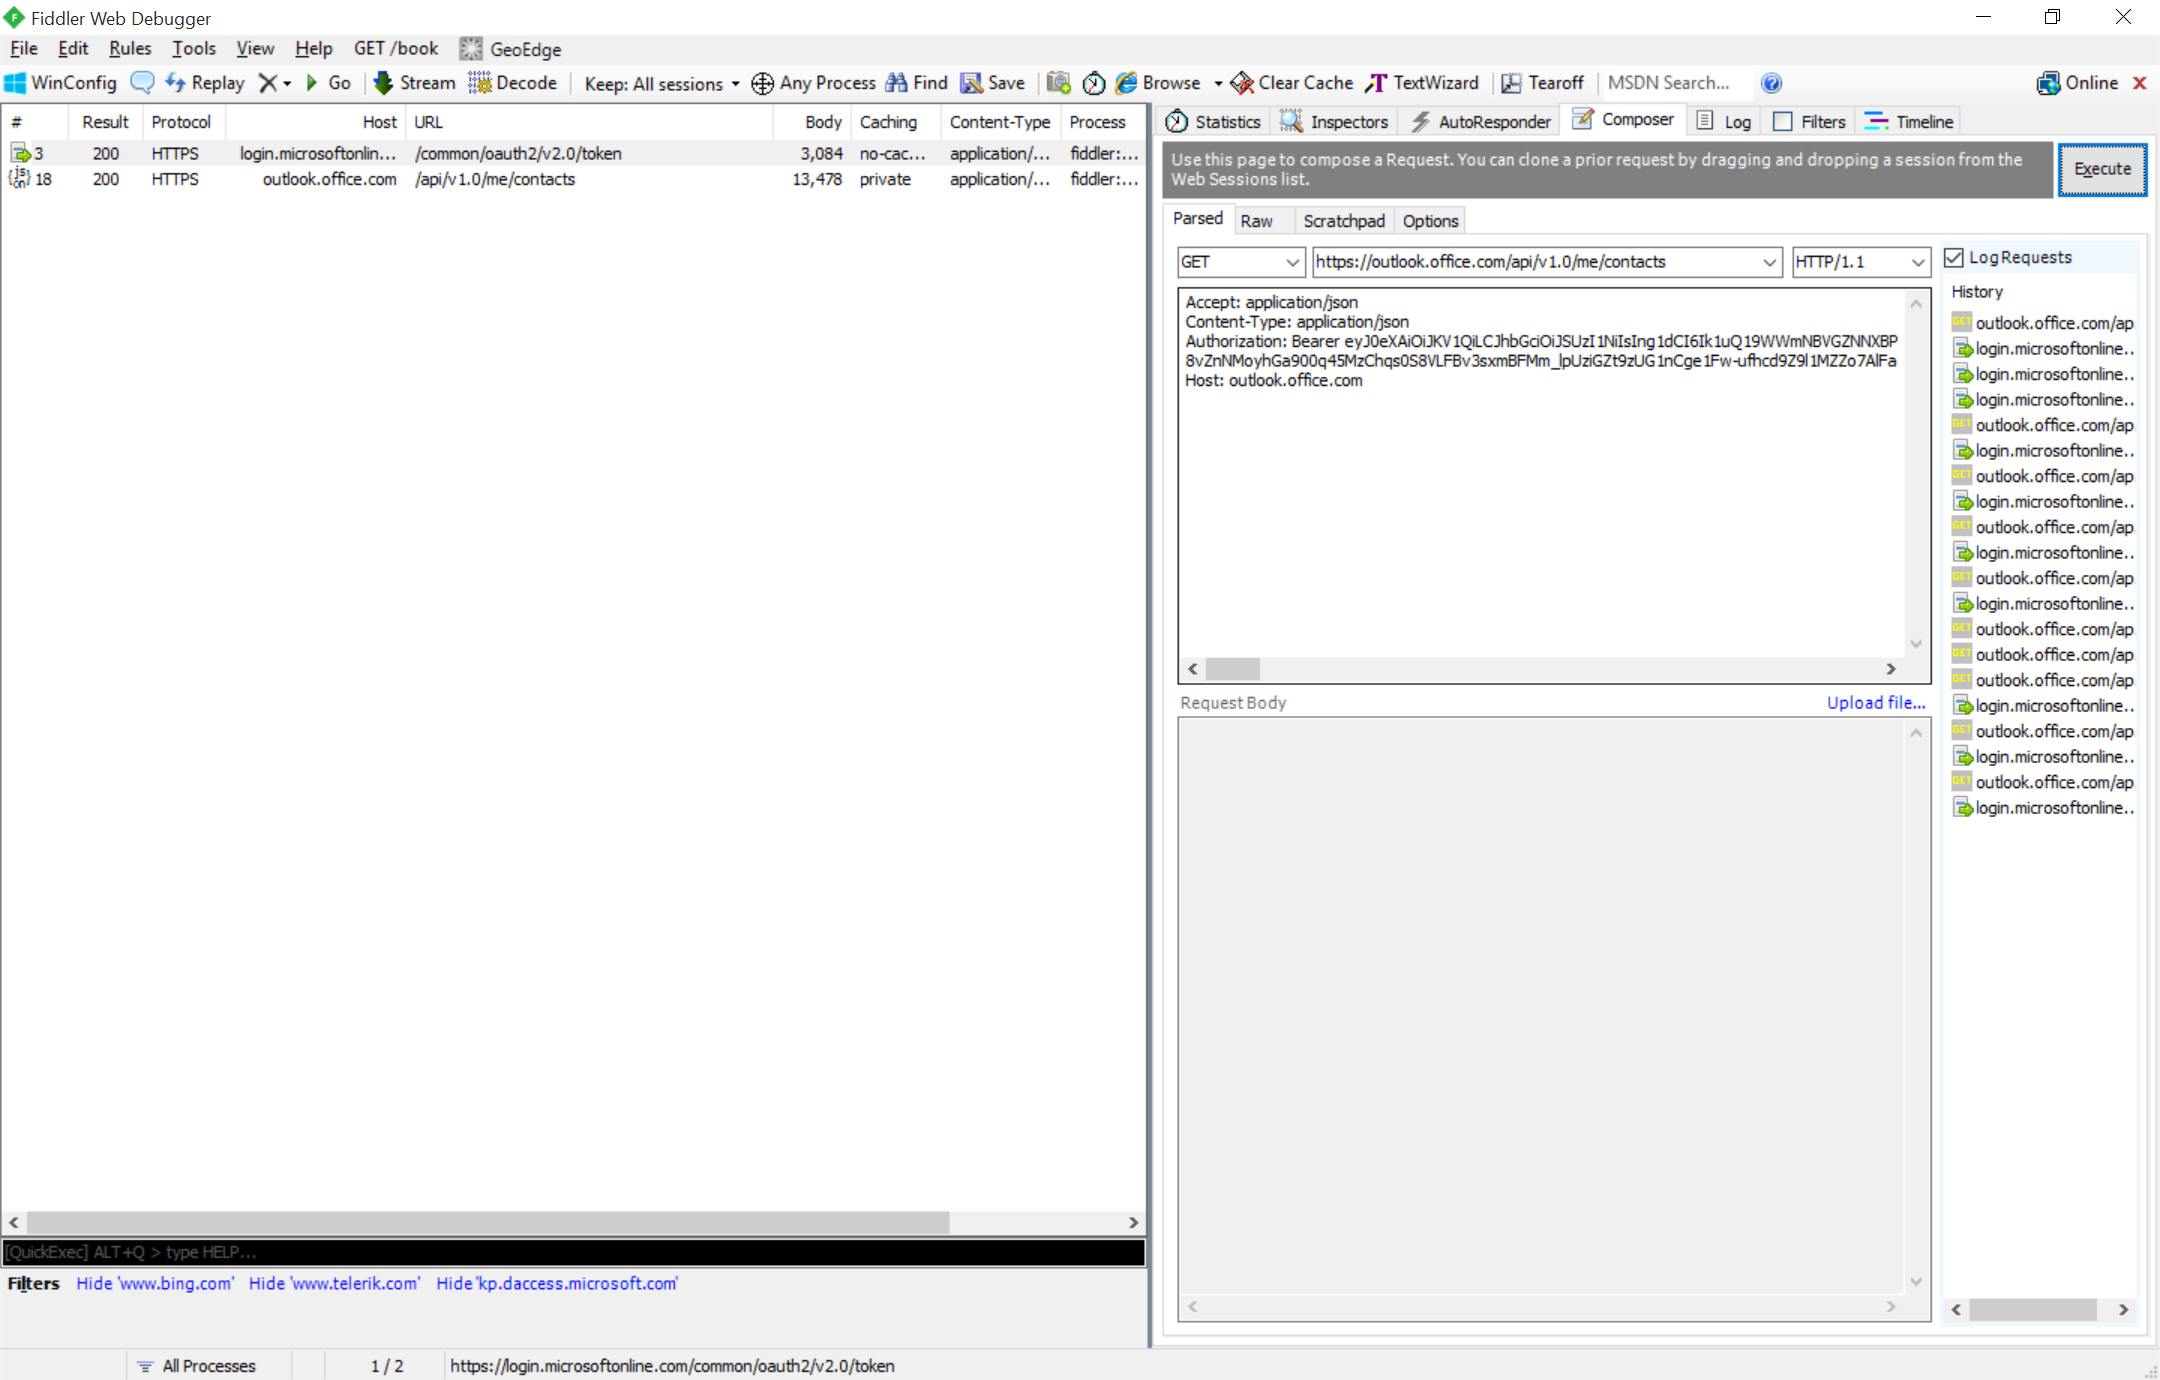
You can call a service in Outlook.com/Exchange Online using the web request editor. Use the REST end-point and headers below to GET contacts for the user. The header has a placeholder that should be replaced with the access_token acquired in the previous section.
Calling Outlook.com/Exchange Online REST API
| Method: GET---------------------------------------------------------- End-Point: https://outlook.office.com/api/v1.0/me/contacts ---------------------------------------------------------- Headers: Accept:application/json Content-Type:application/json Authorization: Bearer {access_token from previous step} |
| GET Composer | GET Response |
 |
 |
NOTE: There are millions of MSA around the world and not all of them have been migrated to support this flow. Microsoft is working hard to migrate all MSA accounts, but it won’t happen overnight. If your MSA account hasn’t been migrated, you will get a 404 response querying contacts with the following error: {"error":{"code":"MailboxNotEnabledForRESTAPI","message":"REST API is not yet supported for this mailbox."}} |
Conclusion
App Unification…OAuth Unification…End-Point Unification…goodness all around! I’ll be posting an actual code sample in the next few days, so check back soon. Below is a raw text file with the calls used in this post:
https://raw.githubusercontent.com/richdizz/Azure-AD-v2-Authorization-Code-Flow/master/OAuthRaw.txt
Comments
Anonymous
September 06, 2015
I've got invalid_scope error when I did a authorization code Post request to get access token: { "error": "invalid_scope", "error_description": "AADSTS70011: The provided value for the input parameter 'scope' is not valid. The scope openid+outlook.office.com/contacts.read+offline_access is not valid.rnTrace ID: 3e9cefd5-8f91-4429-bcd9-4cb7fb58d8f1rnCorrelation ID: 709395cb-454c-4f02-a08e-ddccfe5eb00drnTimestamp: 2015-09-07 06:58:17Z", "error_codes": [ 70011 ], "timestamp": "2015-09-07 06:58:17Z", "trace_id": "3e9cefd5-8f91-4429-bcd9-4cb7fb58d8f1", "correlation_id": "709395cb-454c-4f02-a08e-ddccfe5eb00d", "submit_url": null, "context": null } Below is what I passed for the scope value: "scope": "openid+outlook.office.com/contacts.read+offline_access"Anonymous
September 12, 2015
@Ahmad I think you need https:// in your scope. So the scope should be: "openid+outlook.office.com/contacts.read+offline_access"Anonymous
September 12, 2015
The comment has been removed
