manually deploying dpm 2010 agent
After deploying DPM2010, you will need to deploy an agent on any client you want to protect.
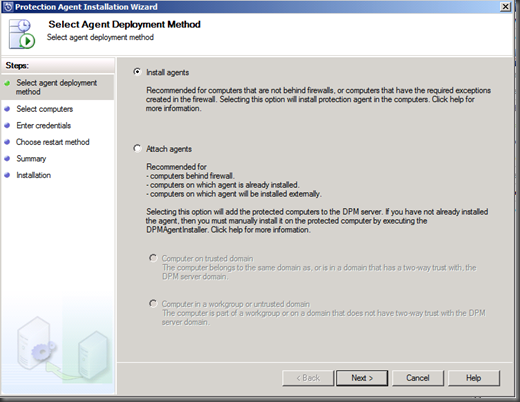
You can choose to automatically deploy your agents, by running the wizard in the DPM 2010 Administrator Console:
Or you can choose to manually deploy an agent.
When deploying a DPM agent manually, there are two steps envolved:
1. Install the agent
2. Attach the agent to your DPM server.
Let’s have close look at these steps…
Step 1: Install the agent
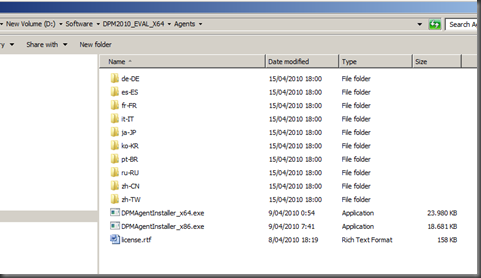
To install the agent, you can use the source files available in the source files of DPM:
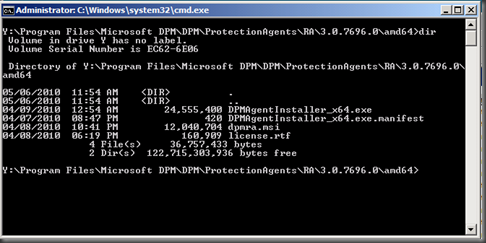
Or you can use the source files deployed on your DPM server:
When running the executable, you can immediately add the name of your DPM server, if you don’t, you need to run afterwards SetDPMServer, to configure the necessary security permissions for the DPM server, and to configure the firewall to enable DPM agent to interact with the DPM server.
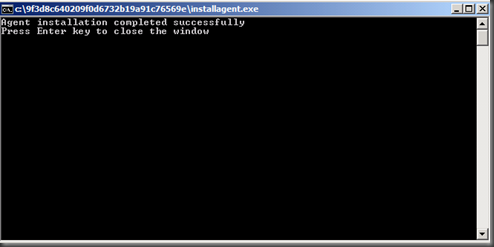
When the agent has installed, I just need to press enter to close the window:
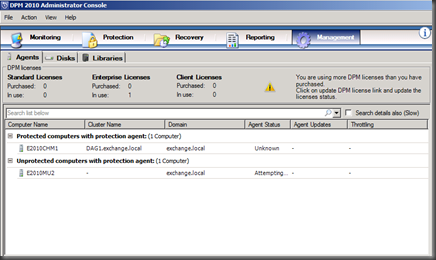
After running DPMAgentInstaller_x64.exe on my server E2010MU2, I need to run SetDPMServer as can be seen below.
Step 2: Attaching the Agent to the DPM Server
To attach the agent to the DPM server, you have two options:
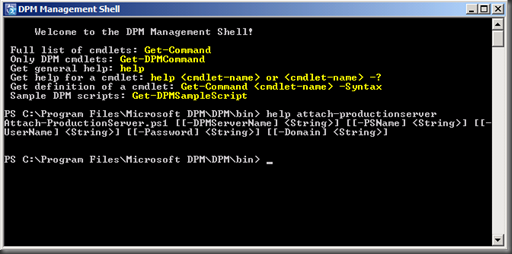
- On your DPM server, launch the DPM Shell, and run the script Attach-ProductionServer
- Or use the new wizard introduced in DPM 2010 to attach your agent.
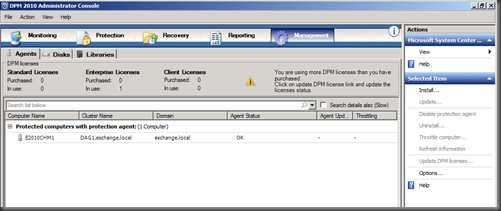
Open your DPM Administrator Console, go to Management, and select Install:
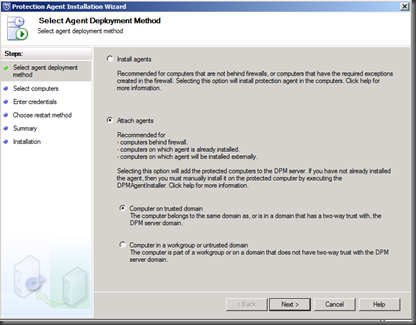
This will launch the Protection Agent Installation Wizard, and there you can select Attach agent:
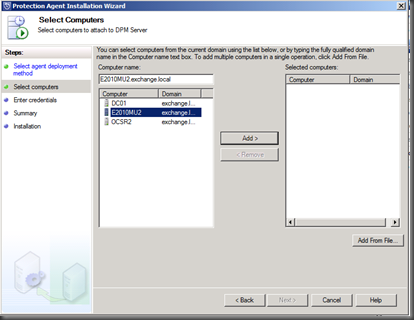
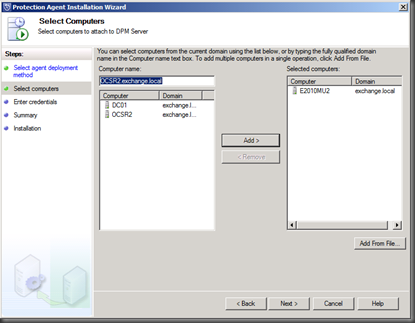
Select the computer:
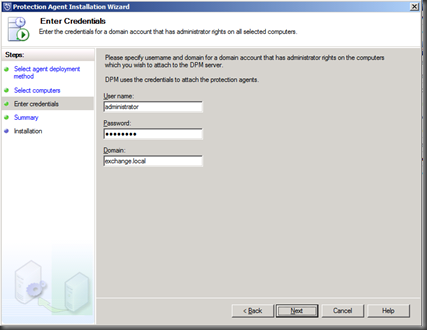
Specify a username, password, and domain for a domain account that has administrator rights on the computer that you want to attach to the DPM server.
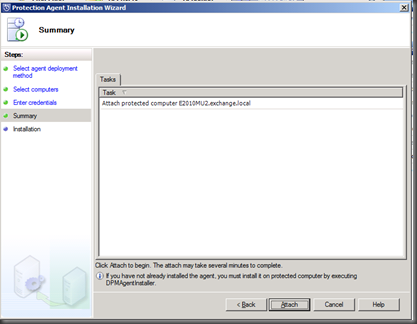
Review the summary….
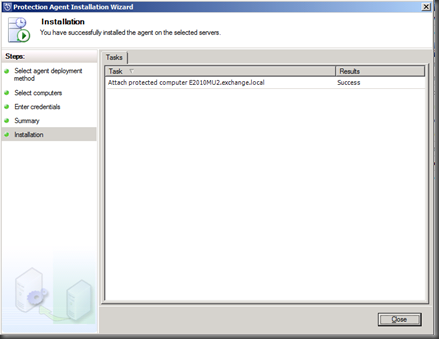
The protected computer will be attached :-)
And that’s it… now time to create protection groups, and get protected!
Ilse
