Version Control with Git for MP Authors – part 3
Our little journey into Version Control for MP Authors continues. You can find the other part(s) here:
- Version Control with Git for MP Authors – part 1: General information
- Version Control with Git for MP Authors – part 2: Creating and using a local repository
This part covers
- how to sync your local to a remote repository in Visual Studio Team Services (former Visual Studio Online)
- how to clone a remote repository on a remote machine
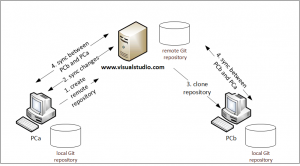
- how to use the remote repository as a hub to sync changes between two local repositories
or better shown as an overview picture:
What requirements do we need for this part?
- a Windows machine with Visual Studio 2013/2015 and VSAE installed
- latest Git release installed (like described in part 1)
- a local demo MP project (as created in part 2)
- an account for Visual Studio Team Services (VSTS)
Which remote repository should I use?
This is completely up to you. You can either build your own remote repository server or use popular ones like GitHub or our own Microsoft Visual Studio Team Services (former Visual Studio Online). Both products are well integrated into your local Visual Studio. For this post I will choose VSTS.
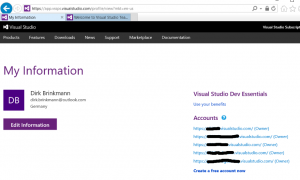
So, let’s get started. Log on to your VSTS account …
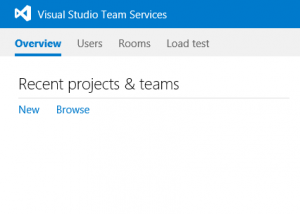
… and either select an existing account or create a new one. My selected account does not contain any projects yet:
Publish your local repository to Visual Studio Team Services - the easy way
There are multiple ways to accomplish that, but the easiest one is by using the built-in capabilities of Visual Studio. Open up your MP project and switch to the Team Explorer’s Home view. There you will find a “Sync” button:
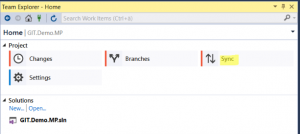
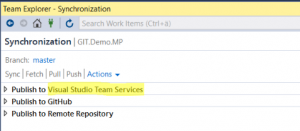
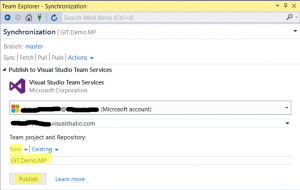
This leads to the Synchronisation menu where you can find multiple ways to publish your local repository: VSTS, GitHub and other remote repositories.
Select VSTS, log on to VSTS, select your account and you will see, that Visual Studio will create a new Repository when you click on “Publish”:
When you switch to VSTS in your browser you can now see the newly created project and navigate straight to it by clicking on the name:
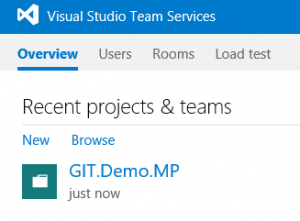
VSTS offers you a bunch of things you can do with your project online, e.g. exploring the code or comparing it by selecting a specific file and click on “compare”:
This is really handy because it gives you anywhere access to your MP projects even if you do not have access to your local Visual Studio!
Publish your local repository to Visual Studio Team Services - a more complicated way
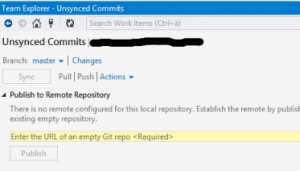
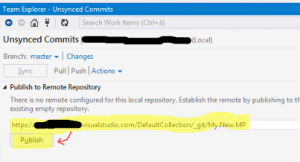
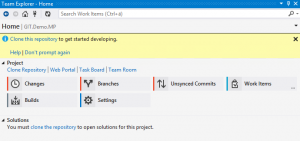
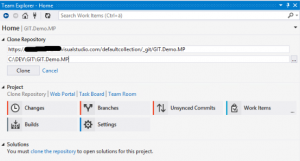
If you try to sync your local repository to VSTS and all you see is a prompt for a remote repository URL...
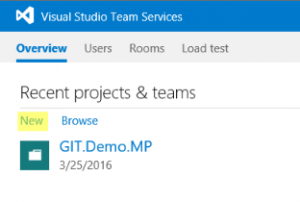
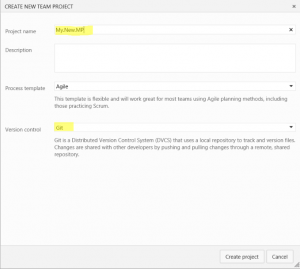
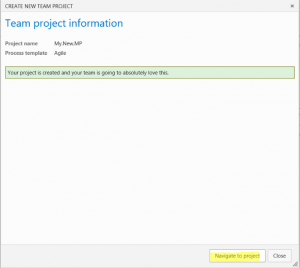
... you can create an empty repository in VSTS manually and get the necessary URL from there. To do that, log on to your VSTS and create a new project. It is recommended to give it the same name as your local repository name!
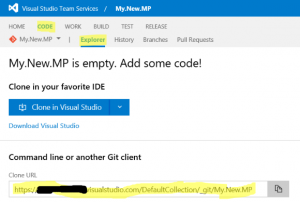
After the project has been created, use the "Navigate to project" to navigate to your newly created project folder and switch to the "Code" view:
There you can find the necessary URL. Klick on the copy symbol, copy the URL and paste it into your Team Explorer:
Just click on "Publish" and your are also done. A bit more complicated but also possible :)
Syncing changes between local and remote repository
Now that we have a local and a remote repository, how can we sync changes between both? Let’s begin with the remote repository:
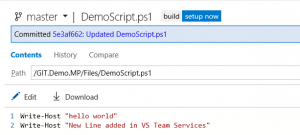
VSTS allows you to change files online. I will edited my PowerShell script online…

and click on the Disk symbol to save and commit the change:
When you refresh your local Visual Studio repository you will see, that there is an incoming commit:
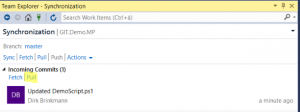
Git uses the concept of “fetching” or “pulling” data from remote repositories and Visual Studio supports that as well. Maybe later I will write another article about the differences. For our purposes here we can simply use the Sync command to have the data fetched from the remote repository into our local version.
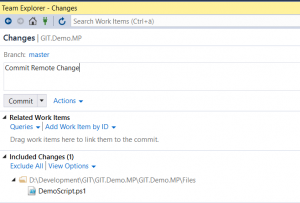
If you have a close look at the icon in front of our local script file, you will notice that Visual Studio considers the modified file as “uncommitted”, so we have to commit it to our local repository:
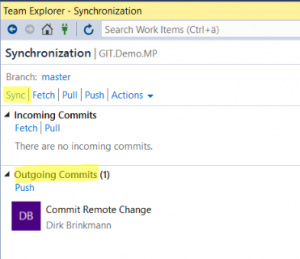
After it has been committed, we can sync the setting back to our remote repository as well:
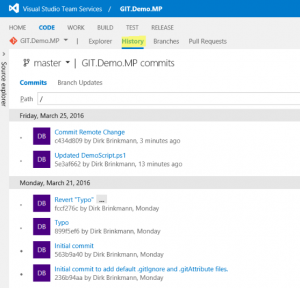
You can control the whole process by looking at the history of our project and compare the local history…
… with the remote history in VSTS by clicking the history link of our project:
Syncing repositories between two different machines
Syncing repositories between different machines can be accomplished in multiple ways. At the moment we are still at the base level and I want to show you how you can sync repositories for the same user between multiple machine.
An example for this scenario is:
You develop a MP on your own Development machine and want to synchronize the project with a customer on-site machine.
We will use VSTS as a hub for synchronizing the local repositories. To accomplish that, I will show you two steps:
- Step 1: How you can clone a repository from VSTS to a new Windows box (let’s assume, that this is the customer on-site machine)
- Step 2: How you sync changes between both local repositories
I will call the two machines PCa (for the original machine) and PCb (for the new, second machine).
Step 1: Clone a repository
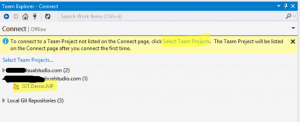
Cloning means to create a copy of a remote repository. On PCb open up Visual Studio, start Team Explorer and connect to your VSTS team project by clicking on “Select Team projects”. In my case you will see the only Git project available in this account:
You can select the Git.Demo.MP project by double clicking and Visual Studio immediately asks you, if you want to clone the remote repository:
Just enter your preferred root folder and click on “Clone”:
After the successful cloning…
… you can see the files in your local Explorer in the specified folder:
Step 2: Syncing changes
On PCb I will modify my PowerShell script and insert a new line of code:
After editing the file, you have to locally commit the change and then sync the commit to the remote repository like I showed you before.
In VSTS you can see the change:
On PCa, my original machine, I simply have to sync the remote repository as well to see the change:
Looking at the history on PCa shows us that the commit from PCb was successfully synched to our local repository:
Summary
In this post I showed you
- How to create a remote Git repository and sync the local repository to it
- How you can sync changes between local and remote repositories
- How you can clone (create a copy) a remote repository to a new machine
- How to use the remote repository to sync changes between two local repositories
Only in combination with a remote repository you can unlock the real power of Git. As a single user you can use that as some kind of backup of your local repositories and to sync repositories between different machine (test and production, local dev and on-site customer machine etc.).
I hope you will find this post useful and stay tuned for the next steps.
Comments
- Anonymous
September 04, 2016
Thanks Dirk, well explained. I am working on SCOM last 3 Year. I want to learn SCOM in dept so review and read you all blocks. Please keep in post for future doc and articles. Thanks again.
