Tip o' the Week 341 – Project PCs to other PCs
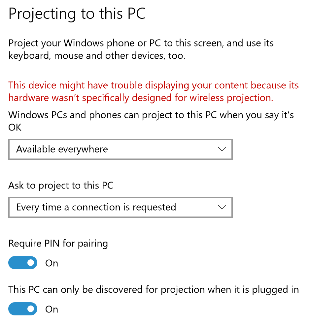
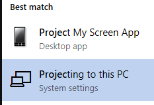
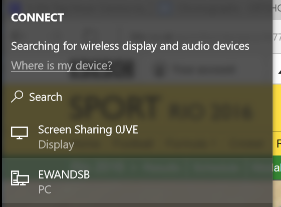
· There’s no wireless projection, it’s all cable-only and someone else is already plugged in · You can’t reach the cable · You didn’t bring the right adapter to fit the micro-HDMI/mini-DisplayPort/VGA etc port on your laptop, to the appropriate one on the cable to the projector or screen · The person presenting is too precious to pass the baton to you to present · It’s taken too much A/V faffing about already to get to the point where you’re at, and you don’t want to rock the boat by asking to quickly plug in your machine · You’re not using Skype or anything that might let you present virtually..? Assuming that at least most of these elicit a nod of the head, there’s a new feature in Windows 10 (Anniversary Update) that could be of interest – one that lets you project the output from another device onto your PC screen, notably phones or other PCs, by turning your machine into a wireless display. The simplest way to use this function would be to enable one laptop to receive the entire contents of another laptop’s screen, into a window or the destination’s machine’s full screen – maybe for collaboration (where the destination machine could be allowed to interact with the host via keyboard & mouse, even pen or touch), or simply to provide a conduit for projection. There are 2 stages – on the destination machine, type project at the Start menu and choose Projecting to this PC to open the settings dialog. It’ll only work if your destination machine has WiFi capabilities, as the technology being used is Miracast, meaning your PC can receive screen mirroring from any device that supports it (though Google You can choose when you’d like the setting to be available and (assuming you’d like to leave it on all the time) whether you’d prefer random coffee shop Herberts to be prompted to present a one-time PIN before connecting. After configuring the destination PC appropriately, on the source machine, just go to the Notifications (WindowsKey+A or swipe from the right) then choose Project, then Connect to a wireless display. Now, instead of just seeing other Miracast receivers and the odd random audio device, you
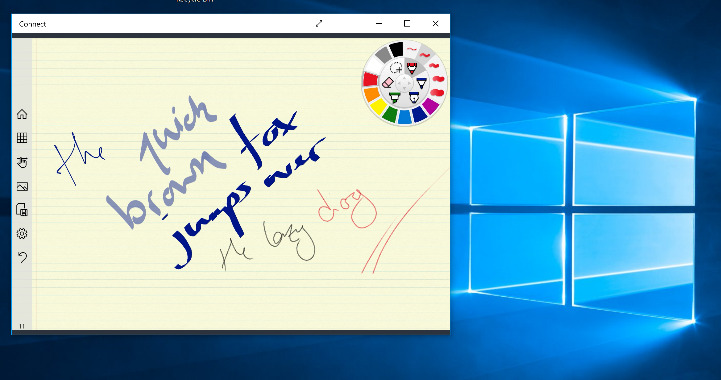
The screenshot below shows the Connect app running on one laptop, displaying the output that is itself full-screen on a Surface 3 (running Plumbago). If you’re using a Windows 10 Mobile device, you could use the new Connect functionality to run Continuum on your phone via your PC (frankly a bit pointless unless you want to just see what it’s like or demo it). Continuum won’t actually display what’s on your phone screen onto the PC in the same way that screen mirroring on other phones might, so if you’d like to show people what your phone looks like (so they know that there’s more than just iOS and Android) , you could use the Project My Screen app on the PC to mirror the phone output in an emulator-like environment, using a USB cable. |
