How to automate a process in Opalis, step-by-step
In this post, we’ll take a very simple looking process and show how easy it is to automate this in Opalis.
Lets take a simple scenario:
- read in lines from a text file and compare the values to a database table
- If there is a match, get the free disk space of the server and write the results to another text file.
- If there is not a match, pop up a failure message
This scenario could be anything. I like this one, because in the past this was a real pain to automate, requiring multiple tools, scripts and utilities. Not to mention a lot of time.
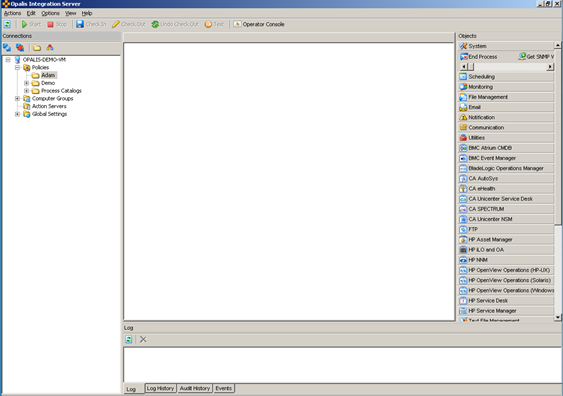
Starting with the Opalis designer console, we create a new policy. You can see the hierarchy on the left, with the connectors and action items on the right hand side.
Once we have created a new policy, we can begin to build the process workflow. This is as easy as clicking on the objects on the right hand side, and dragging them onto the canvas.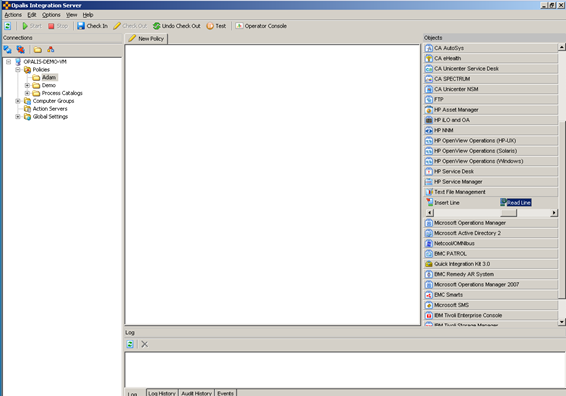
Once an object is on the canvas, you can manipulate what it does. Right-click on an object and select Properties to see what options are available for that object. This will vary by object.
In our scenario, the first thing we need to do is read from a text file. 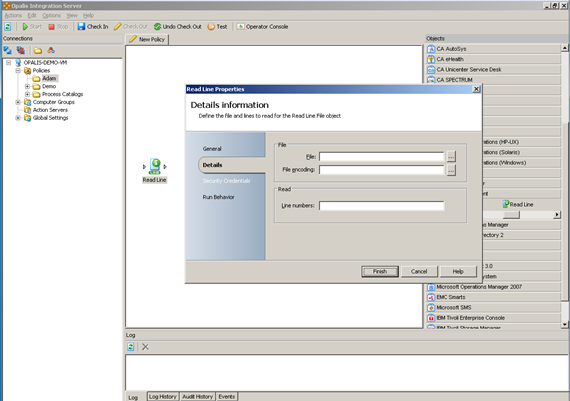
Looking at the Properties of this object, we can change things like it’s name: 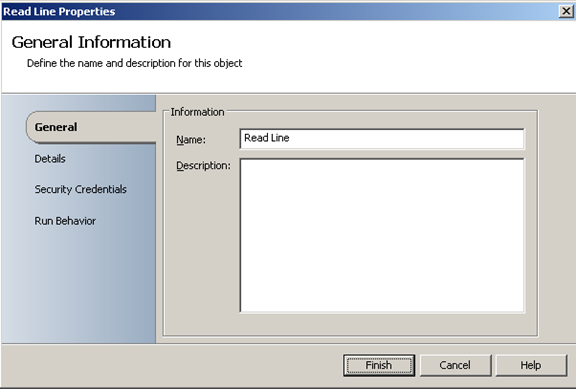
And then object specific items. For this object, it’s which file to read, what format the file is in, and which lines to read. 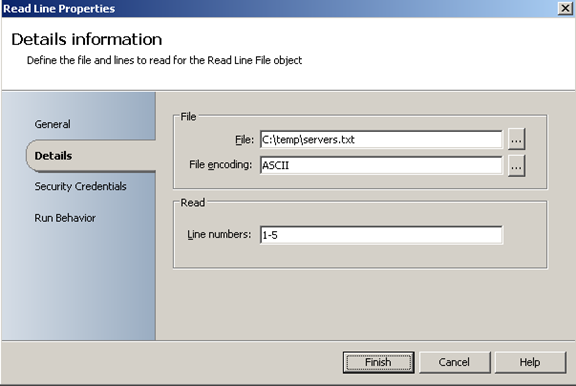
You can run the object under specific security credentials: 
And then define how the information is published into the bus: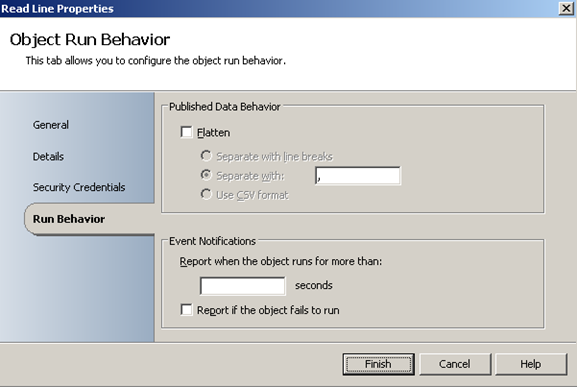
The most powerful feature in Opalis, in my mind, is that everything in a process if available to all object through the bus. When you link objects together, the outputs of other objects are available to subscribe to.
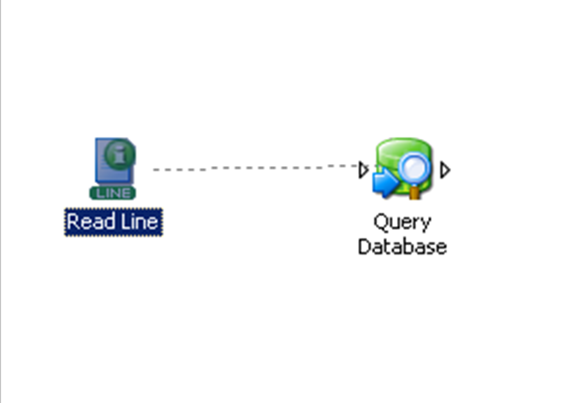
To link objects together, hover the mouse over an object and linking docks will become visible, as below:
The links themselves can be used for conditional operations, allowing for decision points inside a process: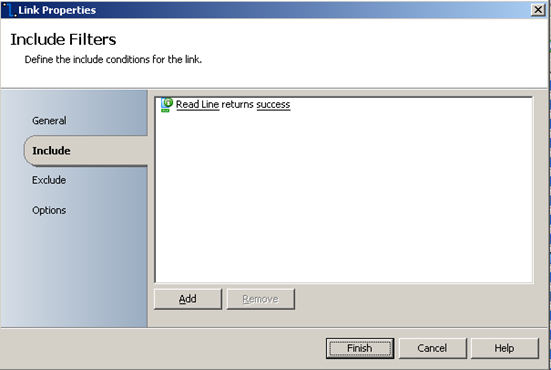
And a small but very useful feature is the ability to colour code links: 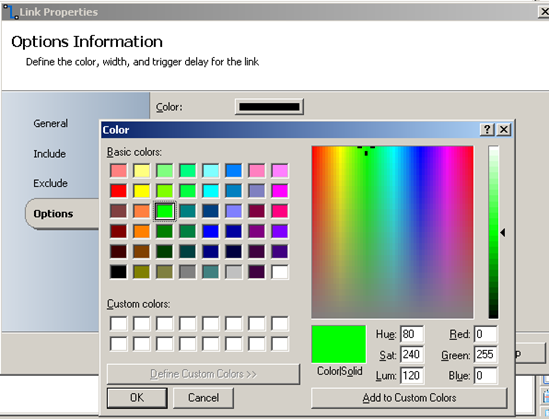
Carrying on with our scenario, now that we have read the contents of our file, we want to compare these contents with a database table. This is achieved using the Query Database object.
We can write a query to select data: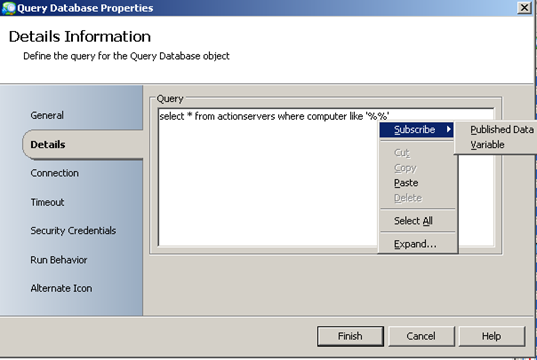
We can even include variables obtained earlier in the process! 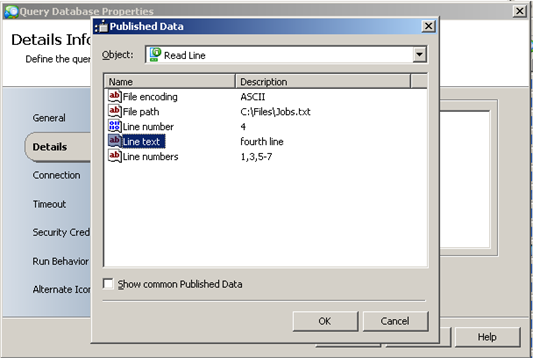
An easy graphical interface for connecting to the database server and database: 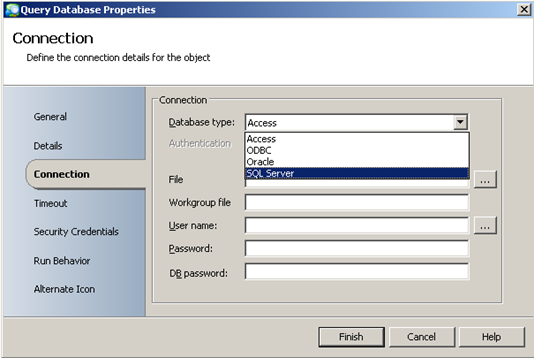
And it’s easy to browse for devices: 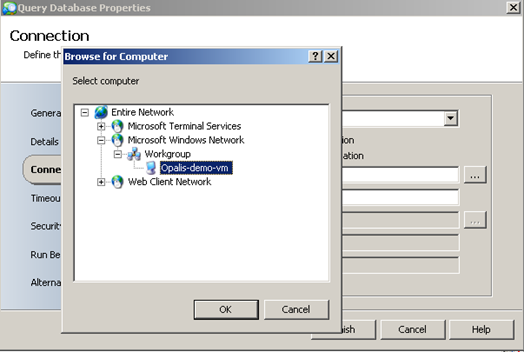
Right, so now we have read the file and compared the contents to the database table. Decision time. Did we find a match or not?
If we did find a match, then we want to carry on and obtain the free disk space and write the output to a file. If we don’t find a match, we need to alert that that there was no match.
So lets split the process dependent on the outcome. The links between the database query and the 2 different options will define which path to take. We’ll put logic in the top link for success, and failure in the bottom link.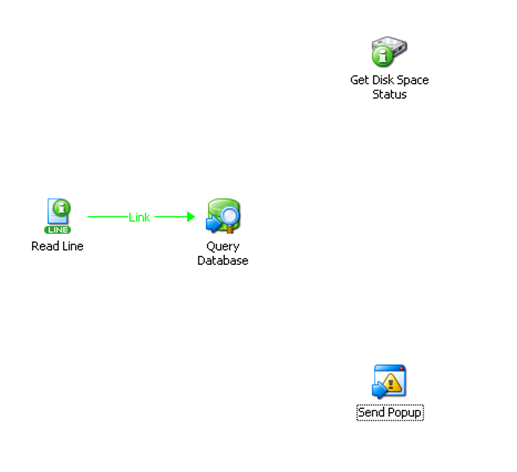
Lets start with the action when we do not find a match. We’ll use the messenger service (not that you would do this in real life, but it’s a great demo tool) to pop up a message. Once again, we can mix free form message text with subscribed data from the bus: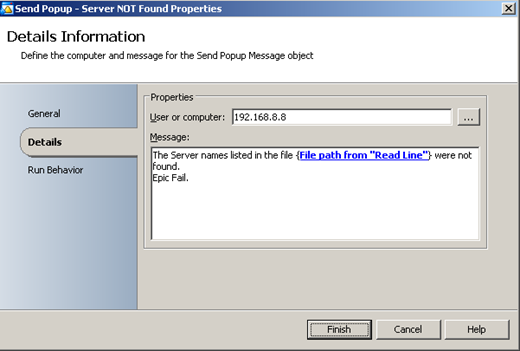
But when we do find a match, we need to query that server for it’s free disk space. This is just a matter of browsing to the server and selecting which drive: 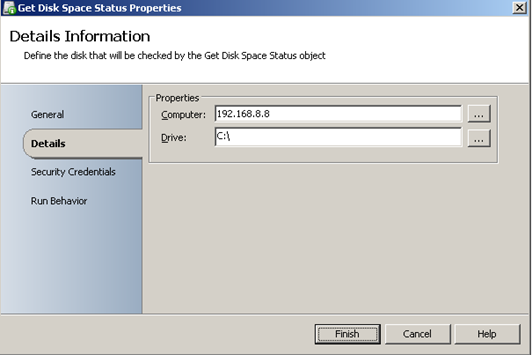
Then the last step is to write the output of the server name and the amount of free space to another text file. Again, simple use of free form text along with subscribed bus data: 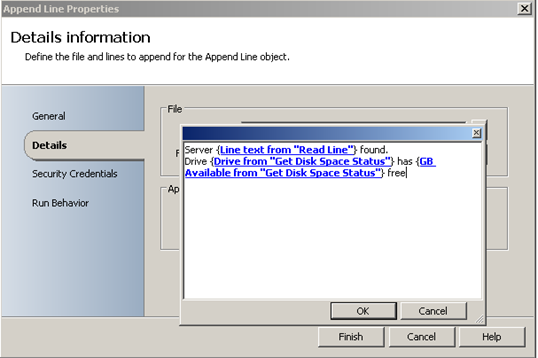
Now that this simple process is created, we can run it.
Here’s the output when there is a server name match: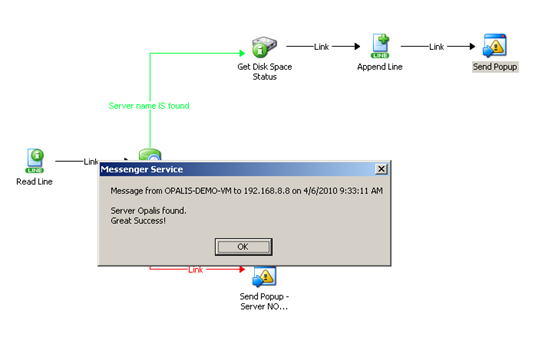
And the output to the text file: 
Now we’ll change the original input file to deliberately not contain a valid name to create the failure output: 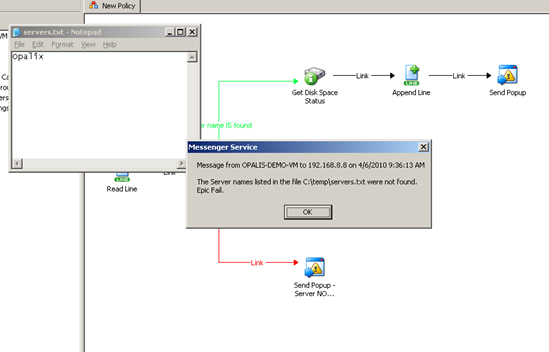
And there you have it. A very simple example, but I created that process in less than 5 minutes all up. Compare that to the old way of doing things!
The benefit of this kind of solution greatly increases as the complexity of the process does. Here I showed just simple operations, but imagine if this was monitoring SCOM in real time, looking for alerts, then auto creating a ticket in BMC Remedy, running through some standard remediation tasks, outputting the results into the ticket and then either auto closing or escalating the ticket.
That, is powerful.
Comments
Anonymous
April 05, 2010
yes can't wait to try this (since it will be included in our sa agreement,right?) We also purchased the entire hp orchestrator suite (not my idea) so now we have a little (and expensive) cross over here! r there any docs that describe the competitive differences between these two products? thanksAnonymous
April 05, 2010
also is it fips compliant? thanks again tr
