Manage site storage limits in SharePoint in Microsoft 365
The amount of SharePoint space your organization has is based on the number of licenses (see SharePoint Limits) you have. If you're a Global Administrator in Microsoft 365, you can Add storage space for your subscription if you run out of storage space.
Important
Microsoft recommends that you use roles with the fewest permissions. Using lower permissioned accounts helps improve security for your organization. Global Administrator is a highly privileged role that should be limited to emergency scenarios when you can't use an existing role.
View the total and available storage space for your organization
Go to Active sites in the SharePoint admin center, and sign in with an account that has admin permissions for your organization.
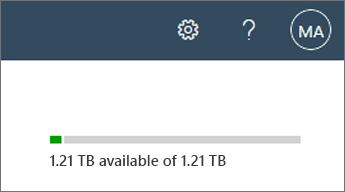
In the upper right of the page, see the amount of storage available and the total storage for your subscription. (If your organization has configured Multi-Geo in Microsoft 365, you can point to the bar to see the amount of storage used in the current geo location and all other geo locations.)
Note
Storage usage doesn't include changes made within the last 24-48 hours. SharePoint storage is calculated in binary Gigabytes (GB), where 1 GB = 230.
Set automatic or manual site storage limits
By default, your SharePoint storage is available in a central pool from which all sites can draw. You, as a SharePoint Administrator and above, don't need to divvy up storage space or reallocate space based on usage. That's all handled automatically: sites use what they need when they need it. If you previously set storage limits manually and switch to using pooled storage, SharePoint resets all the limits to 25 TB (25600 GB). (Note that the total storage for your organization might be less than 25 TB.)
If you prefer to fine-tune the storage space allocated to each site, you can set your storage management option to "manual" and specify individual site storage limits.
Note
Some functionality is introduced gradually to organizations that have opted in to the Targeted release option in Microsoft 365. This means that you might not yet see some features described in this article, or that some of the features (described in this article) might look different.
Go to Settings in the SharePoint admin center, and sign in with an account that has admin permissions for your organization.
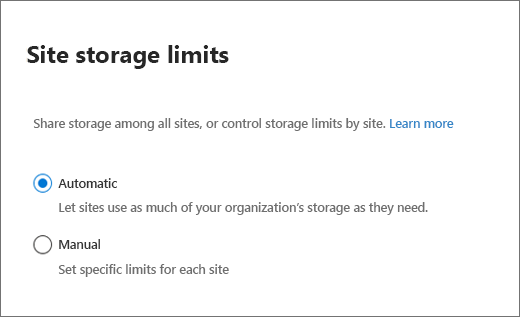
Select Site storage limits.
Select Automatic or Manual, and then select Save.
Manage individual site storage limits
Follow these steps to specify individual site storage limits when your storage management option is set to "manual." We recommend that you also set an email alert so that you and other site admins can be notified when sites are nearing the storage limit. To learn how to set the default storage limit for new sites, see Manage site creation.
Go to Active sites in the SharePoint admin center, and sign in with an account that has admin permissions for your organization.
In the left column, select the site, or for a channel site, select the link in the Channel sites column.
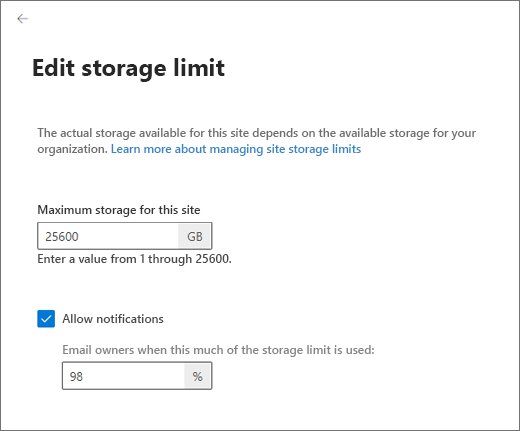
On the General tab, under Storage limit, select Edit to open the edit storage limit panel.
Enter the maximum storage in GB for the site.
Note
The maximum value you can enter is 25600 GB, although this may be more space than your organization has. To learn how your total storage is calculated, see SharePoint Limits.
Make sure Notifications is turned on to send an email to site admins when the site approaches the storage limit. Then, enter a value as a percent for how full you want the storage to be when the email is sent.
Select Save.
If a site runs out of storage, site admins can request for more by performing the following steps:
Go to the Site Settings page.
Under Site Collection Administration, select Storage Metrics.
Note
Depending on your site, you may need to perform the following steps to see the Site Collection Administration section:
On the upper right corner of your site, select Settings and then select Site Settings. If you don't see Site settings, select Site information and then select View all site settings.
Select Request more quota in the upper right.
This step sends a storage request email to the Global Administrators in the organization.


