watchOS Table Controls in Xamarin
The watchOS WKInterfaceTable control is much simpler than
its iOS counterpart, but performs a similar role. It creates
a scrolling list of rows that can have custom layouts, and
which respond to touch events.
Adding a Table
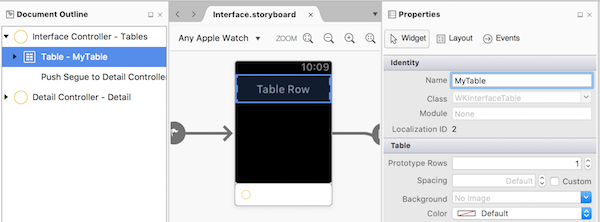
Drag the Table control into a scene. By default it will look like this (showing a single unspecified row layout):
Give the table a name in the Properties pad's Name box, so that it can be referred to in code.
Add a Row Controller
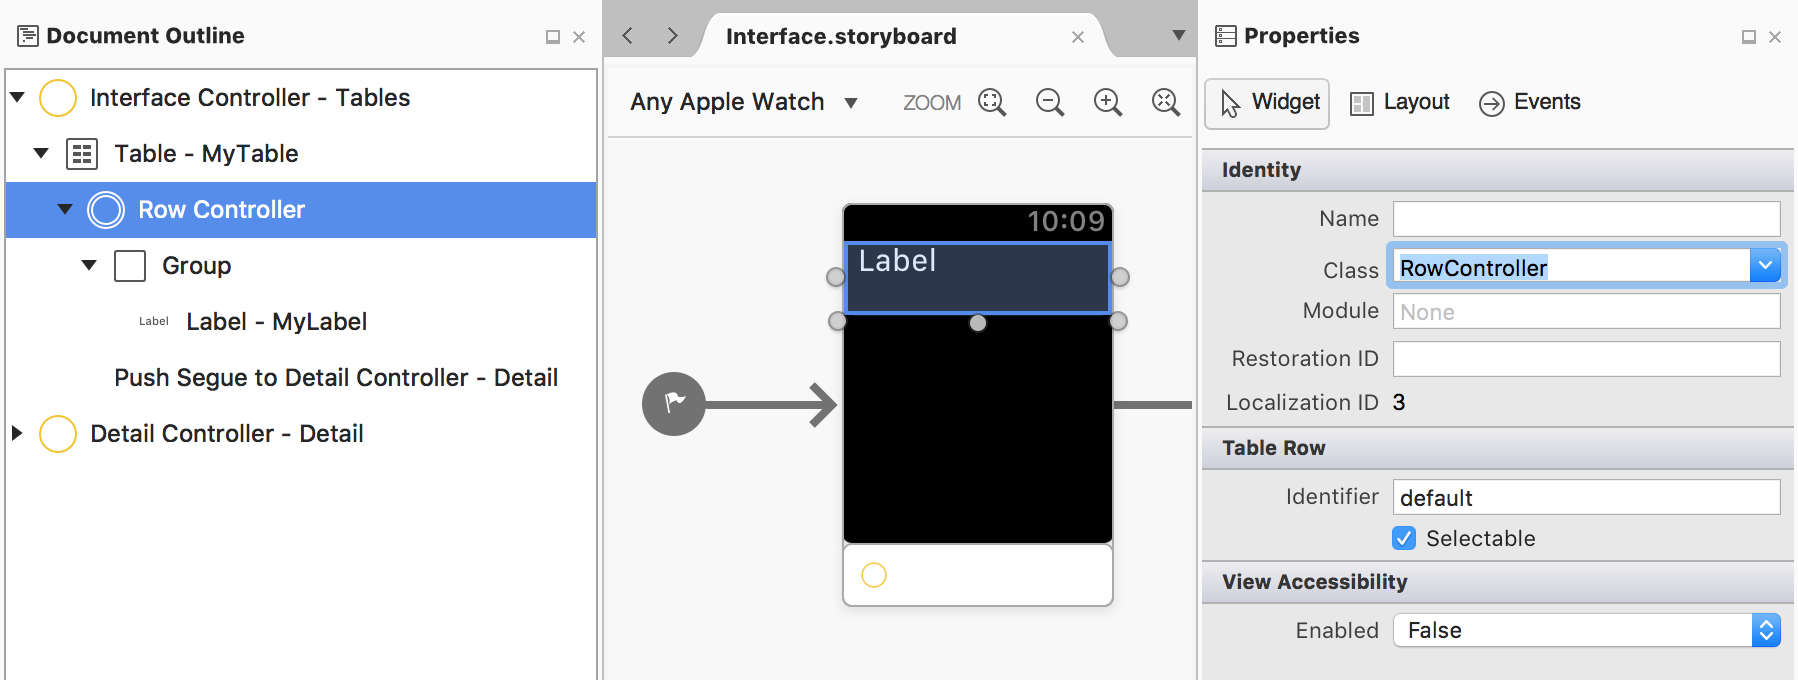
The table automatically includes a single row, represented by a row controller that contains a Group control by default.
To set the Class for the row controller, select the row in the Document Outline and type a class name in the Properties pad:
Once the class for the row's controller is set, the IDE will create a corresponding C# file in the project. Drag controls (such as labels) onto the row and give them names so they can be referred to in code.
Create and Populate Rows
SetNumberOfRows creates the row controller classes for each row, using
the Identifier to select the correct one. If you gave your
row controller a custom Identifier, change default in the
code snippet below to the identifier you used. The RowController
for every row is created when SetNumberOfRows is called and
the table displayed.
myTable.SetNumberOfRows ((nint)rows.Count, "default");
    // loads row controller by identifier
Important
Table rows are not virtualized like they are in iOS. Try to limit the number of rows (Apple recommends less than 20).
Once the rows have been created, you need to populate
each cell (like GetCell would do in iOS). This code
snippet updates the label in each row:
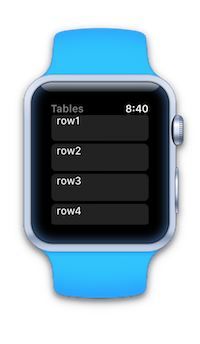
for (var i = 0; i < rows.Count; i++) {
    var elementRow = (RowController)myTable.GetRowController (i);
    elementRow.myRowLabel.SetText (rows [i]);
}
Important
Using SetNumberOfRows and then looping through using
GetRowController causes the entire table to be sent to the watch. On
subsequent views of the table, if you need to add or remove specific rows
use InsertRowsAt and RemoveRowsAt for better performance.
Respond to Taps
You can respond to row selection in two different ways:
- implement the
DidSelectRowmethod on the interface controller, or - create a segue on the storyboard and implement
GetContextForSegueif you want the row selection to open another scene.
DidSelectRow
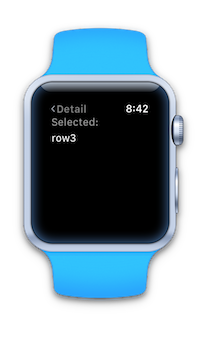
To programmatically handle row selection, implement the DidSelectRow
method. To open a new scene, use PushController and pass the
scene's identifier and the data context to use:
public override void DidSelectRow (WKInterfaceTable table, nint rowIndex)
{
    var rowData = rows [(int)rowIndex];
    Console.WriteLine ("Row selected:" + rowData);
    // if selection should open a new scene
    PushController ("secondInterface", rows[(int)rowIndex]);
}
GetContextForSegue
Drag a segue on the storyboard from your table row to
another scene (hold down the Control key while dragging).
Be sure to select the segue and give it
an identifier in the Properties pad (such as
secondLevel in the example below).
In the interface controller, implement the GetContextForSegue
method and return the data context that should be provided
to the scene that is presented by the segue.
public override NSObject GetContextForSegue (string segueIdentifier, WKInterfaceTable table, nint rowIndex)
{
    if (segueIdentifier == "secondLevel") {
        return new NSString (rows[(int)rowIndex]);
    }
    return null;
}
This data is passed to the target storyboard scene in its Awake method.
Multiple Row Types
By default the table control has a single row type that you can design. To add more row 'templates' use the Rows box in the Properties pad to create more row controllers:
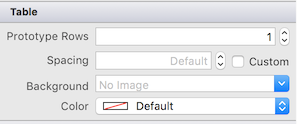
Setting the Rows property to 3 will create additional row placeholders for you to drag controls into. For each row, set the Class name in the Properties pad to ensure the row controller class is created.
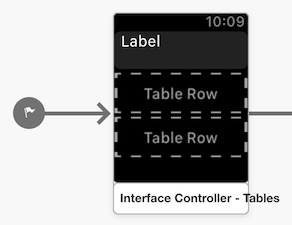
To populate a table with different row types use the SetRowTypes
method to specify the row controller type to be used for each
row in the table. Use the row's identifiers to specify which
row controller should be used for each row.
The number of elements in this array should match the number of rows you expect to be in the table:
myTable.SetRowTypes (new [] {"type1", "default", "default", "type2", "default"});
When populating a table with multiple row controllers, you'll need to keep track of which type you expect as you populate the UI:
for (var i = 0; i < rows.Count; i++) {
    if (i == 0) {
        var elementRow = (Type1RowController)myTable.GetRowController (i);
        // populate UI controls
    } else if (i == 3) {
        var elementRow = (Type2RowController)myTable.GetRowController (i);
        // populate UI controls
    } else {
        var elementRow = (DefaultRowController)myTable.GetRowController (i);
        // populate UI controls
    }
}
Vertical Detail Paging
watchOS 3 introduced a new feature for tables: the ability to scroll through the detail pages related to each row, without having to go back to the table and choose another row. The detail screens can be scrolled by swiping up and down, or using the Digital Crown.
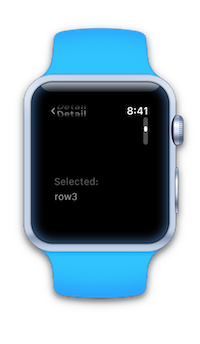

Important
This feature is currently only available by editing the storyboard in Xcode Interface Builder.
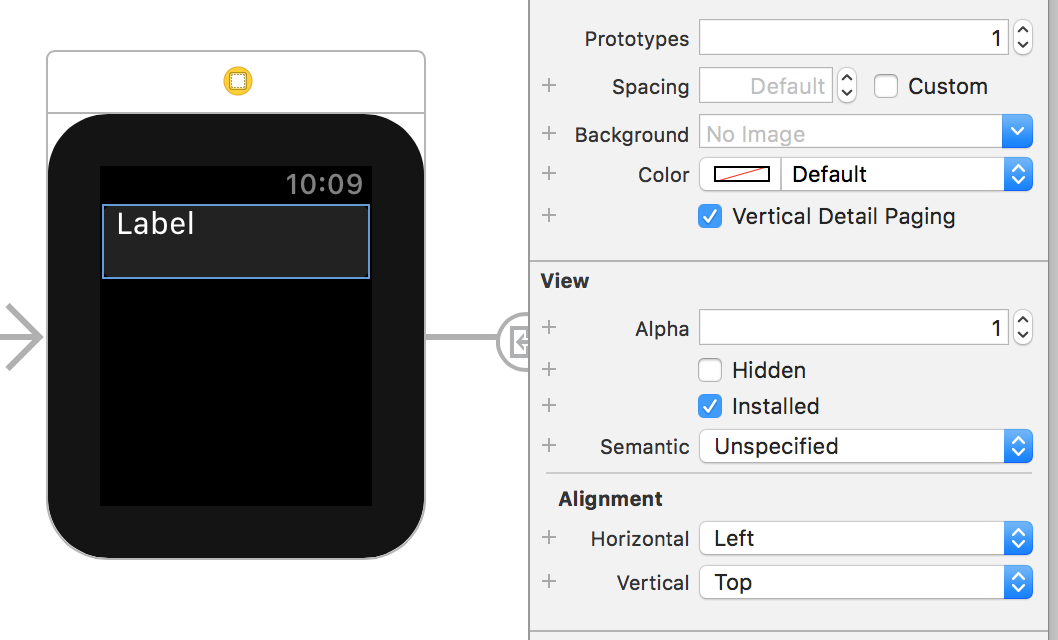
To enable this feature, select the WKInterfaceTable on the design surface
and tick the Vertical Detail Paging option:
As explained by Apple
the table navigation must use segues for the paging feature to work. Re-write
any existing code that uses PushController to use segues instead.
Appendix: Row Controller Code Example
The IDE will automatically create two code files when a row controller is created in the designer. The code in these generated files is shown below for reference.
The first will be named for the class, for example RowController.cs, like this:
using System;
using Foundation;

namespace WatchTablesExtension
{
    public partial class RowController : NSObject
    {
        public RowController ()
        {
        }
    }
}
The other .designer.cs file is a partial class definition
that contains the outlets and actions that are created on
the designer surface, such as this example with one WKInterfaceLabel control:
using Foundation;
using System;
using System.CodeDom.Compiler;
using UIKit;

namespace WatchTables.OnWatchExtension
{
    [Register ("RowController")]
    partial class RowController
    {
        [Outlet]
        [GeneratedCode ("iOS Designer", "1.0")]
        public WatchKit.WKInterfaceLabel MyLabel { get; set; }

        void ReleaseDesignerOutlets ()
        {
            if (MyLabel != null) {
                MyLabel.Dispose ();
                MyLabel = null;
            }
        }
    }
}
The outlets and actions declared here can then be referenced in code - however the .designer.cs file should NOT be edited directly.
