Preview and subscribe to a test SaaS offer in the commercial marketplace
This article shows you how to use Partner Center to publish, preview, subscribe to, and activate a plan on a test SaaS offer. You should already have an offer to test and publish. If you still need to create a test offer, see Test a SaaS plan overview.
Note
We recommend creating a separate test and development (DEV) offer to safely test before publishing your production (PROD) offer. Follow the steps in this article to test the DEV offer before publishing the PROD offer.
Publish your test SaaS offer
First, you need to publish your test SaaS offer by following the below steps:
Sign in to Partner Center.
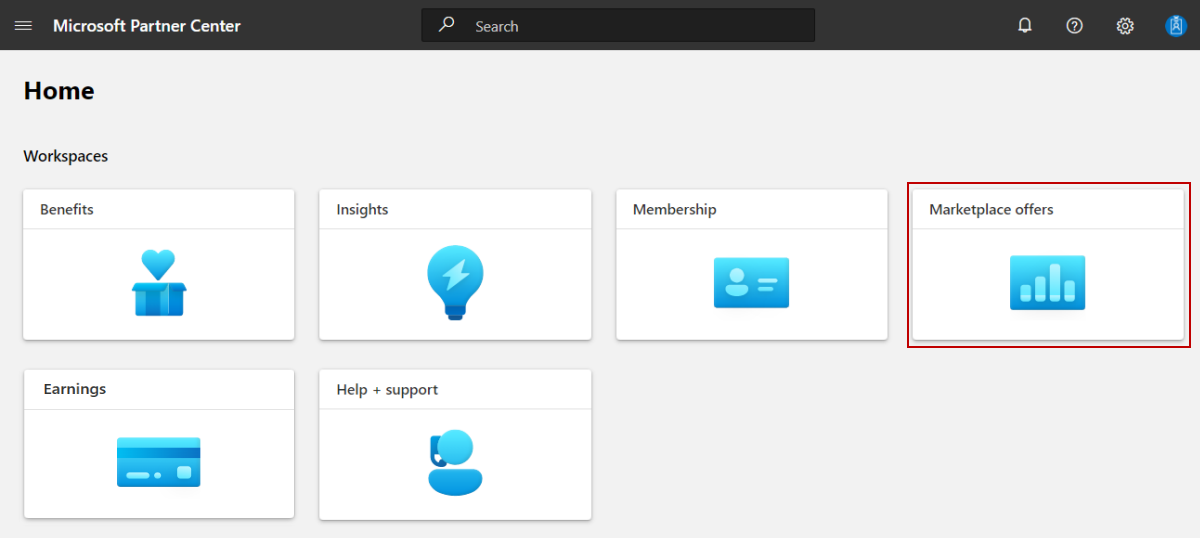
On the Home page, select the Marketplace offers tile.
Select the offer you are using to test from the list of offers. The offer must be in a Draft state. Ensure that the offer is configured correctly by checking that the Status column for each page of the test offer is Complete. The three possible statuses are:

- Not started – The page is incomplete
- Incomplete – The page is missing required information or has errors that need to be fixed. Go back to the page and update it
- Complete – The page is complete. All required data was provided and there are no errors.
- If any of the pages have a status other than Complete, select the page name, correct the issue, save the page, and then select Review and publish to return to this page.
- Once all the pages are complete, update the Notes for certification box with any required testing instructions for the certification team and any supplementary notes to help understand your app.
- Select Publish to start the publishing process. The Offer overview page appears and shows your offer's Publish status. Your offer's publish status changes as it moves through the publication process. For more information on this process, see Validation and publishing steps.
Preview your offer
- Sign in to the Azure portal. Ensure you're signed in to the Azure tenant you submitted the offer to.
- Sign in to Partner Center and navigate to the Offer overview page for your test offer. Ensure your offer is at the Publisher signoff phase and then select the Azure portal preview link under the Go live button. If you opted to sell your offer through Microsoft, anyone added to the preview audience can test the acquisition and deployment to ensure it meets your requirements. The publisher payout occurs when the criteria are met, and is paid out according to the payout schedule, with the agency fee deducted from the purchase price.
Note
When your offer is ready for testing, we email you a link to review and approve it. The Offer overview page updates to show that your offer is at the Publisher signoff phase. At this stage, the Go live button and preview links are available. These links may include Microsoft AppSource preview, Azure Marketplace preview, Azure portal preview, or a combination based on your initial listing choices.
The following screenshot shows an example Offer overview page for a SaaS offer that is at the Publisher signoff phase and has two preview links under the Go live button.

Subscribe to a test plan
From the Azure portal preview link, select the test plan you created earlier from the Plan list.
Select Subscribe.
Under Project details, from the Subscription list, select the SaaS test environment subscription.
Select an existing Resource Group or select Create new to create a new one.
Under SaaS details, enter a Name for the SaaS instance.
Leave Recurring billing set to On.
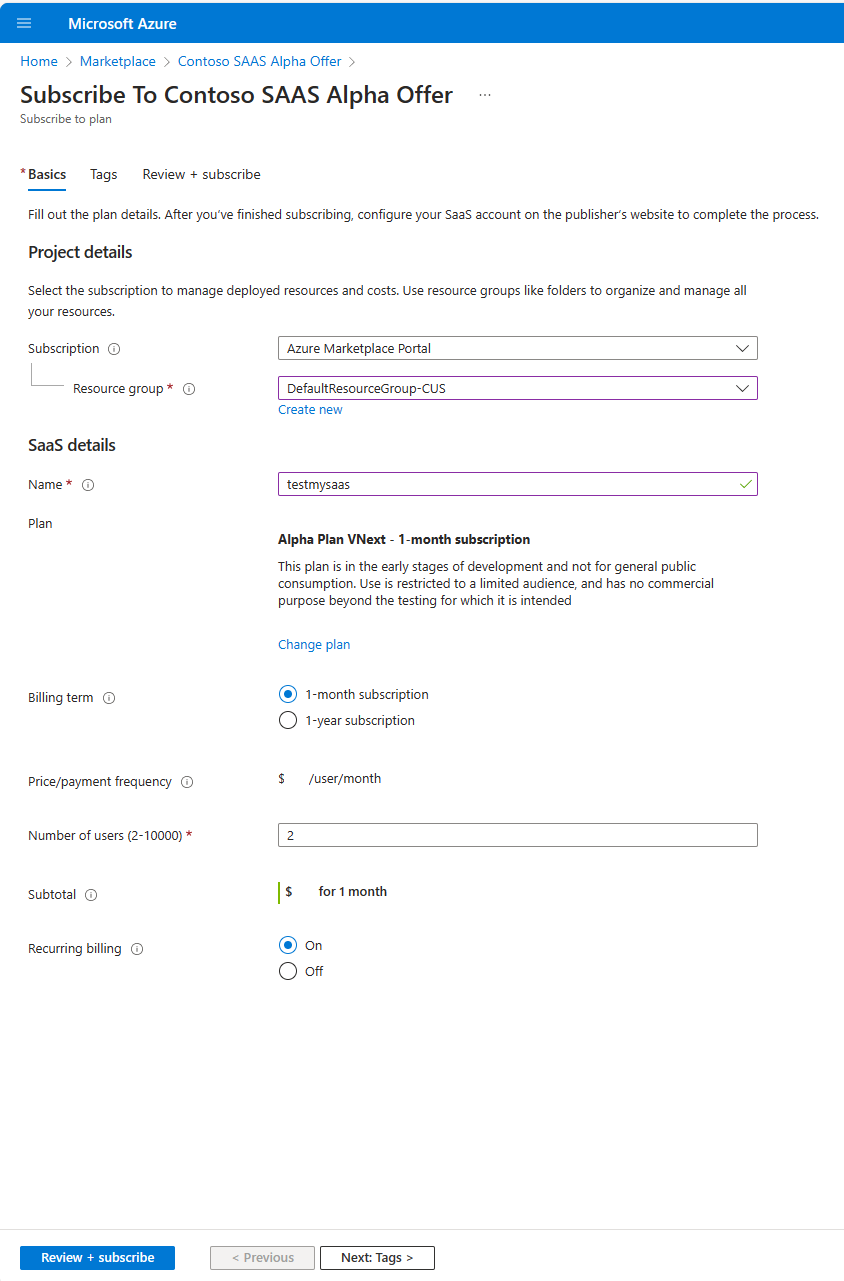
Select the Review + subscribe button. The Review + subscribe page appears to finalize the subscription process.
Near the bottom of the page, select Configure your account. The Deployment progress screen appears. Once the subscription is deployed, the Your SaaS subscription is Complete message appears.

Activate a subscription
After the test user subscribes to your offer, you're notified of a new pending subscription.
Call the Activate Subscription API to activate the pending subscription. To test your solution you can use a tool to send HTTP requests on your behalf. Example tools include: Visual Studio Code with an extension from Visual Studio Marketplace, PowerShell Invoke-RestMethod, Microsoft Edge - Network Console tool, Bruno, and Curl
Caution
When handling sensitive data like credentials, secrets, access tokens, and API keys, be sure to use a tool that offers strong security features (works offline or locally, doesn't sync to the cloud, and doesn't require an online account) to reduce the risk of exposing your sensitive data to the public.