How to define intents and entities in Composer
APPLIES TO: Composer v1.x and v2.x
Note
Language Understanding (LUIS) will be retired on 1 October 2025. Beginning 1 April 2023, you won't be able to create new LUIS resources. A newer version of language understanding is now available as part of Azure AI Language.
Conversational language understanding (CLU), a feature of Azure AI Language, is the updated version of LUIS. For more information about question-and-answer support in Composer, see Natural language processing.
Conversations don't always progress in a linear fashion. Users might want to review information, present information out of order, or make corrections, and so on. Bot Framework Composer supports language understanding in these advanced scenarios, with the advanced dialog capabilities offered by adaptive dialogs and recognizers.
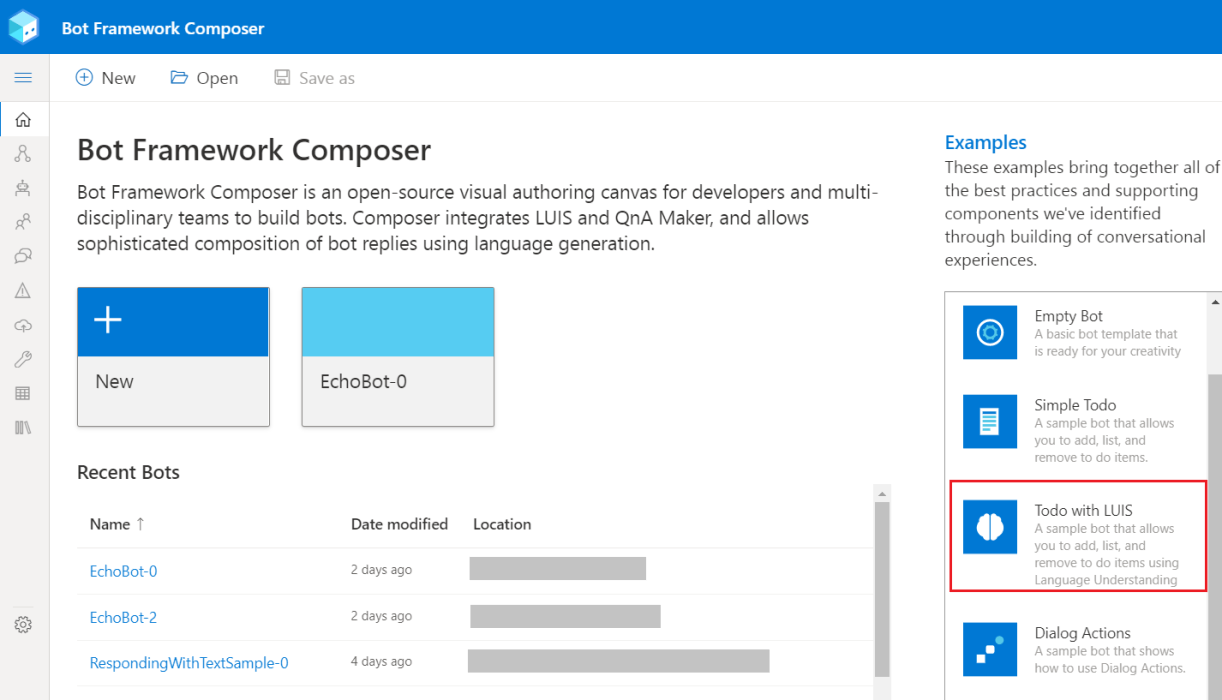
This article describes how to define intents and entities for use with the Language Understanding (LUIS) recognizer. The code snippets come from the Todo with LUIS example. Read the How to use samples article and learn how to open the example bot in Composer.
Prerequisites
- A basic understanding of the intent and entity concepts.
- A basic understanding of how to define an Intent Recognized trigger.
- A basic understanding of how to use LUIS in Composer.
- A LUIS account and a LUIS authoring key.
About the sample bot
This section is an introduction to the Todo with LUIS example (sample bot) that is used in this article to explain how to define intent with entities using Composer.
Do the following to get the Todo with LUIS example running in Composer:
Clone the Bot Builder samples GitHub repository onto your machine.
Within the
composer-samplesfolder you'll find C# and JavaScript projects, choose a language and navigate into theprojectssubfolder.In this folder, you'll find a
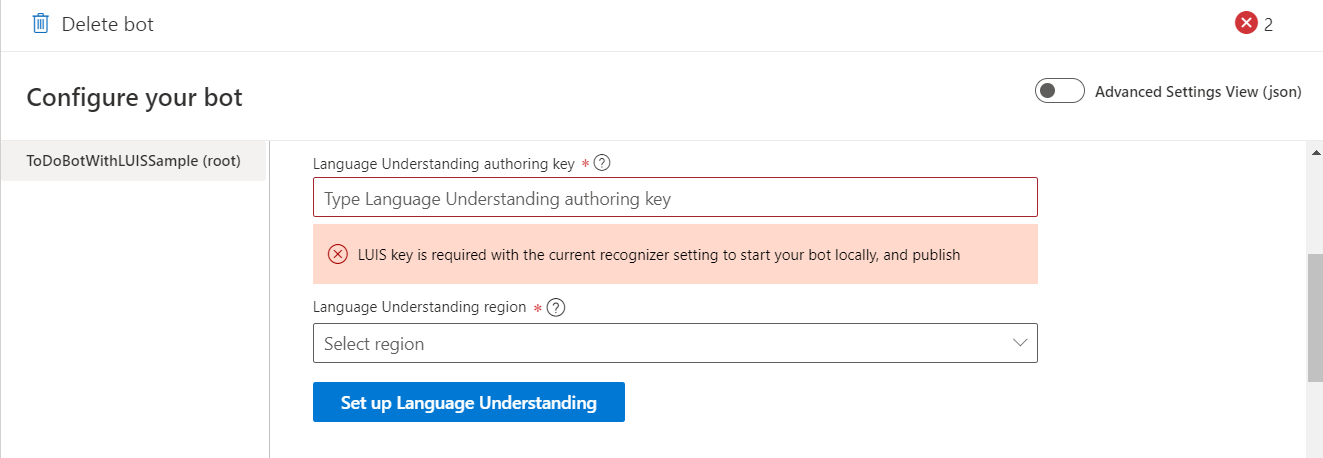
ToDoBotWithLUISSampleproject that you can open in Composer.You'll notice in the upper-right hand side of the screen that you have two errors. If you select the error icon, Composer displays the Problems pane.
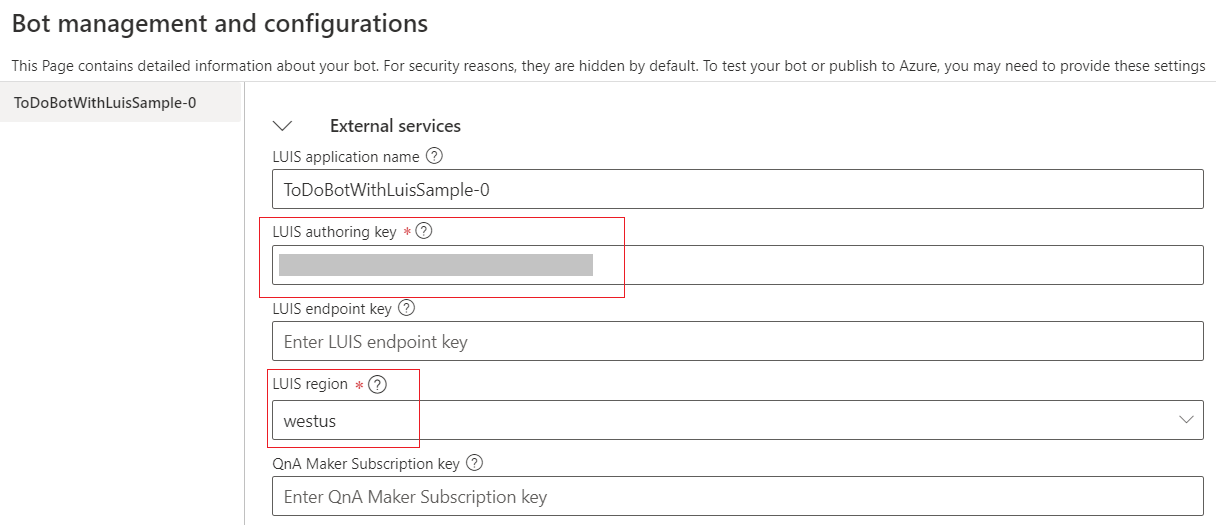
Selecting either error will bring up the Configure your bot screen where you can add your LUIS key and region, or Set up Language Understanding.
After you load the example in Composer, take a look to see how it works.
Define a language model
In addition to specifying intents and utterances as instructed in the how to use LUIS in Composer article, it's also possible to train LUIS to recognize named entities. Extracted entities are passed along to any triggered actions or child dialogs using the syntax @{Entity Name}. For example, given an intent definition like below:
# BookFlight
- book me a flight to {city=shanghai}
- travel to {city=new york}
- i want to go to {city=paris}
When triggered, if LUIS is able to identify a city, the city name will be made available as @city within the triggered actions. The entity value can be used directly in expressions and LG templates, or stored into a memory property for later use. The JSON view of the query "book me a flight to London" in LUIS app looks like this:
{
  "query": "book me a flight to london",
  "prediction": {
    "normalizedQuery": "book me a flight to london",
    "topIntent": "BookFlight",
    "intents": {
      "BookFlight": {
        "score": 0.9345866
      }
    },
    "entities": {
      "city": [
        "london"
      ],
      "$instance": {
        "city": [
          {
            "type": "city",
            "text": "london",
            "startIndex": 20,
            "length": 6,
            "score": 0.834206,
            "modelTypeId": 1,
            "modelType": "Entity Extractor",
            "recognitionSources": [
              "model"
            ]
          }
        ]
      }
    }
  }
}
Add a language model in Composer
In Composer, you can achieve flexible entity extraction with the default recognizer. Set the Recognizer/Dispatch Type of your desired dialog to Default. Then, use language understanding notation to define intents and entities. You can take a look at the AskForName input and all its configured properties under the BeginDialog trigger of the UserProfile dialog in the Todo with LUIS example.
The input has the following configuration, as described in the dialogs\userprofile\userprofile.dialog file:
"maxTurnCount": "3",
"property": "user.name",
"value": "=coalesce(@userName, @personName)",
"alwaysPrompt": "false",
"allowInterruptions": "!@userName && !@personName"
And the following Expected response LU configuration:
- my name is {@userName = vishwac}
- I'm {@userName = tom}
- you can call me {@userName = chris}
- I'm {@userName = scott} and I'm {@userAge = 36} years old
> add few patterns
- my name is {@userName}

> add entities
@ prebuilt personName hasRoles userName
There are two key properties in the example above: value and allowInterruptions.
The expression specified in value property will be evaluated on every single time user responds to the specific input. In this case, the expression =coalesce(@userName, @personName) attempts to take the first non-null entity value userName or personName and assigns it to user.name. The input will issue a prompt if the property user.name is null even after the value assignment unless always prompt evaluates to true.
The next property of interest is allowInterruptions. This is set to the following expression: !@userName && !@personName. This literally means what this expression reads - allow an interruption if we didn't find a value for entity userName or entity personName.
Notice that you can just focus on things the user can say to respond to this specific input in the Expected responses. With these capabilities, you get to provide labeled examples of the entity and use it no matter where or how it was expressed in the user input.
If a specific user input doesn't work, try adding that utterance to the Expected response.
Capture out-of-order information with entities
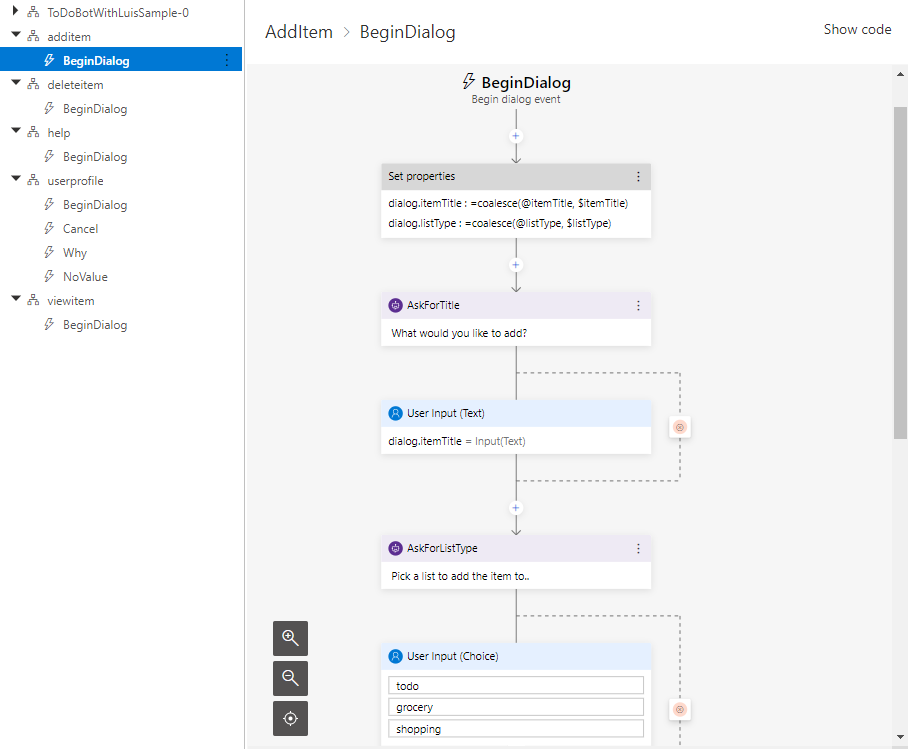
To see how the out of order entity extraction is wired up, you can see the AskForTitle and AskForListType inputs, which are under the BeginDialog trigger of the Additem dialog in the Todo with LUIS example.
Take a look at this example below:
user: add an item to the list
bot: sure, what is the title?
user: buy milk
bot: ok. pick the list type - todo | shopping
user: shopping list
bot: ok. i've added that.
The user could have answered multiple questions in the same response. Here's an example:
user: add an item to the list
bot: sure, what is the title?
user: add buy milk to the shopping list
bot: ok. I've added that.
By including the value property on each of these inputs, we can pick up any entities recognized by the recognizer even if it was specified out of order.
Use intents to enable interruptions
Interruptions can be handled at two levels - locally within a dialog or rerouting as a global interruption. By default, adaptive dialog does this for any inputs:
- On every user response to an input action's prompt,
- Run the recognizer configured on the parent adaptive dialog that holds the input action
- Evaluate the
allowInterruptionexpression.- If it evaluates to
true, evaluate the triggers that are tied to the parent adaptive dialog that holds the input action. If any triggers match, execute the actions associated with that trigger and then issue a re-prompt when the input action resumes. - If it evaluates to
false, evaluate thevalueproperty and assign it as a value to theproperty. Ifnullrun the internal entity recognizer for that input action (such as the number recognizer for number input) to resolve a value for that input action.
- If it evaluates to
The allowInterruption property is located in the Properties pane of the Prompt Configurations section (Other tab) of an input action. You can set the value to be true or false.
Handle interruptions locally
With this, you can add contextual responses to inputs via OnIntent triggers within a dialog. Consider this example:
user: hi
bot: hello, what is your name?
user: why do you need my name?
bot: I need your name to address you correctly.
bot: what is your name?
user: I will not give you my name
bot: Ok. You can say "My name is <your name>" to re-introduce yourself to me.
bot: I have your name as "Human"
bot: what is your age?
You can see the Why, NoValue, and Cancel triggers, which are under the userprofile dialog in the Todo with LUIS example.
Handle interruptions globally
Adaptive dialogs have a consultation mechanism, which propagates a user message up the parent dialogs until a dialog has a trigger that fires. If no dialog triggers fire upon consultation, then the active input action gets the user utterance back for its own processing. Consider this example:
user: hi
bot: hello, what is your name?
user: what can you do?
bot: I'm a demo bot. I can manage todo or shopping lists.
bot: what is your name?
Notice that the bot understood interruption and presented the help response. You can see the UserProfile and Help dialogs in the Todo with LUIS example.
Use list entities for synonyms
A list entity represents a fixed, closed set of related words along with their synonyms. The normalized value is the value returned when any of the corresponding synonyms are recognized.
Use list entities when data has the following characteristics:
- The data values are a known set.
- The data doesn't exceed maximum LUIS boundaries.
- The text in the utterance is an exact match with a synonym.
For an example of list entities, open the ToDoBotWithLUISSample and select User input on the right. Then select Show code and scroll down to the list below:
@ list listType =
    - todo :
          - to do
            - todos
            - laundry
      - grocery :
            - groceries
            - fruits
            - vegetables
            - household items
            - house hold items
      - shopping :
            - shopping
            - shop
            - shoppers
This shows the list entity definition named todo and three list items (to do, grocery, and shopping) with their synonyms. When any of the synonyms are recognized, the corresponding normalized value is returned.
See the reference article on list entities for more information.
Add a list entity
To add list entities in Composer, do the following:
- Select the trigger you want to add the list entity to and navigate to the Trigger phrases list on the right. Then select the Add entity button and select List entity from the drop-down menu.
- The Add a list entity window will appear. Add a Name for your list entity definition.
- Now select Add row and enter the value you want for the Normalized value.
- Then add Synonyms for the normalized value and hit Enter after every entry.
- Repeat the process of adding rows, normalized values, and synonyms as needed. If you want to delete a row, select the Delete button.
- Once done, select Create to create the list entity definition. It will appear in the Trigger phrases list on the right and in the User input window.


