Quickstart: Build and deploy apps to Azure Spring Apps
Note
The Basic, Standard, and Enterprise plans entered a retirement period on March 17, 2025. For more information, see the Azure Spring Apps retirement announcement.
The Standard consumption and dedicated plan entered a retirement period on September 30, 2024, with a complete shutdown by the end of March 2025. For more information, see Migrate Azure Spring Apps Standard consumption and dedicated plan to Azure Container Apps.
This article applies to: ✅ Basic/Standard ❎ Enterprise
This quickstart explains how to build and deploy Spring applications to Azure Spring Apps using the Azure CLI.
Prerequisites
- Completion of the previous quickstarts in this series:
Download the sample app
Use the following steps to download the sample app. If you've been using the Azure Cloud Shell, switch to a local command prompt.
Create a new folder and clone the sample app repository.
mkdir source-codecd source-codegit clone https://github.com/Azure-Samples/azure-spring-apps-samplesNavigate to the repository directory.
cd azure-spring-apps-samples
Deploy PlanetWeatherProvider
Use the following steps to deploy the PlanetWeatherProvider project.
Create an app for the
PlanetWeatherProviderproject in your Azure Spring Apps instance.az spring app create --name planet-weather-provider --runtime-version NetCore_31To enable automatic service registration, you've given the app the same name as the value of
spring.application.namein the project's appsettings.json file:"spring": { "application": { "name": "planet-weather-provider" } }This command may take several minutes to run.
Change directory to the
PlanetWeatherProviderproject folder.cd steeltoe-sample/src/planet-weather-providerCreate the binaries and the .zip file to be deployed.
dotnet publish -c release -o ./publishTip
The project file contains the following XML to package the binaries in a .zip file after writing them to the ./publish folder:
<Target Name="Publish-Zip" AfterTargets="Publish">
  <ZipDirectory SourceDirectory="$(PublishDir)" DestinationFile="$(MSBuildProjectDirectory)/publish-deploy-planet.zip" Overwrite="true" />
</Target>
Deploy the project to Azure.
Make sure that the command prompt is in the project folder before running the following command.
az spring app deploy \
    --name planet-weather-provider \
    --runtime-version NetCore_31 \
    --main-entry Microsoft.Azure.SpringCloud.Sample.PlanetWeatherProvider.dll \
    --artifact-path ./publish-deploy-planet.zip
The
--main-entryoption specifies the relative path from the .zip file's root folder to the .dll file that contains the application's entry point. After the service uploads the .zip file, it extracts all the files and folders, and then tries to execute the entry point in the specified .dll file.This command may take several minutes to run.
Deploy SolarSystemWeather
Use the following steps to deploy the SolarSystemWeather project.
Create another app in your Azure Spring Apps instance for the project.
az spring app create --name solar-system-weather --runtime-version NetCore_31solar-system-weatheris the name that is specified in theSolarSystemWeatherproject's appsettings.json file.This command may take several minutes to run.
Change directory to the
SolarSystemWeatherproject.cd ../solar-system-weatherCreate the binaries and .zip file to be deployed.
dotnet publish -c release -o ./publishDeploy the project to Azure.
az spring app deploy \
    --name solar-system-weather \
    --runtime-version NetCore_31 \
    --main-entry Microsoft.Azure.SpringCloud.Sample.SolarSystemWeather.dll \
    --artifact-path ./publish-deploy-solar.zip
This command may take several minutes to run.
Assign public endpoint
Before testing the application, get a public endpoint for an HTTP GET request to the solar-system-weather application.
Run the following command to assign the endpoint.
az spring app update --name solar-system-weather --assign-endpoint trueRun the following command to get the URL of the endpoint.
Windows:
az spring app show --name solar-system-weather --output tableLinux:
az spring app show --name solar-system-weather | grep url
Test the application
To test the application, send a GET request to the solar-system-weather app. In a browser, navigate to the public URL with /weatherforecast appended to it. For example: https://servicename-solar-system-weather.azuremicroservices.io/weatherforecast
The output is JSON:
[{"Key":"Mercury","Value":"very warm"},{"Key":"Venus","Value":"quite unpleasant"},{"Key":"Mars","Value":"very cool"},{"Key":"Saturn","Value":"a little bit sandy"}]
This response shows that both Spring apps are working. The SolarSystemWeather app returns data that it retrieved from the PlanetWeatherProvider app.
This article explains how to build and deploy Spring applications to Azure Spring Apps. You can use Azure CLI, the Maven plugin, or IntelliJ. This article describes each alternative.
Prerequisites
- Completion of the previous quickstarts in this series:
- JDK 17
- Maven 3.0 or above
- An Azure subscription. If you don't have a subscription, create a free account before you begin.
- Optionally, Azure CLI version 2.45.0 or higher. Install the Azure Spring Apps extension with the following command:
az extension add --name spring - Optionally, the Azure Toolkit for IntelliJ.
Build the Spring applications locally
Use the following commands to clone the sample repository, navigate to the sample folder, and then build the project.
git clone https://github.com/azure-samples/spring-petclinic-microservices
cd spring-petclinic-microservices
mvn clean package -DskipTests -Denv=cloud
Compiling the project takes 5-10 minutes. When the project is compiled, you should have individual JAR files for each service in their respective folders.
Create and deploy apps on Azure Spring Apps
Use the following steps to create and deploys apps on Azure Spring Apps using the CLI.
If you didn't run the following commands in the previous quickstarts, run them now to set the CLI defaults.
az configure --defaults group=<resource-group-name> spring=<service-name>Create the two core Spring applications for PetClinic:
api-gatewayandcustomers-service.az spring app create \ --name api-gateway \ --runtime-version Java_17 \ --instance-count 1 \ --memory 2Gi \ --assign-endpoint az spring app create \ --name customers-service \ --runtime-version Java_17 \ --instance-count 1 \ --memory 2GiDeploy the JAR files built in the previous step.
az spring app deploy \
    --name api-gateway \
    --artifact-path spring-petclinic-api-gateway/target/api-gateway-3.0.1.jar \
    --jvm-options="-Xms2048m -Xmx2048m"
az spring app deploy \
    --name customers-service \
    --artifact-path spring-petclinic-customers-service/target/customers-service-3.0.1.jar \
    --jvm-options="-Xms2048m -Xmx2048m"
Query the app status after deployments with the following command.
az spring app list --output tableThis command produces output similar to the following example:
Name               Location    ResourceGroup    Production Deployment    Public Url                                           Provisioning Status    CPU    Memory    Running Instance    Registered Instance    Persistent Storage
-----------------  ----------  ---------------  -----------------------  ---------------------------------------------------  ---------------------  -----  --------  ------------------  ---------------------  --------------------
api-gateway        eastus      xxxxxx-sp         default                  https://<service name>-api-gateway.azuremicroservices.io   Succeeded              1      2         1/1                 1/1                    -
customers-service  eastus      <service name>         default                                                                       Succeeded              1      2         1/1                 1/1                    -
Verify the services
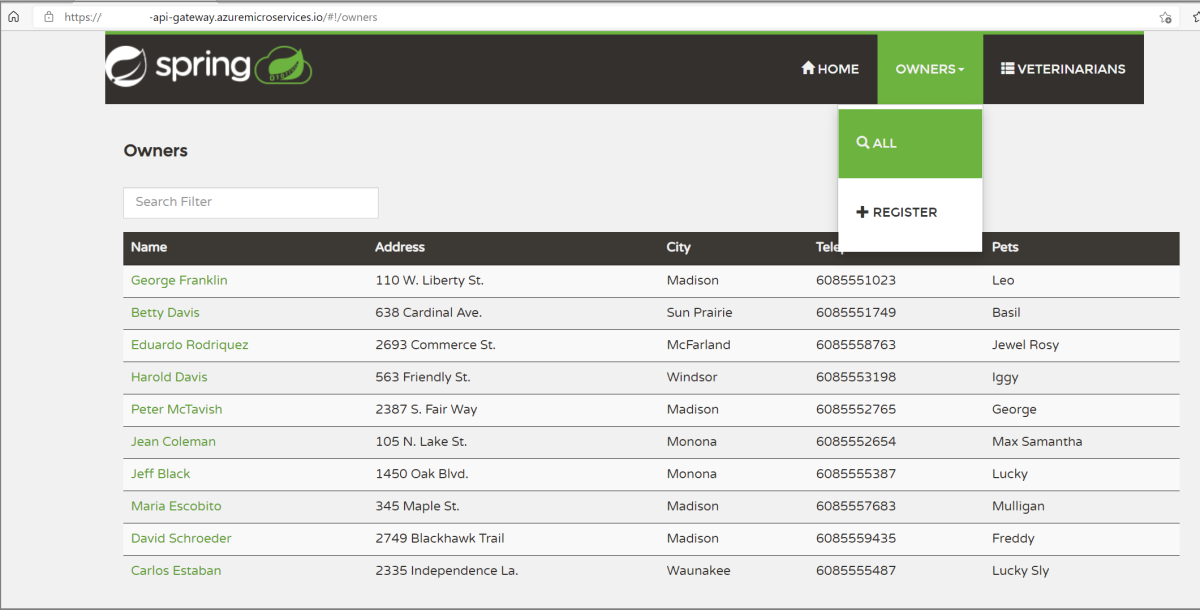
Access api-gateway and customers-service from a browser with the Public Url shown previously, in the format of https://<service name>-api-gateway.azuremicroservices.io.
Tip
To troubleshot deployments, you can use the following command to get logs streaming in real time whenever the app is running az spring app logs --name <app name> --follow.
Deploy extra apps
To get the PetClinic app functioning with all features like Admin Server, Visits, and Veterinarians, deploy the other apps with following commands:
az spring app create \
    --name admin-server \
    --runtime-version Java_17 \
    --instance-count 1 \
    --memory 2Gi \
    --assign-endpoint
az spring app create \
    --name vets-service \
    --runtime-version Java_17 \
    --instance-count 1 \
    --memory 2Gi
az spring app create \
    --name visits-service \
    --runtime-version Java_17 \
    --instance-count 1 \
    --memory 2Gi
az spring app deploy \
    --name admin-server \
    --runtime-version Java_17 \
    --artifact-path spring-petclinic-admin-server/target/admin-server-3.0.1.jar \
    --jvm-options="-Xms1536m -Xmx1536m"
az spring app deploy \
    --name vets-service \
    --runtime-version Java_17 \
    --artifact-path spring-petclinic-vets-service/target/vets-service-3.0.1.jar \
    --jvm-options="-Xms1536m -Xmx1536m"
az spring app deploy \
    --name visits-service \
    --runtime-version Java_17 \
    --artifact-path spring-petclinic-visits-service/target/visits-service-3.0.1.jar \
    --jvm-options="-Xms1536m -Xmx1536m"
Clean up resources
If you plan to continue working with subsequent quickstarts and tutorials, you might want to leave these resources in place. When no longer needed, delete the resource group, which deletes the resources in the resource group. To delete the resource group by using Azure CLI, use the following commands:
echo "Enter the Resource Group name:" &&
read resourceGroupName &&
az group delete --name $resourceGroupName &&
echo "Press [ENTER] to continue ..."


