Tutorial: Discover MySQL database instances running in your datacenter (preview)
This article describes how to discover MySQL database instances running on servers in your datacenter, using Azure Migrate: Discovery and assessment tool. The discovery process is agentless; no agents are installed on the target servers.
In this tutorial, you learn how to:
Note
- A Kubernetes-based appliance is required to discover MySQL database instances. Learn more about scenarios covered by a Windows-based appliance.
Supported regions
The following table lists the regions that support MySQL Discovery and Assessment in preview:
| Geography | Region |
|---|---|
| Asia Pacific | Southeast Asia |
| Australia | Australia East |
| Canada | Canada Central |
| Europe | North Europe West Europe |
| France | France Central |
| Japan | Japan East |
| Korea | Korea Central |
| United Kingdom | UK South |
| United States | Central US West US 2 |
Prerequisites
An Azure subscription. If you don't have one, create a free account.
Before you begin to discover MySQL database instances, use the below tutorials to create an Azure Migrate project as per your requirements in one of the supported regions:
After you create a project, ensure you've completed the server discovery using the Azure Migrate appliance.
Ensure that you perform the discovery of software inventory by providing the server credentials to the appliance configuration manager.
Note
Only Azure Migrate projects created with public endpoint connectivity are supported. Private endpoint projects aren't supported.
Set up Kubernetes-based appliance
After you complete the server discovery and software inventory using the Azure Migrate appliance, follow these steps to enable discovery of MySQL database instances by setting up a Kubernetes appliance:
Onboard Kubernetes-based appliance
Sign in to the Azure portal and search for Azure Migrate.
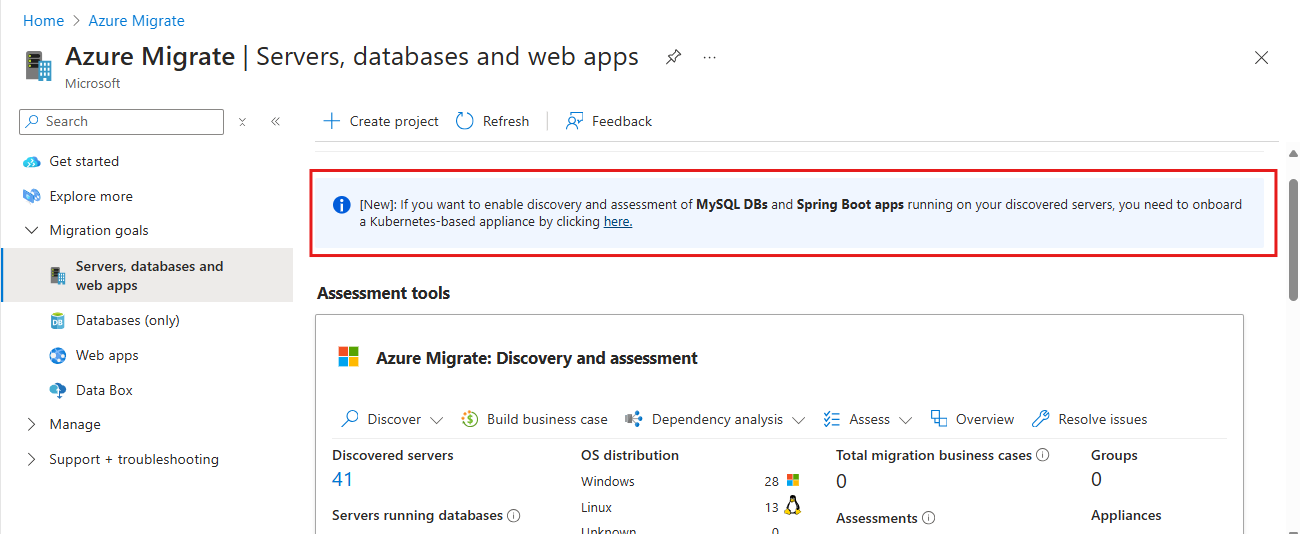
In Servers, databases and web apps, select Discover, assess and migrate.
Select the Azure Migrate project to set up the Kubernetes-based appliance
You'll see a message above Azure Migrate: Discovery and assessment tile to onboard a Kubernetes-based appliance to enable discovery of MySQL databases and Spring Boot applications. Select the link on the message to get started with onboarding the Kubernetes-based appliance.
In the Onboard Kubernetes-based appliance page, under the Setup appliance section, choose either one of the options.
- Install appliance using packaged Kubernetes cluster (recommended). You must set up a Kubernetes-cluster on a Linux server and then use the installer script to set up the Azure Migrate appliance.
- Bring your own Kubernetes cluster: You must bring your own Kubernetes cluster running on-premises, connect it to Azure Arc, and use the installer script to set up the appliance.
To install an appliance using the packaged Kubernetes cluster, follow these steps:
In Provide appliance details for Azure Migrate, the appliance name is shown by default, but you can choose to provide your own friendly name to the appliance.
Select a Key Vault from the drop-down list or Create new Key Vault. This Key Vault is used to process the credentials provided in the project to start discovery of MySQL database instances.
Note
You can select or create in the same subscription and region as that of the Azure Migrate Project. When you create/select Key Vault, ensure it doesn't have purge protection enabled, else there will be issues in processing of credentials through the Key Vault.
After you provide the appliance name and Key Vault, select Generate script to generate an installer script that you can download or copy the script and save it as
Deploy.shon a Linux server on-premises.Before you execute the script, ensure that the following prerequisites on the Linux server are met:
Support Details Supported Linux OS Ubuntu 20.04 Hardware configuration required 16-GB RAM, with 30-GB storage, 8 Core CPU Network Requirements Access to the following endpoints:
https://dc.services.visualstudio.com/v2/track
Azure CLI endpoints for proxy bypass

Connect using an outbound proxy server
If your machine is behind an outbound proxy server, requests must be routed via the outbound proxy server. To provide proxy settings, follow these steps:
Open the terminal on the server and execute the following command to set up environment variables as a root user:
sudo su -On the deployment machine, set the environment variables needed for
deploy.sh
to use the outbound proxy server:export HTTP_PROXY=”<proxy-server-ip-address>:<port>” export HTTPS_PROXY=”<proxy-server-ip-address>:<port>” export NO_PROXY=””If your proxy uses a certificate, provide the absolute path to the certificate.
export PROXY_CERT=””Note
The machine uses proxy details while installing the required prerequisites to run the
deploy.sh script.
It won't override the proxy settings of the Azure Arc-enabled Kubernetes cluster.
Execute the installer script
Before you execute the installer script, ensure that you have verified the following prerequisites:
Packaged Kubernetes cluster
- Run the script after you connect to a Linux machine on its terminal that has met the networking prerequisite and OS compatibility.
- Ensure that you install curl on the server. For Ubuntu, you can install it using the command
sudo apt-get install curl
For other OS (RHEL), you can use the command
yum install curl. - Ensure that you install microk8s 1.29 on the server. For Ubuntu, you can install using the command
sudo snap install microk8s --classic --channel=1.29/stable.
Learn more on how to install microk8s on Red Hat Enterprise Linux 9.
Bring your own cluster
- Run the script after you connect to a Linux machine on its terminal that meets the networking prerequisites and OS compatibility.
- Ensure that you have curl installed on the server. For Ubuntu, you can install it using the command
sudo apt-get install curl
and for other OS (RHEL), you can use the command
yum install curl
Important
Don't edit the script before you execute it. You can only edit the script when you want to clean up the setup.
After you save the script on the Linux server, follow these steps:
Open the Terminal on the server and execute the following command to execute the script as a root user:
sudo su -Change the directory to where you saved the script and execute the script using command:
bash deploy.shFollow the instructions in the script and sign in with your Azure user account when prompted.
The script performs the following:
- Installs required CLI extensions
- Registers Azure Resource Providers
- Checks for prerequisites like connectivity to required endpoints
- Sets up MicroK8s Kubernetes cluster
- Installs the required operators on the cluster
- Creates the required Migrate resources
After the script is executed successfully, configure the appliance through the portal.
Note
Rerun the script if you encounter any issue during script execution and it would resume from the last successful state. In case you want to perform a complete fresh install, see cleanup of setup details before you rerun the script.
Encryption at rest
To ensure that Kubernetes secrets are secured, go through the following recommendations:
As you're setting a packaged appliance, we have shared responsibility to ensure that the secrets are secured.
- We recommend you choose a Linux VM with disk encryption for its services.
Configure Kubernetes-based appliance
After you successfully set up the appliance using the installer script, configure the appliance by following these steps:
Go to the Azure Migrate project where you started onboarding the Kubernetes-based appliance.
On the Azure Migrate: Discovery and assessment tile, select the appliance count for Pending action under appliances summary.
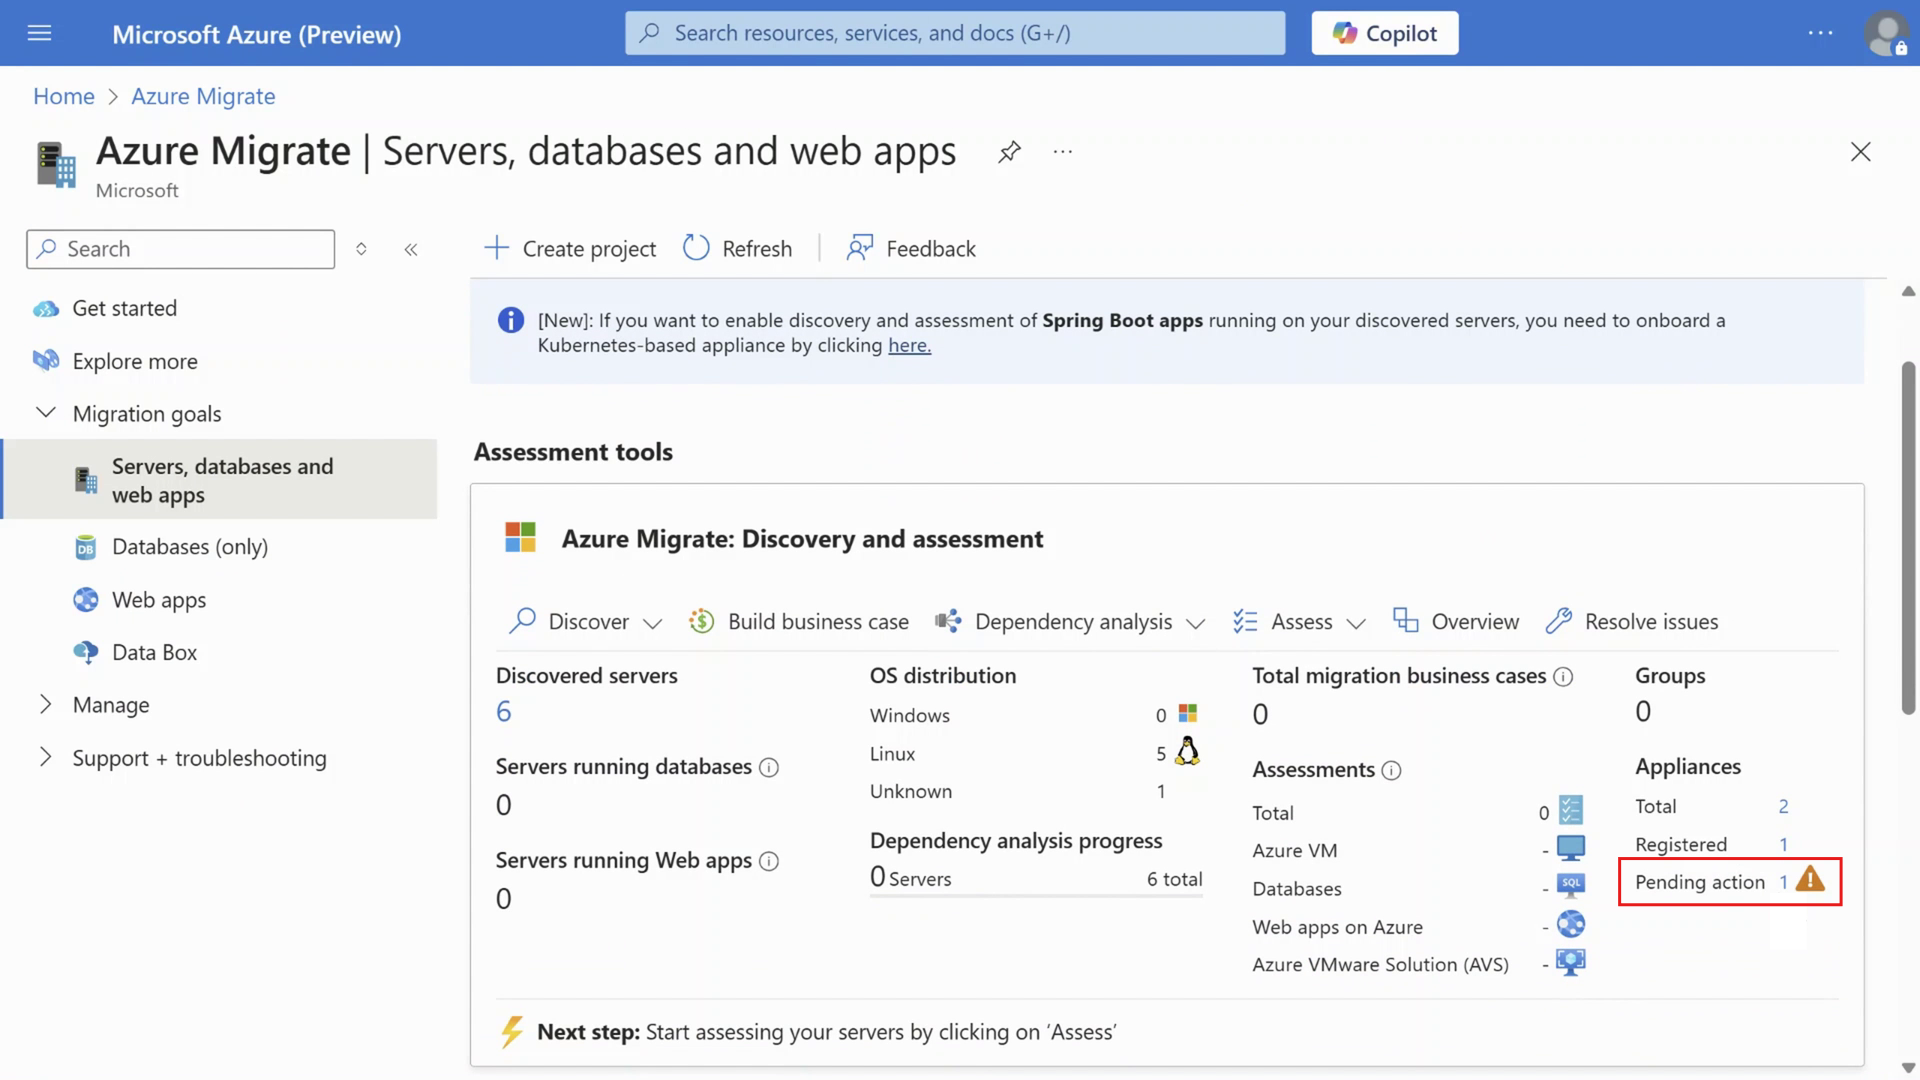
In Overview > Manage > Appliances, a filtered list of appliances appears with actions pending.
Find the Kubernetes-based appliance that you set up and select Credentials unavailable status to configure the appliance.
In the Manage credentials page, select Add credentials to initiate discovery of the MySQL database instances running on your servers.
Select MySQL authentication credential type, provide a friendly name, input the MySQL username, and password and select Save.
Note
- The credentials added on the portal are processed via the Azure Key Vault chosen in the initial steps of onboarding the Kubernetes-based appliance. The credentials are then synced (saved in an encrypted format) to the Kubernetes cluster on the appliance and removed from the Azure Key Vault.
- After the credentials are successfully synced, they would be used for discovery of the specific workload in the next discovery cycle.
- Ensure that the user corresponding to the added MySQL credentials have the following privileges: >- Select permission on information_schema tables. >- Select permission on mysql.users table.
For a more detailed and accurate assessment of your MySQL database instances hosted on Linux servers, you’ll also need to add the server credentials. Select Add credentials once again and add the Linux server credentials under the credential type Linux guest.
After you add the credentials, refresh the page to see the Sync status of the credential. If status is Incomplete, you can select the status to review the error encountered and take the recommended action. After the credentials are successfully synced, wait for 24 hours before you can review the discovered inventory by filtering for the specific workload in the Discovered servers page.
Note
You can add/update credentials any time by navigating to Azure Migrate: Discovery and assessment > Overview > Manage > Appliances page, selecting Manage credentials from the options available in the Kubernetes-based appliance.
Clean up of setup
To clean up, run the following script in delete mode:
In the script generated by the portal, after all the user arguments (after line 19 in the following image), add export DELETE= “true” and run the same script again. This cleans up all existing components created during appliance creation.

Overview of Discovery results
You can review the discovered MySQL databases after around 24 hours of discovery initiation, through the Discovered servers view.
On the Azure Migrate: Discovery and assessment tile on the Hub page, select the number below the Discovered servers.
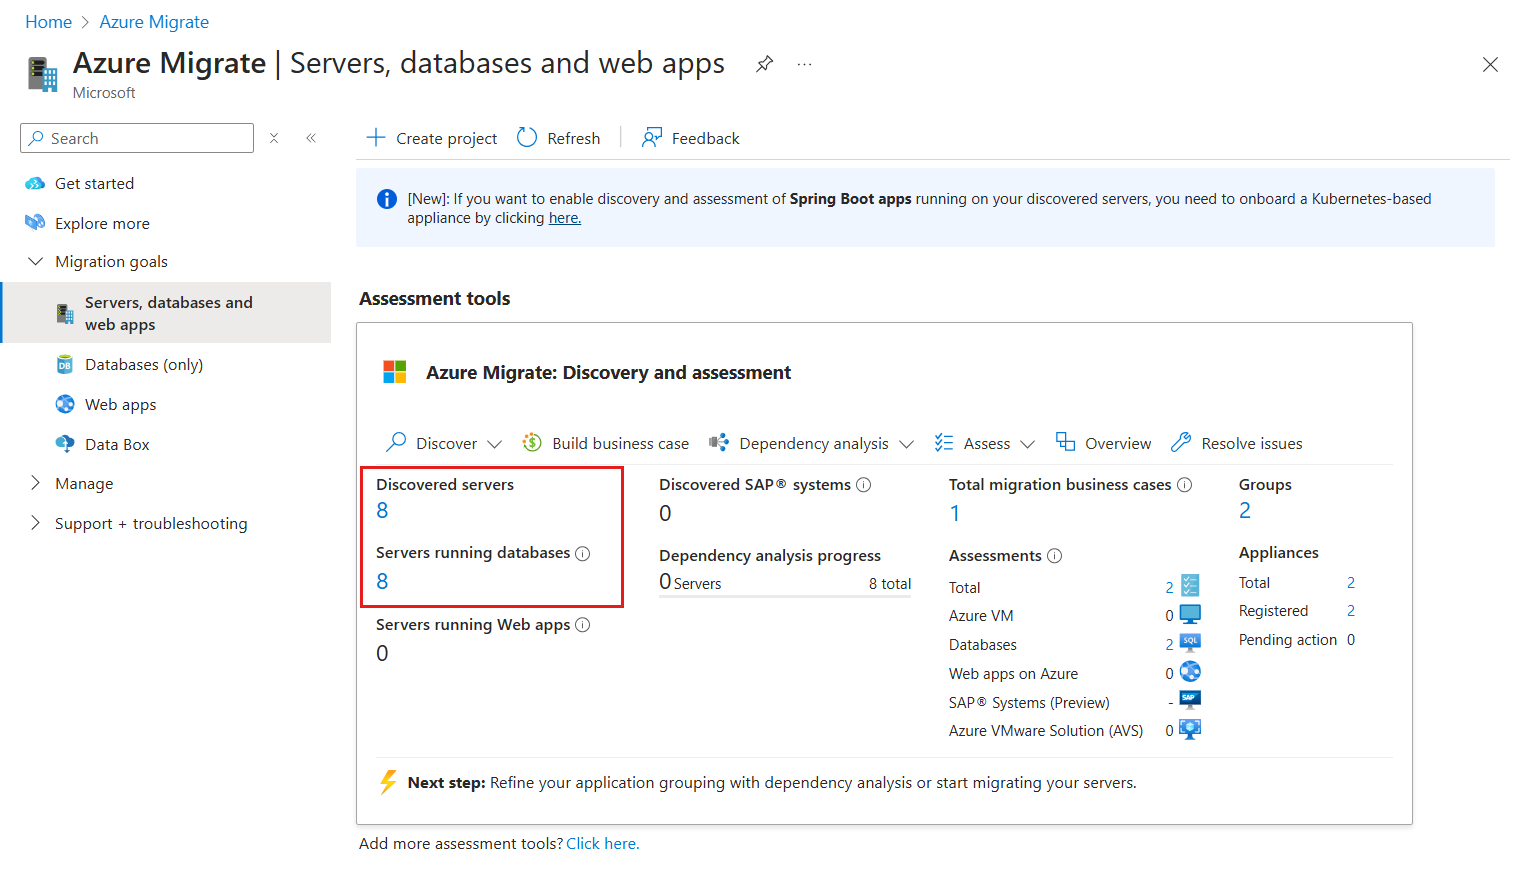
Select the filters Workload == Databases and Database type == MySQL to view the list of all servers that are running MySQL database instances in your environment.
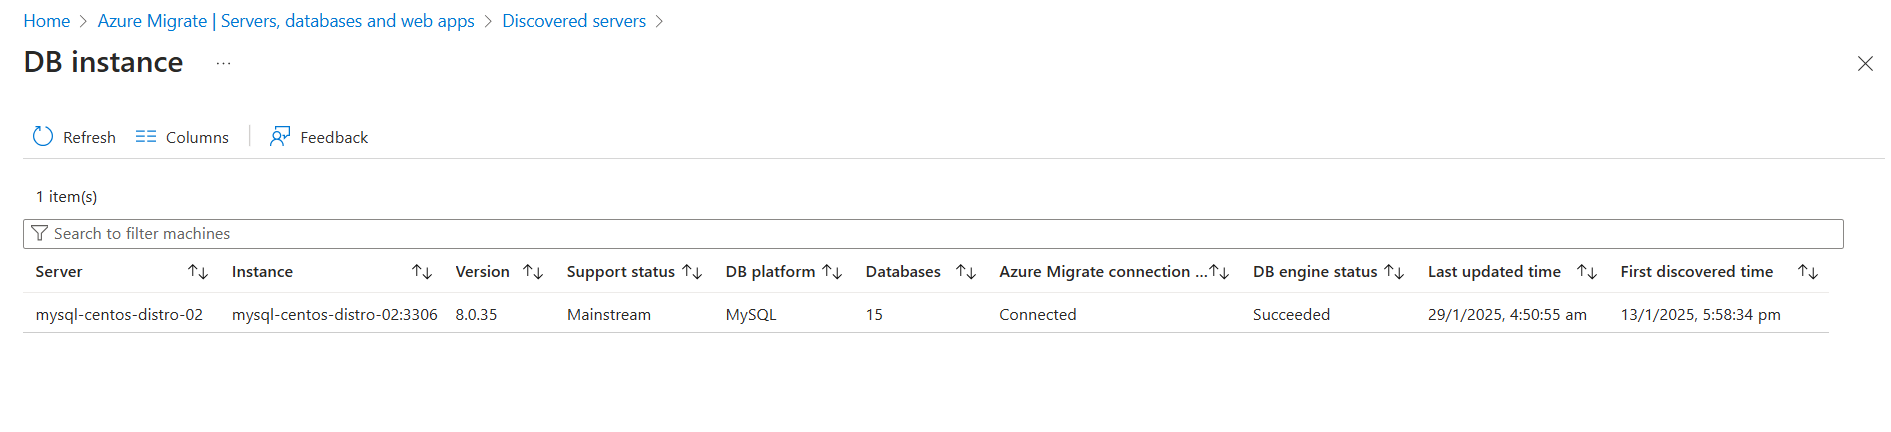
To view basic information of the MySQL database instances in each of the discovered servers, select the number in the Database instances column for the corresponding server.
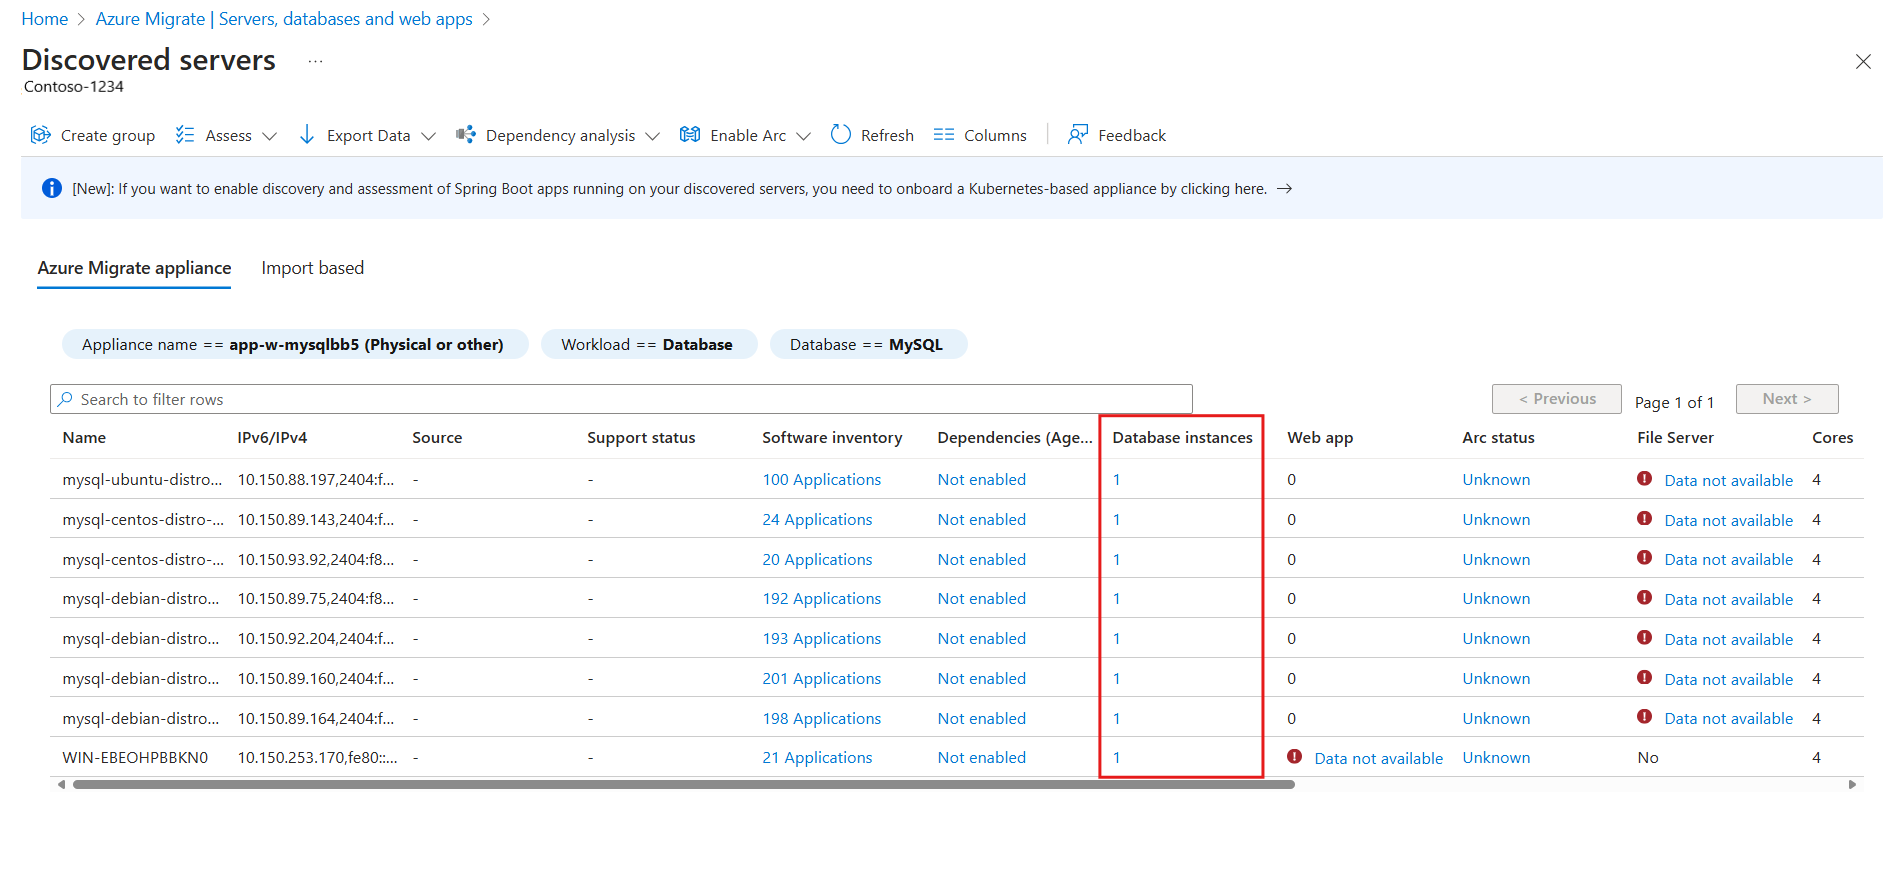
Review the following information on the DB instance page:
- MySQL server and instance name
- MySQL edition, version, and version support status
- Number of user databases in the instance
- Azure Migrate connection status, DB engine status, first discovered time, and last updated time
Tip
Select Columns to filter the data.


Next steps
- Learn how to create and run a MySQL assessment.
- Learn more about how MySQL assessments are calculated.