Use the IoT Central device bridge to connect other IoT clouds to IoT Central
The IoT Central device bridge is an open-source solution that connects other IoT clouds such as Sigfox, Particle Device Cloud, and The Things Network to your IoT Central application. The device bridge works by forwarding data from devices connected to other IoT clouds through to your IoT Central application. The device bridge only forwards data to IoT Central, it doesn't send commands or property updates from IoT Central back to the devices.
The device bridge lets you combine the power of IoT Central with devices such as:
- Asset tracking devices connected to Sigfox's low-power wide area network.
- Air quality monitoring devices on the Particle Device Cloud.
- Soil moisture monitoring devices on The Things Network.
You can use IoT Central application features such as rules and analytics on the data, create workflows in Power Automate and Azure Logic apps, or export the data.
The device bridge solution provisions several Azure resources into your Azure subscription that work together to transform and forward device messages to IoT Central.
Prerequisites
To complete the steps in this how-to guide, you need:
An active Azure subscription. If you don't have an Azure subscription, create a free account before you begin.
An IoT Central application created from the Custom application template. To learn more, see Create an IoT Central application and About your application.
Overview
The IoT Central device bridge is an open-source solution in GitHub. It uses a custom Azure Resource Manager template to deploy several resources to your Azure subscription, including a function app in Azure Functions.
The function app is the core piece of the device bridge. It receives HTTP POST requests from other IoT platforms through a simple webhook. The Azure IoT Central Device Bridge repository includes examples that show how to connect Sigfox, Particle, and The Things Network clouds. You can extend this solution to connect to your custom IoT cloud if your platform can send HTTP POST requests to your function app.
The function app transforms the data into a format accepted by IoT Central and forwards it using the device provisioning service and device client APIs:

If your IoT Central application recognizes the device ID in the forwarded message, the telemetry from the device appears in IoT Central. If your IoT Central application doesn't recognize the device ID, the function app attempts to register a new device with the device ID. The new device appears as an Unassigned device on the Devices page in your IoT Central application. From the Devices page, you can assign the new device to a device template and then view the telemetry.
Deploy the device bridge
To deploy the device bridge to your subscription:
In your IoT Central application, navigate to the Permissions > Device connection groups page.
Make a note of the ID Scope. You use this value when you deploy the device bridge.
In the same page, open the SAS-IoT-Devices enrollment group. On the SAS-IoT-Devices group page, copy the Primary key. You use this value when you deploy the device bridge.
Use the following Deploy to Azure button to open the custom Resource Manager template that deploys the function app to your subscription. Use the ID Scope and Primary key from the previous step:
After the deployment is completed, you need to install the npm packages the function requires:
In the Azure portal, open the function app that was deployed to your subscription. Then, go to Development Tools > Console. In the console, run the following commands to install the packages:
cd IoTCIntegration
npm install
These commands might take several minutes to run. You can safely ignore any warning messages.
After the package installation finishes, Select Restart on the Overview page of the function app:

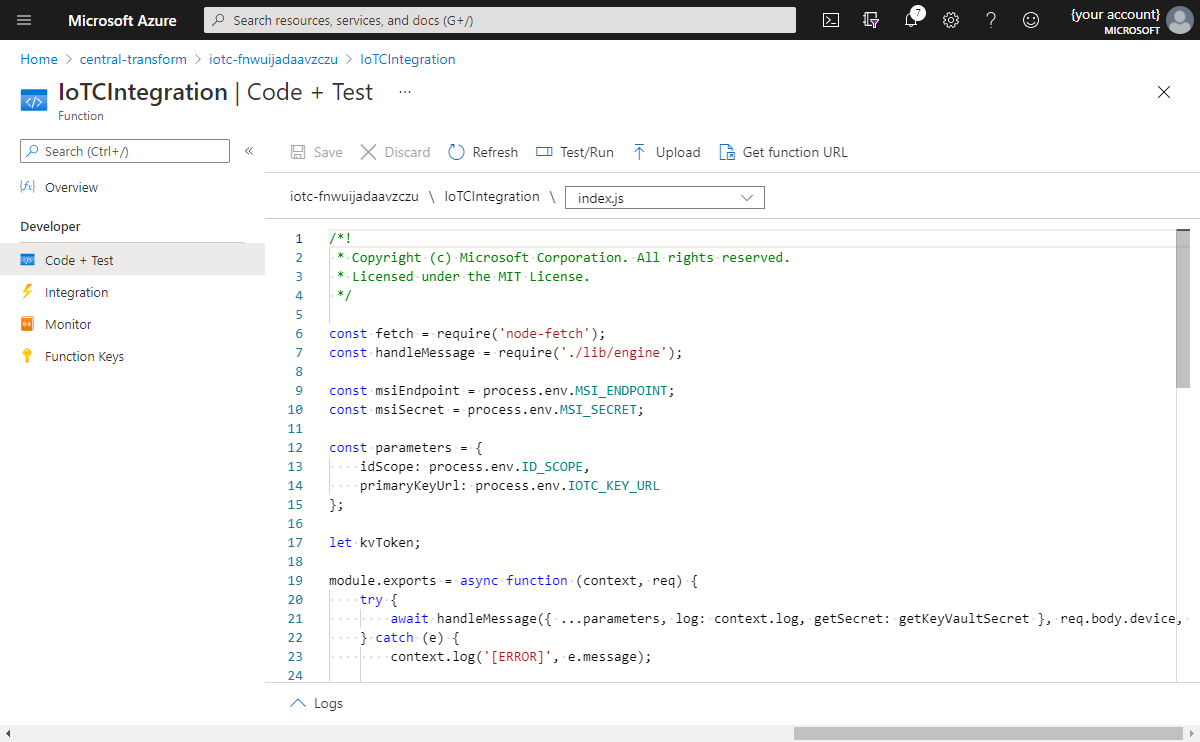
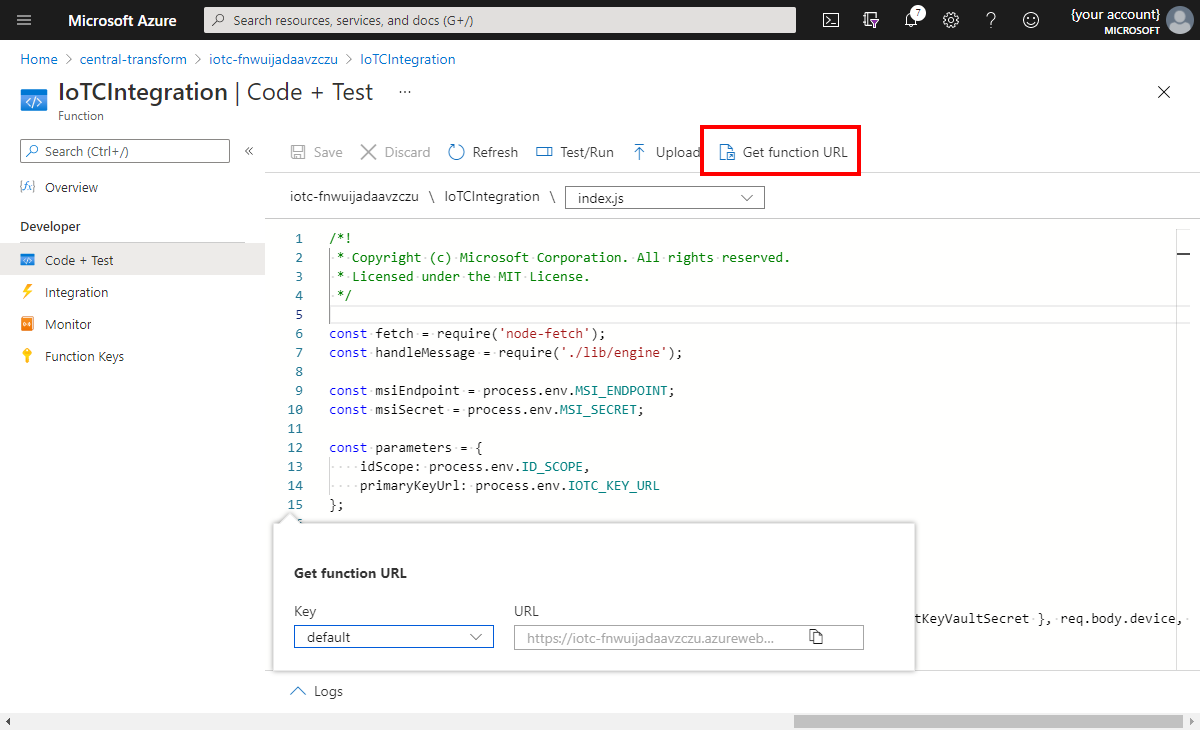
The function is now ready to use. External systems can use HTTP POST requests to send device data through the device bridge into your IoT Central application. To get the function URL, navigate to Functions > IoTCIntegration > Code + Test > Get function URL:

Messages bodies sent to the device bridge must have the following format:
"device": {
  "deviceId": "my-cloud-device"
},
"measurements": {
  "temp": 20.31,
  "pressure": 50,
  "humidity": 8.5,
  "ledColor": "blue"
}
Each key in the measurements object must match the name of a telemetry type in the device template in the IoT Central application. This solution doesn't support specifying the interface ID in the message body. So if two different interfaces have a telemetry type with the same name, the measurement appears in both telemetry streams in your IoT Central application.
You can include a timestamp field in the body to specify the UTC date and time of the message. This field must be in ISO 8601 format. For example, 2020-06-08T20:16:54.602Z. If you don't include a timestamp, the current date and time is used.
You can include a modelId field in the body. Use this field to assign the device to a device template during provisioning.
The deviceId must be alphanumeric, lowercase, and can contain hyphens.
If you don't include the modelId field, or if IoT Central doesn't recognize the model ID, then a message with an unrecognized deviceId creates a new unassigned device in IoT Central. An operator can manually migrate the device to the correct device template. To learn more, see Manage devices in your Azure IoT Central application > Migrating devices to a template.
Note
Until the device is assigned to a template, all HTTP calls to the function return a 403 error status.
To switch on logging for the function app with Application Insights, navigate to Monitoring > Logs in your function app in the Azure portal. Select Turn on Application Insights.
Provisioned resources
The Resource Manager template provisions the following resources in your Azure subscription:
- Function app
- App Service plan
- Storage account
- Key vault
The key vault stores the SAS group key for your IoT Central application.
The function app runs on a consumption plan. While this option doesn't offer dedicated compute resources, it enables the device bridge to handle hundreds of device messages per minute, suitable for smaller fleets of devices or devices that send messages less frequently. If your application depends on streaming a large number of device messages, replace the consumption plan with a dedicated App service plan. This plan offers dedicated compute resources, which give faster server response times. With a standard App Service Plan, the maximum observed performance of the function from Azure in this repository was around 1,500 device messages per minute. To learn more, see Azure Functions hosting options.
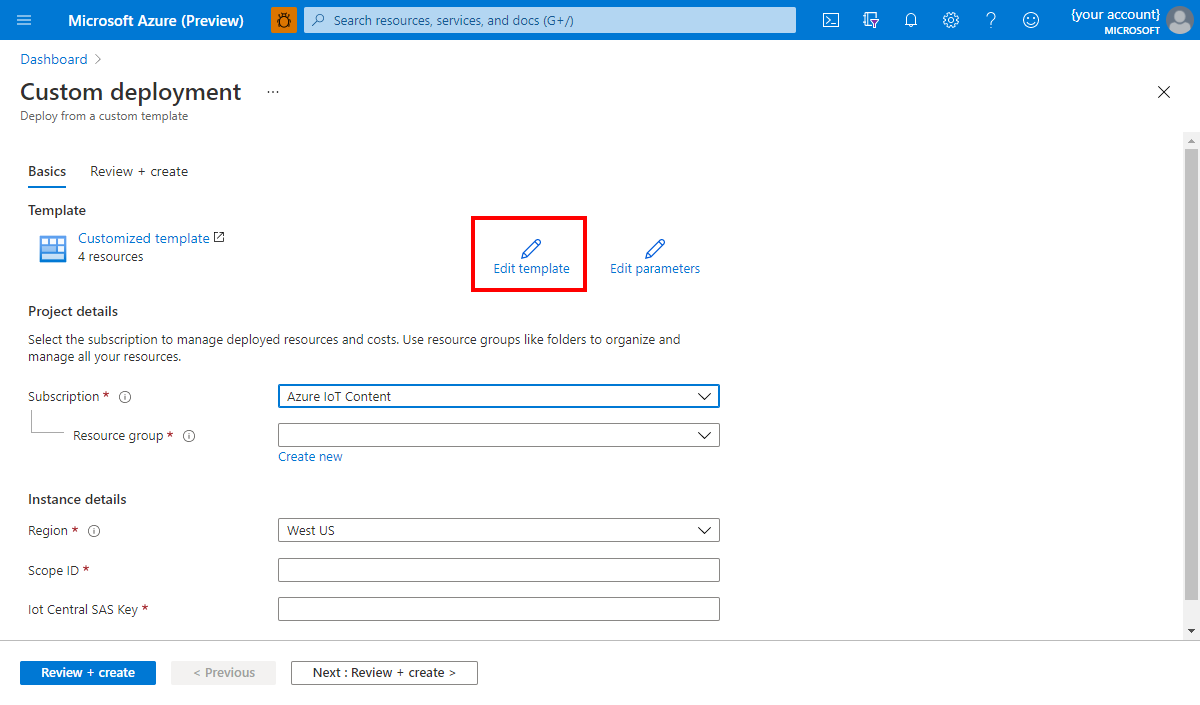
To use a dedicated App Service plan instead of a consumption plan, edit the custom template before deploying. Select Edit template.

Replace the following segment:
{
  "type": "Microsoft.Web/serverfarms",
  "apiVersion": "2015-04-01",
  "name": "[variables('planName')]",
  "location": "[resourceGroup().location]",
  "properties": {
    "name": "[variables('planName')]",
    "computeMode": "Dynamic",
    "sku": "Dynamic"
  }
},
With:
{
  "type": "Microsoft.Web/serverfarms",
  "sku": {
      "name": "S1",
      "tier": "Standard",
      "size": "S1",
      "family": "S",
      "capacity": 1
  },
  "kind": "app",
  "name": "[variables('planName')]",
  "apiVersion": "2016-09-01",
  "location": "[resourceGroup().location]",
  "tags": {
      "iotCentral": "device-bridge",
      "iotCentralDeviceBridge": "app-service-plan"
  },
  "properties": {
      "name": "[variables('planName')]"
  }
},
Next, edit the template to include "alwaysOn": true in the configuration for the functionapp resource under "properties": {"SiteConfig": {...}} The alwaysOn configuration ensures the function app is always running.
Examples
The following examples outline how to configure the device bridge for various IoT clouds:
Example 1: Connecting Particle devices through the device bridge
To connect a Particle device through the device bridge to IoT Central, go to the Particle console and create a new webhook integration. Set the Request Format to JSON. Under Advanced Settings, use the following custom body format:
{
  "device": {
    "deviceId": "{{{PARTICLE_DEVICE_ID}}}"
  },
  "measurements": {
    "{{{PARTICLE_EVENT_NAME}}}": "{{{PARTICLE_EVENT_VALUE}}}"
  }
}
Paste in the function URL from your function app, and you see Particle devices appear as unassigned devices in IoT Central. To learn more, see the Here's how to integrate your Particle-powered projects with Azure IoT Central blog post.
Example 2: Connecting Sigfox devices through the device bridge
Some platforms might not let you specify the format of device messages sent through a webhook. For such systems, you must convert the message payload to the expected body format before the device bridge processes it. You can do the conversion in the same function that runs the device bridge.
This section shows how to convert the payload of a Sigfox webhook integration to the body format expected by the device bridge. The Sigfox cloud transmits device data in a hexadecimal string format. For convenience, the device bridge includes a conversion function for this format, which accepts a subset of the possible field types in a Sigfox device payload: int and uint of 8, 16, 32, or 64 bits; float of 32 bits or 64 bits; little-endian and big-endian. To process messages from a Sigfox webhook integration, make the following changes to the IoTCIntegration/index.js file in the function app.
To convert the message payload, add the following code before the call to handleMessage on line 21, replacing payloadDefinition with your Sigfox payload definition:
const payloadDefinition = 'gforce::uint:8 lat::uint:8 lon::uint:16'; // Replace this with your payload definition

req.body = {
    device: {
        deviceId: req.body.device
    },
    measurements: require('./converters/sigfox')(payloadDefinition, req.body.data)
};
Sigfox devices expect a 204 response code. Add the following code after the call to handleMessage in line 21:
context.res = {
    status: 204
};
Example 3: Connecting devices from The Things Network through the device bridge
To connect The Things Network devices to IoT Central:
- Add a new HTTP integration to your application in The Things Network: Application > Integrations > add integration > HTTP Integration.
- Make sure your application includes a decoder function that automatically converts the payload of your device messages to JSON before sending it to the function: Application > Payload Functions > decoder.
The following sample shows a JavaScript decoder function you can use to decode common numeric types from binary data:
function Decoder(bytes, port) {
  function bytesToFloat(bytes, decimalPlaces) {
    var bits = (bytes[3] << 24) | (bytes[2] << 16) | (bytes[1] << 8) | bytes[0];
    var sign = (bits >>> 31 === 0) ? 1.0 : -1.0;
    var e = bits >>> 23 & 0xff;
    var m = (e === 0) ? (bits & 0x7fffff) << 1 : (bits & 0x7fffff) | 0x800000;
    var f = Math.round((sign * m * Math.pow(2, e - 150)) * Math.pow(10, decimalPlaces)) / Math.pow(10, decimalPlaces);
    return f;
  }

  function bytesToInt32(bytes, signed) {
    var bits = bytes[0] | (bytes[1] << 8) | (bytes[2] << 16) | (bytes[3] << 24);
    var sign = 1;

    if (signed && bits >>> 31 === 1) {
      sign = -1;
      bits = bits & 0x7FFFFFFF;
    }

    return bits * sign;
  }

  function bytesToShort(bytes, signed) {
    var bits = bytes[0] | (bytes[1] << 8);
    var sign = 1;

    if (signed && bits >>> 15 === 1) {
      sign = -1;
      bits = bits & 0x7FFF;
    }

    return bits * sign;
  }

  return {
    temperature: bytesToFloat(bytes.slice(0, 4), 2),
    presscounter: bytesToInt32(bytes.slice(4, 8), true),
    blueLux: bytesToShort(bytes.slice(8, 10), false)
  };
}
After you define the integration, add the following code before the call to handleMessage in line 21 of the IoTCIntegration/index.js file of your function app. This code translates the body of your HTTP integration to the expected format.
req.body = {
  device: {
    deviceId: req.body.end_device_ids.device_id.toLowerCase()
  },
  measurements: req.body.uplink_message.decoded_payload
};
Note
The previous snippet uses the human-friendly device ID. The Things Network message also includes a technical ID that you can access using req.body.dev_eui.toLowerCase(). To learn more, see The Things Network - Data Formats.
Limitations
The device bridge only forwards messages to IoT Central, and doesn't send messages back to devices. This limitation is why properties and commands don't work for devices that connect to IoT Central through this device bridge. Because device twin operations aren't supported, it's not possible to update device properties through the device bridge. To use these features, a device must connect directly to IoT Central using one of the Azure IoT device SDKs.