Create an instance of Azure Monitor SCOM Managed Instance
Azure Monitor SCOM Managed Instance provides System Center Operations Manager functionality in Azure. It helps you monitor all your workloads, whether they're on-premises, in Azure, or in any other cloud services.
This article describes how to create an instance of the service (a SCOM Managed Instance) with System Center Operations Manager functionality in Azure.
Supported regions
- Australia East
- Canada Central
- East US
- East US 2
- Germany West Central
- Italy North
- North Europe
- South India
- Southeast Asia
- Sweden Central
- UK South
- West Europe
- West US
- West US 2
- West US 3
Create a SCOM Managed Instance
To create a SCOM Managed Instance, follow these steps:
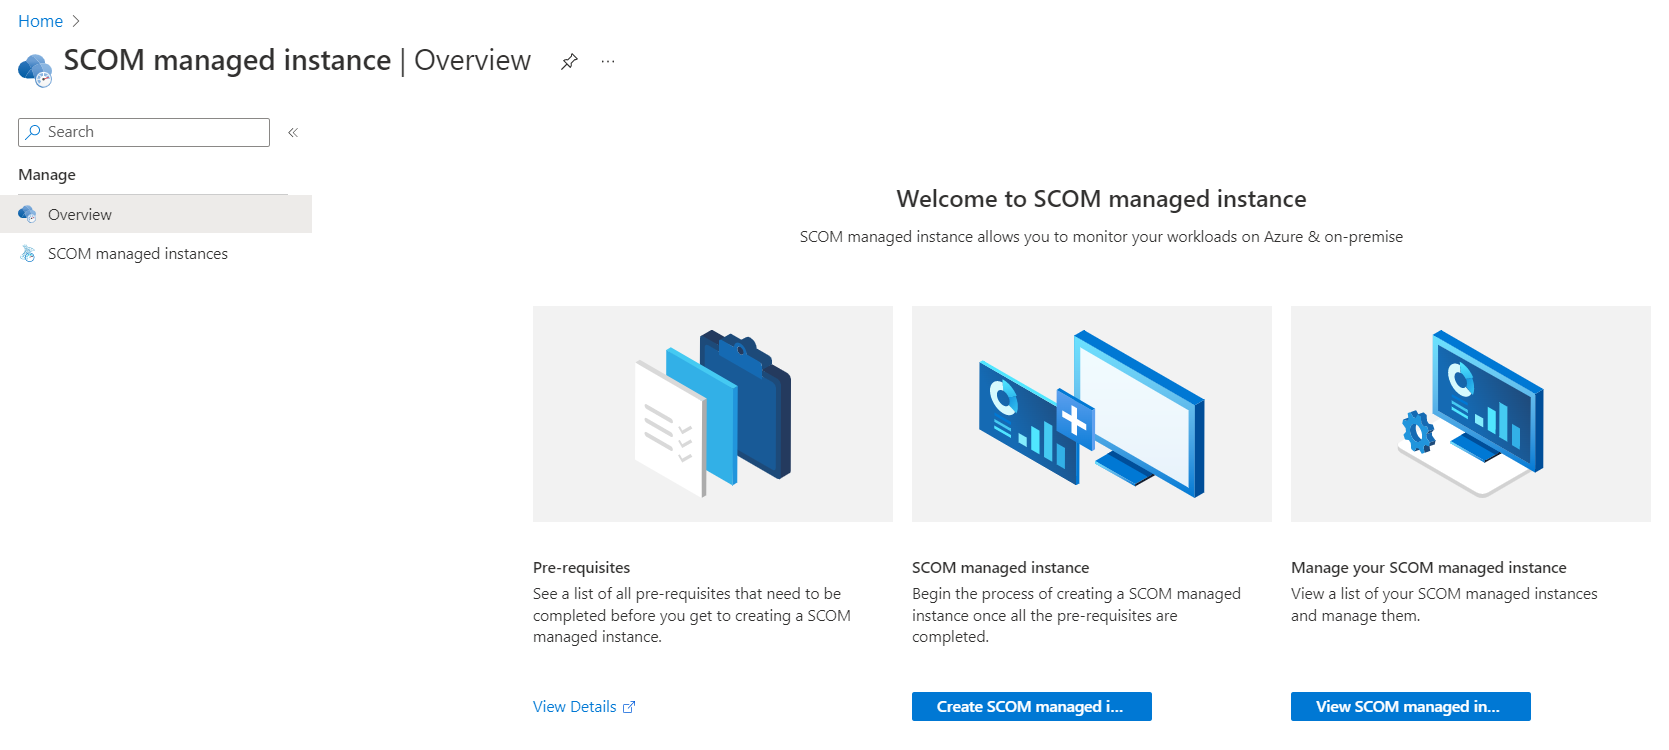
Sign in to the Azure portal. Search for and select SCOM Managed Instance.
On the Overview page, you have three options:
- Pre-requisites: Allows you to view the prerequisites.
- SCOM managed instance: Allows you to create a SCOM Managed Instance.
- Manage your SCOM managed instance: Allows you to view the list of created instances.
Select Create SCOM managed instance.
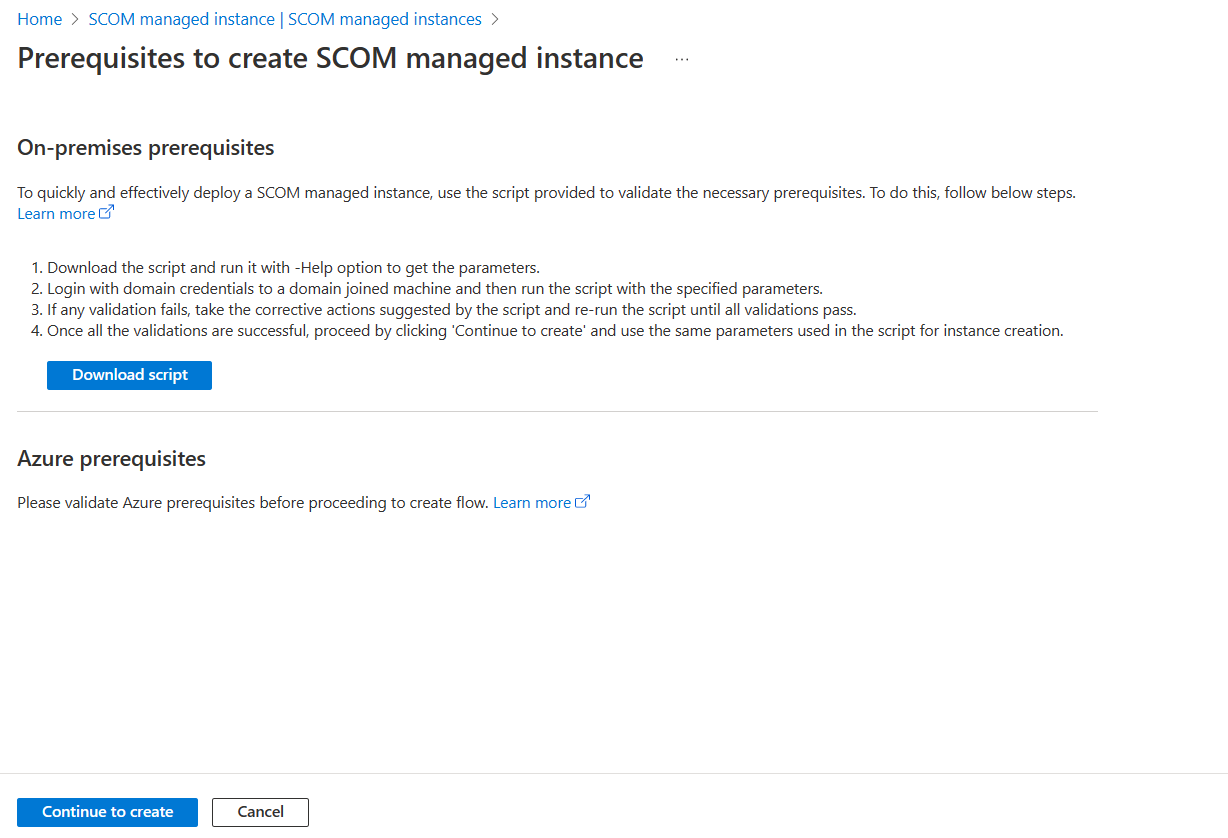
The Prerequisites to create SCOM managed instance page opens. Download the script and run it on a domain-joined machine to validate the prerequisites.
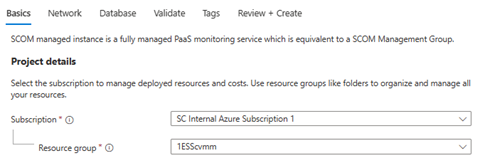
Under Basics, do the following:
Project details:
- Subscription: Select the Azure subscription in which you want to place the SCOM Managed Instance.
- Resource group: Select the resource group in which you want to place the SCOM Managed Instance. We recommend that you have a new resource group exclusively for SCOM Managed Instance.
Instance details:
- SCOM managed instance name: Enter a name for your SCOM Managed Instance.
Note
- The name of a SCOM Managed Instance can have only alphanumeric characters and be up to 9 characters.
- A SCOM Managed Instance is equivalent to a System Center Operations Manager management group, so choose a name accordingly.
- Region: Select a region near to you geographically so that latency between your agents and the SCOM Managed Instance is as low as possible. This region must also contain the virtual network.
- SCOM managed instance name: Enter a name for your SCOM Managed Instance.
Active directory details:
- Domain name: Enter the name of the domain that the domain controller is administering.
- DNS server IP: Enter the IP address of the Domain Name System (DNS) server that's providing the IP addresses to the resources in the domain from the previous step.
- OU Path: Enter the organizational unit (OU) path to where you want to join the servers. This field isn't a necessary. If you leave it blank, it assumes the default value. Ensure that the value you enter is in the distinguished name format. For example: OU=testOU,DC=domain,DC=Domain,DC=com.
Domain account details:
- Security key vault: Select the key vault that has the secret username and secret password of the domain account's user credentials.
- Username secret: Enter the secret name for the user under the selected key vault.
- Password secret: Enter the secret name for the password under the selected key vault.
Note
Ensure that you provide the secret names created in the selected key vault and not the actual domain username and password.
Azure hybrid benefit: By default, No is selected. Select Yes if you're using a Windows Server license for your existing servers. This license is applicable only for the Windows servers that are used while you create a virtual machine for the SCOM Managed Instance. It won't apply to the existing Windows servers.

Select Next.
Under Networking, do the following:
Virtual network:
Virtual network: Select the virtual network that has direct connectivity to the workloads that you want to monitor and to your domain controller and DNS server.
Subnet: Select a subnet that has at least 32 IP addresses to house the instance. The minimum address space is 28.
The subnet can have existing resources in it. However, don't choose the subnet that houses the SQL managed instance because it won't contain enough IP addresses to house the SCOM Managed Instance components.
SCOM managed instance interface:
- Static IP: Enter the static IP for the load balancer. This IP should be in the selected subnet range for SCOM Managed Instance. Ensure that the IP is in the IPv4 format, and create it in your routing table.
- DNS name: Enter the DNS name that you attached to the static IP from the preceding step. The DNS name is mapped to the static IP that's previously defined.
gMSA details:
- Computer group name: Enter the name of the computer group that you create after creation of the group managed service account (gMSA) account.
- gMSA account name: Enter the gMSA name. It must end with $.

Select Next.
Under Database, do the following:
- SQL managed instance: For Resource Name, select the Azure SQL Managed Instance resource name for the instance that you want to associate with this SCOM Managed Instance. Use only the SQL managed instance that has given permissions to the SCOM Managed Instance. For more information, see SQL managed instance creation and permission.
- User managed identity: For User managed identity account, provide a user managed identity with system admin privileges on the SQL managed instance and Get and List permissions on key vault secrets that were selected on the Basics tab. Ensure that the same MSI has read permissions on the key vault for domain account credentials.
Select Next.
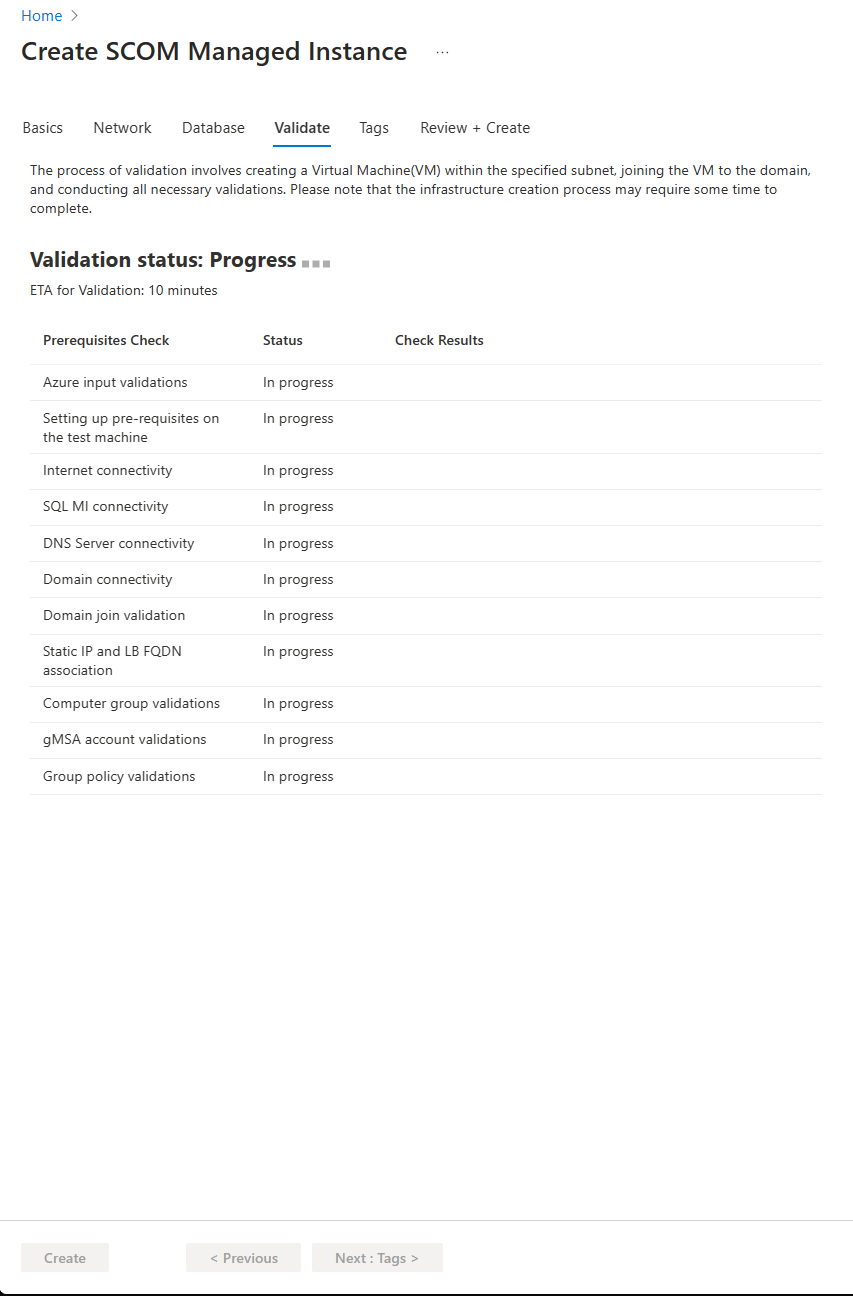
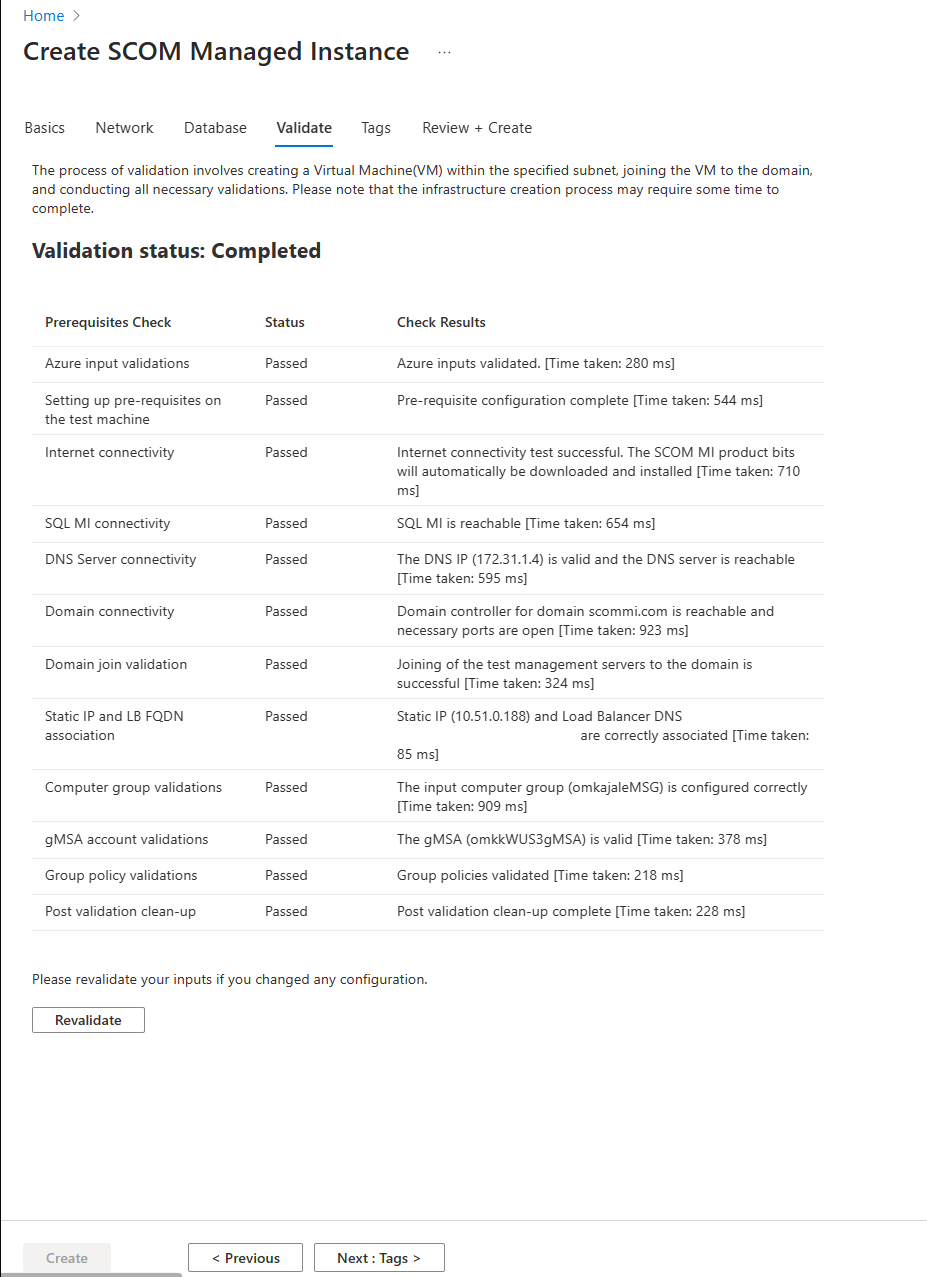
Under Validate, all the prerequisites are validated. It takes 10 minutes to finish the validation.
After the validation is finished, check the results and revalidate if needed.
Select Next: Tags.
Under Tags, enter the Name and Value information, and then select the resource.
Tags help you categorize resources and view consolidated billing by applying the same tags to multiple resources and resource groups. For more information, see Use tags to organize your Azure resources and management hierarchy.
Select Next.
Under Review + create, review all the inputs given so far, and then select Create. Your deployment is created on Azure. Creation of a SCOM Managed Instance takes up to an hour.
Note
If the deployment fails, delete the instance and all the associated resources, and then create the instance again. For more information, see Delete an instance.
After the deployment is finished, select Go to resource.
On the instance page, you can view some of the essential details and instructions for post-deployment steps and reporting bugs.
