Tutorial: Create a virtual machine and assign an Automanage profile to it
Caution
On September 30, 2027, the Azure Automanage Best Practices service will be retired. As a result, attempting to create a new configuration profile or onboarding a new subscription to the service will result in an error. Learn more here about how to migrate to Azure Policy before that date.
Caution
Starting February 1st 2025, Azure Automanage will begin rolling out changes to halt support and enforcement for all services dependent on the deprecated Microsoft Monitoring Agent (MMA). To continue using Change Tracking and Management, VM Insights, Update Management, and Azure Automation, migrate to the new Azure Monitor Agent (AMA).
In this tutorial, you'll create a resource group and a virtual machine. You'll then assign an Automanage Best Practices configuration profile to the new machine using the Python SDK.
Prerequisites
Create resources
Sign in to Azure
Sign in to Azure by using following command:
az login
Create resource group
Create a resource group:
az group create --name "test-rg" --location "eastus"
Create virtual machine
Create a Windows virtual machine:
az vm create `
    --resource-group "test-rg" `
    --name "testvm" `
    --location "eastus" `
    --image win2016datacenter `
    --admin-username testUser `
    --size Standard_D2s_v3 `
    --storage-sku Standard_LRS
Assign best practices profile to virtual machine
Now that we've successfully created a resource group and a virtual machine, it's time to set up a Python project and assign an Automanage Best Practices configuration profile to the newly created virtual machine.
Install Python packages
Install the Azure Identity and Azure Automanage packages using pip:
pip install azure-mgmt-automanage
pip install azure-identity
Import packages
Create an app.py file and import the installed packages within it:
from azure.identity import DefaultAzureCredential
from azure.mgmt.automanage import AutomanageClient
Set some local variables:
sub = "<sub ID>"
rg = "test-rg"
vm = "testvm"
Authenticate to Azure and create an Automanage client
Use the DefaultAzureCredential within the azure-identity package to authenticate to Azure. Then, use the credential to create an Automanage Client.
credential = DefaultAzureCredential()
client = AutomanageClient(credential, sub)
Create a best practices profile assignment
Now we'll create an assignment between our new virtual machine and a Best Practices profile:
assignment = {
    "properties": {
        "configurationProfile": "/providers/Microsoft.Automanage/bestPractices/AzureBestPracticesProduction",
    }
}

# assignment name must be 'default'
client.configuration_profile_assignments.create_or_update(
    "default", rg, vm, assignment)
Run the Python file:
python app.py
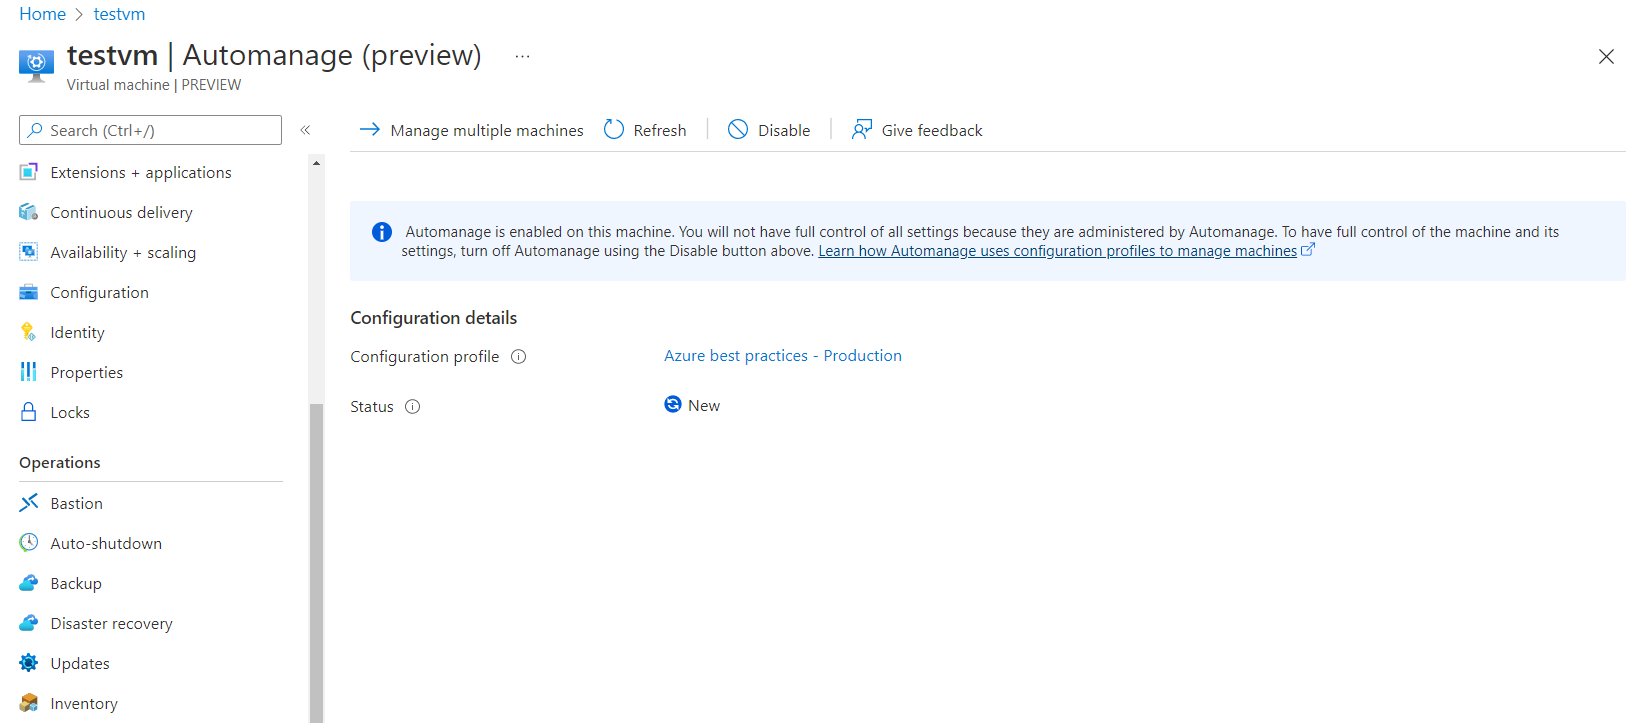
View Assignment in the portal
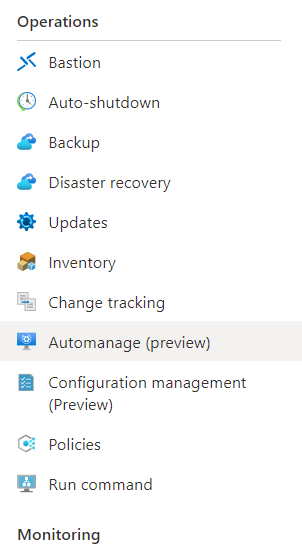
Navigate to the virtual machine and select the Automanage blade:
View the Automanage Profile now enabled on the virtual machine:
Next steps
For more information on the Automanage Python SDK, please visit the azure-samples-python-management repo.