Building a searchable compiled help file
Working in test automation sometimes involves more than just working towards good infrastructure, harnesses and cases. I have produced a side product (by-product?) recently which allows translators to see the screens associated with new features and search for the text they need to translate. So they can see the text in the working product, and hopefully come up with a better translation. To do this we have enabled our test harness to save all unique screenshots during test case runs, along with the html sources for those screens. A bit of screen scraping (which may be covered in another blog post) and searching/matching in the resource files allows identification of the displayed text with resource id's etc... Then I had to deliver something that allowed searching and display of screens with the text. And here is how I did it - I used HtmlHelp workshop (available from msdn here: https://www.microsoft.com/en-us/download/details.aspx?id=21138). Starting point for this process is a html file per topic.
Launch HTML Help Workshop (hhw.exe)
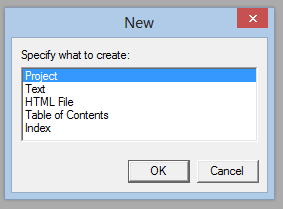
File\New and select “Project”
Create a new project
Click “Next” and specify a name for the project (something like “TranslatorContext1”) and the folder where you wish to create it
Click “Next”
Click “Finish”
Click on the icon to “Add/Remove topic files” and add all the *.html files as topics.
Click on the contents tab and when prompted to create a new table of contents, click “Ok”
Note – it’s a good idea to test your project settings by running “File\compile” from time to time during this process to test for errors”
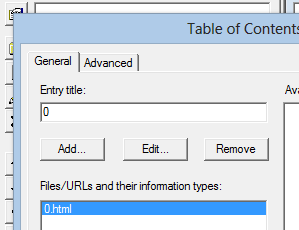
Right-click inside the empty contents pane to and choose “Insert Topic” from the menu.
Add your html topic file (.html), name the topic the same as the file (or give it a meaningful topic name) and click OK
Repeat this to add all the html files as topics – if prompted “Do you wish to insert this topic at the beginning of the table of contents?” click “No”.
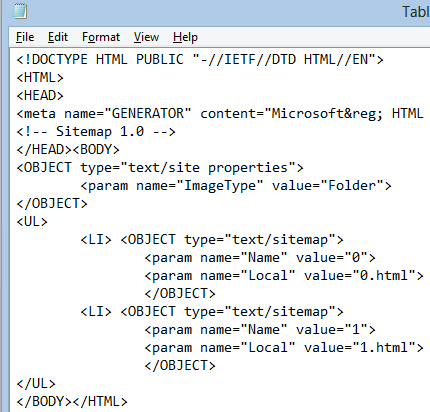
Note – This adds entries to the Table of contents file – which has the extension .hhc , but is an xml file.
You have the option to a) add the rest of the entries in a text editor or b) to write a script or tool to take the html files and automatically add the entries, but ultimately you are adding to a set of xml entries as shown below:
Click on the “Project” tab and then on the first icon on the left (Tooltip is “Change Project options”)
Click on the “Compiler” tab and check the box for “Compile full-text search information”
Now compile and view your .chm file - It should look something like this:
That’s it – the chm is built!


