Manage access and permissions for users and identities
In today's collaborative work environments, multiple teams often need to access and manage the same monitoring dashboards. Whether it's a DevOps team monitoring application performance or a support team troubleshooting customer issues, having the right access permissions is crucial. Azure Managed Grafana simplifies this process by allowing you to set varying levels of permissions for your team members and identities.
This guide walks you through the supported Grafana roles and shows you how to use roles and permission settings to share the relevant access permissions with your team members and identities.
Prerequisites
- An Azure account with an active subscription. Create an account for free.
- An Azure Managed Grafana instance. If you don't have one yet, create a Managed Grafana instance.
- You must have Grafana Admin permissions on the instance.
Learn about Grafana roles
Azure Managed Grafana supports Azure role-based access control (RBAC), an authorization system that lets you manage individual access to your Azure resources.
Azure RBAC enables you to allocate varying permission levels to users, groups, service principals, or managed identities, for managing your Azure Managed Grafana resources.
The following built-in roles are available in Azure Managed Grafana, each providing different levels of access:
| Built-in role | Description | ID |
|---|---|---|
| Grafana Admin | Perform all Grafana operations, including the ability to manage data sources, create dashboards, and manage role assignments within Grafana. | 22926164-76b3-42b3-bc55-97df8dab3e41 |
| Grafana Editor | View and edit a Grafana instance, including its dashboards and alerts. | a79a5197-3a5c-4973-a920-486035ffd60f |
| Grafana Limited Viewer | View a Grafana home page. This role contains no permissions assigned by default and it is not available for Grafana v9 workspaces. | 41e04612-9dac-4699-a02b-c82ff2cc3fb5 |
| Grafana Viewer | View a Grafana instance, including its dashboards and alerts. | 60921a7e-fef1-4a43-9b16-a26c52ad4769 |
To access the Grafana user interface, users must possess one of the roles above. You can find more information about the Grafana roles from the Grafana documentation. The Grafana Limited Viewer role in Azure maps to the "No Basic Role" in the Grafana docs.
Assign a Grafana role
Grafana user roles and assignments are fully integrated within Microsoft Entra ID. You can assign a Grafana role to any Microsoft Entra user, group, service principal, or managed identity, and grant them access permissions associated with that role. You can manage these permissions from the Azure portal or the command line. This section explains how to assign Grafana roles to users in the Azure portal.
Open your Azure Managed Grafana instance.
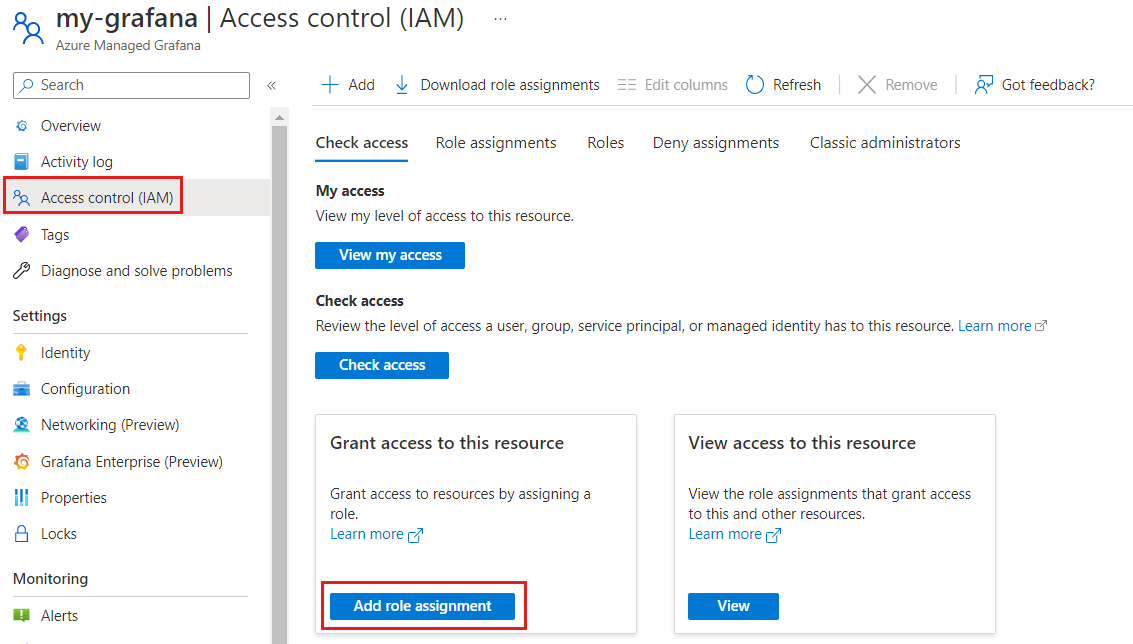
Select Access control (IAM) in the left menu.
Select Add role assignment.
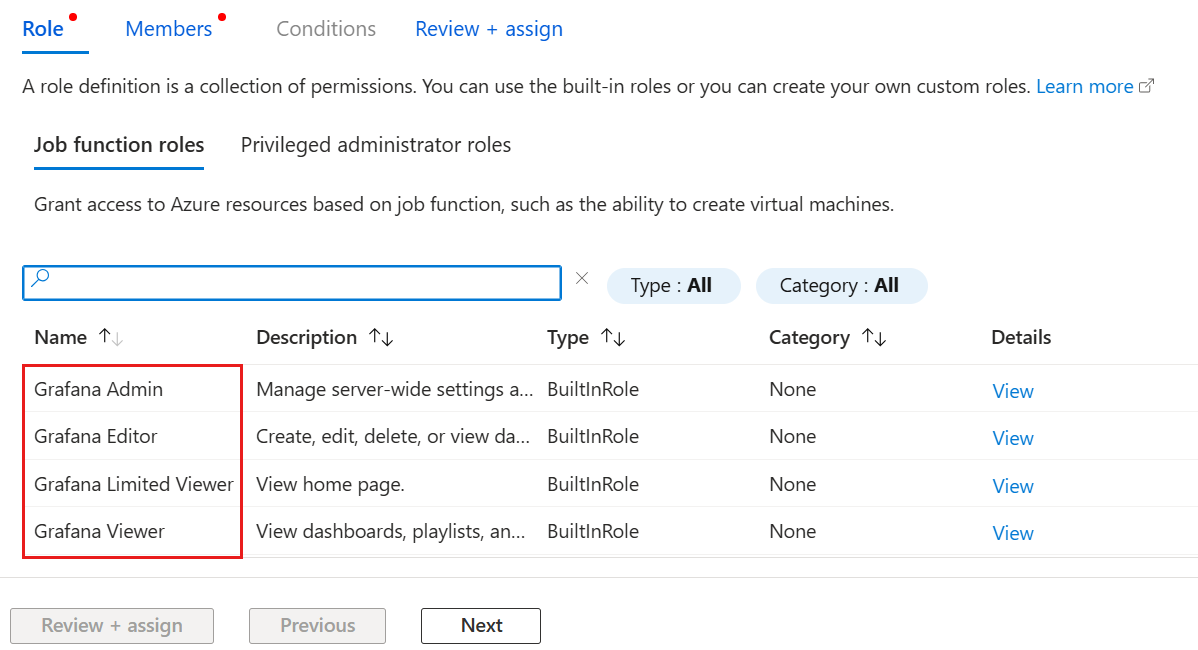
Select a Grafana role to assign among Grafana Admin, Grafana Editor, Grafana Limited Viewer, or Grafana Viewer, then select Next.
Choose if you want to assign access to a User, group, or service principal, or to a Managed identity.
Click on Select members, pick the members you want to assign to the Grafana role and then confirm with Select.
Select Next, then Review + assign to complete the role assignment.
Tip
When onboarding a new user to your instance of Azure Managed Grafana, granting them the Grafana Limited Viewer role allows them limited access to the Grafana instance.
You can then grant the user access to each relevant dashboard and data source using their management settings. This method ensures that users with the Grafana Limited Viewer role only access the specific components they need, enhancing security and data privacy.
Edit permissions for specific component elements
Edit permissions for specific components such as dashboards, folders, and data sources from the Grafana user interface following these steps:
- Open the Grafana portal and navigate to the component for which you want to manage permissions.
- Go to Settings > Permissions > Add a permission.
- Under Add permission for, select a user, service account, team, or role, and assign them the desired permission level: view, edit, or admin.