Create custom project and item templates
The Visual Studio SDK includes project templates that create a custom project template and a custom item template. These templates include some common parameter substitutions, and build as zip files. They aren't automatically deployed, and they aren't available in the experimental instance. You must copy the generated zip file to the user template directory.
The template creation templates let you include templates in larger extensions. This lets you implement version control on the source files and build a group of template projects into one VSIX package.
You can also configure a template to install NuGet packages. For more information, see NuGet packages in Visual Studio templates.
For basic template creation scenarios, you should use the Export Template wizard, which outputs to a compressed file. For more information about basic template creation, see Creating project and item templates.
Note
Starting in Visual Studio 2017, scanning for custom project and item templates is no longer performed. Instead, the extension must provide template manifest files that describe the install location of these templates. You can use Visual Studio to update your VSIX extensions. If you deploy your extension using an MSI, you must generate the template manifest files by hand. For more information, see Upgrading custom project and item templates for Visual Studio 2017. The template manifest schema is documented in Visual Studio template manifest schema reference.
Create a project template
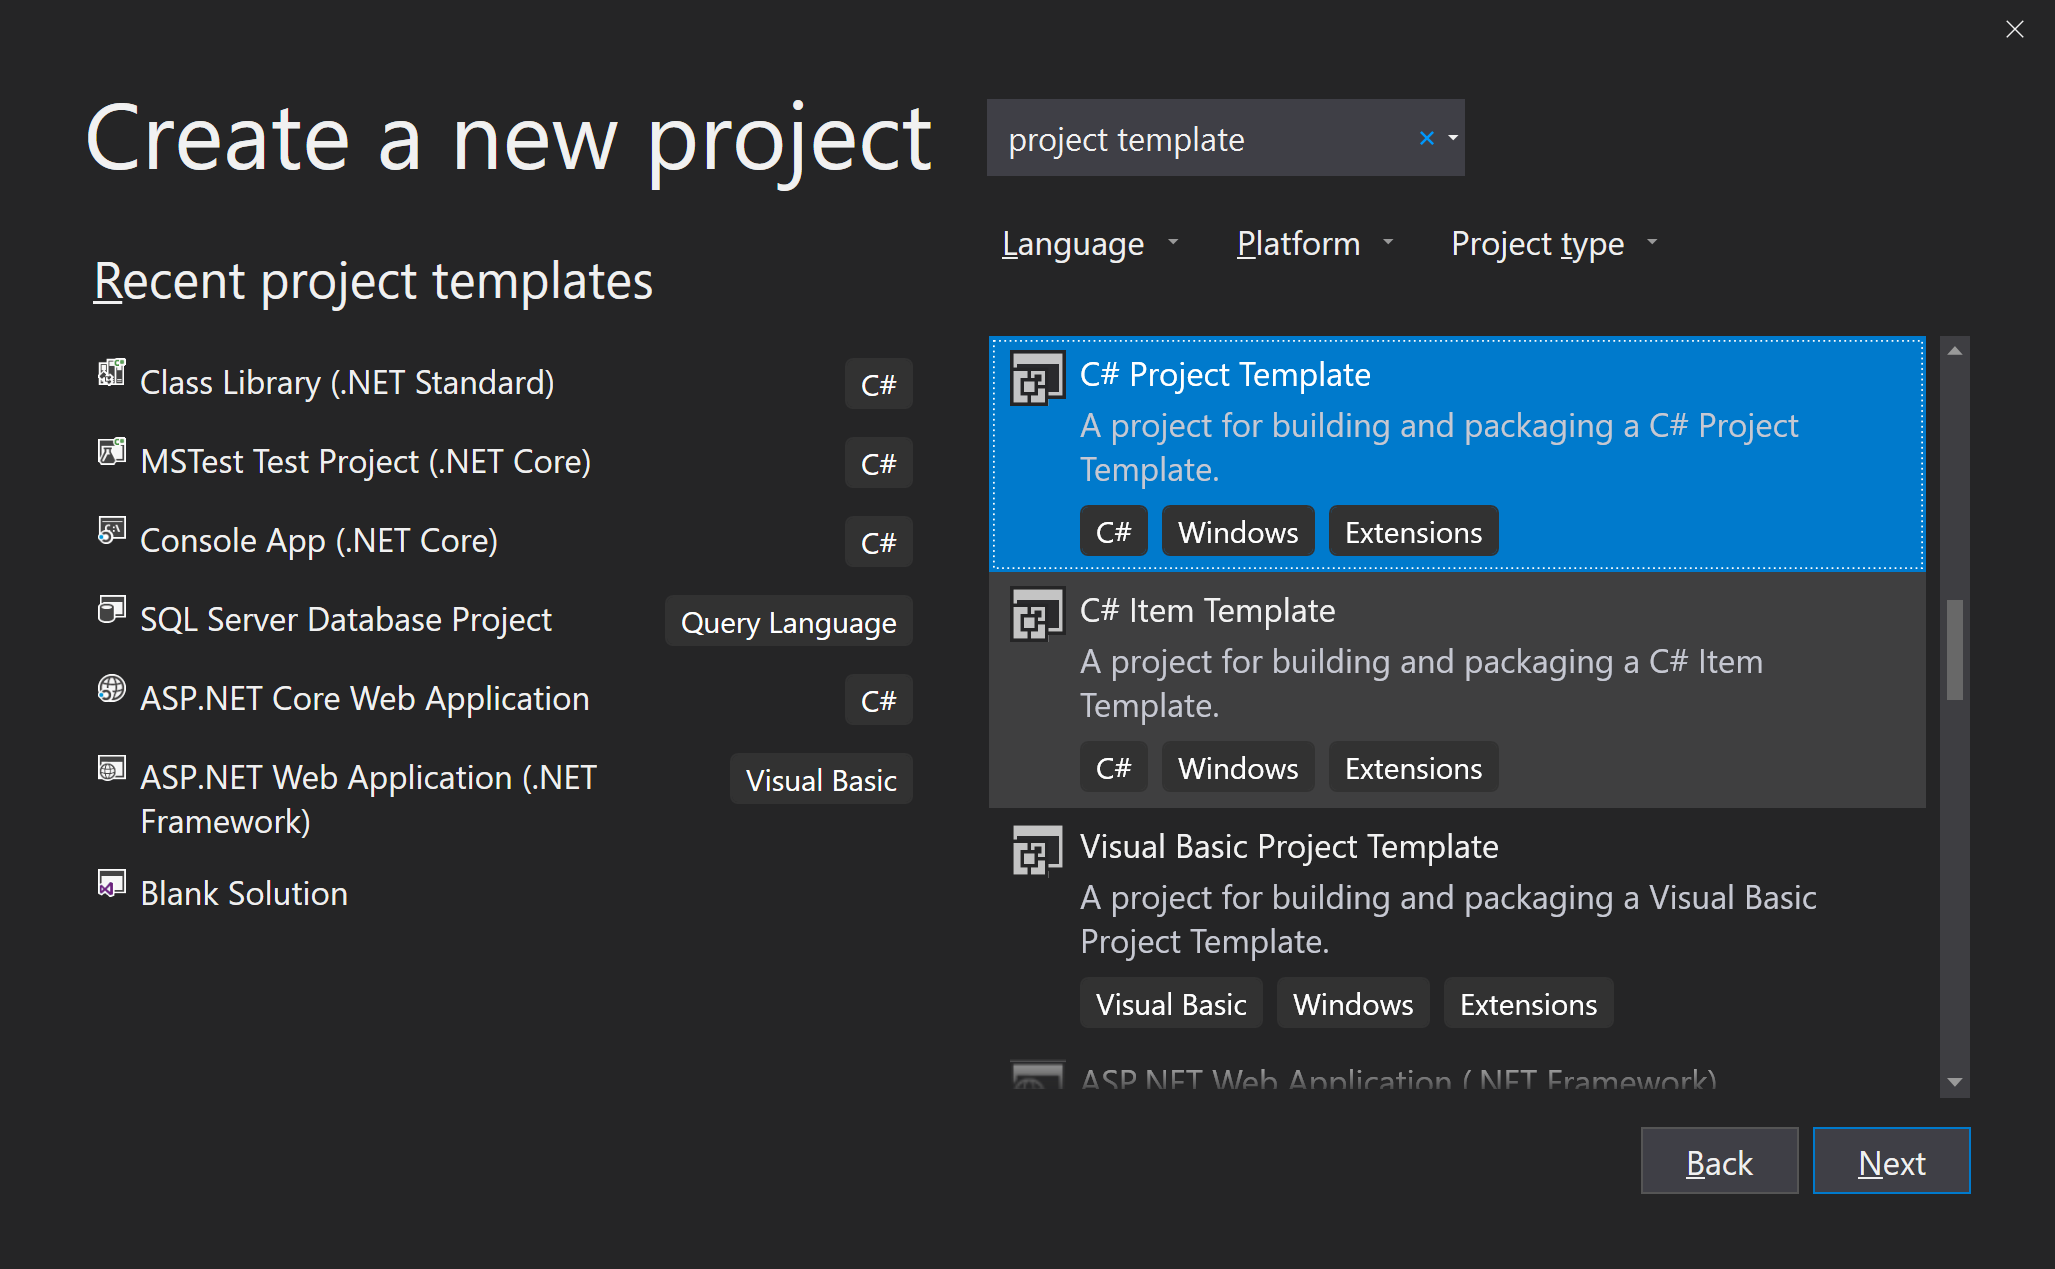
Create a Project Template project. You can find the project template in the New Project dialog, by searching for "project template" and selecting either the C# or Visual Basic version.
The template generates a class file, an icon, a
.vstemplatefile, an editable project file named ProjectTemplate.vbproj or ProjectTemplate.csproj, and some files that are typically generated by other project types, such a resources.resx file, an AssemblyInfo file, and a.settingsfile. Each code file contains common parameter substitutions where appropriate.
Add and remove items from the project as required for your project. Don't remove the editable project file, the AssemblyInfo file, or the
.vstemplatefile.Update the
.vstemplatefile to reflect any additions and deletions. The Project element must contain a ProjectItem element for each file to be included in the template.Modify your code files and other user-facing content, and add appropriate parameter substitutions.
Modify the generated content as required.
Build the project.
Visual Studio creates a
.zipfile that contains your template. It isn't deployed, and it isn't available in the experimental instance.
Create an item template
Create an Item Template project.
The template generates a class file, an icon, a
.vstemplatefile, and an AssemblyInfo file. The class file contains some common parameter substitutions.Add and remove items from the project as required for your project.
Update the
.vstemplatefile to reflect any additions and deletions. The Project element must contain a ProjectItem element for each file to be included in the template.Modify your code files and other user-facing content, and add appropriate parameter substitutions.
Modify generated content as required.
Build the project.
Visual Studio creates a compressed file that contains your template. It isn't deployed, and it isn't available in the experimental instance.
Deployment
To deploy the project or item template
Create a VSIX project. For more information, see VSIX project template.
Set the VSIX project as the startup project. In the Solution Explorer, select the VSIX project node, right-click, and select Set as Startup Project.
Set the project template project as an asset of the VSIX project. Open the .vsixmanifest file. Go to the Assets tab and select New.
Set the Type field to Microsoft.VisualStudio.ProjectTemplate or Microsoft.VisualStudio.ItemTemplate.
For source, select the A project in current solution option, and then select the project that contains your template.
Build the solution, and press F5. The experimental instance appears.
For a project template project, you should see your project template listed in the New Project dialog (File > New > Project), in the Visual C# or Visual Basic node. For an item template project, you should see your item template listed in the Add New Item dialog. To view the Add New Item dialog, from the Solution Explorer, select the project node and select Add > New Item).