Display user files
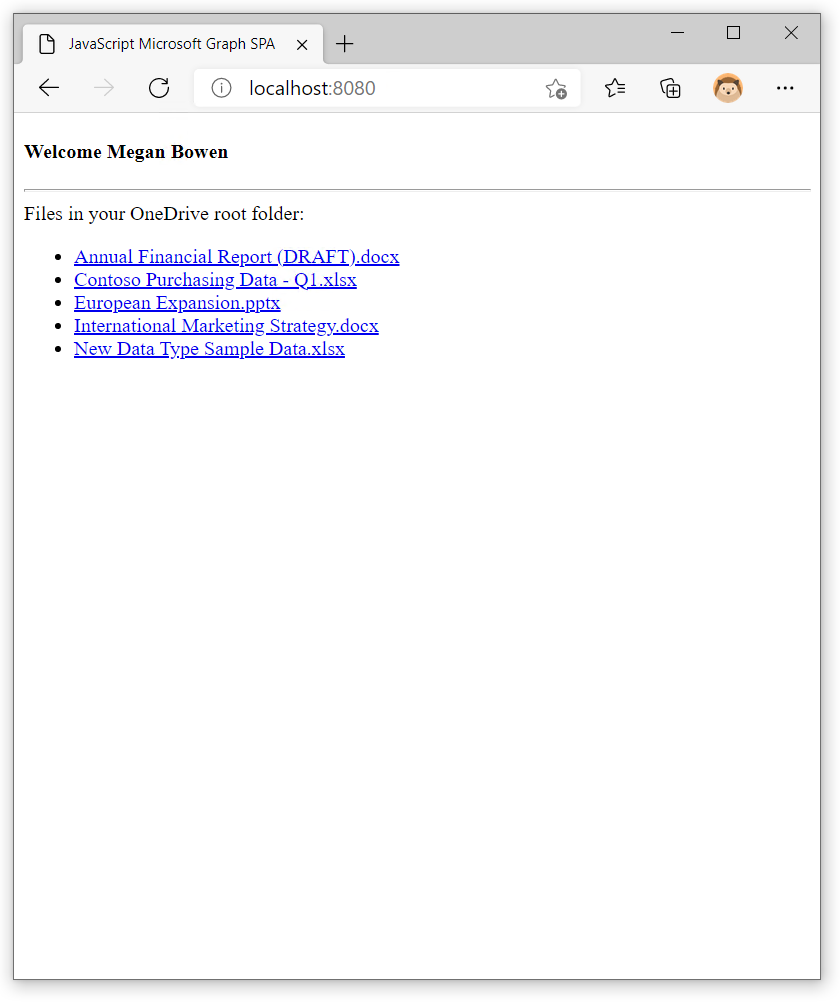
Before a user can download a file, we need to show a list of available files. In this Learn module, the files will be in the user's OneDrive for Business root directory. You might want to drop a file or two there to start. You can access your instance of OneDrive for Business by browsing to https://www.office.com/, signing in, and selecting the OneDrive icon.

Decide which permissions your app requires
All data exposed by Microsoft Graph is secured. Your app needs to have the right permissions granted to access it. The permission needed depends on the type of information that your app needs to access. For example, to access the user's calendar, your app needs to have the Calendars.Read permission. To read a user's files, your app needs the Files.Read permission. Later, when it's time to upload files, your app will need the Files.ReadWrite permission. The exact list of the permissions required for each operation is available in the Microsoft Graph API reference.
If your app loads different types of data, users must grant it multiple permissions required to access this information. In your app, request only the permissions that you need. In this module, your app requests permission to read your files initially and only asks for read/write permission when you try to upload a file. This pattern is called dynamic consent, and it's the recommended way to request permissions. With dynamic consent, users control the data they share with the apps they use, which minimizes security risks.
Specify the necessary permissions
The list of permissions granted to your app is baked right into the access token. The OAuth standard calls them scopes. When your application uses the Microsoft Authentication Library to get the access token, it needs to include a list of scopes in the request to Microsoft Entra ID. Each operation in Microsoft Graph has its own list of scopes organized from least to most privileged. Any one of them will work, so choose the least-privileged scopes that will work across the operations used in your application.
The sample application stores the current Microsoft Authentication Library request in a global variable called msalRequest. Initially, it contains an empty array of scopes.
const msalRequest = { scopes: [] };
Here's the helper function used by the sample application to add more scopes to the request.
function ensureScope (scope) {
  if (!msalRequest.scopes.some((s) => s.toLowerCase() === scope.toLowerCase())) {
    msalRequest.scopes.push(scope);
  }
}
The idea is that the application requests permissions when it needs them. For example, here's the code to download a list of files from a user's OneDrive for Business root folder.
async function getFiles() {
  ensureScope('files.read');
  try {
    const response = await graphClient
      .api('/me/drive/root/children')
      .select('id,name,folder,package')
      .get();
    return response.value;
  } catch (error) {
    console.error(error);
  }
}
The call to ensureScope() ensures that files.read permission is included in the access token that will be used to call Microsoft Graph.
The Microsoft Graph SDK takes care of calling the Microsoft Authentication Library by using the msalRequest object, and it does that for every Microsoft Graph call. While this activity might seem wasteful, it's not. The Microsoft Authentication Library automatically reuses the same access token until the old one expires or the permission scopes change. At the top of graph.js, you can see the code where this instruction is set up.
const authProvider = {
  getAccessToken: async () => {
    return await getToken();
  }
};
const graphClient = MicrosoftGraph.Client.initWithMiddleware({ authProvider });
First, the code declares an authProvider, which is a JSON object that contains the getAccessToken() function. This function calls getToken(), which is a function in the auth.js file that calls the Microsoft Authentication Library. You can check that out if you want to. The authProvider object is passed to the Microsoft SDK, which will call getAccessToken() whenever it needs to, so your code doesn't have to.
Retrieve the files in the user's OneDrive root directory by using Microsoft Graph
To get this list of files, use the /me/drive/root/children resource. It's easier to get the files in the root folder of the current user's OneDrive root directory because Microsoft Graph provides shortcuts like /me and /root. For example, to enumerate files in another user's Documents folder would require you to look up the user's user ID and the item ID of their /Documents folder and then access /users/{user-id}/drive/items/{item-id}/children.
Tip
Microsoft Graph provides access to files in OneDrive, OneDrive for Business, and SharePoint Online. Microsoft Teams and other Microsoft 365 services store files in OneDrive for Business and SharePoint Online. The file operations are the same, but the resources (URLs) are a little different for each of these services.
This GET request is expressed in the Microsoft Graph SDK as follows:
const response = await graphClient
  .api('/me/drive/root/children')
  .get();
You can make the call more efficient by specifying the data columns that are needed. This task is handled by using the $select= query string parameter in REST (based on the OData standard). The SDK makes it easier by providing a select() function. Notice that the functions can be chained to make the request easy to read.
const response = await graphClient
    .api('/me/drive/root/children')
    .select('id,name,folder,package')
    .get();
Next steps
Let's put everything you've learned to practice and extend your app to show a list of files in the user's OneDrive for Business root folder.