Set up Android device for debugging
While the Android emulator is a great way to rapidly develop and test your app, you'll want to test your apps on a real Android device. To run on a device, you'll need to enable developer mode on the device and connect it to your computer. For more information, see Run apps on a hardware device on developer.android.com.
Important
The steps in this article are written generically, to work on as many devices as possible. If you can't find these settings on your device, consult your device manufacturer's documentation.
Enable developer mode on the device
A device must enable Developer mode in order to deploy and test an Android app. Developer mode is enabled by following these steps:
- Go to the Settings screen.
- Select About phone.
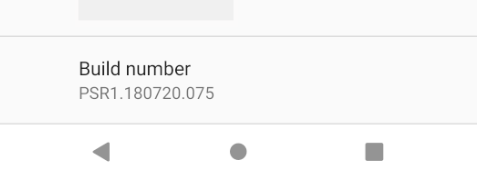
- Tap Build Number seven times until You are now a developer! is visible.
Depending on the UI your device is running, the About phone option may be in a different location. Consult your device documentation if you can't find About phone.
Enable USB debugging
After enabling developer mode on your device, enable USB debugging by following these steps:
- Go to the Settings screen.
- Select Developer options.
- Turn on the USB debugging option.
Depending on the UI your device is running, the USB debugging option may be in a different location. Consult your device documentation if you can't find USB debugging.
Connect the device to the computer
The final step is to connect the device to the computer. The easiest and most reliable way is to do so over USB.
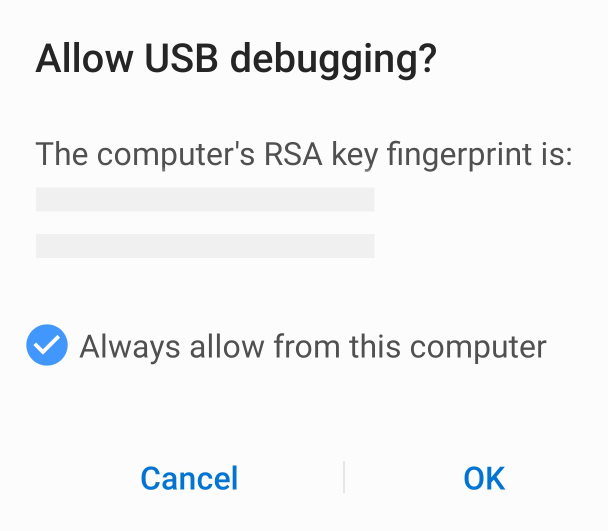
You'll receive a prompt to trust the computer on your device if you haven't used it for debugging before. You can also check Always allow from this computer to prevent requiring this prompt each time you connect the device.

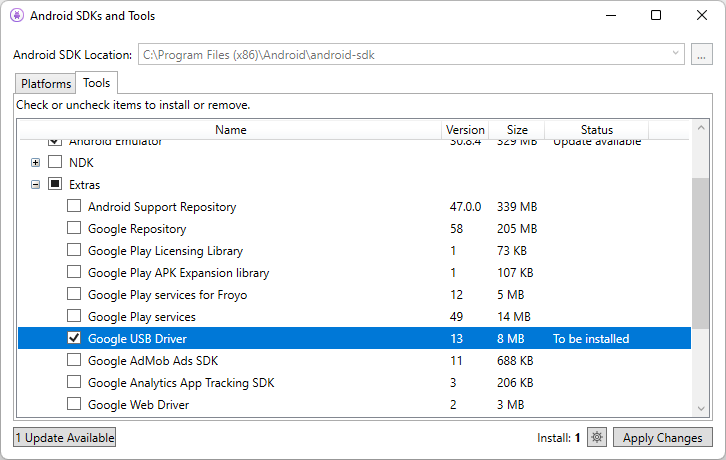
If your computer isn't recognizing the device when it's plugged in, try installing a driver for the device. Consult your device manufacturer's support documentation. You can also try installing the Google USB Driver through the Android SDK Manager:

Enable WiFi debugging
It's possible to debug an android device over WiFi, without keeping the device physically connected to the computer. This technique requires more effort, but could be useful when the device is too far from the computer to remain constantly plugged-in via a cable.
Connecting over WiFi
By default, the Android Debug Bridge (adb) is configured to communicate with an Android device via USB. It's possible to reconfigure it to use TCP/IP instead of USB. To do this, both the device and the computer must be on the same WiFi network.
Note
The Google USB driver is required to perform adb debugging on Windows with Google devices. For more information, see Get the Google USB Driver on developer.android.com. Windows drivers for all other devices are provided by the respective hardware manufacturer. For more information, see Install OEM USB drivers on developer.android.com.
First, enable Wireless debugging on your Android device:
- Follow the steps in the Enable developer mode on the device section.
- Follow the steps in the Enable USB debugging section.
- Go to the Settings screen.
- Select Developer options.
- Turn on the Wireless debugging option.
Depending on the UI your device is running, the Wireless debugging option may be in a different location. Consult your device documentation if you can't find Wireless debugging.
Next, use adb to connect to your device, first through a USB connection:
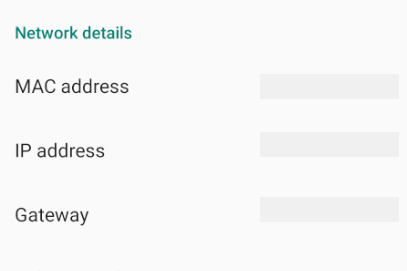
Determine the IP address of your Android device. One way to find out the IP address is to look under Settings > Network & internet > Wi-Fi, then tap on the WiFi network that the device is connected to, and then tap on Advanced. This will open a drop-down showing information about the network connection, similar to what is seen in the screenshot below:
On some versions of Android the IP address won't be listed there but can be found instead under Settings > About phone > Status.
In Visual Studio, open the adb command prompt by selecting the menu option: Tools > Android > Android Adb Command Prompt....
In the command prompt, use the
adb tcpipcommand to tell the device to listen to TCP/IP connections on port 5555.adb tcpip 5555Disconnect the USB cable from your device.
Connect to the device's IP address with port 5555:
adb connect 192.168.1.28:5555When this command finishes, the Android device is connected to the computer via WiFi.
When you're finished debugging via WiFi, you can reset ADB back to USB mode with the following command:
adb usbTo see the devices connected to the computer, use the
adb devicescommand:adb devices
Configure on-device developer options
The Settings app on Android includes a screen called Developer options where you can configure system behaviors that help you profile and debug your app performance. For more information, see Configure on-device developer options on developer.android.com.


