Deploy a Slurm Cluster on Azure
Slurm is a free open-source job scheduler for Linux. It’s used by a lot of customers and we got requests to port them into Azure. We are happy to announce that the SLURM deployment template is available on Azure.
A Really Super Quick Start Guide:
- Get an Azure account and create a subscription.
- Click here. Log in with your Azure management account if prompted.
- Follow the wizard.
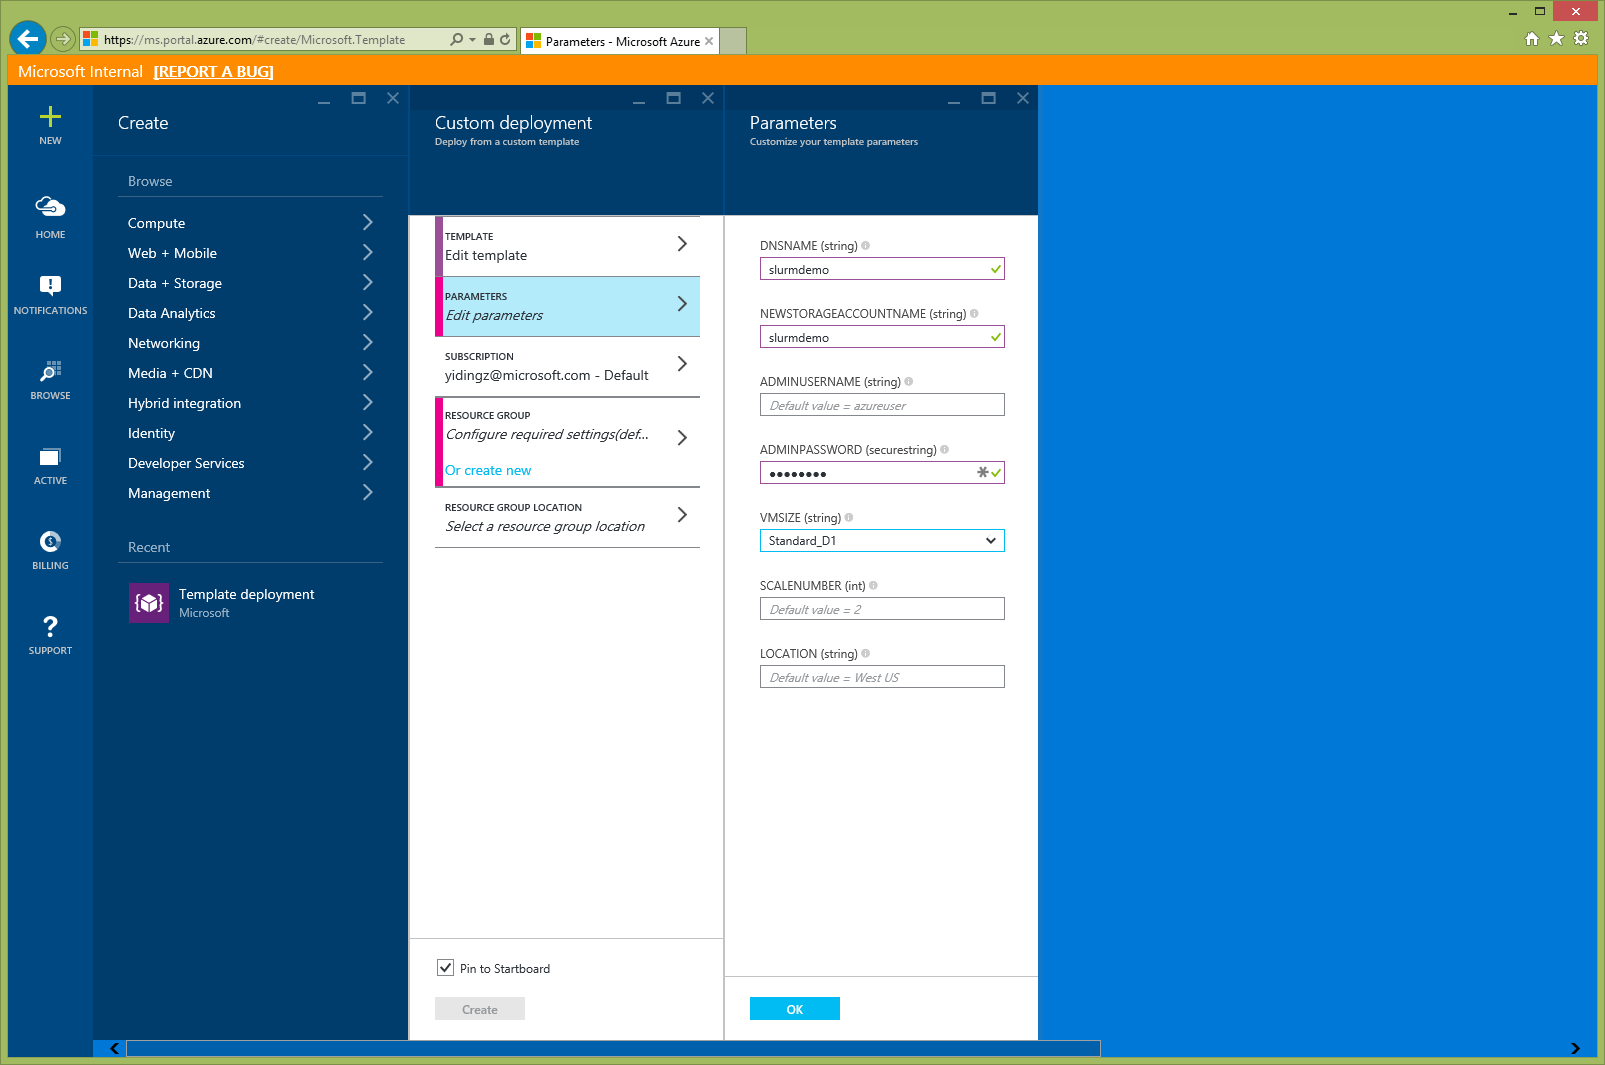
- In Parameter section, fill in the DNS name, a new storage account name, a password for admin, and a VM size.
- Note that the LOCATION field must be aligned with “Resource Group Location” selection.
- Create a new resource group.
- Click “Create”.
- Wait 5 to 10 minutes, depending on how many worker you have selected.
- SSH into the master node ( <DNS_name>.<location>.cloudapp.azure.com) using the admin username/password you chose in step 2.a.
- Run “srun -N3 hostname” to validate the server.
A Somewhat Lengthy Guide:
The Azure Resource Management template for deploying a slurm cluster can be found at https://github.com/Azure/azure-quickstart-templates/tree/master/slurm. This template and related scripts are freely available to anyone. Furthermore, if you are not happy with the behavior of this template, feel free the fork the code and update by yourself. See “Customize deployment” section.
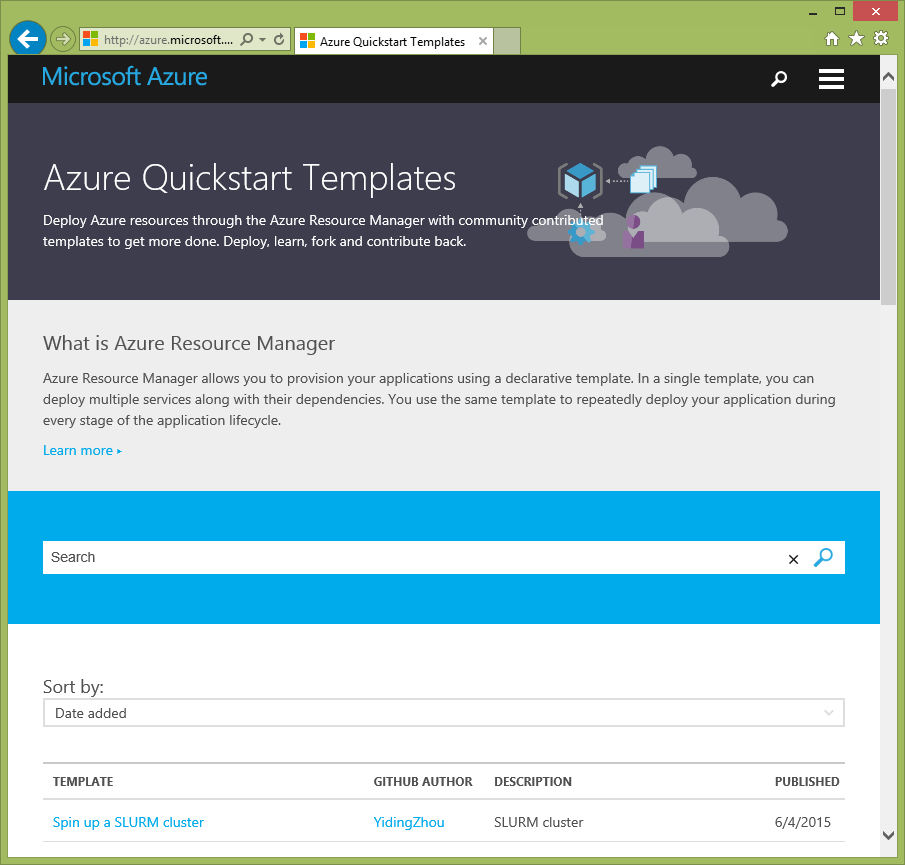
The template in the official repo will also be indexed on https://azure.microsoft.com/documentation/templates/. There are tons other deployment template on the github repo and this webpage. So you might want to search for “slurm” to locate this.
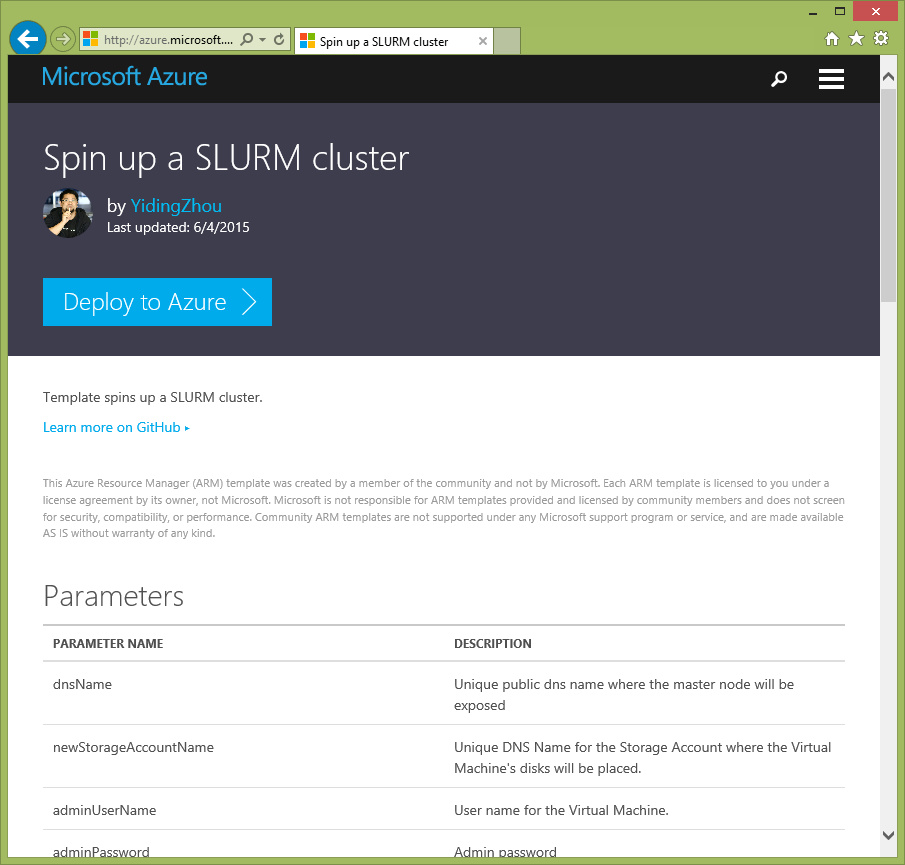
The template information page has a brief discussion on what this template do and the purpose of the parameters. Those information are also available through the README.md file on github. To deploy this template, click “Deploy to Azure”.
The link will send you to https://portal.azure.com. You will need an Azure account and subscription to login. The login page is not shown in this blog.
The first step is to save the deployment scripts, unless you want to customize it. Either way, click “Save” when you are done.
The next step in the wizard is to choose the parameters. This is the most complex part of the deployment. Here are the parameters you need fill in.
Dnsname is the public address on internet you’ll need to SSH into the cluster. This must be universal in the selected region.
Newstorageaccountname is the storage account used to hold all VHDs of the VM. This is global unique name so pick 1 carefully.
Adminusername can be left empty. The default is azureuser.
Adminpassword must be filled. Pick a password you desire and remember it!
VMsize represent the size of both master and worker node.
Scalenumber represent the number of worker nodes you want. Default is 2. Note that the deployment template will also set master as a worker node. So if scale number is 2, the cluster will contains 3 nodes – master, worker0, and worker1.
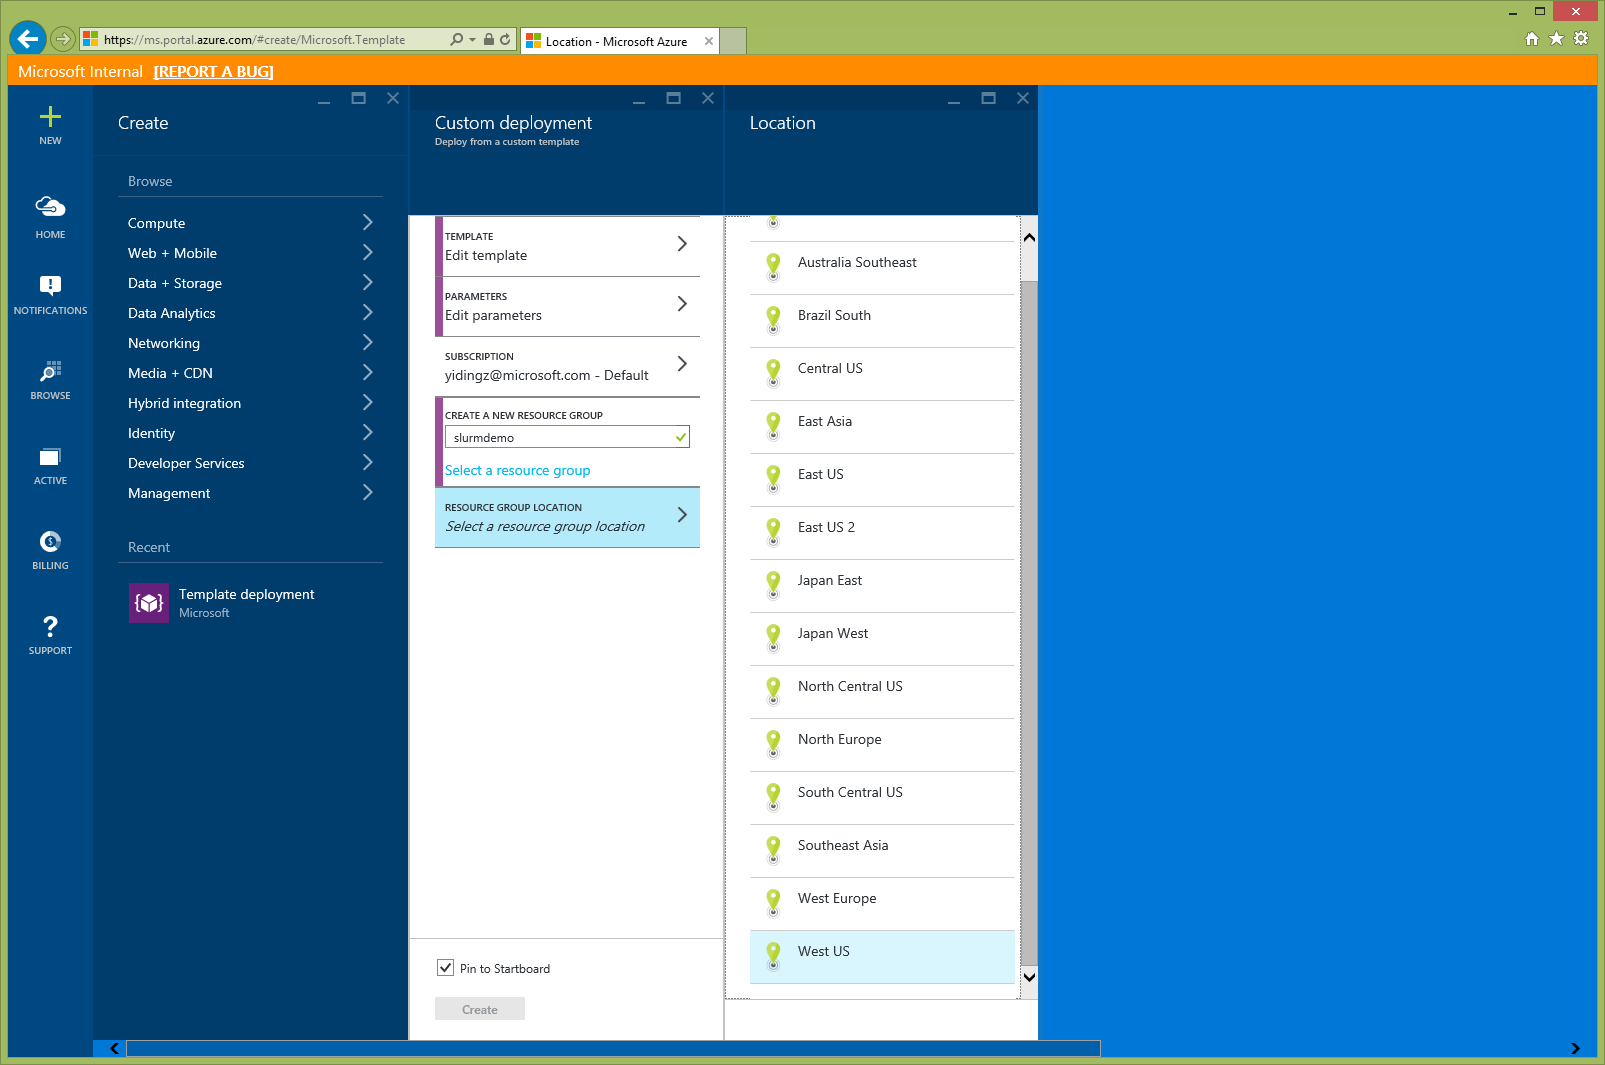
Location is the region where this cluster is deployed. Note that it must match the location selected later in the “resource group location” field.
Click OK to save the parameters.
The 3rd step is to choose the subscription.
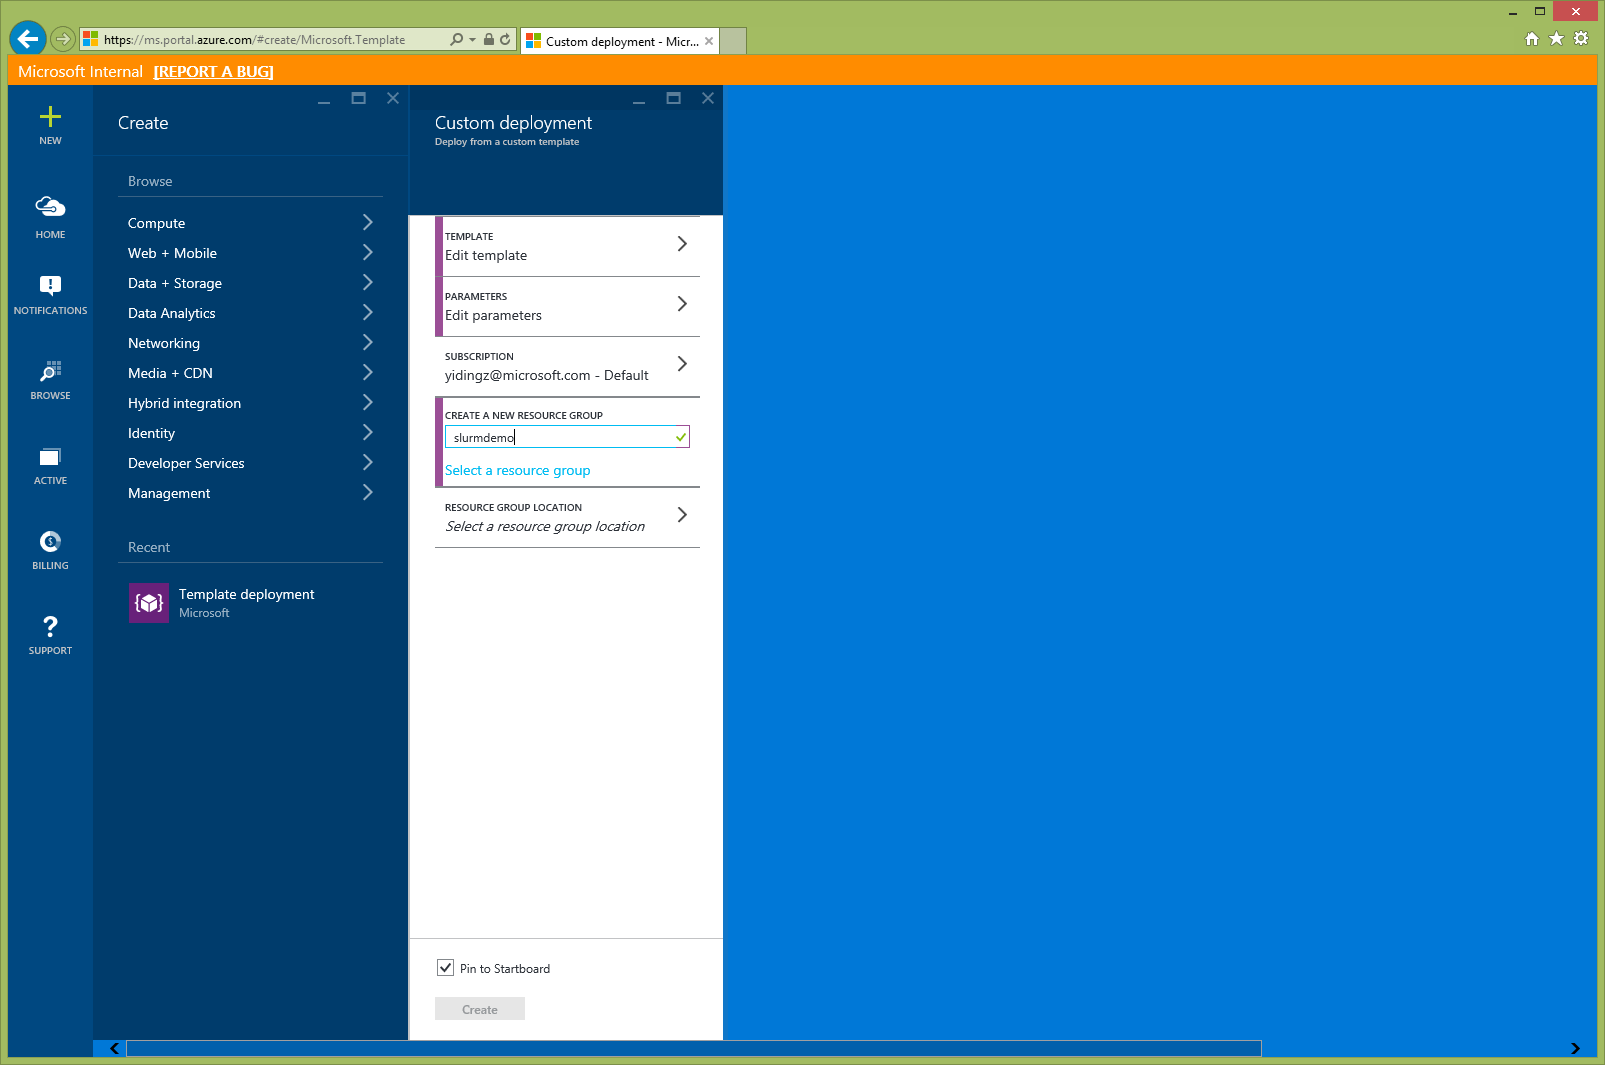
The 4th step is to choose a resource group. If you have an empty resource group that’s ready, pick one from the list. Otherwise, create a new one.
The last step is pick the location. Make sure it matches the resource location you specified in parameter section!
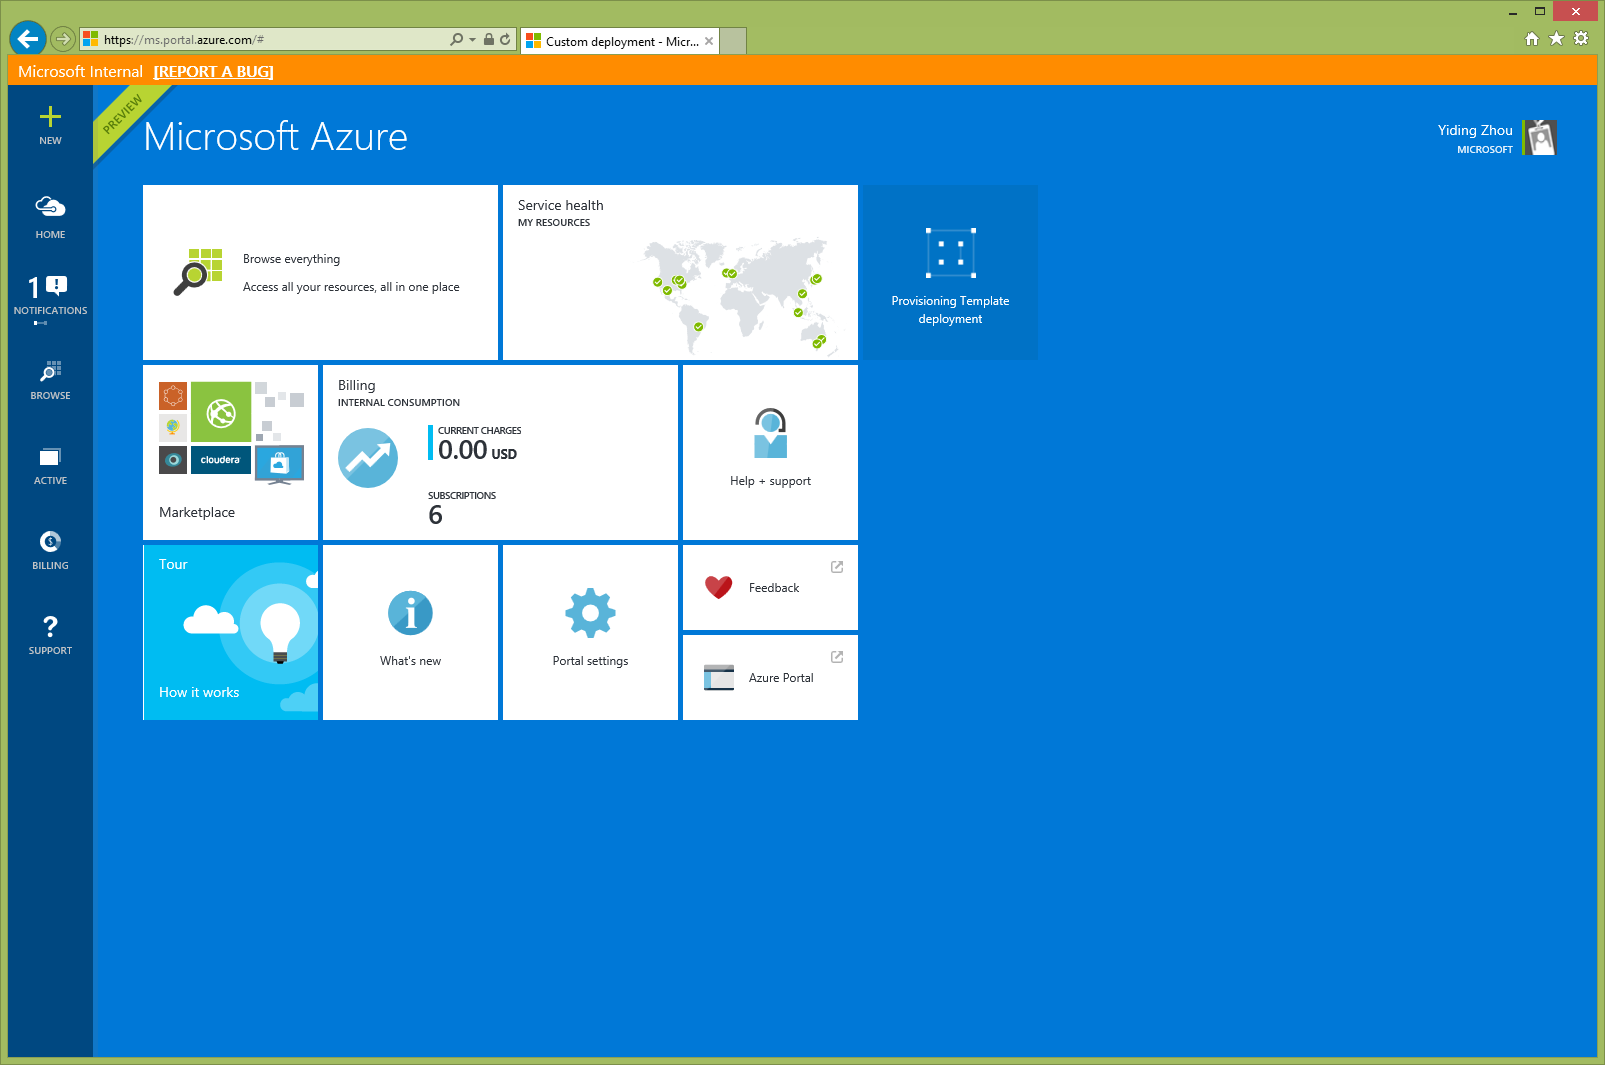
Click create to kick off the deployment.
Depending on how many worker nodes you specified, the provisioning process might take 5-10 minutes to finish.
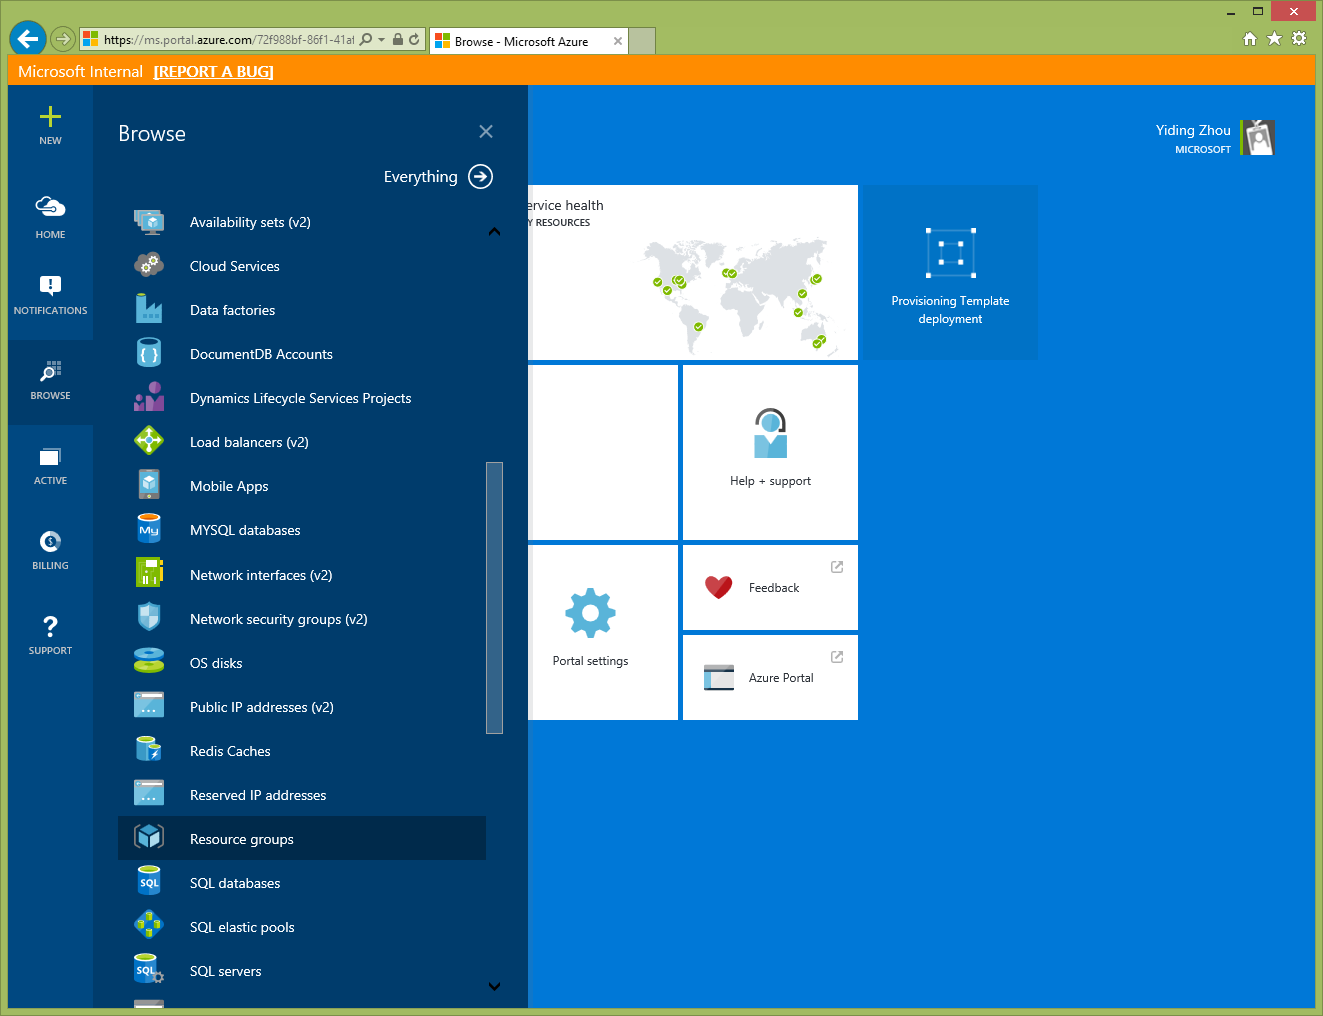
To view the deployment, click “Browse” on the left hand and scroll down to select “Resource Groups”.
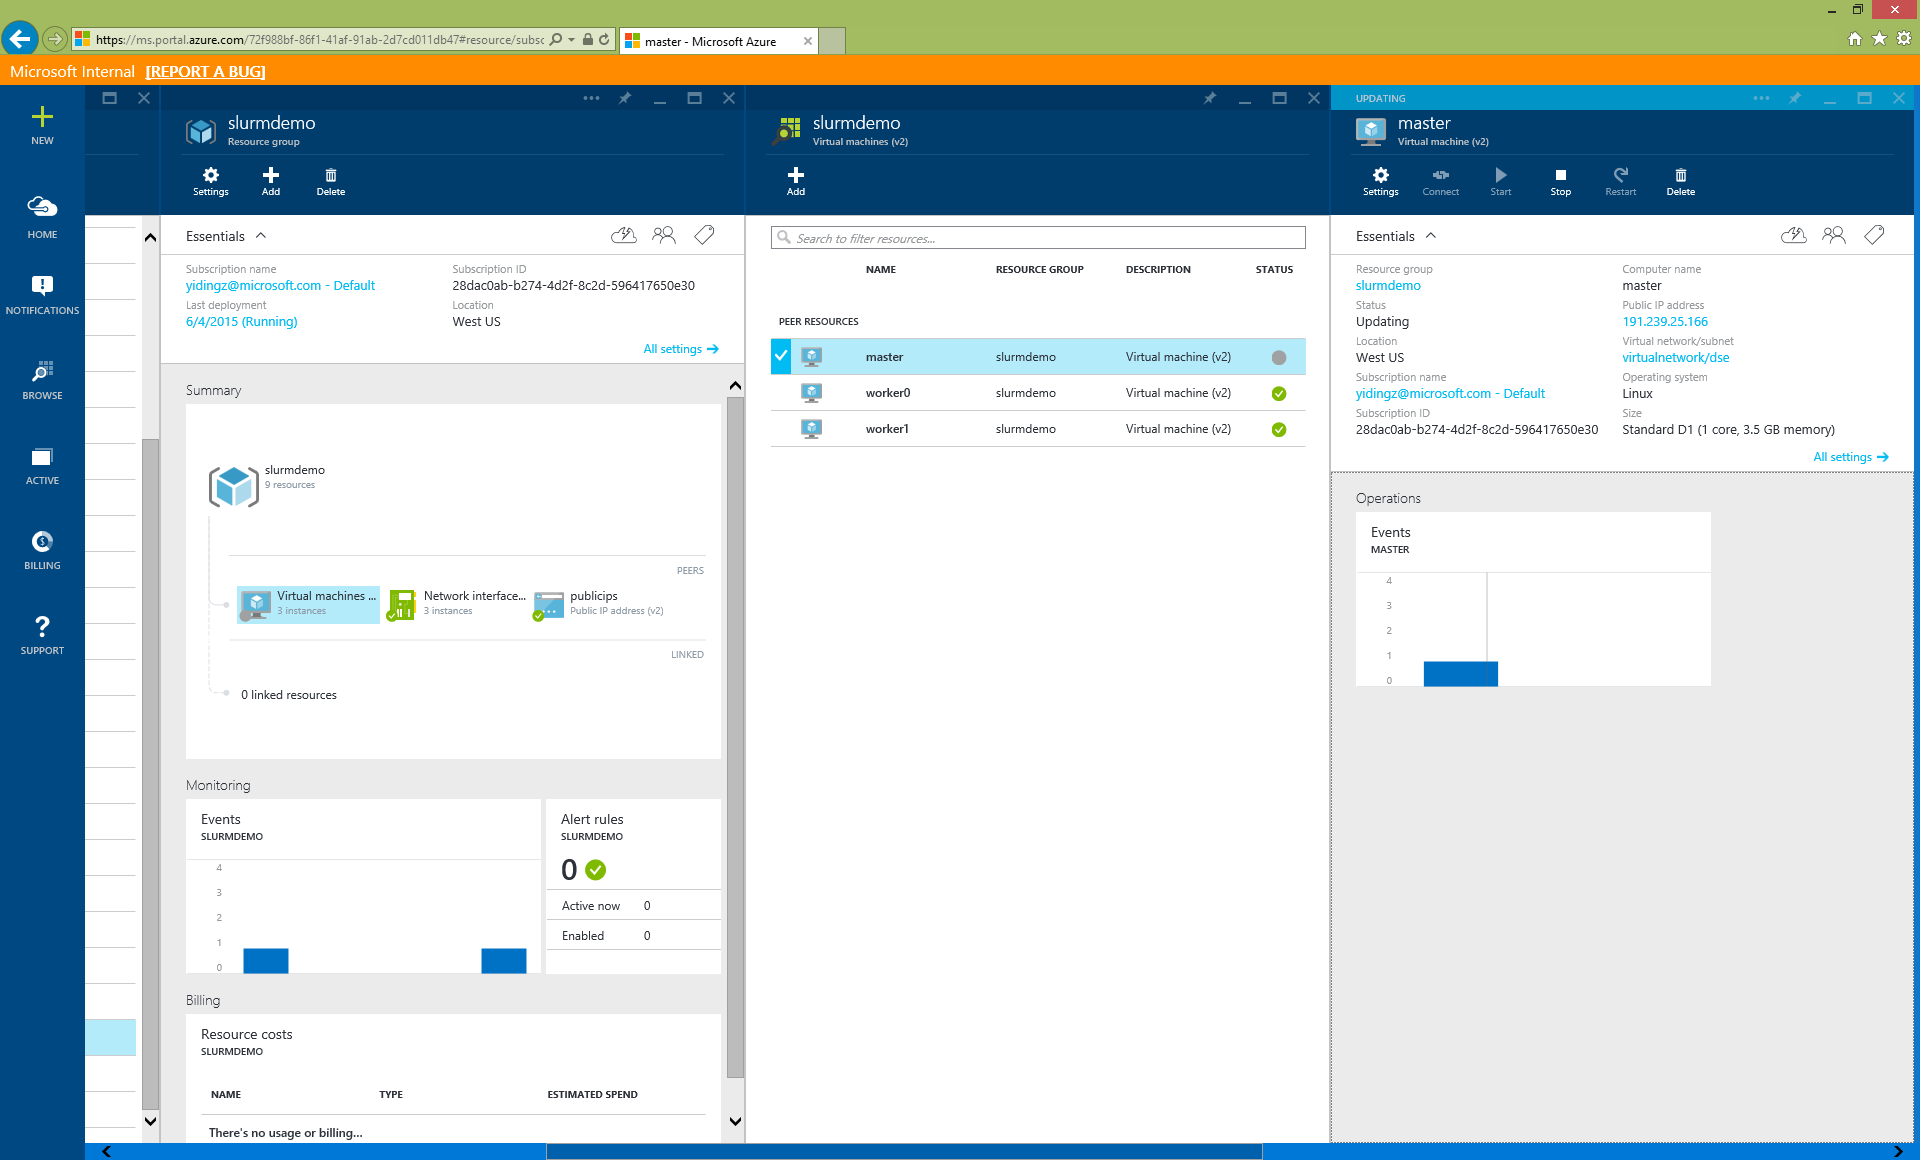
You should see the resource group you created even before the deployment is done.
Click the “Virtual Machine” square to see all VMs in this resource group. You’ll see 1 master VM and some worker VMs. Notice the state icon on the right.
Click on the master VM will lead you to the management blade of the node. Click the “Public IP addresses” will should the management blade of IP addresses. The DNS name in the essential block is the address you can use to SSH into the VM. Note that you can click the copy button on the right hand of the IP address.
You should be able to login with the specified admin username and password. Do a “srun -N3 hostname” to validate that you do have 3 nodes in the cluster!
Change the deployment
If you are not satisfied with the default deployment option, fork the repo and hack your way through it! After you fork the code, you won’t be able to deployment it from the webpage from Azure.com. Instead, visit the following link to kick off the deployment.
https://portal.azure.com/#create/Microsoft.Template/uri/https%3A%2F%2Fraw.githubusercontent.com%2F [REPLACE_YOUR_GITHUB_ACCOUNT_HERE] %2Fazure-quickstart-templates%2Fmaster%2Fslurm%2Fazuredeploy.json
The deployment template will always refer to the shell script from the official repo. So if you want to change the shell script or slurm.conf, update the “templateBaseUrl” parameter (see https://github.com/Azure/azure-quickstart-templates/blob/master/slurm/azuredeploy.json#L90).
Future Work Items
- Fix the script installation failure
- Disable password based logon on VM
- NIS/NFS support for /home sharing
- Enable (some) MPI support
Feedback
If you like the script or have further requirements, post it on github (https://github.com/Azure/azure-quickstart-templates/issues) or you can post on this blog too.
Comments
- Anonymous
September 26, 2015
Thank you for this useful template!
Question: how would you go about stopping and restarting the entire cluster so that you don't pay for it when it is not being used? - Anonymous
September 26, 2015
@Safek You need to start/stop all VMs in the resource group. A sample PSH script can be found here -https://gallery.technet.microsoft.com/scriptcenter/Stop-All-VMs-in-Specified-40c8531e. Basically, it goes through all the VMs in the specified resource group and stop them. You can translate it to Azure xplat cli with the same logic.
