Implementing Conditional Access with Exchange Online (updated using Azure Portal)
Implementing Conditional Access with Exchange Online (updated using Azure Portal)
I am updating this blog post using the new Conditional Access features in the Azure Portal. The new portal is accessed from https://portal.azure.com.
I will demo using Exchange Online; however, these same steps can be used with all other Software as a Service applications in Azure.
Conditional Access will check the following:
User / Risk
Application
Location
Device / Device State
After checking the appropriate conditions, a decision will be made to either Allow, Block or require Multi-factor Authentication (MFA). If the User Account or a Risky Sign-On is detected, then we can force a password change or force Multi-factor Authentication.
I will go through this process using my Windows 10 Virtual Machine. However, this will apply to not only Windows, but iOS and Android.
Step 1: Accessing Exchange Online
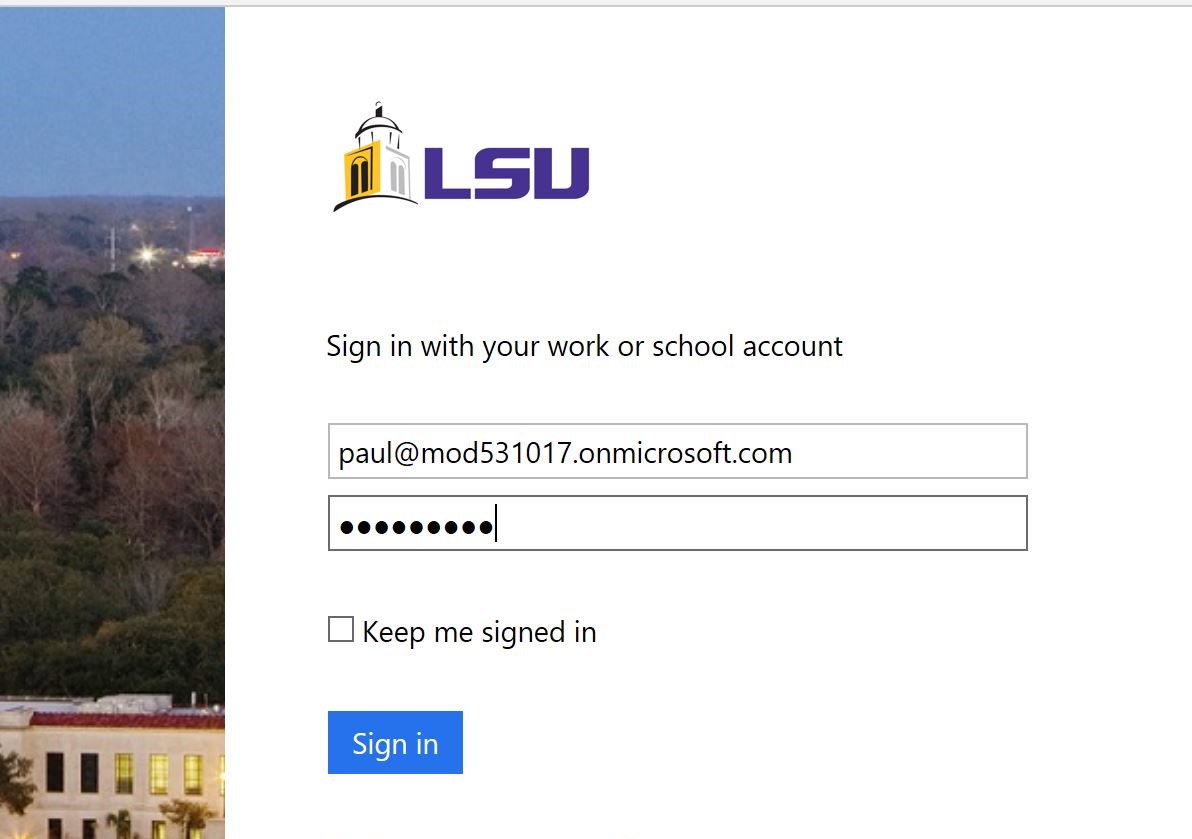
I will now go through the steps to access Exchange Online from a web browser. I go to https://outlook.office.com and authenticate:
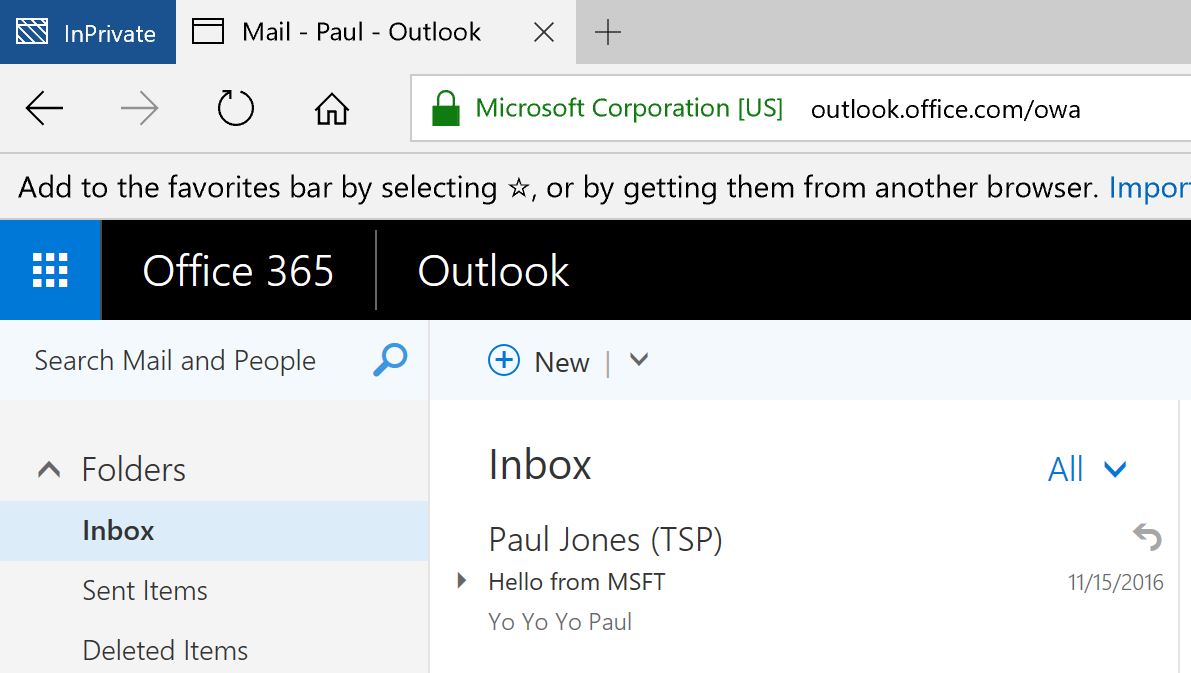
After authenticating I now have access to my email.
Step 2: Enable Location Based Rules
In this step, I will check who the User is and Based on the Users Location will require MFA, Allow or Block access to Exchange Online.
I have 3 different options:
- Require multi-factor authentication
- Require multi-factor authentication when not on Trusted IPs (aka Work)
- Block access when not at work
For this step, I will choose Block access when not at work.
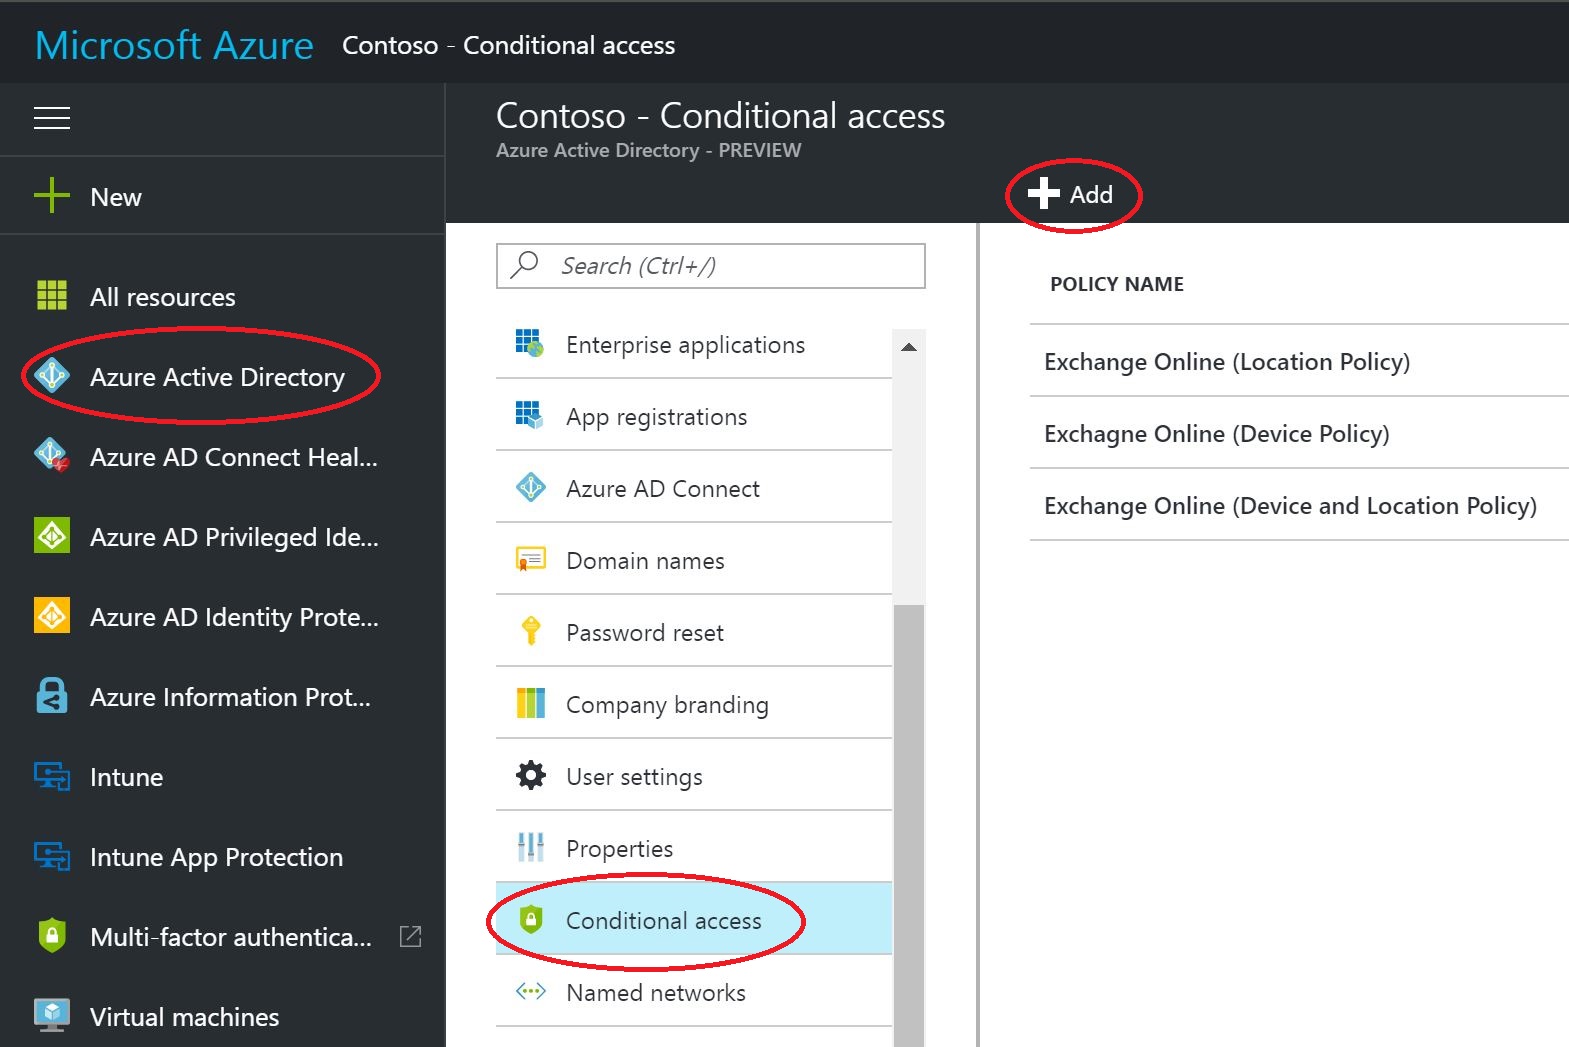
Open the Azure Portal from https://portal.azure.com and select Azure Active Directory. Then select Conditional Access and click Add to create a Location Based Policy.
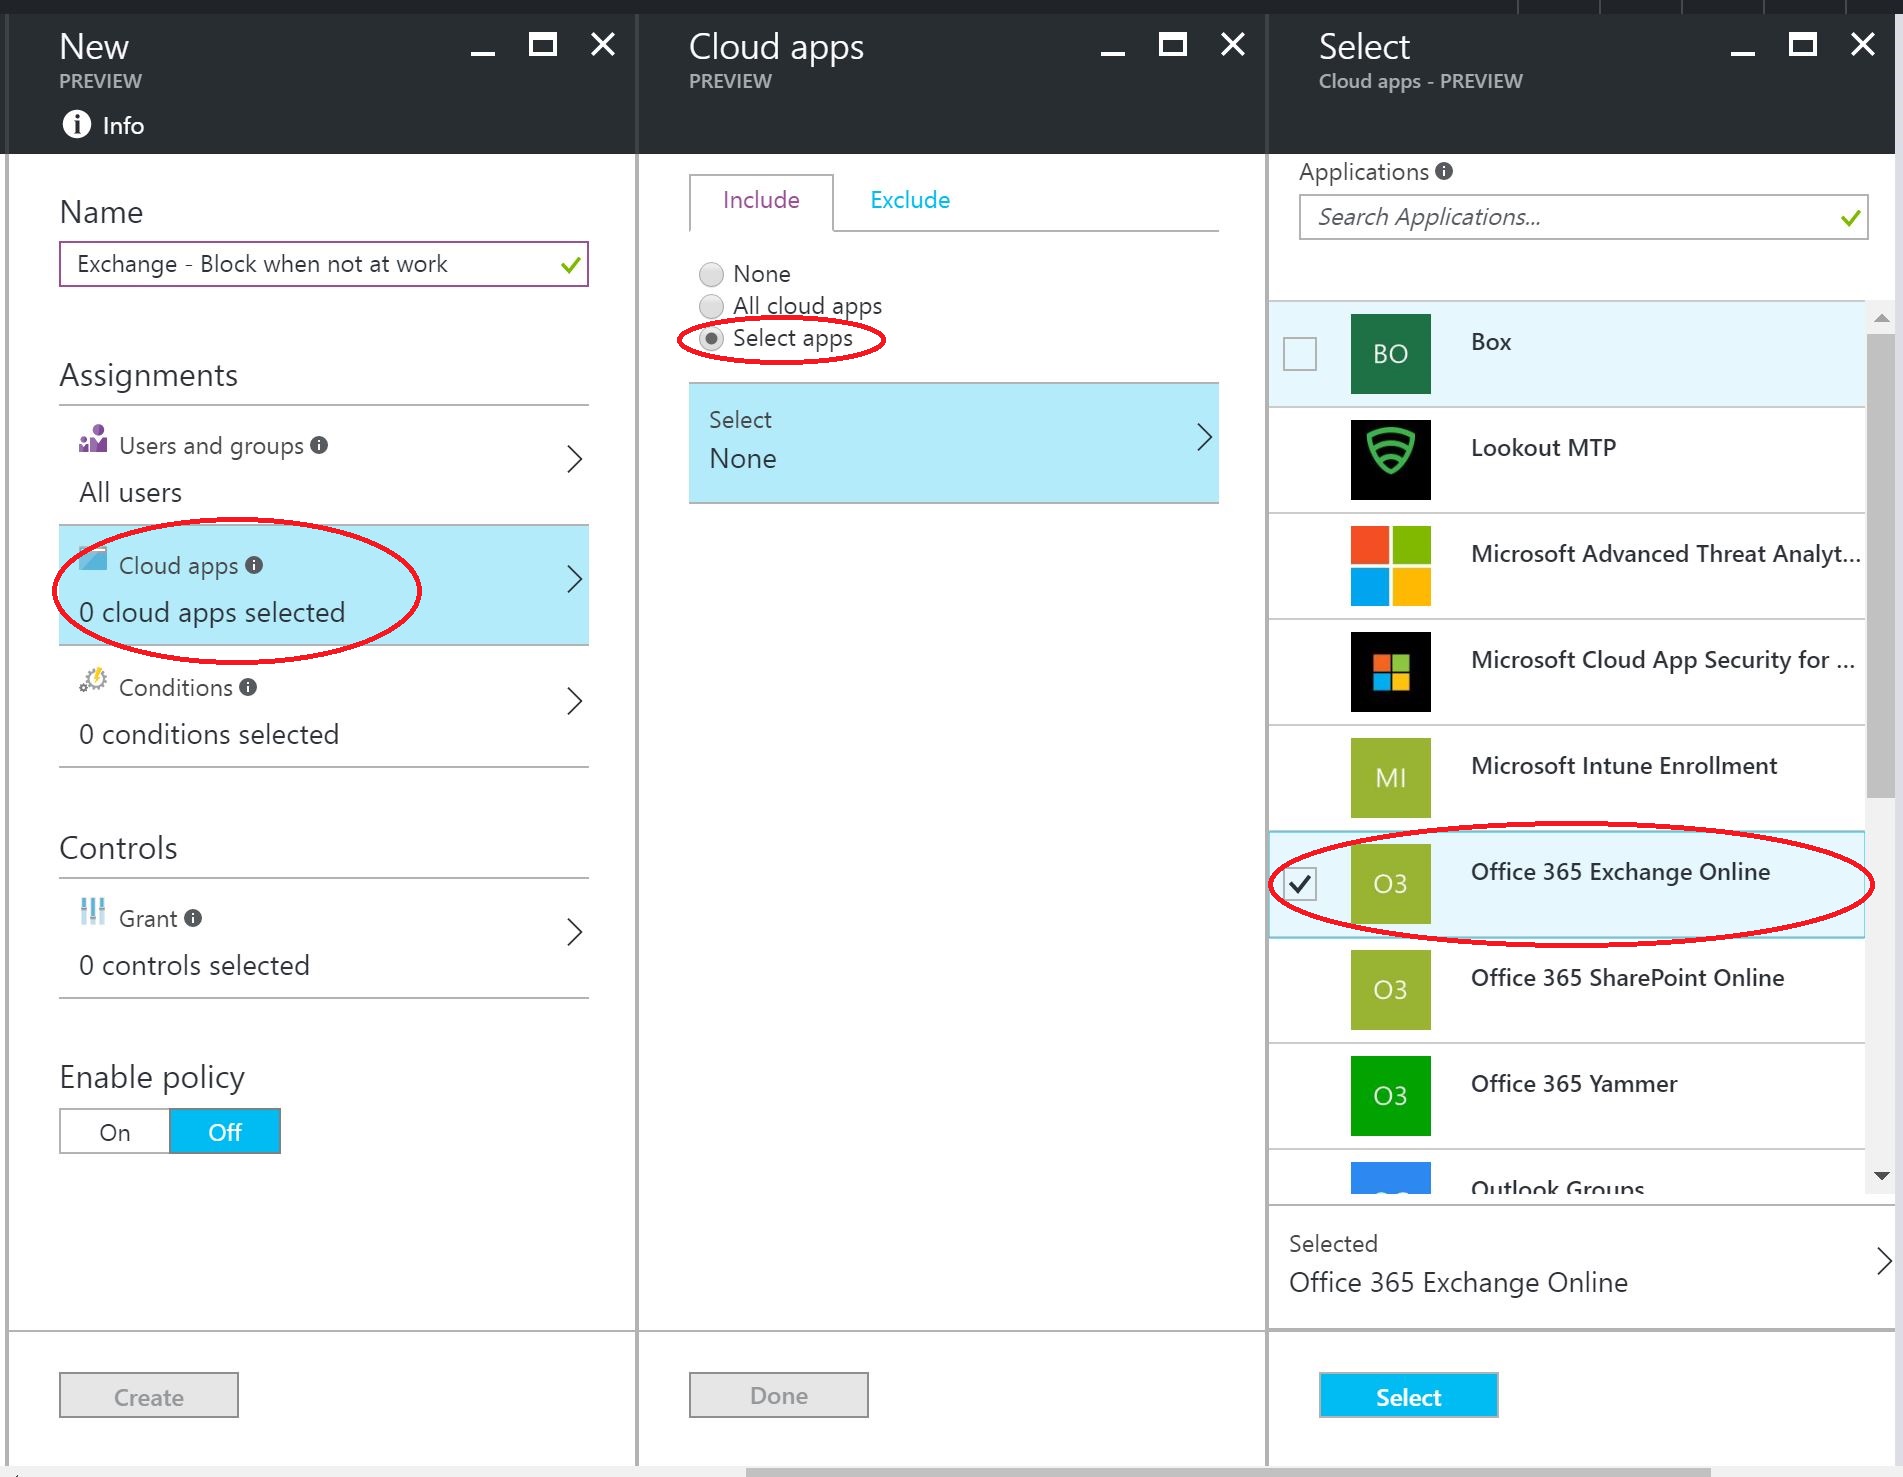
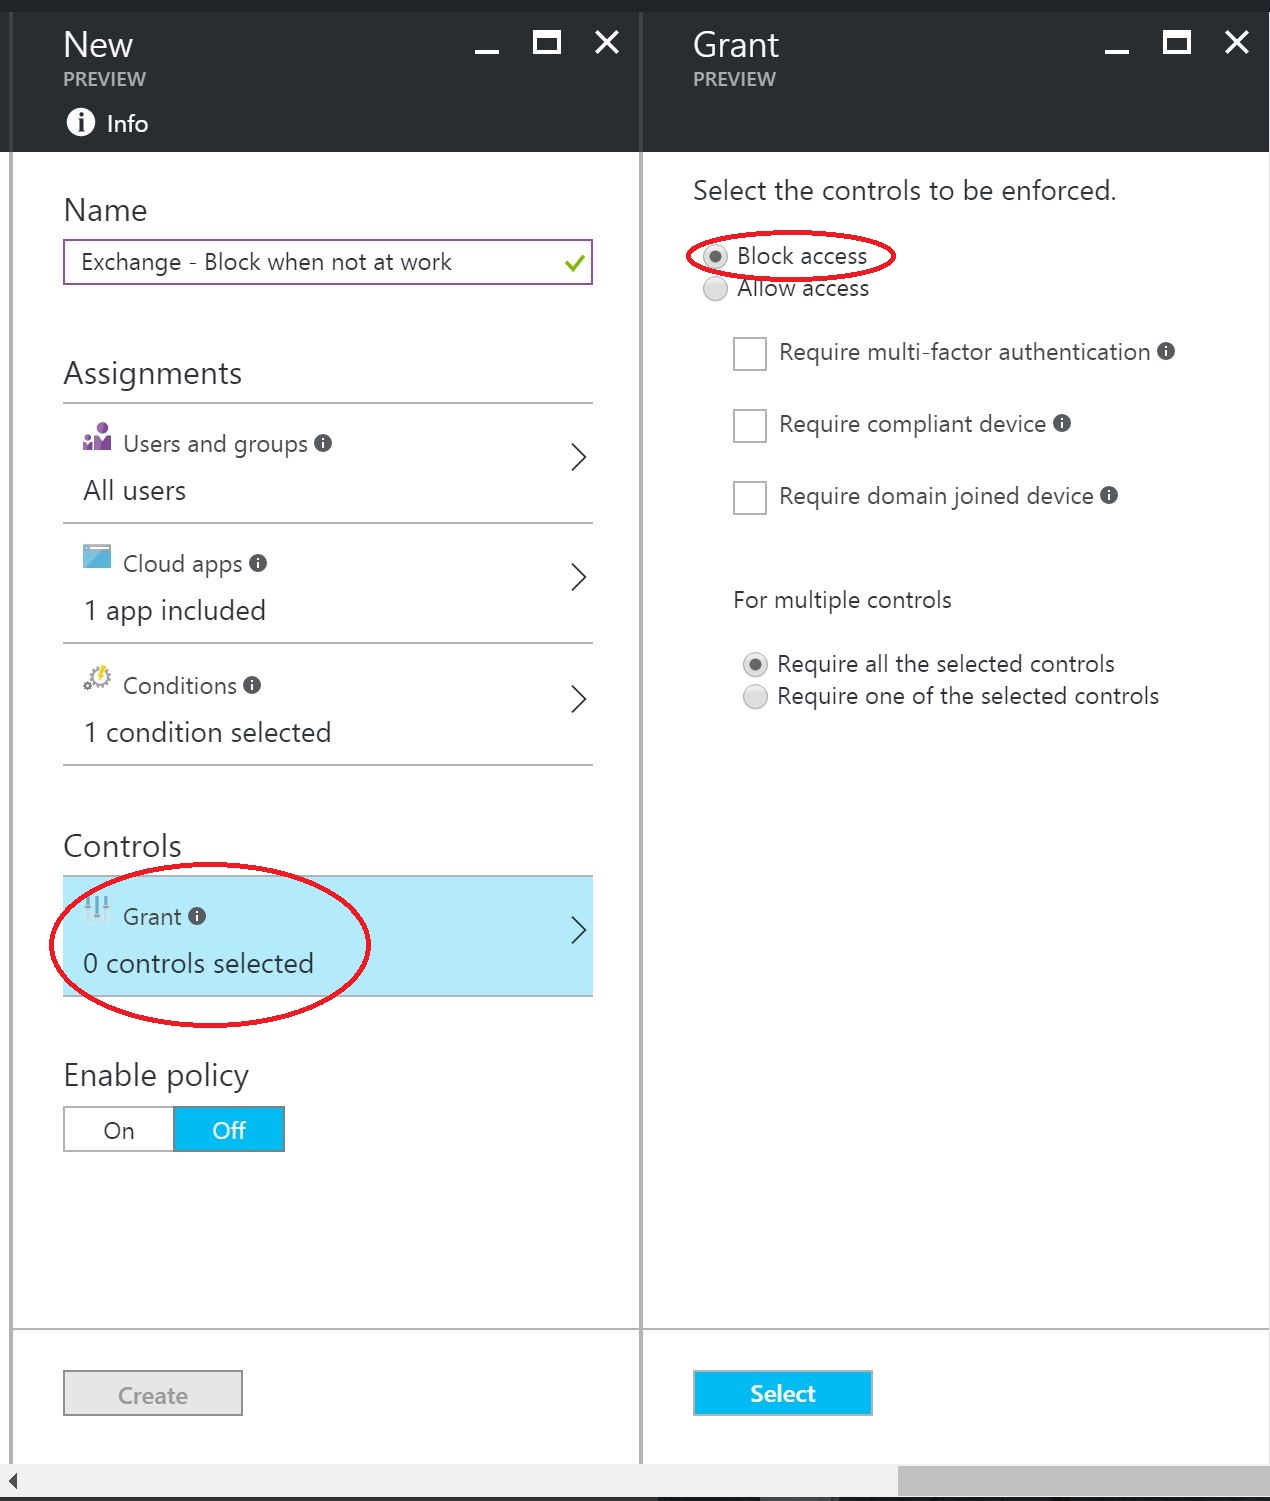
In the Name field I entered: Exchange - Block when not at work.
Under Assignments, I selected All Users from Users and Groups. Then from Cloud apps, under the Include Tab, I chose Select Apps and then only selected Office 365 Exchange Online. As you can notice from the list, you can pick other Applications to add to this policy.
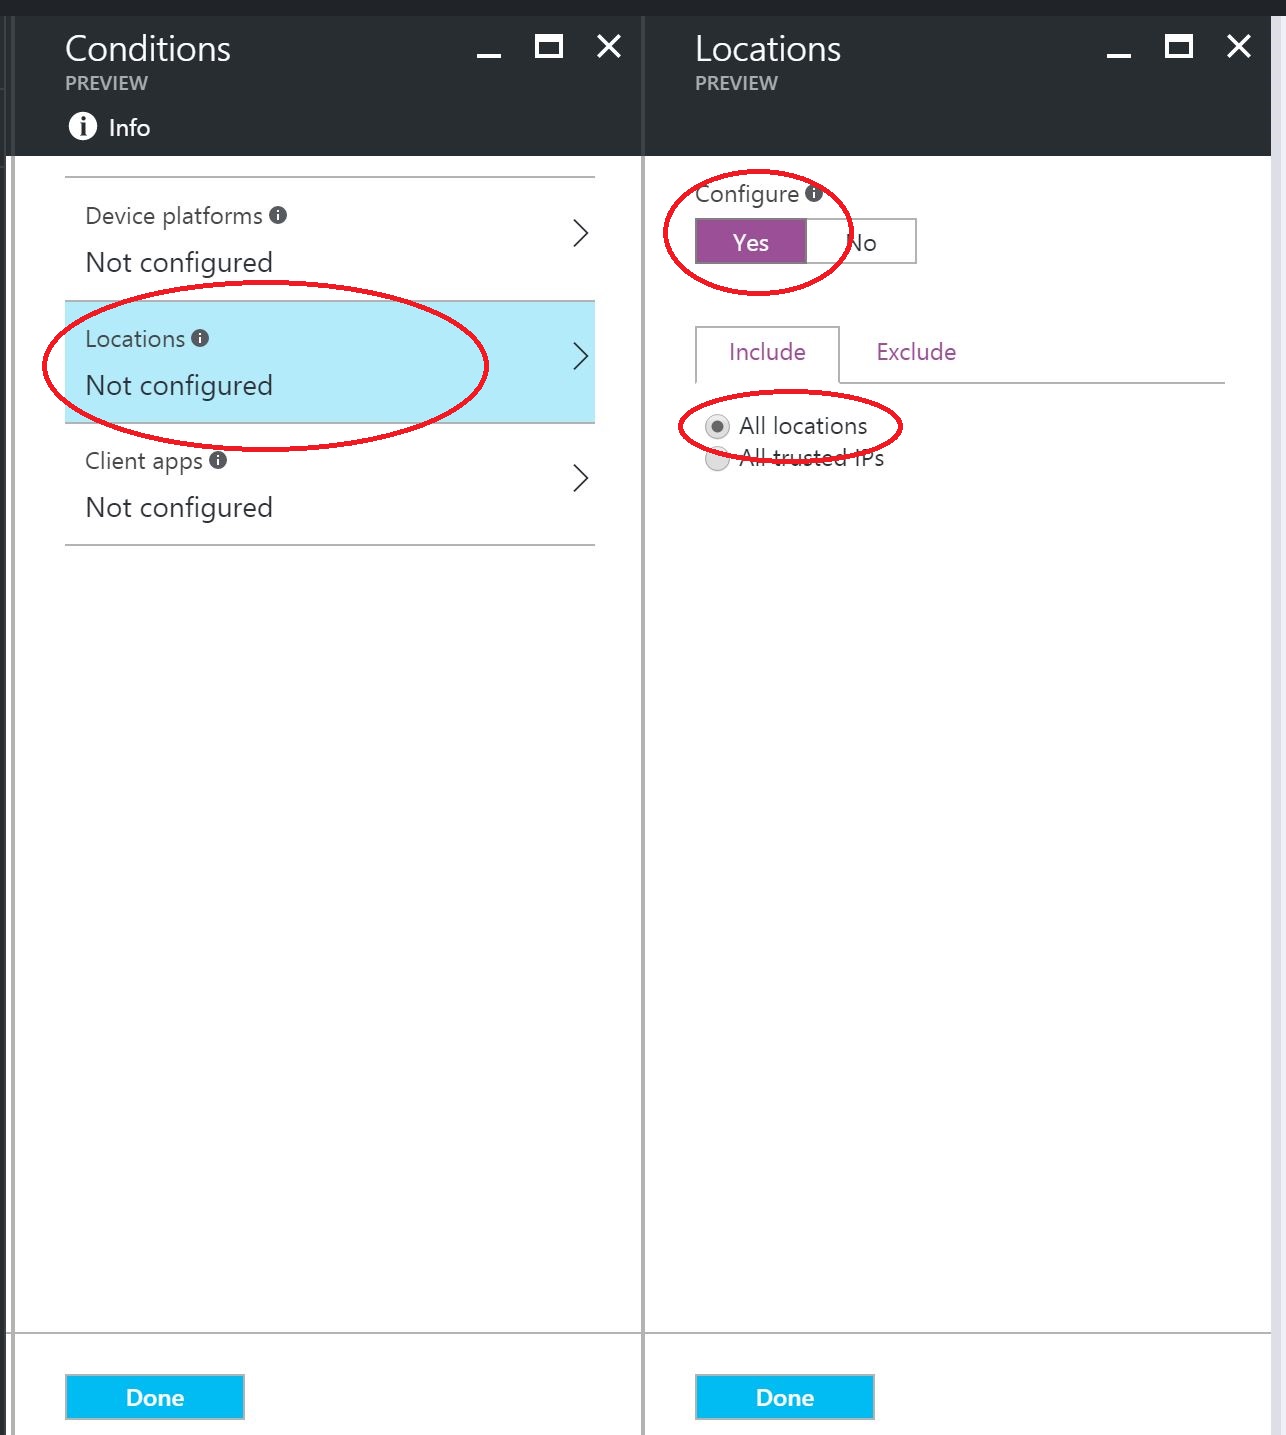
Next I will select the Conditions to apply. I want this policy to apply to All Devices, so I will not configure any Device Platforms. Next, select Locations and under Configure select Yes and under Include tab, choose All locations. Then choose Exclude tab and select All Trusted IPs. This configuration will block all devices that are not on a Trusted IP.
Finally, for Controls, select Block access. Now, all Users will have access Blocked when trying to connect from a non Trusted IP address.
This completes the creation and deployment of the policy to Block Access from devices that are not on a Trusted IP.
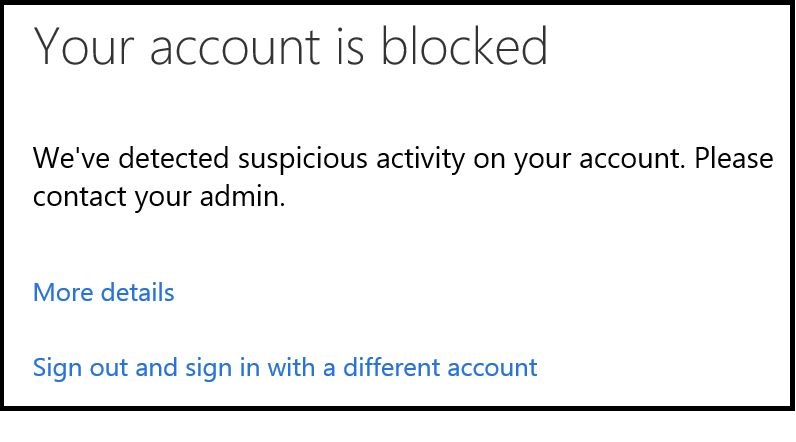
This is a screen shot that a user will receive when trying to access Exchange Online from a non Trusted IP Address:
PAJ
Comments
- Anonymous
December 28, 2016
greatthanks - Anonymous
December 30, 2016
I have tried to enable this, In trusted IP address list do we need to add private ip address?Do we require ADFS if i have purchased Azure AD Premium plan 2?- Anonymous
January 03, 2017
No, you do not need to add Private IP Addresses. We only check Public IP Address that is connecting to Azure. We do not require ADFS.
- Anonymous
