Working with the HBase Import and Export Utility
As mentioned in a couple other posts, I am working with a customer to move data between two Hadoop clusters. This includes data in several HBase tables which has led me to make use of the HBase Import and Export utilities. To help others who may have a similar need, I’m going to use this post to document some of the options you might use with these utilities. But before doing this, I’ll create a simple HBase table on which I can safely perform these operations.
The Sample Table
To illustrate some of the capabilities of the HBase Import and Export utilities, I’ll create a table with a single column family. That family will be configured to retain 10 versions of each row. I’ll then insert 10 rows with 10 versions per row. From the shell prompt:
hbase shell create 'mytable', {NAME => 'myfam', VERSIONS => 10} for i in '0'..'9' do for j in '0'..'9' do put 'mytable', "#{j}", "myfam:mycol", "#{i}#{j}" end end
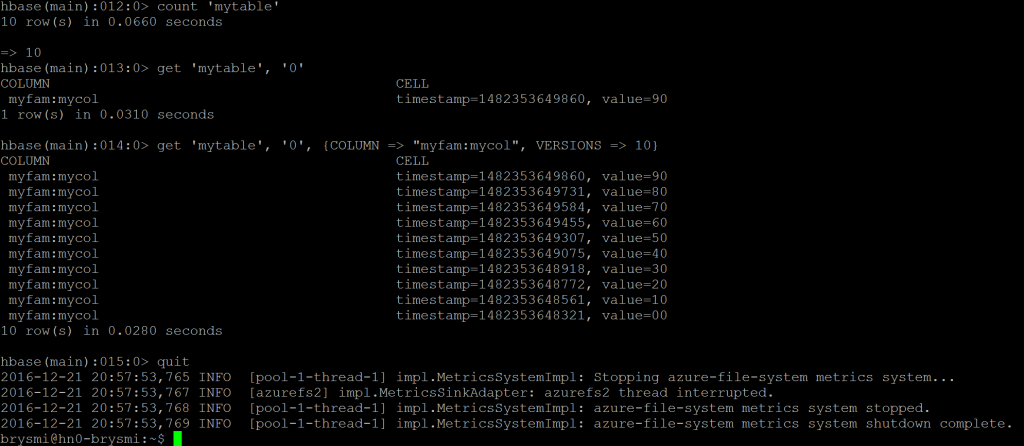
I can verify I have 10 rows with the COUNT statement:
count 'mytable'
If I retrieve a single row, I’ll see the latest version of that row:
get 'mytable', '0'
But if I indicate I want all 10 versions of that row, I can see that HBase is storing these:
get 'mytable', '0', {COLUMN => "myfam:mycol", VERSIONS => 10}
Here is a screenshot of the results of these last few statements from my session:
I can now exit the HBase shell:
quit
The HBase Export Utility
The basic syntax of the HBase Export utility looks something like this:
hbase org.apache.hadoop.hbase.mapreduce.Export "table name" "targeted export location"
The command is called from the (Linux) shell, not the HBase shell used earlier. In the directory identified as the targeted export location, you will find a part-m-00000 file representing the results of the map job created by the utility. You will also find an empty file indicating the success or failure of the map job.
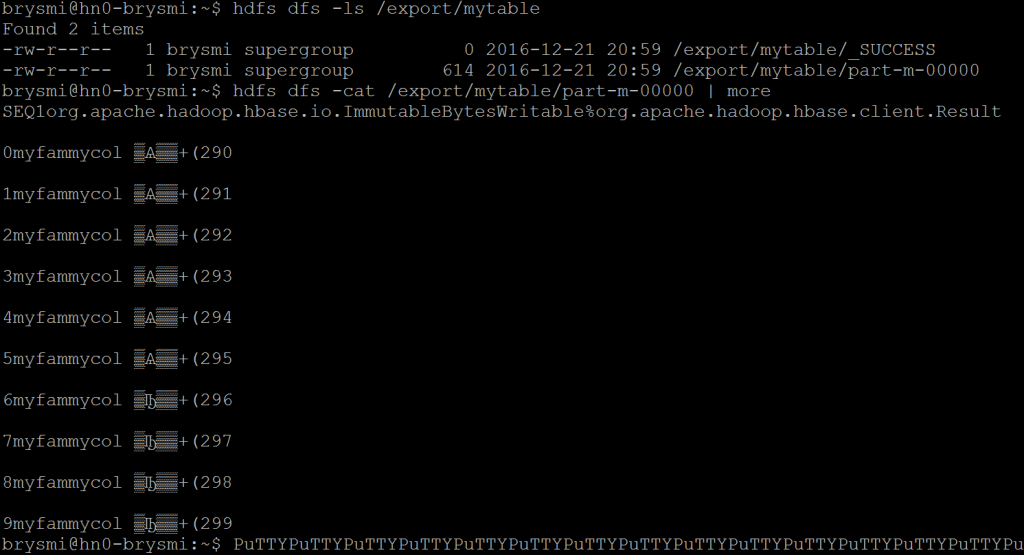
When called using this simple syntax, the utility will export the latest version of each row in the table. Doing this for the sample table created earlier, we should see 10 records in the result set:
hbase org.apache.hadoop.hbase.mapreduce.Export "mytable" "/export/mytable"hdfs dfs -ls /export/mytablehdfs dfs -cat /export/mytable/part-m-00000 | more 
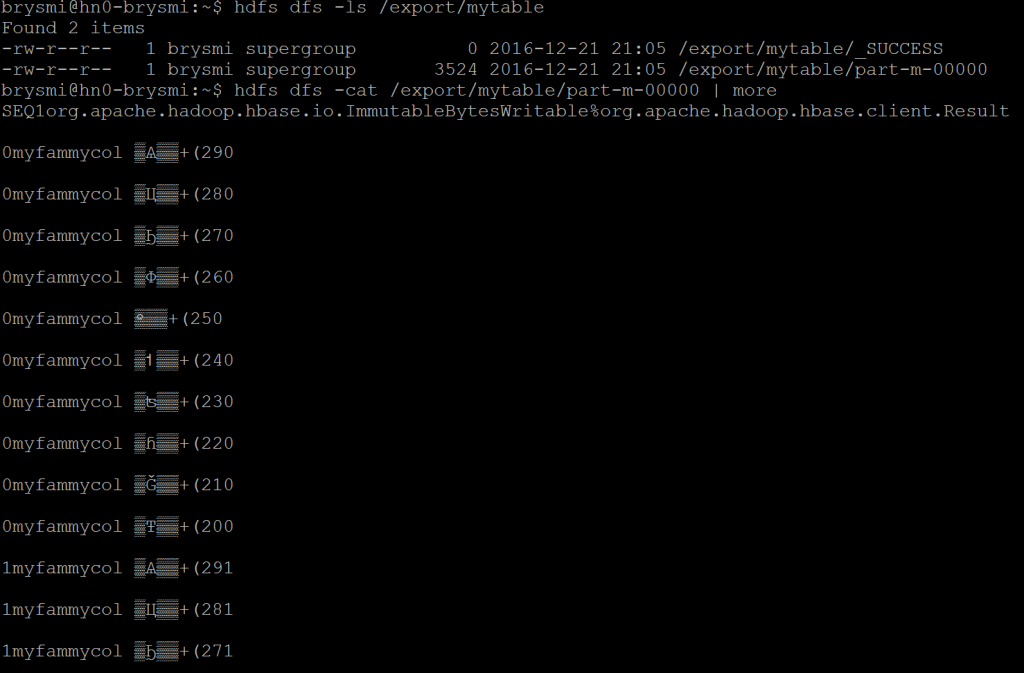
If I’d like to retrieve more than the latest version of the records in a table, I can add a version count after the targeted export location. This value can be higher than the configured version retention on the table without triggering an error. For example, here I am extracting all 10 versions of each record by setting an arbitrarily high version count of 1000:
hbase org.apache.hadoop.hbase.mapreduce.Export "mytable" "/export/mytable" 1000hdfs dfs -ls /export/mytablehdfs dfs -cat /export/mytable/part-m-00000 | more 
NOTE I am deleting the /export/mytable directory prior to re-running the Export utility.
If I need prior versions that fall within a select time range, I can add a starting Epoch timestamp and ending Epoch timestamp to the command call. To calculate an Epoch timestamp for a date of interest, calculate the number of days between that date and January 1, 1970 and then multiple that value by 86,400,000, the number of milliseconds in a day.
For example, the Epoch timestamp for December 1, 2016 and January 1, 2017 are 1480550400000 and 1483228800000, respectively. If I wanted the all versions of a record that were created in that range, again I’d set an arbitrarily high version count but then box it in by these timestamp values:
hbase org.apache.hadoop.hbase.mapreduce.Export "mytable" "/export/mytable" 1000 1480550400000 1483228800000
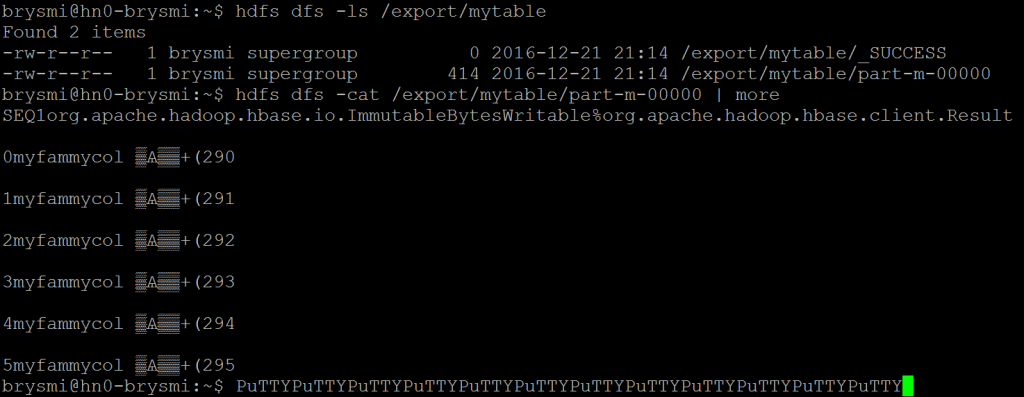
If I need to extract a subset of the rows in a table, e.g. to break up a large extract, I can do this by specifying starting row identifier. If I specify an ending row identifier, I will extract all rows starting with the specified starting row up to but not inclusive of the ending row. If I do not specify an ending row identifier, I will get all rows starting with the specified starting row through the remainder of the table. For example, here I am extracting the latest version of all rows from 1 up to but not including 6:
hbase org.apache.hadoop.hbase.mapreduce.Export -Dhbase.mapreduce.scan.row.start=0 -Dhbase.mapreduce.scan.row.stop=6 "mytable" "/export/mytable"hdfs dfs -ls /export/mytable hdfs dfs -cat /export/mytable/part-m-00000 | more 
Should I have needed to extract more versions or box my results around timestamp values, those options are supported as before.
While there are many more options I can employ with the Export utility, the last one I want to explore is the use of compression. By indicating that the results should be compressed and specifying the compression codec to use, I can extract a file with a smaller footprint. For example, here I am extracting the all versions of all rows in the sample table with and then without GZip compression so that I can compare extract file sizes:
hbase org.apache.hadoop.hbase.mapreduce.Export -Dmapreduce.output.fileoutputformat.compress=true -Dmapreduce.output.fileoutputformat.compress.codec=org.apache.hadoop.io.compress.GzipCodec "mytable" "/export/mytable/compressed" 1000hbase org.apache.hadoop.hbase.mapreduce.Export "mytable" "/export/mytable/uncompressed" 1000hdfs dfs -ls /export/mytable/compressed/part-m-00000hdfs dfs -ls /export/mytable/uncompressed/part-m-00000 
If you compare the size of the part-m-00000 files, you can see the compressed file provides some space savings (though not much in absolute terms given the small nature of the sample data set).
There are a few more options available with the Export utility. You can see these by simply calling the utility with no parameters or arguments at the command prompt.
The HBase Import Utility
In comparison to the Export utility, the Import utility is very straightforward:
hbase org.apache.hadoop.hbase.mapreduce.Import 'tablename' 'target import location'
The key consideration when using the utility is that the targeted table must exist prior to the import. The table name does not need to match that of the exported table but it does need to have the same column families as the exported table. It’s also important to note that if you exported multiple versions of the row, the targeted import table will employ its own versioning control:
# assuming this is my extract:# hbase org.apache.hadoop.hbase.mapreduce.Export "mytable" "/export/mytable" 1000hbase shellcreate 'mytable_import', {NAME => 'myfam', VERSIONS => 10}quithbase org.apache.hadoop.hbase.mapreduce.Import 'mytable_import' '/export/mytable'
As with the Export utility, HBase Import supports many other options which you can see by simply calling the utility at the command prompt with no parameters or arguments.
