Set up a Subversion repository
Applies to: ![]() Visual Studio for Mac
Visual Studio for Mac ![]() Visual Studio
Visual Studio
Subversion is a centralized version control system, meaning that there's a single server that contains all files and revisions, from which users can check out any version of any file. When files are checked out from a remote Subversion repository, the user gets a snapshot of the repository at that point in time.
To use Subversion for your version control, it must be installed on your machine. To check if Subversion is installed your machine, use the following command in Terminal:
svn --version
This command returns the version number.
If Subversion isn't already installed, the easiest way to get it is by installing the Xcode Command Line Tools. Use the command below to install Xcode Command Line Tools and Subversion.
xcode-select --install
Once Subversion is installed on your machine, use the following steps to publish your project in SVN.
Create a free SVN repository online. For this example, Assembla was used. Once created, a URL will be provided, which will be used to connect to the repository:

Open or create a Visual Studio for Mac Project.
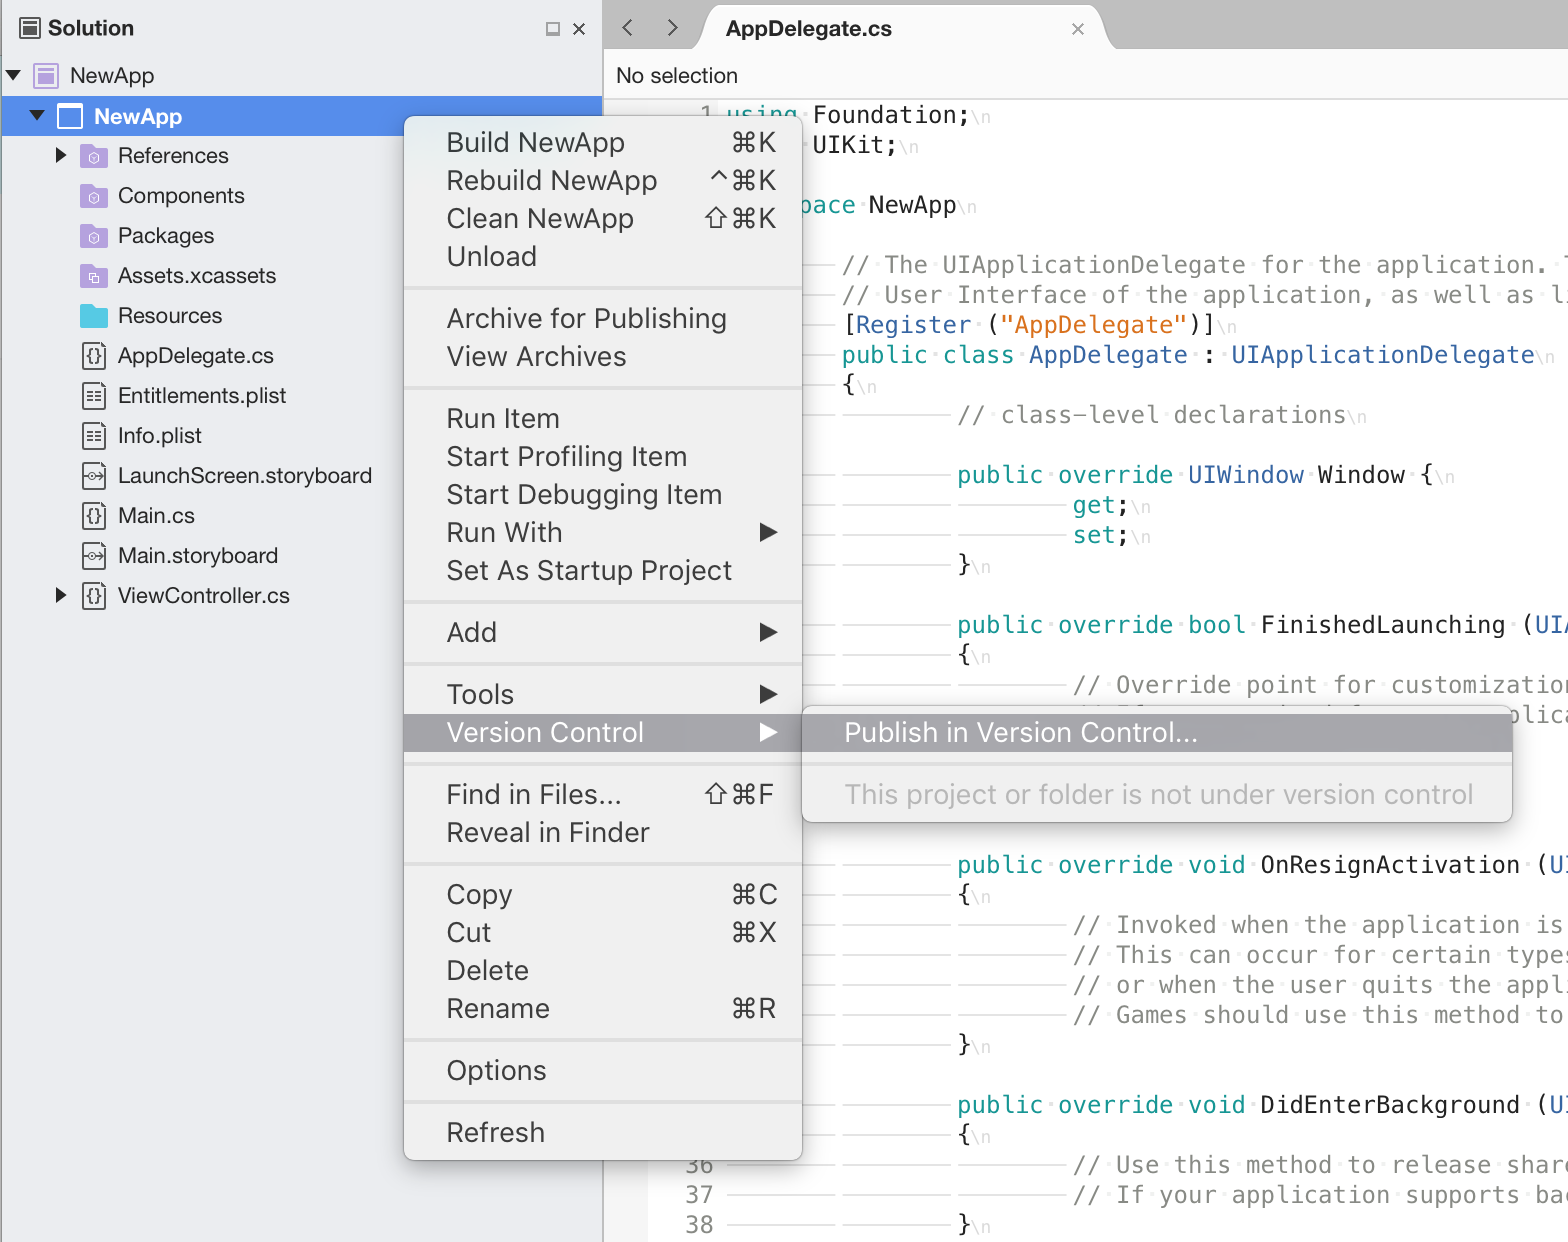
Right click on the Project and select Version Control > Publish in Version Control...:

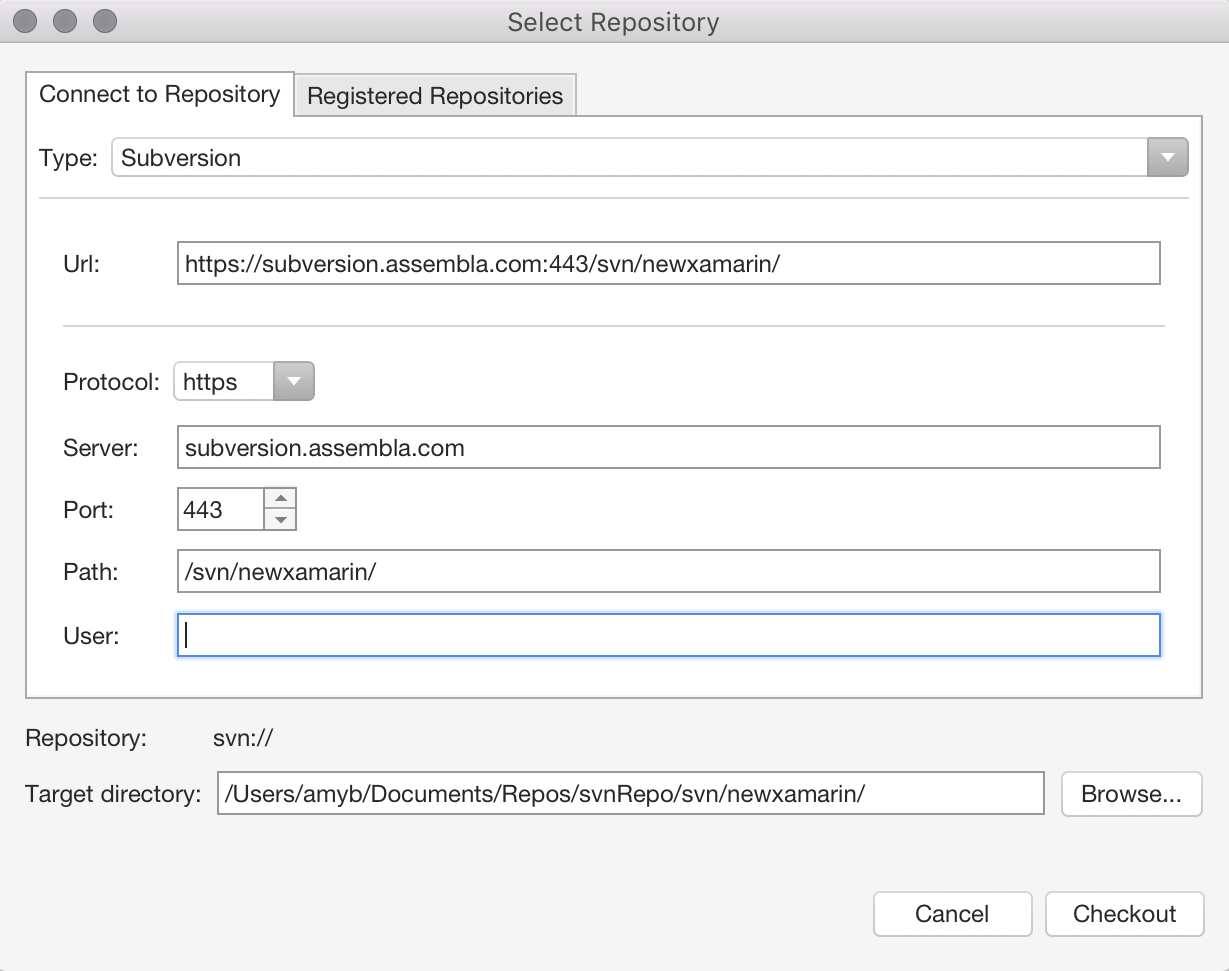
In the Connect to Repository tab, select Subversion from the top drop-down.
Enter the URL from step 1. Once the URL is entered, the other fields are populated by default:

Click OK and then confirm by pressing Publish.
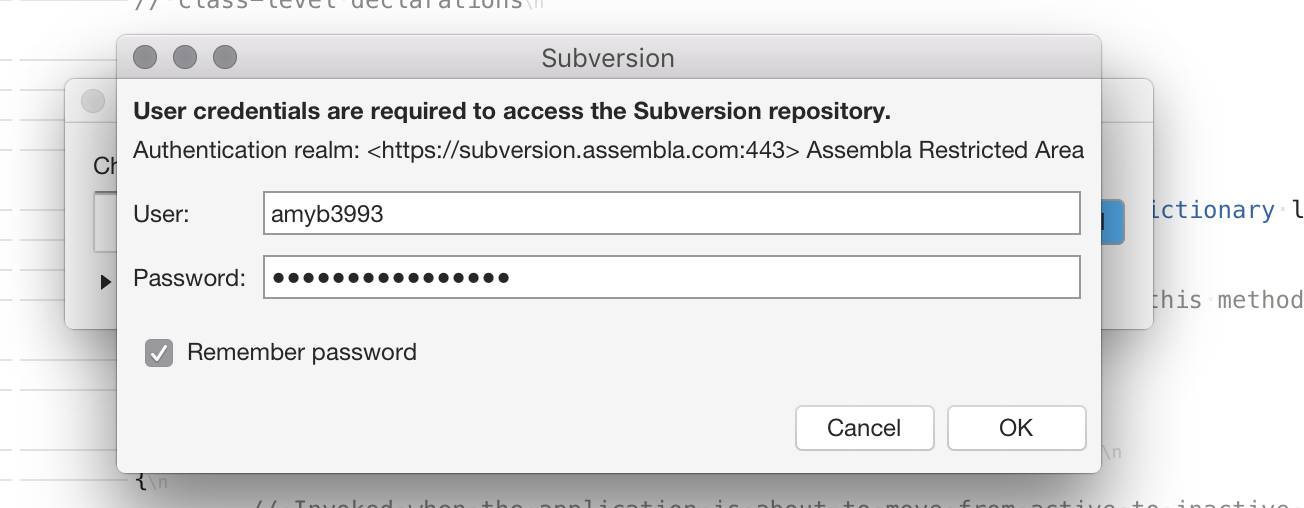
If prompted, enter your credentials for the site on which you create the repository, as illustrated below:

All the version control commands available should now be visible in the version control menu.