Step-By-Step: Using a Public Certificate from a Commercial CA with Windows Azure Backup Vault and Windows Server 2012 R2
Using a Public Certificate from a Commercial CA with Windows Azure Backup Vault and Windows Server 2012 R2
This is a “step-by-step” lab guide to implementing Windows Azure Recovery Services/Backup Vault with Windows Server 2012 R2 using a public certificate from a Commercial CA.
Windows Azure Recovery Services can help you protect important server data offsite with automated backups to Windows Azure Backup Vaults, where they are available, for easy data restoration. Available in eight regions worldwide, Windows Azure Recovery Services provides secure and reliable storage, built with durability in mind, and geo-replication provides redundancy of your data across regions to ensure access to your data in the event of a local disaster. You know that here in Florida we get our fair share of storms so off-premise backups are always considered and most do this as a best practice.
To successfully complete this lab you must have an X.509 v3 certificate to register your server(s) with Windows Azure Backup Vaults as well as a Windows Azure account. If you do not have a Windows Azure account, sign up here: https://aka.ms/try-azure
Prerequisites:
- A Microsoft ID
- Sign up here
- Windows Azure account (Trial, Pay As You Go, or Purchased Plan)
- Windows Azure Backup Preview Feature enabled
- Must be signed up for separately
- Enable it here: https://www.windowsazure.com/en-us/services/preview/
- For Makecert.exe - Windows 8 Software Development Kit (SDK)
- Self-Signed Certificate
- Generated by makecert.exe later in this lab guide
Lab Guide:
Windows Azure Account
Sign up for a Windows Azure 30-Day Trial account here: https://aka.ms/try-azure
**Note: You will need a credit card to sign up for the trial account.
What you get with your Windows Azure 30-Day Trial:
$200 USD of Windows Azure services. Build what you want, scale as you need, and full access with no strings attached.
- Create and run Virtual Machines
- Develop a modern app using Cloud Services
- Build and deploy Web Sites
- Spin up Mobile back-ends for Android, iOS or Windows Phone 8
- Store, backup, and recover data
- Encode and share video
And much, much more...
Windows Azure Backup Preview Feature
After you sign up for your Windows Azure account, you must also sign up for Windows Azure Backup, which is currently in Preview. What does Preview mean? Features or services in Windows Azure that are in Preview status are beta versions and are not meant for production use and are not covered by any type of Service Level Agreement (SLA) pertaining to Windows Azure. For more information, click here.
Sign into your new Windows Azure account. Scroll through the list of services offered with your Trial account on the left navigation sidebar. You will notice that you do not see an icon for Recovery Services. Windows Azure Backup is categorized under this service tab. You will need to add it to your Trial account.
Open a new tab on your browser and navigate to the following URL:
https://www.windowsazure.com/en-us/services/preview/
Scroll down to Backup and click on the “try it now” button.
After you add the Backup Preview to your account, switch back to your Portal browser tab and refresh it. You should now see the Recovery Services icon in the left navigation sidebar, like the screenshot above. If you do not see it, you may need to log out and log back in to your account This is a “step-by-step” lab guide to implementing Windows Azure Recovery Services/Backup Vault with Windows Server 2012 R2 using a Certificate Authority and SSL public certificate.
The certificate must have a key length of at least 2048 bits and should reside in the Personal certificate store of your Local Computer. When the certificate is installed on your server, it should contain the private key of the certificate. To upload the certificate to the Windows Azure Management Portal, you must export the public key as a .cer format file.
Note - You may need to convert the CA’s .CRT file to .CER file as explained in this post.)
Let’s get started -
Purchase the Certificate from in this case, GO-DADDY
Select the certificate you want to purchase
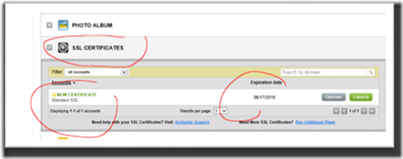
GO-DADDY issues SSL Certificates
Generating the CSR (Certificate Signing Request) information for GO-DADDY
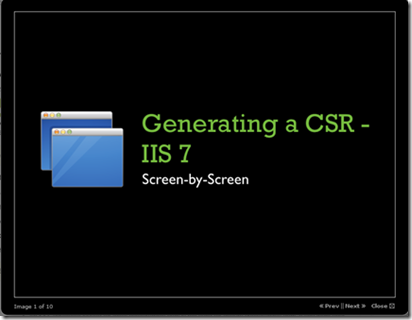
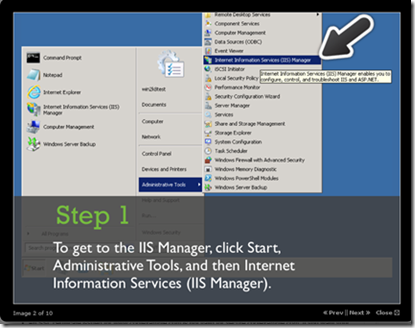
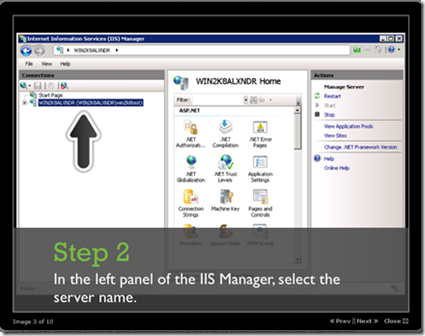
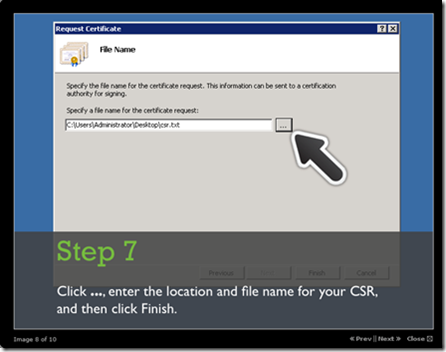
I highlighted below the “SCREEN-BY-SCREEN” option to help setup IIS in Windows Server 2012 R2, I used IIS7 instructions.
Make sure you fill out the complete form below or it will not let you continue.
No STEP 8
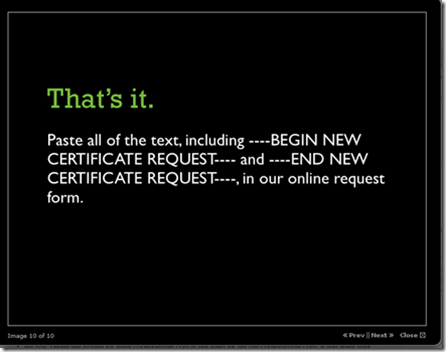
Looks like the text file below -
Request the certificate in the GO-DADDY Portal
Cut and paste the text into the GO-DADDY CSR window
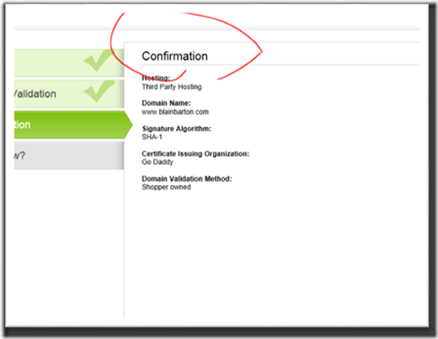
Confirm
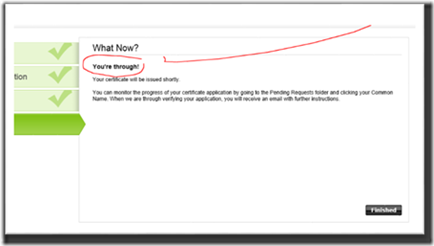
Finish
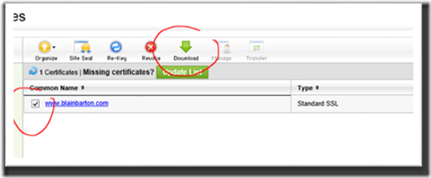
Confirms with GO-DADDY and then make the cert available (Very fast process)
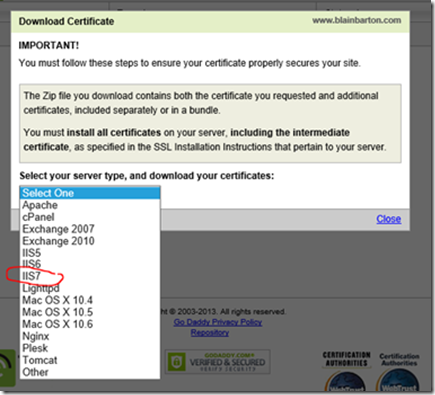
I used the IIS7 setup information
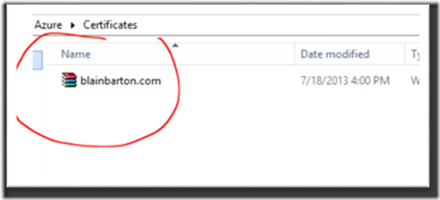
They give you a .ZIP file
2 files are present, use the one that you named.
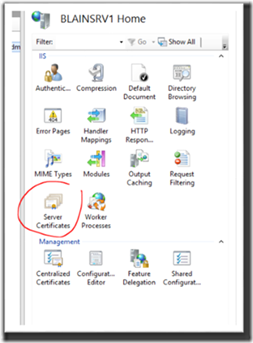
On your server go to IIS and select Server Certificates
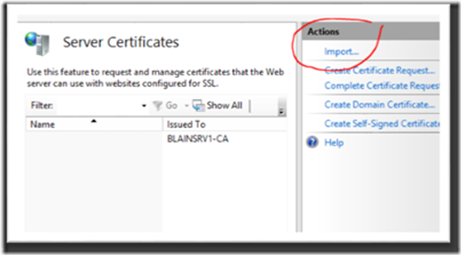
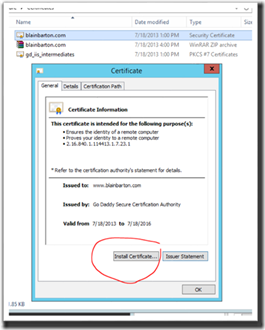
Select import or double click the cert itself
Install the cert
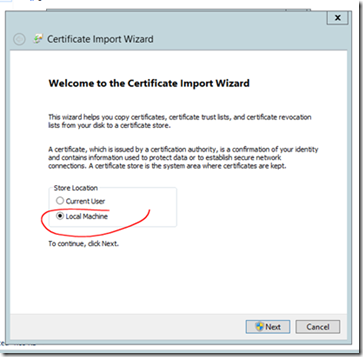
Select Local Machine
Automatically select the certificate store
Complete the wizard
Confirm the Import
Now, this is where the documentation can be a little clearer.
In some cases when submitting a CSR request, some Commercial CA’s only have the option to select the server as IIS7. The actual version we run is IIS 8.5. When IIS7 is selected the certificate is issued as a “crt” file. If this is the case, you will have to convert your .CRT to .CER before uploading to Windows Azure.
To convert the .CRT to .CER click on the Details of the certificate.
Then click on “Copy to File”
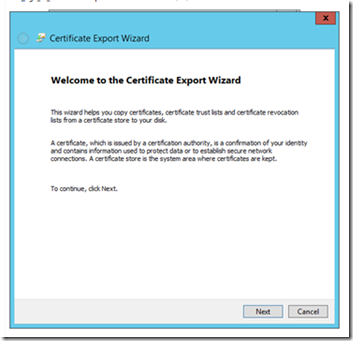
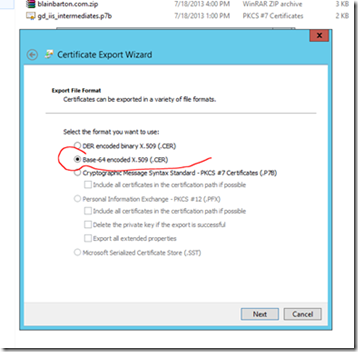
Press Next on the Certificate Export Wizard, then select Base-64 encoded X.509 (.CER) and click next.
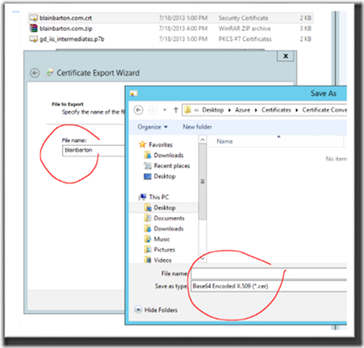
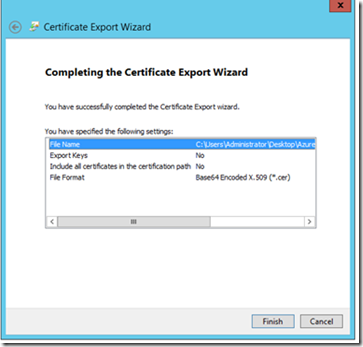
Finish the conversion and export. Go into your Windows Azure Portal.
If you do not have a 30-day trial or “Pay-As-You-Go” account get one here at https://aka.ms/try-azure
Create a new Azure Backup name within your region.
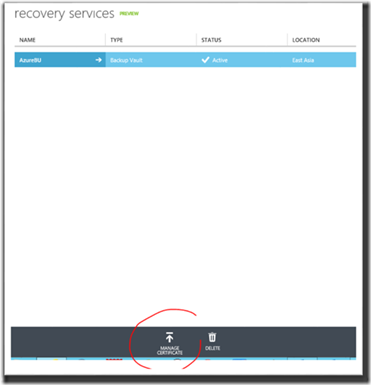
You can now see the Windows Recovery Services and Backup Vault in the portal.
Click on manage certificate
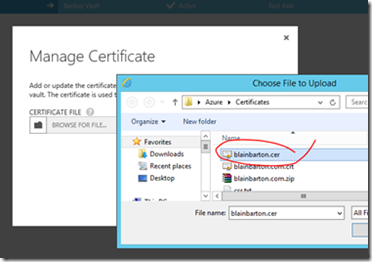
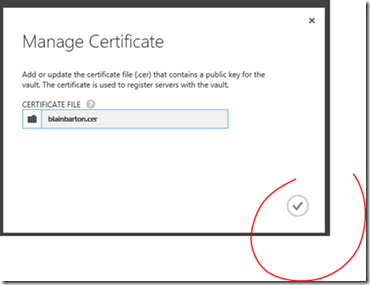
Point to the .CER file you just converted and bring that into Windows Azure.
Watch the notification area to see when it completes.
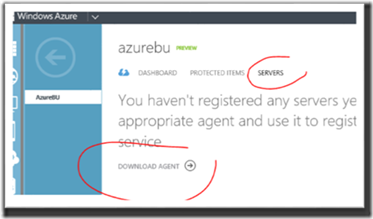
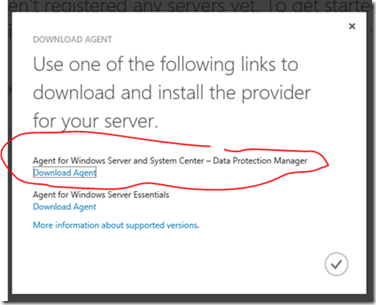
While on your physical Windows Server 2012 R2 bare metal, go into the Windows Azure Management Portal and click on your Backup Vault and click on SERVERS and select DOWNLOAD AGENT.
Click on the link for Windows Server and System Center
Run the Agent on your server.
