ZEN and The ART of ADFS Implementation–Part 2 of 5: ADFS Certificates and Accounts setup
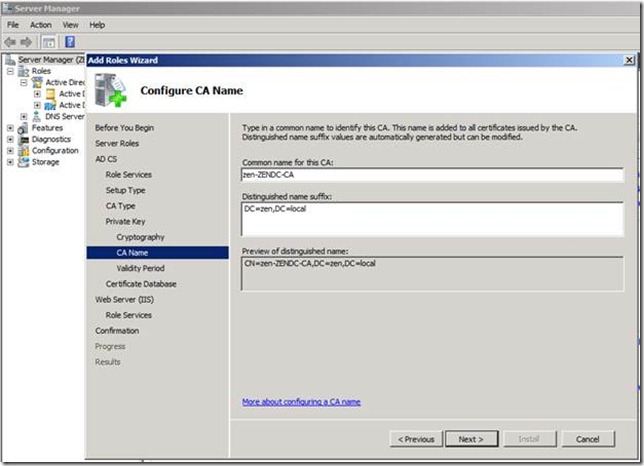
Let’s start off with Installing CA role in Domain Controller.
After CA role has been installed successfully next step is to create the accounts for ADFS and SharePoint2010.
I have created an account ZEN\AdfsAdmin and this account will be used for running the ADFS service.
Create another account ZEN\SPAdmin for running SharePoint.
When you deploy an AD FS 2.0 Federation Server farm you must specify a domain-based service account, and the AD FS 2.0 service account needs to have a SPN (servicePrincipalName) registered to allow Kerberos to function for the Federation Service.
In this case, ZENADFS.local is my ADFS server FQDN, and ZENSP.local being my SharePoint server FQDN.
Please refer AD FS 2.0: How to Configure the SPN (servicePrincipalName) for the Service Account .
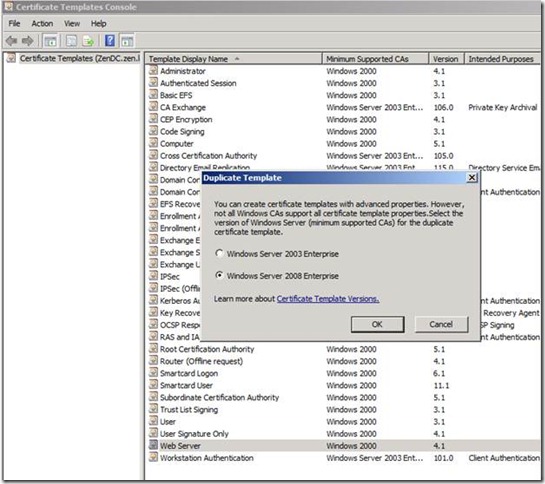
Next step would be to create a certificate template for ADFS.
GO To Start > RUN > Type MMC > File ADD or Remove Snap-ins.
ADD certificate as shown below, chose Computer Account, and Local computer in the successive pages and click ok.
Now next step we need to access the ADFS server and run the below command
This will ensure that the template that we have provisioned is available for the ADFS server to create a new certificate.
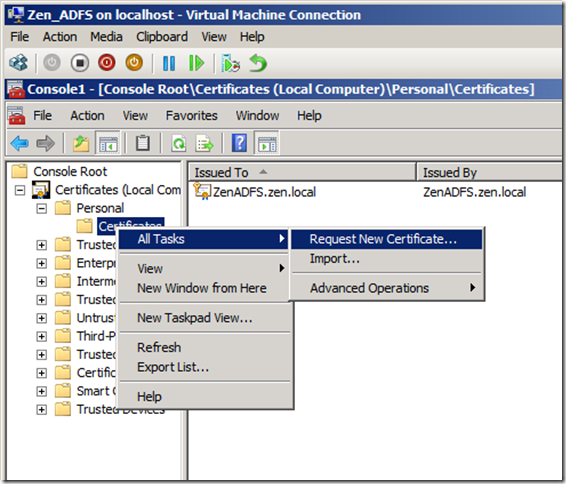
Next, we will create a new certificate using the template we have created.
In my lab, I have added the CName as ZenADFS.zen.local.
Stay tuned for the remaining part of the series !!
Happy Reading!
Cheers,
Sarath


