Getting started with Lab Management (Part 2)
Configure the TFS VM:
In our setup, we will configure TFS server, the build controller, build agent to do the build process, test controller which will manage test execution and also as the dev box where we will write the code. This can be a VM in the same host if you can spare 2GB of RAM on the host.
- SCVMM admin console
- TFS
- Build Controller
- Test Controller
- VS
Install SCVMM Admin Console:
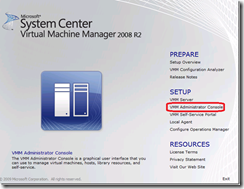
Start the SCVMM install on the TFS server, and select the administrator console option. Select the default set of steps, and let it complete. The lab management service that will run on TFS needs the SDK installed by the admin console to communicate to the TFS server.
Install Team Foundation Server:
In my configuration, I am setting up TFS, the build controller, test controller and Visual Studio all in the same box (a 64bit Win28R2 VM with 2GB RAM).
If you are using a physical box, you need to burn DVDs from the ISO files of the 3 ISOs you downloaded (VS2010B2Agent1.iso, VS2010B2TFS1.iso, VS2010B2Ult.iso).
If you are using a VM as the TFS server, you can on the SCVMM host, configure the VM where the TFS & the rest are to be installed to have 3 DVD drives where the isos are mounted, to help ease the installation. (The VM should be shutdown before you can add DVD drives)
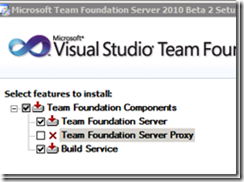
After launching TFS install from the DVD, select both TFS server and the build controller to install
On the configuration screen, select Basic
Let TFS install complete with the default selections.
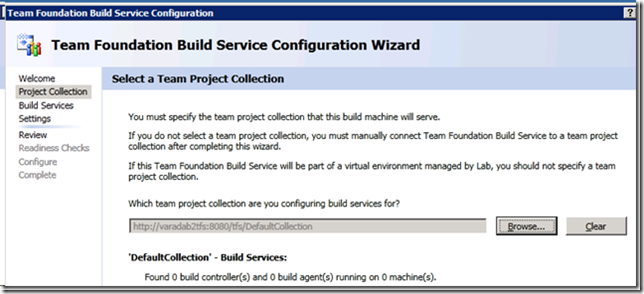
Once the TFS configuration is complete, next step is to configure the build service. Launch the “Build Service Configuration Wizard” and associate it with the DefaultCollection created by the TFS install.
Use the default settings for the rest and go ahead with the configuration.
Install and configure Test Controller:
Launch the Team agents setup (the agents iso file – in your another DVD drive), and select “Install Visual Studio Team Test Controller 2010”.
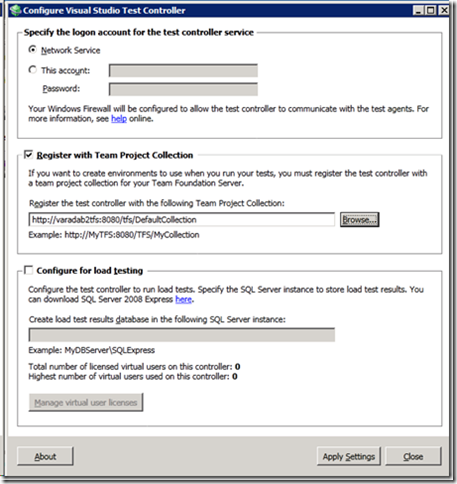
Select defaults and let the install complete. Register the test controller against the project collection that was created.
Setup permissions for the lab clients to talk to TFS and test controller:
(Note: the below option is not a scalable approach. I am just using it to make it simple for the purpose of the walk through. The RC bits will have a better approach for handling security).
Test permissions
On the test controller machine,
C:\> net localgroup TeamTestAgentService /add fareast\varadab2vm1$
Build permissions:
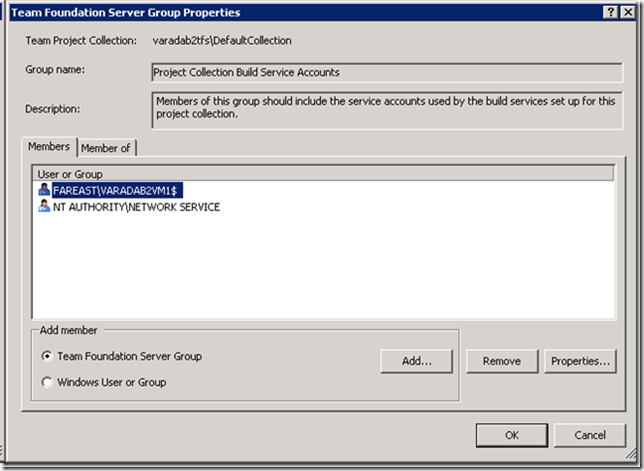
Launch the TFS admin console, go to the default collection, in the “General” tab select “Administer Group Membership” and group “Project Collection Build Service Accounts”
And add the test VM to the group (note that you have to select “Computers” in the search scope for object type to find the VM name – by default, only Users and Groups are searched).
Configure Lab:
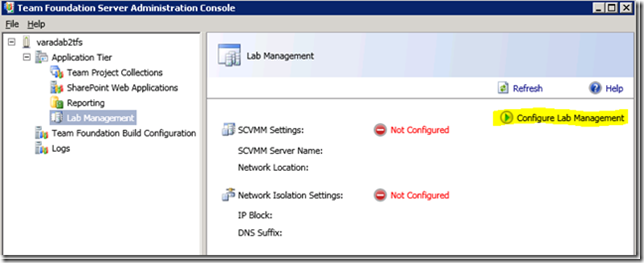
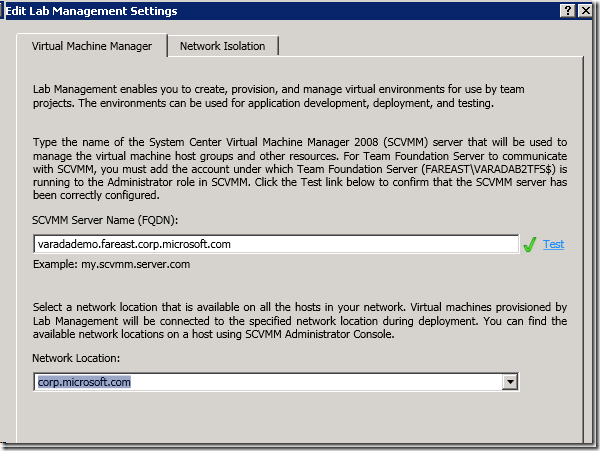
Launch the TFS Administration Console and start configuring Lab Management.
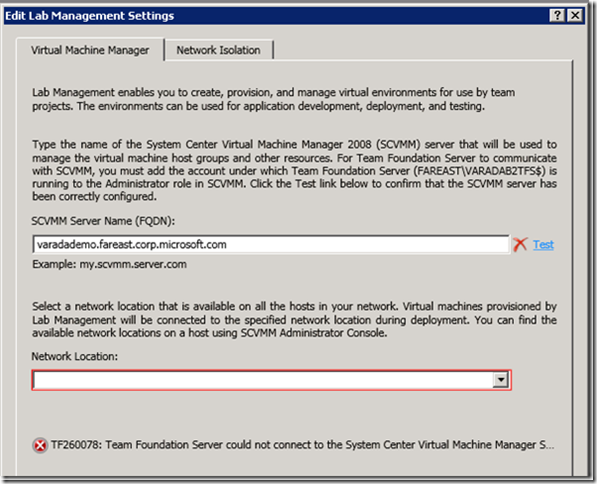
Click on Test
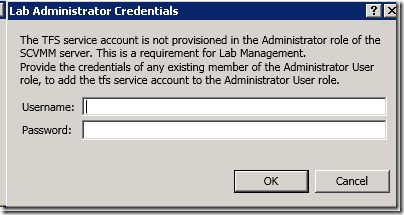
Provide the admin credential for the SCVMM host. This will ensure that TFS can ask SCVMM to do operations like “Create VM” and such. The Network location combo box will now be populated.
Select OK to finish configuration of lab in the Application Tier.
Configure Lab for Project Collection:
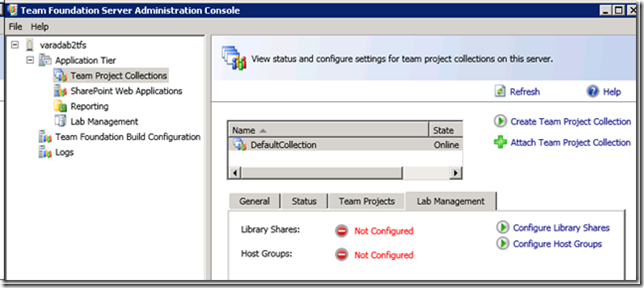
Continuing in the TFS admin console, select the lab management tab in the default collection.
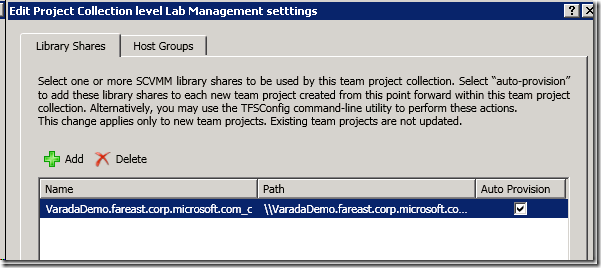
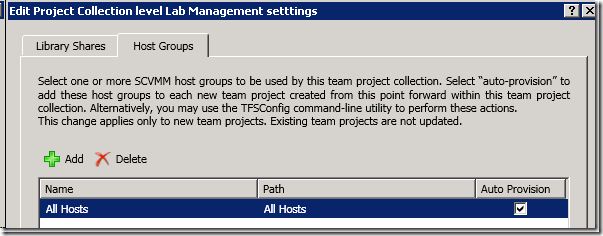
Select Configure Library shares – this allows individual project collections to have their specific library shares and host groups. For our purposes, we just work with all the resources we have.
and “Verify”
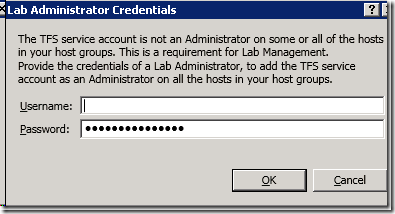
Provide an administrator credential that works on all the hosts (1 in my case, but can be 2), and press OK. This configures lab for the project collection.
Install VS2010
Install VS2010 ultimate (another DVD drive) with the default configuration.
In the next blog post, we will create the system under test and start actually seeing lab in action.
