Windows Embedded Compact 7 Development on Windows 10
Although the following scenario works keep in mind that it is not necessarily supported by Microsoft, use the information at own risk. It’s important to note that official Support for Visual Studio 2008 ends April 10th 2018.
Recently I spent time looking into this scenario, a colleague pointed me to a post on the MSDN forums where users had got a WEC 7 image to boot with Hyper-V on Windows 10.
So I thought I would try it ![]() and after finally getting it to work I decided to document it so I can reference this article in the future. My goal was to run my WEC 7 images in the latest and greatest Windows Hypervisor i.e. Hyper-V. Keep in mind Virtual PC works fine in a Windows 7 Hyper-V guest VM and up until now this is how I have done my development & testing.
and after finally getting it to work I decided to document it so I can reference this article in the future. My goal was to run my WEC 7 images in the latest and greatest Windows Hypervisor i.e. Hyper-V. Keep in mind Virtual PC works fine in a Windows 7 Hyper-V guest VM and up until now this is how I have done my development & testing.
The high level steps I performed were as follows:
- Setup Hyper-V Networking.
- Create NAT Network & Switch.
- Install & Configure DHCP server.
- Setup the Developer Tools.
- Install Visual Studio 2008 with SP 1
- Install Windows Embedded Compact 7
- Create Simple OS Design.
- Create BSP clone based on Virtual PC BSP
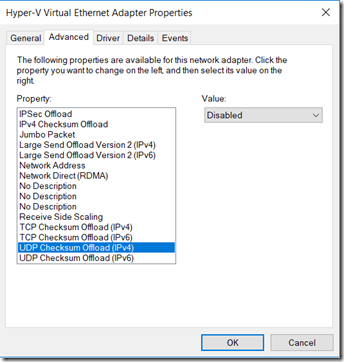
- Tweak for use with Hyper-V
- Configure Network
- Create OS Design project
- Create BSP clone based on Virtual PC BSP
- Add Hyper-v Guest for WEC 7
- Create Virtual Machine
- Run VM & Download OS Image
So here it goes these are the detailed steps I performed to get my Embedded Compact Developer environment migrated to Windows 10
Requirements
- Windows 10 Creators Update –1703
- Visual Studio 2008 Pro SP1
- Windows Embedded Compact 7 with Jan 2016 Update
- DHCP for Windows
1. Setup Hyper-V Networking
Network Address Translation allows us define a private IP address range for our VM’s, whereby traffic will be re-routed through our host machines network interface, this together with a DCHP server allows us to allocated individual private IP’s to our VM’s and also allows them access to the public internet. NAT is not strictly necessary here but this is my preferred way of configuring networking for my Virtual Machines.
Initial NAT Network support was added in the Anniversary Update release of Windows 10, although there were some restrictions on its usage see the WinNAT capabilities and limitations blog post – in the Creators Update release the windows team vastly improved NAT support by amongst other things adding support for multiple NAT networks.
1.1 Create NAT Network & Add Switch
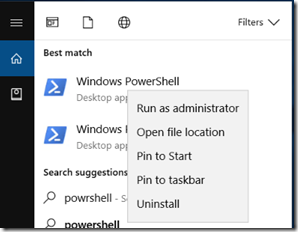
From the windows Start Menu, search for PowerShell right click and select “Run as Administrator”
Once the PowerShell console opens run the following commands.
1. Create a new NAT network with the name “VMNAT” and a large private IP address range 10.10.0.0/17
2. Create a new Internal Virtual Switch
3. Remove the default IP address configuration for the new Switch
4. Get the interface index for the Network Adaptor assigned to the new Switch
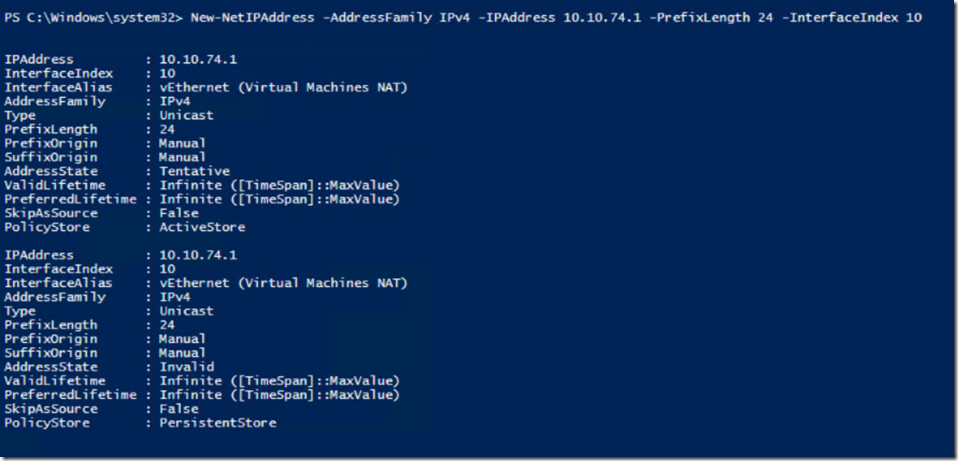
5. Create a new IP Address within the NAT network range created above
We are now ready to proceed to adding a local DHCP server, we could also skip the “Add Local DHCP” step and assign static IP’s to each VM without configuring a DHCP server.
1.2 Add Local DHCP
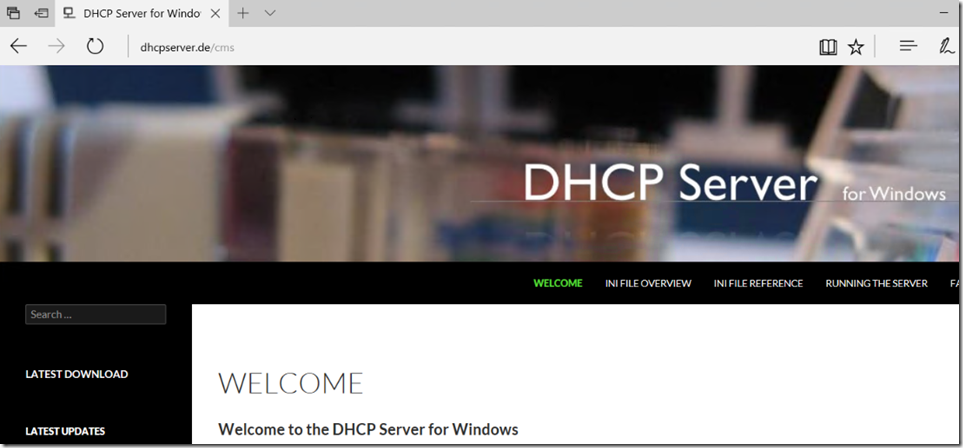
For DHCP I am using the simple tool DHCP Server for Windows, I wanted a simple and lightweight way of installing & configuring a local DHCP server and this tool meets those needs.
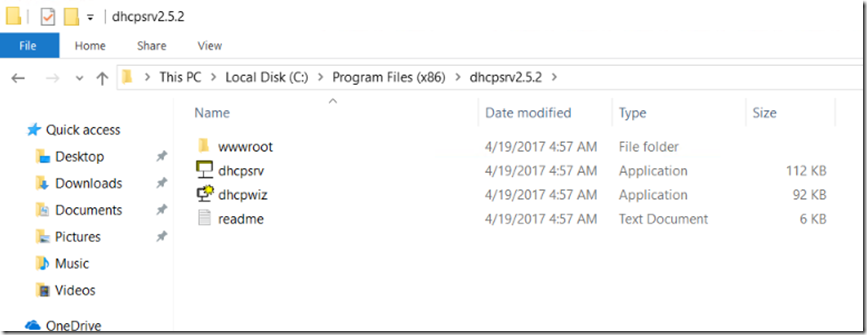
1. Download and extract the latest release of DHCP for Windows, I extract it somewhere central like the Program Files folder.
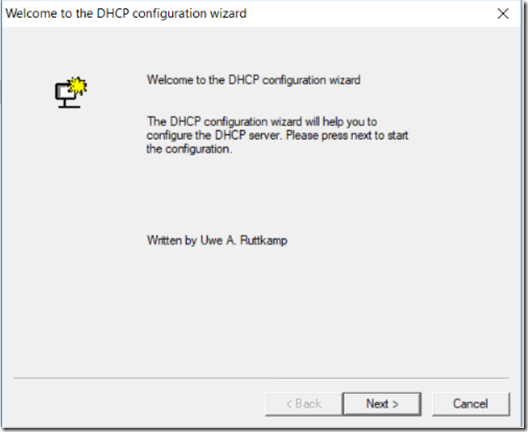
2. Right click and run the “dhcpwiz.exe” tool as Administrator to start the setup wizard, click next.
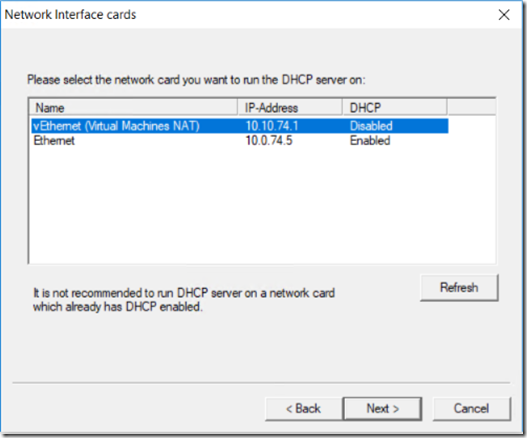
3. The available network cards will be displayed, select the “vEthernet (Virtual Machines NAT)” network which we created earlier & click next.
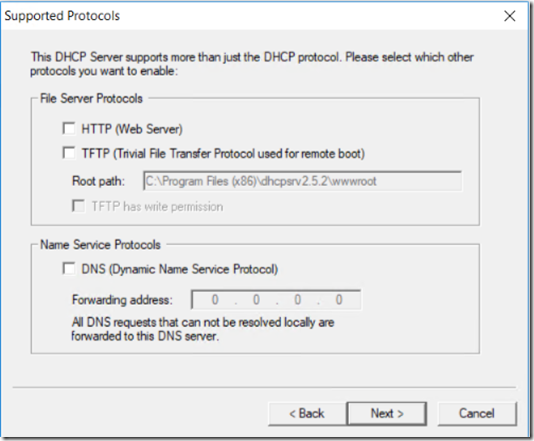
4. Leave the defaults for the Support Protocols Pane & click next.
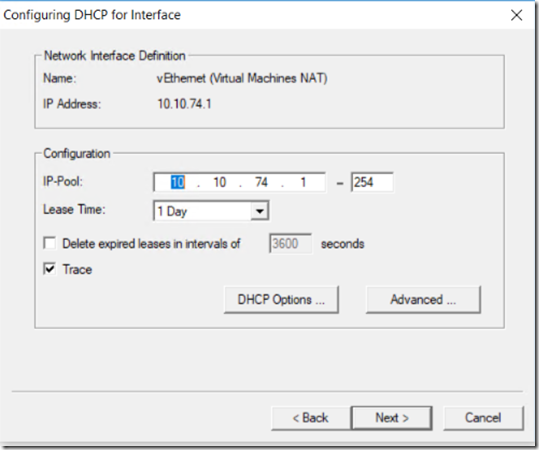
5. Leave the default configuration for DHCP, the range should already co-inside with your Network interface IP & click next.
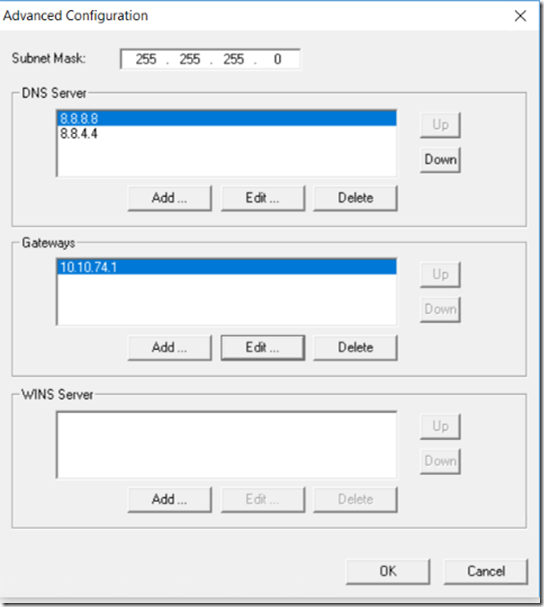
6. click “Advanced” - Add your favorite public DNS servers, in this case I am using Google’s, and set your default gateway to your NIC IP.
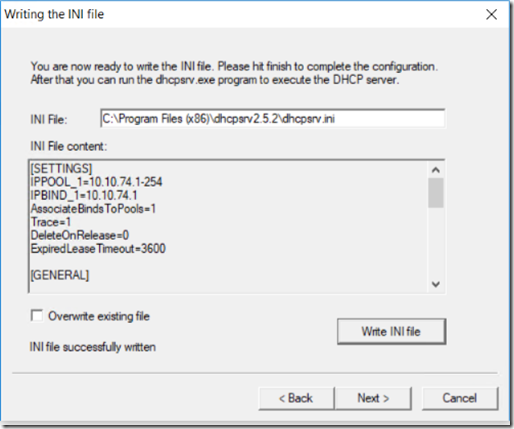
7. click “Write INI file” this will persist the settings you have configured through the wizard & click next.
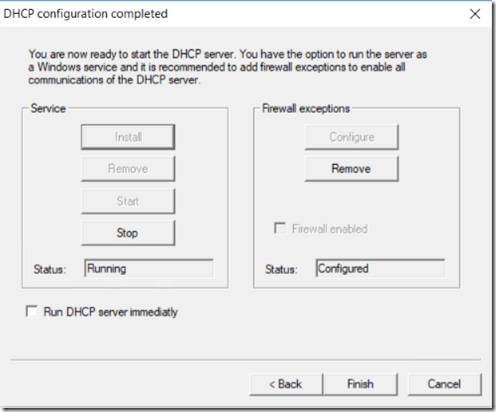
8. There are two ways to run the DHCP server, I prefer to install it as a Windows Service. Click Service –> Install and then Service –> Start.
If you have your firewall enabled click Configure under the Firewall Exceptions section.
2. Setup the Developer Tools.
In this guide I install the tooling on the same machine but because I like to keep only the latest version of Visual Studio installed
on my machine my preference is to install the developer tooling in a guest VM(could be Windows 7 or Windows 10 guest).
To install Windows Embedded Compact 7 you must meet the following requirements.
2.1 Install Visual Studio 2008
Based on the requirements we need to install Visual Studio 2008 with SP1, and it needs to be the Professional or higher SKU.
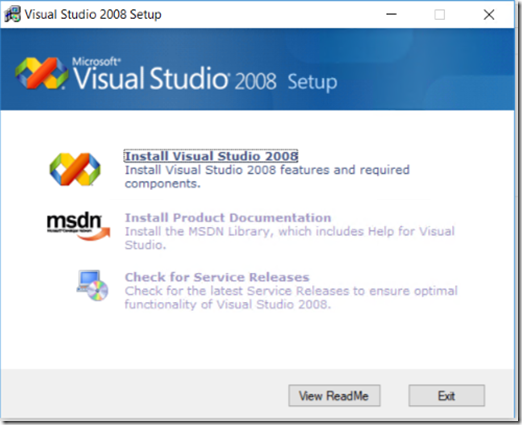
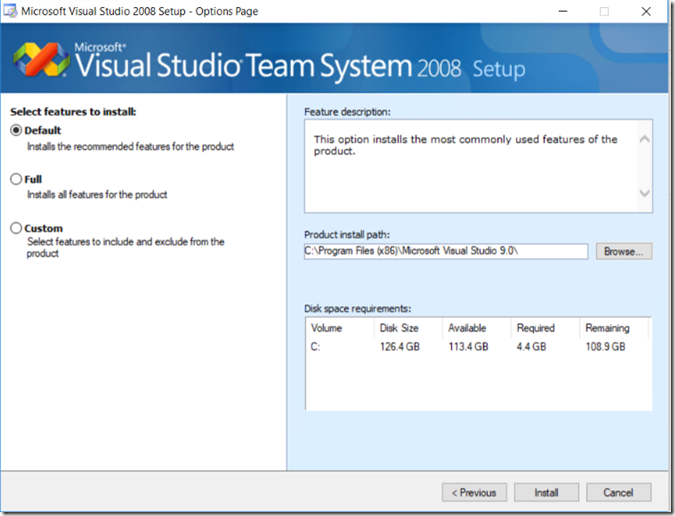
1. Run the Visuals Studio 2008 installer, click Install Visual Studio
2. For simplicity I have selected the Default installation option
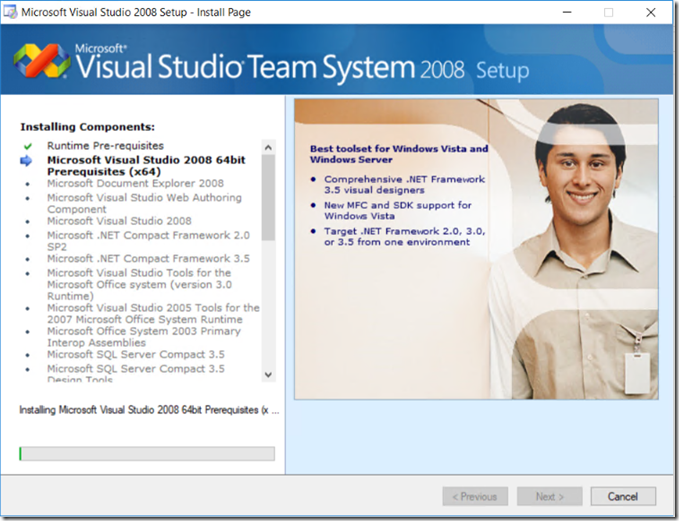
3. Wait for Installation to complete & click next.
*note* you will be notified about various compatibility issues by the installer.
5. Once installation completes close the installer wizard.
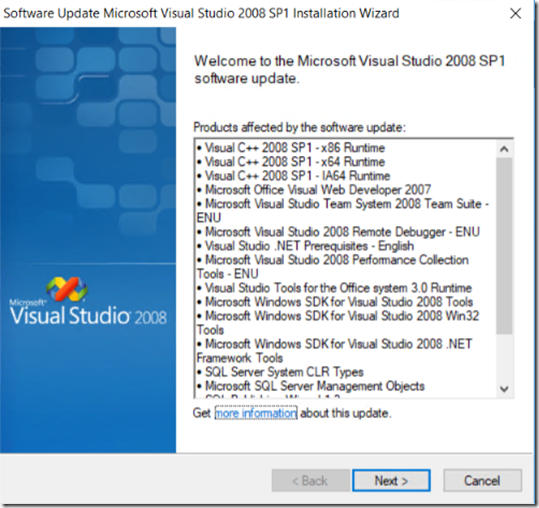
6. Download Visual Studio 2008 SP1 & Install.
You should now be ready to install Windows Embedded Compact 7
2.2 Install Windows Embedded Compact 7
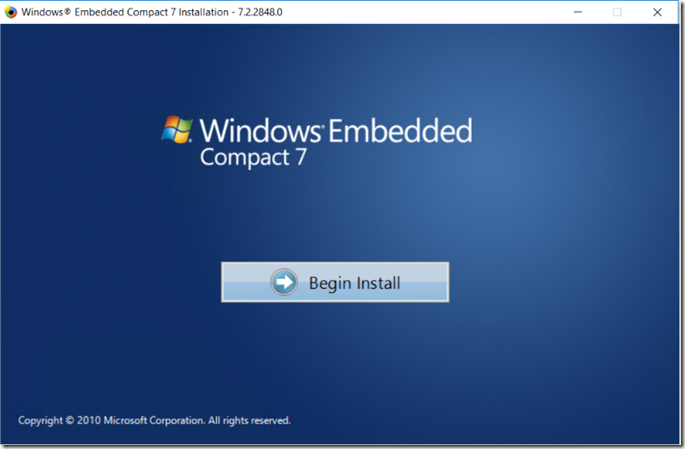
1. Insert the WEC 7 installation media and run the installer, click Begin Install.
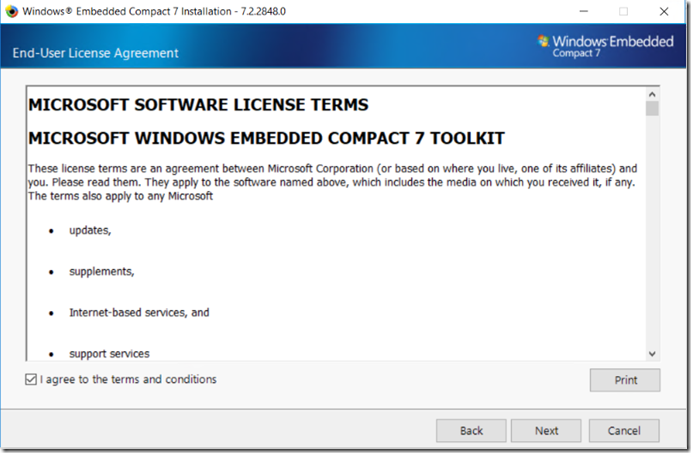
2. Accept the terms & Conditions and click next
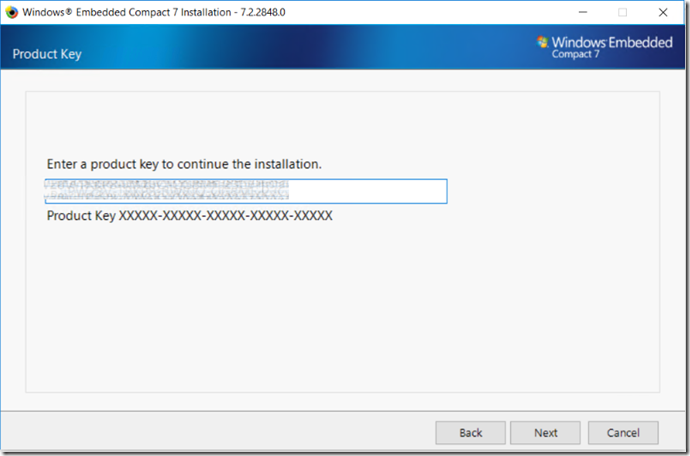
3. Enter your product key & click next.
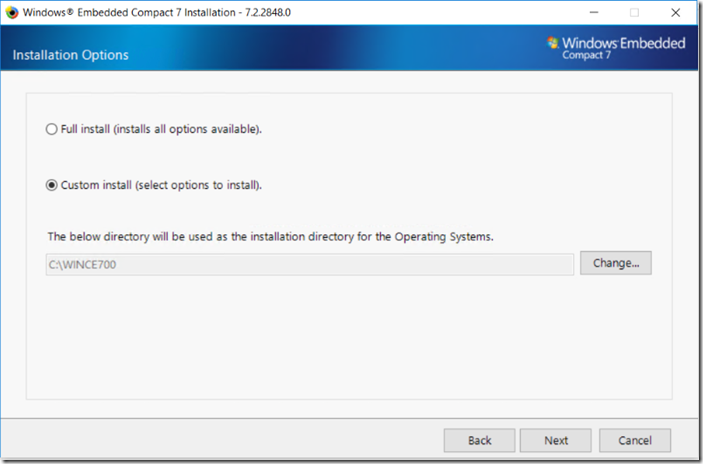
4. To reduce the installation footprint I select custom install and clicked next.
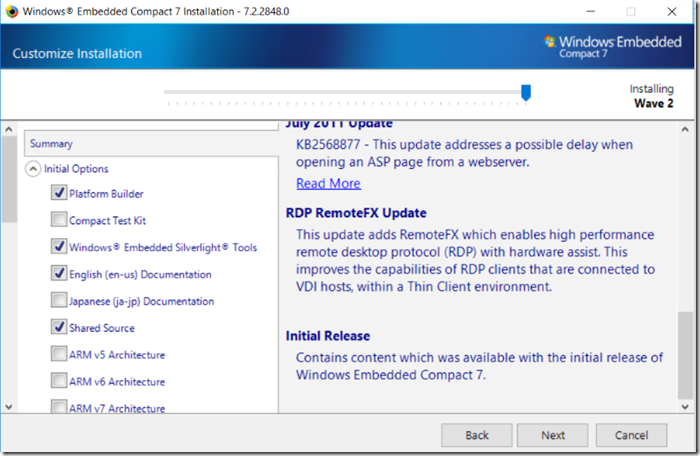
5. Select the following components for installation & click next:
-
- Platform Builder
- Silverlight Tools
- EN Documentation
- Shared Source
- x86 Architecture
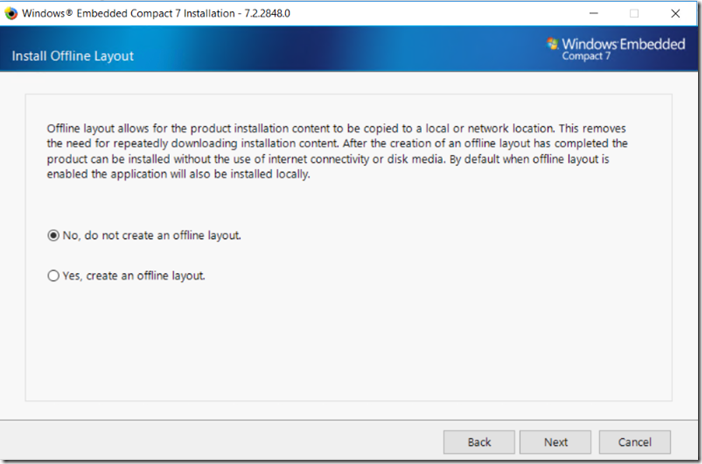
6. Leave default not to create offline layout, click next
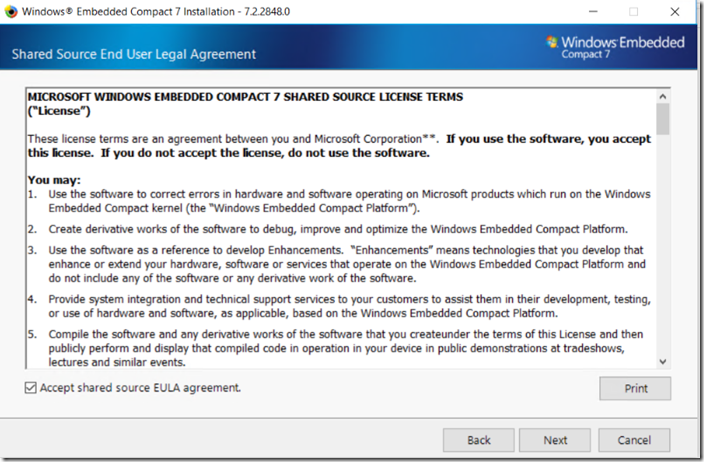
7. Accept the EULA and click next.
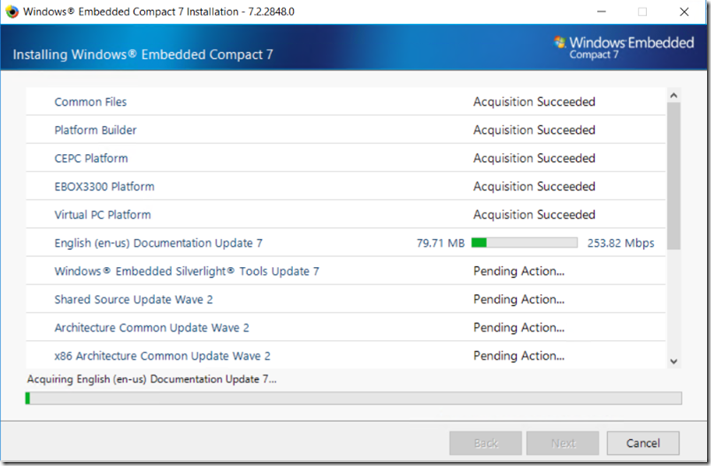
8. Wait for installation to complete & click next.
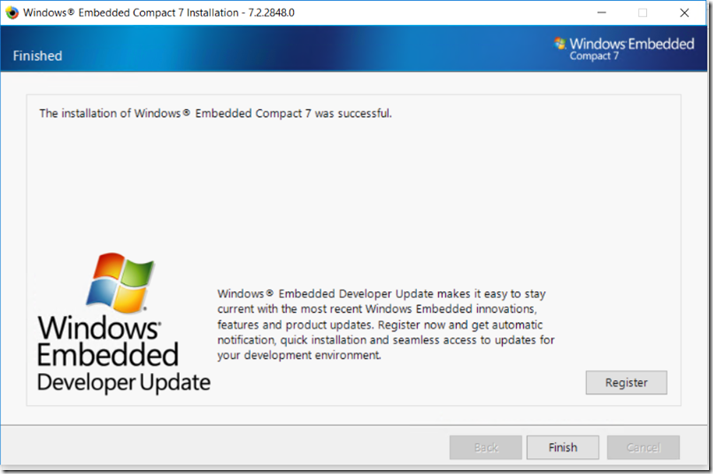
9. Click finish to close the installer.
10. This scenario has been tested with January 2016 Update, at a minimum we should be using this version of the
product see Microsoft downloads to download the update. Once downloaded install the update.
3. Create OS Design
Running a WEC 7 image in Hyper-V requires specific changes to be made to the Virtual PC BSP, rather than make these changes on this built-in BSP. I prefer to clone it and customize the cloned BSP – My goal here is to create a minimum viable OS Design to run in Hyper-V. For detailed steps for creating an OS Design see the following blog post series over at Embedded101.com.
3.1 Clone BSP
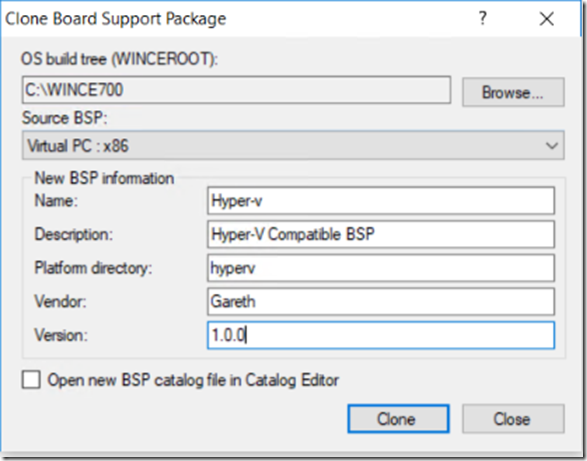
1. Open Visual Studio 2008 click – Platform Builder –> Clone BSP, in the Clone Dialog enter the following information.
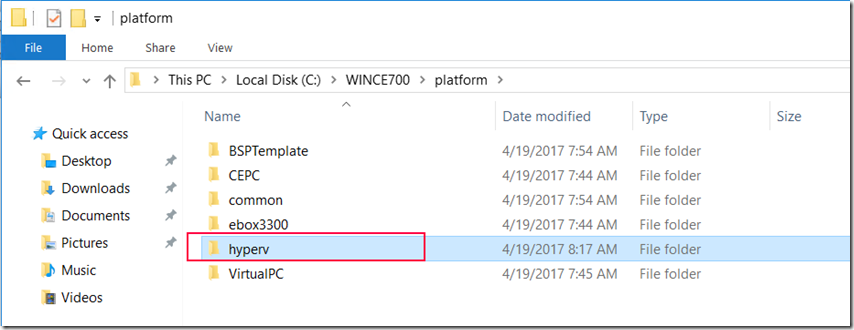
2. The cloned BSP can be seen below in platform folder
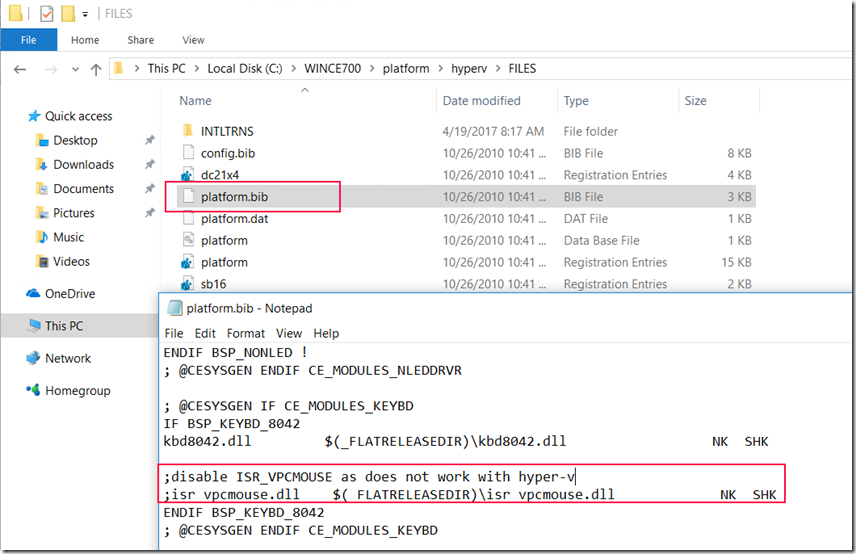
2. We need to make a minor change to the “platform.bib”, see changes below
3.2 Create new OS design
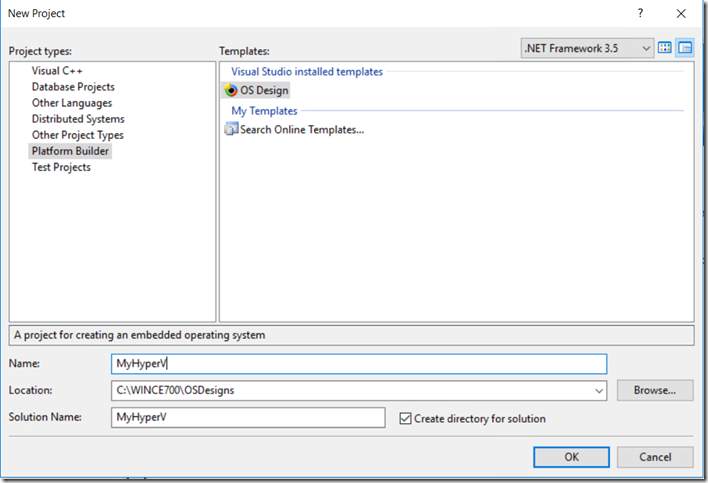
1. File –> New Project and Select OS Design, enter a name for your new project.
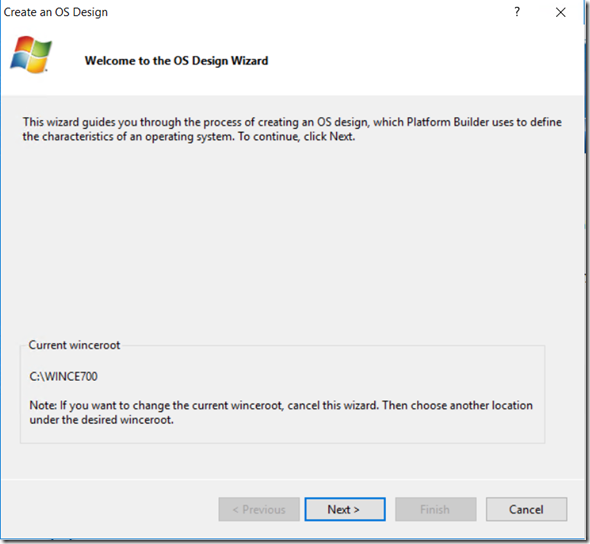
2. The creation Wizard will be displayed, click next
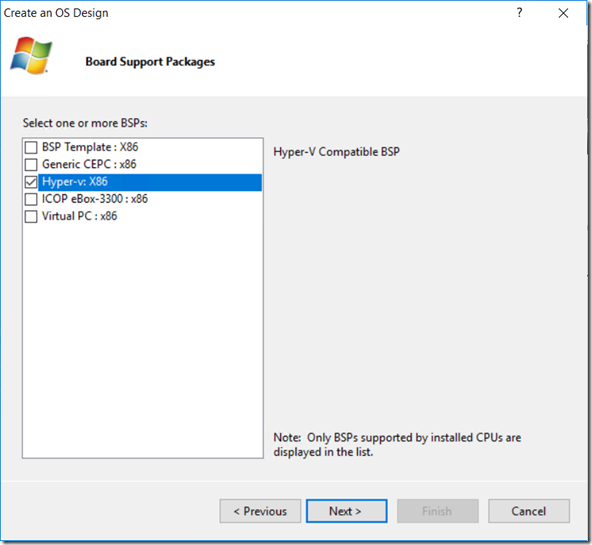
3. select the newly created Hyper-v BSP, click next.
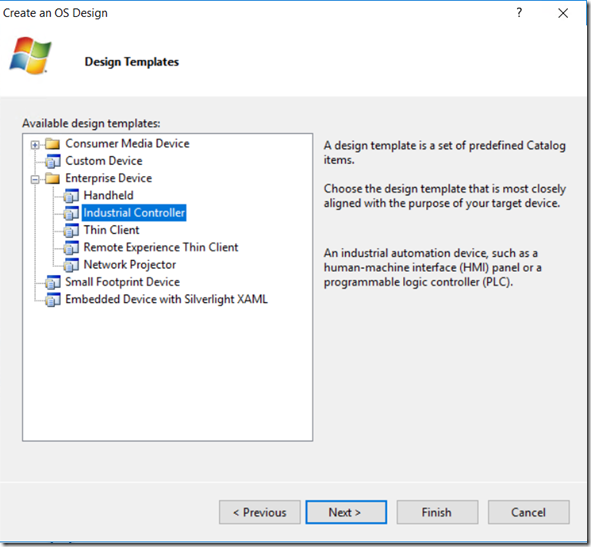
4. Select the Industrial Controller Design Template
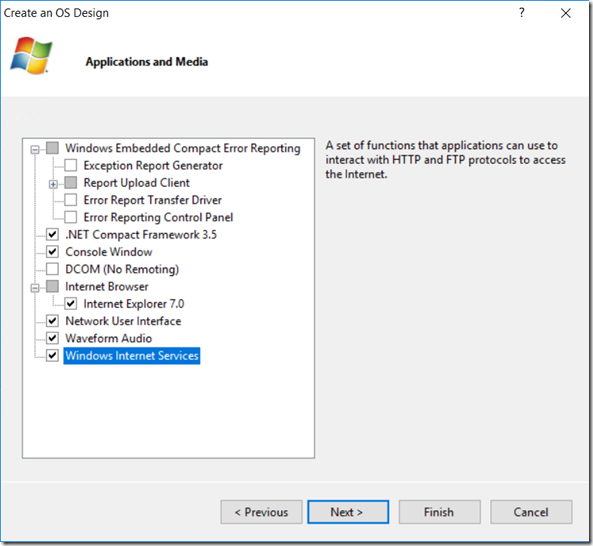
5. Select the following Applications & Media & click next.
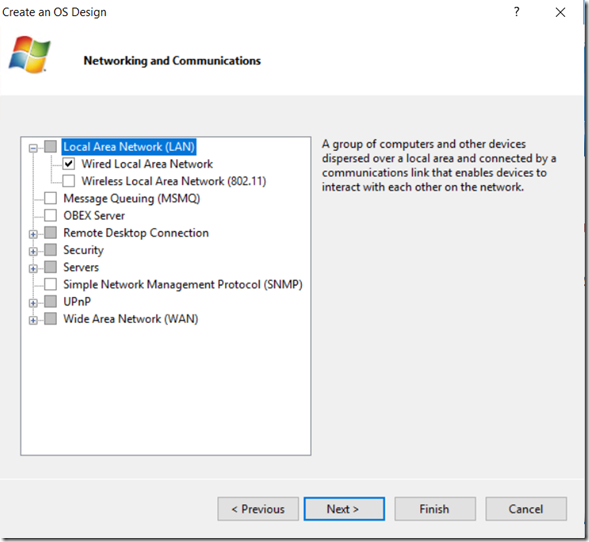
6. Leave the Defaults for networking & click next
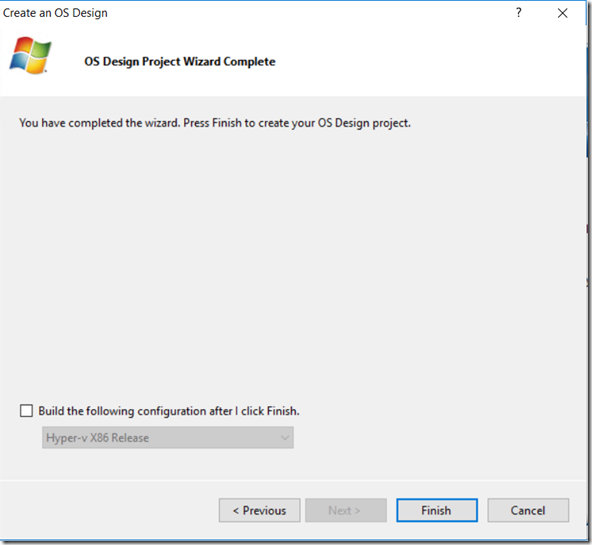
7. Click Finish to create your project
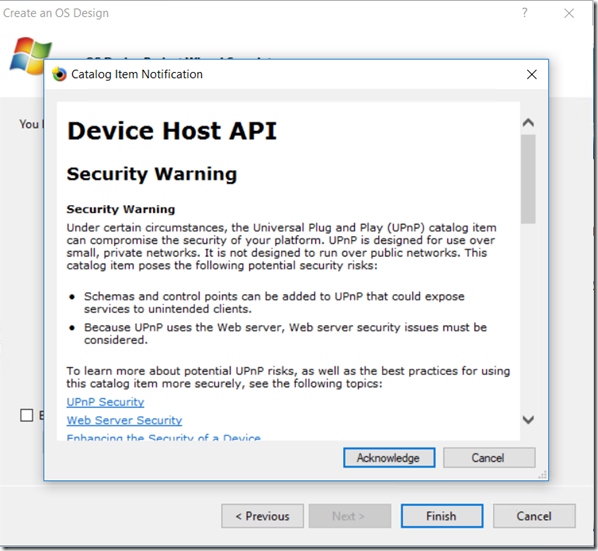
8. Accept the additional T+C’s
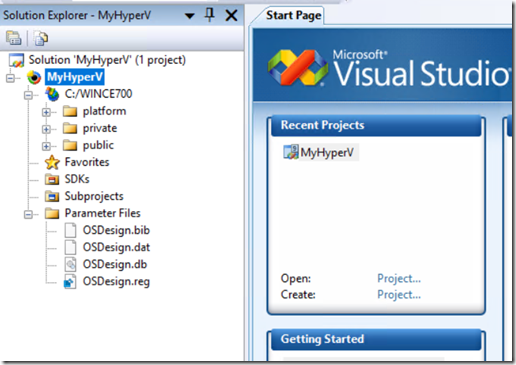
9. Once your project is created it will be displayed in Visual Studio 2008
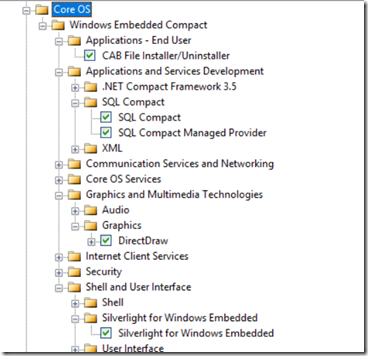
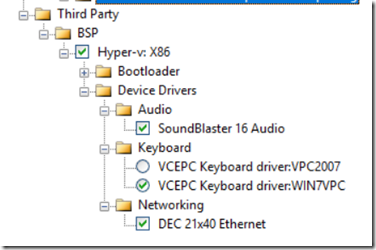
9. Next we need to add features via the Catalog We need the following components selected:
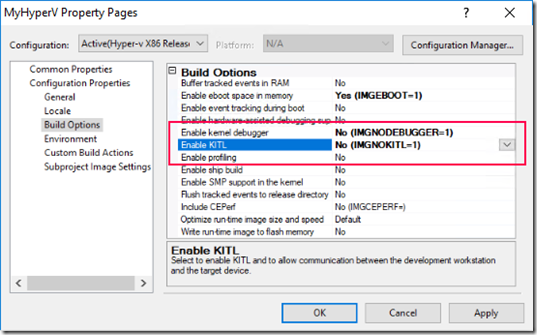
10. Right click the OS Design project in solution explorer and click properties –> Build Options, disable KITL & kernel Debugging.
11. The final step is to Build our OS Design.
4. Add Hyper-V Guest for Embedded Compact 7
We will be triggering the download of the image to the Virtual Device via EBoot but you could also create a standalone vhd
4.1 Create Virtual Machine
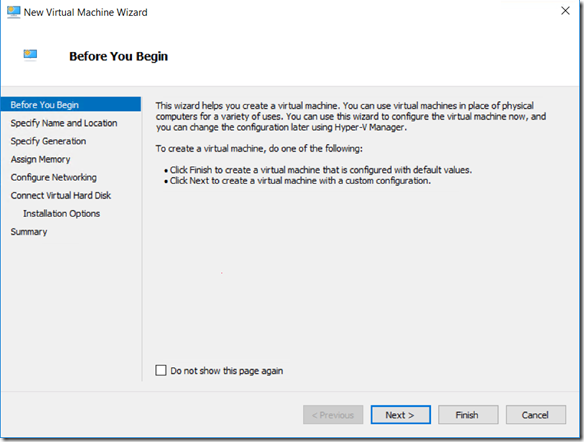
1. From the Windows 10 start menu open “Hyper-V Manager”, click create new Virtual Machine.
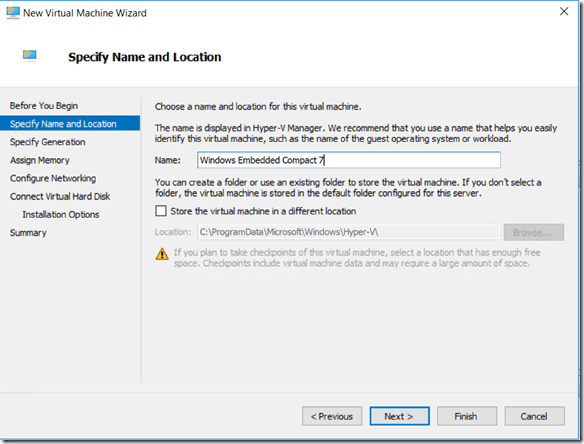
2. Select a name for your new WEC7 Virtual Machine
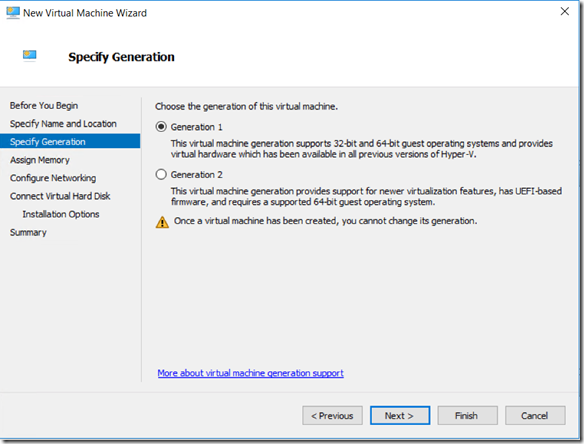
3. Select Generation 1 and click next.
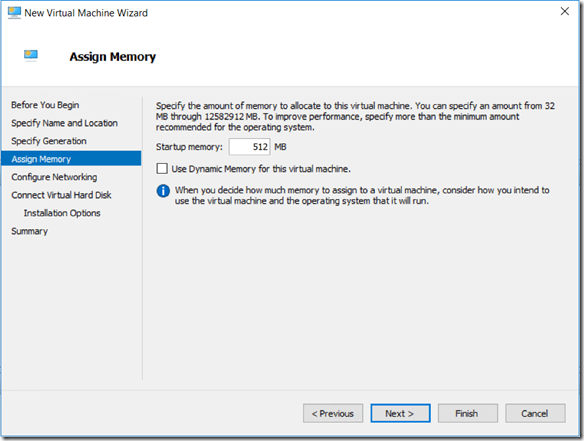
4. Enter 512MB for startup memory and disable Dynamic memory.
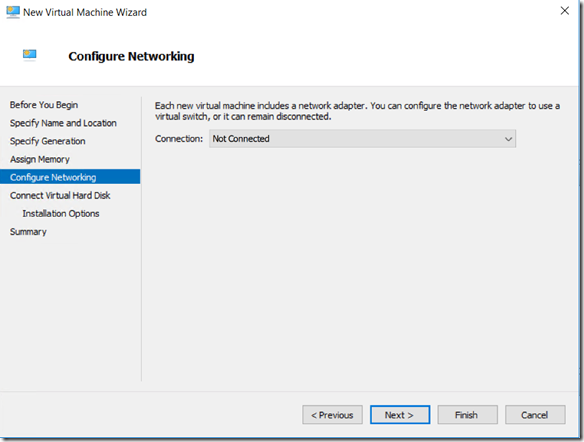
5. Click next without selecting a Network Switch we will do this later.
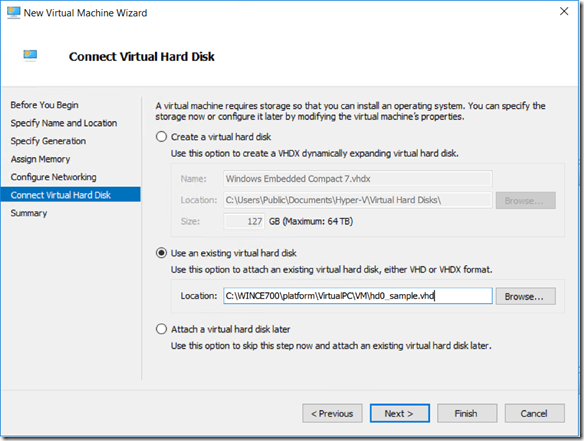
6. Select the sample vhd file supplied with the WEC7 tools.
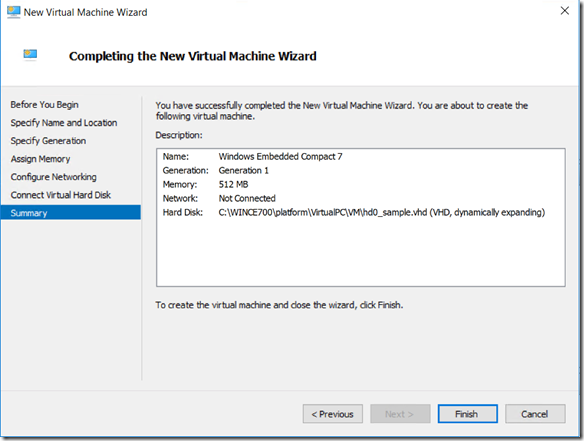
7. Click finish to create the virtual machine
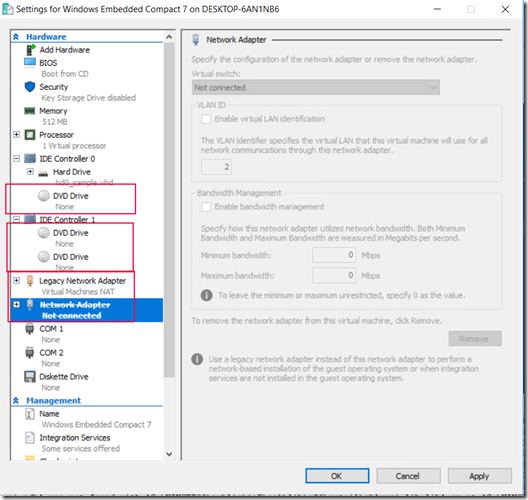
8. We now need to customize the newly created VM.
- Replace the Existing Network Adaptor with a Legacy Network Adaptor
- Select the “Virtual Machines NAT” switch we created earlier.
- Pad out the IDE devices with 3 dummy CDROM drives as by default our OS design expects 4 IDE Devices.
9. Click ok to save our settings.
4.2 Run VM & Download OS Image
We are now ready to run our virtual machines and download our newly compiled OS Image.
1. With Visual Studio 2008 SP1 & our OS design open, which we built in the previous section
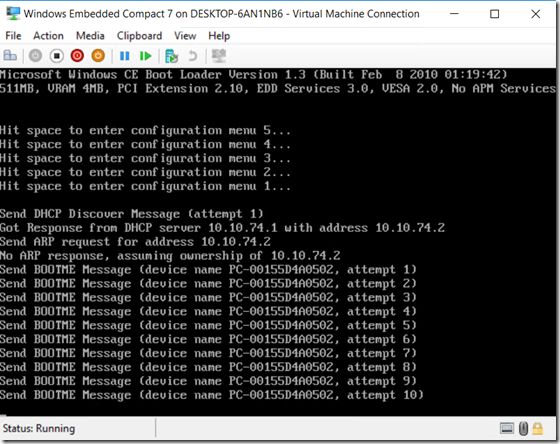
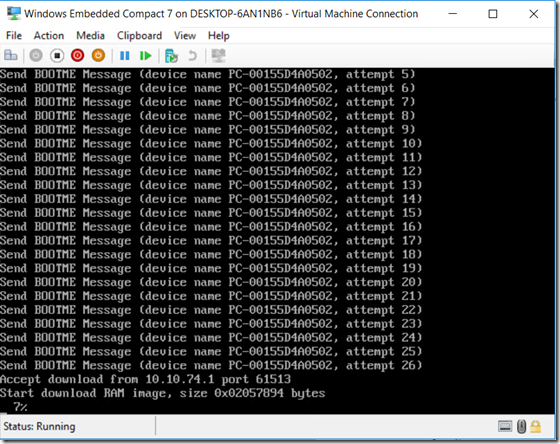
2. Right click the VM in Hyper-V Manager and click Connect, with the VM Console open click Start, on boot our VM will
start to send out BOOTMET messages.
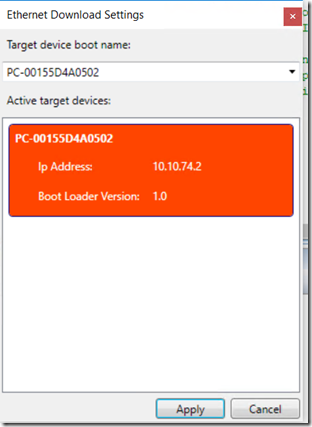
2. In Visual Studio, Make sure we have (auto) Ether device selected in toolbar & click Attach Device; the following window will be shown.
It may take a moment for the device to be detected, select the device from the list and click apply.
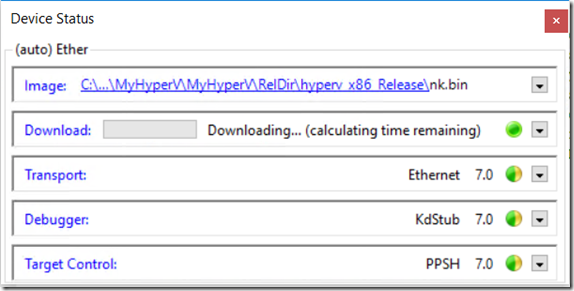
3. The image will now be downloaded to the device.
4. Progress will be shown in VS2008 & in the VM Console Window.
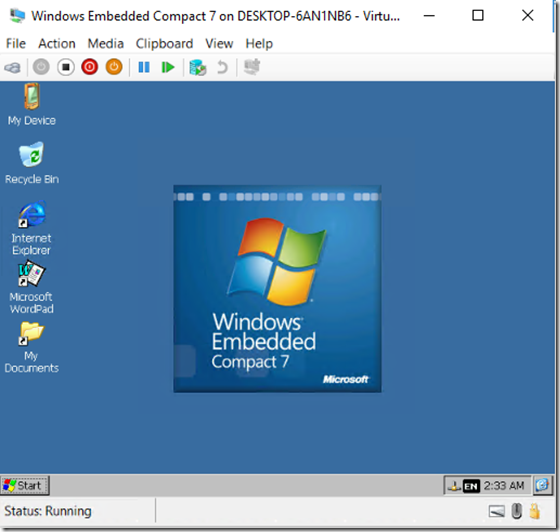
5. Once download completes WEC will boot
There you go so now you can enjoy Windows 10 and still develop for Embedded Compact 7, of course your mileage may vary – There are no guarantees regarding this scenario and although it may work now there is no way to know if it will continue to work on future releases of Hyper-V/Windows.
Let me know your thoughts & issues.
Troubleshooting Tips
tftp timeout
https://blogs.msdn.microsoft.com/obloch/2010/08/12/windows-embedded-compact-7-and-virtual-pc-bsp/
