SharePoint 2013: Search test site for your local environment
Quote by me (on a typical day when I work with search) : "No, I do not care about versioning or annoying security right now! Please get out of my face! ARGH! I just want to search stuff! My stuff! Get those annoying tasks or whatever out of my way, please!".
Whenever I need to test a search use case in SharePoint 2013 I need a clean test environment where I'm free to experiment and do what I want. Over time I've realized that there are quite a few steps involved to create a simple test environment for search. There is just too much default crud in the product. Stuff that gets in my way and annoys me.
The goals of my test environment are:
- A new search center where I can easily change display templates without affecting anything else
- Quick refeed of a limited set of content
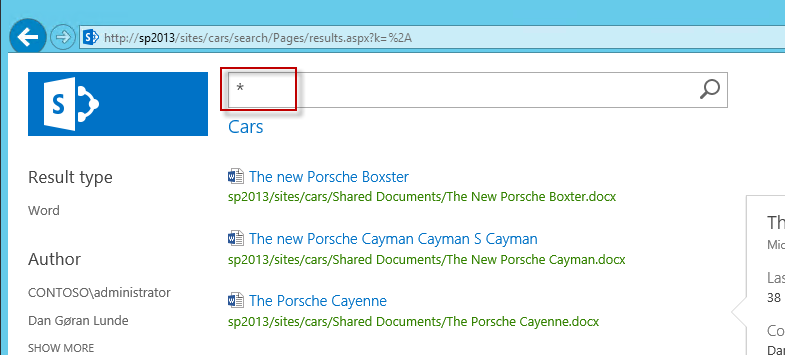
- A wildcard search for everything should just return content I added, and only documents
- No checkout, no draft
- No permission issues (it's only me in my local test environment)
- Reset the search navigation
1. Create a new site collection
Sometimes I create a new site for testing, I add some content and then I realize I can't crawl only this source. I want fine grained control over what I crawl and what I query. The easiest way to crawl a limited set of SharePoint content is to create a new site collection.
- Central Admin -> Application Management -> Create site collections
- Title:Cars
- URL: https://sp2013/sites/cars
- Template: Team Site
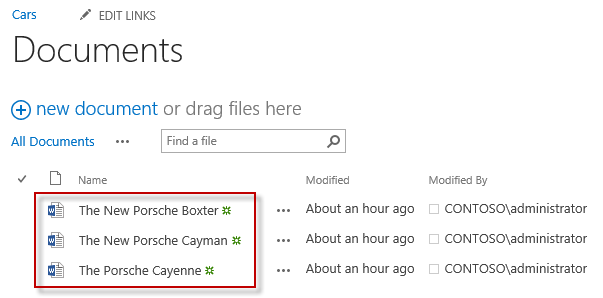
Next, add some content. Sticking to my theme, I search online for some car related documents that I add to my site.
2. Start a full crawl of your new site collection
You want to start a full crawl now, so the crawl can run while doing the rest of the steps. I usually delete the default "How to use this..." document and then start the full crawl.
- Open Central Admin
- Application Management -> Manage Service Applications -> Search Service Application 1 (or the name of your SSA)
- Under Crawling click Content Sources
- Click New Content Source
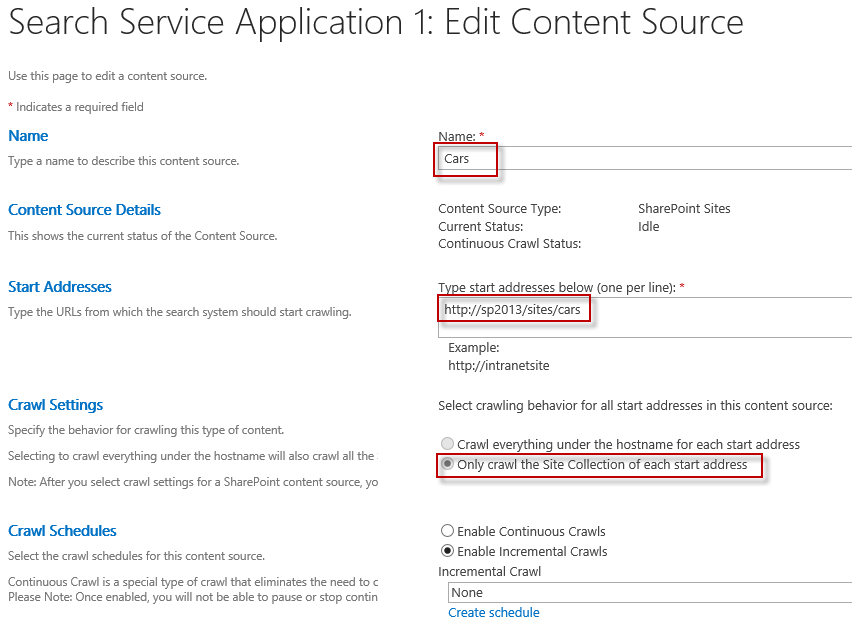
- Name: Cars
- Start Addresses: https://sp2013/sites/cars
- Crawl Settings: Only crawl the Site Collection of each start address
Make sure you start a full crawl of your Cars content source. I always start crawls using a PowerShell script that monitors progress and alerts me of any errors immediately.
3. Enable SharePoint Server Publishing Infrastructure
To create a search site you need to make sure SharePoint Publishing Infrastructure is activated on the site collection level.
- On https://sp2013/sites/cars, click Site Settings
- Site Collection Administration -> Site Collection Features
- Activate SharePoint Publishing Infrastructure
4. Create a new search center site
When the publishing infrastructure is enabled, we can create our search center.
- On https://sp2013/sites/cars, click Site Settings
- Site Administration -> Sites and workspaces
- Click Create
- Title:Cars
- URL: https://sp2013/sites/cars/search
- Template: Enterprise Search Center
5. Change the default query
By default the search center will search everything. One of the design goals was to only return documents a limited set of content.
- Edit page, Search Results, Edit Web Part
- Change query
- Query Text: {searchboxquery} contentsource:Cars IsDocument:True
6. Disable annoying draft and checkin warning
We want to be able to edit web parts and make changes quickly, without constant warnings about draft and checkout. By default you get warnings about page being in draft mode and that it's not checked in/checked out.
- On https://sp2013/sites/cars, click Edit Page
- Library Settings -> Versioning Settings
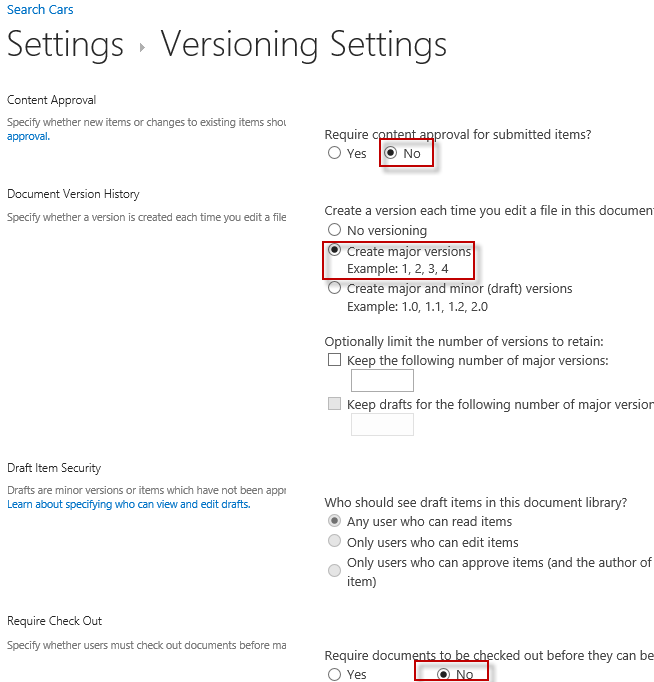
- Require content approval: No
- Create a version each time: Create major versions
- Require documents to be checked out: No
Now you can edit web parts, click save and your'e done. No more annoying warnings!
7. Remove the default navigation
By default you get search scopes for Everything, People, Conversations and Videos. Typically in a test environment you want to delete these and create your own, for testing purposes.
- Edit Page -> Search Navigation -> Edit Web Part
- Click Search Settings Page
- Delete People, Conversations and Videos
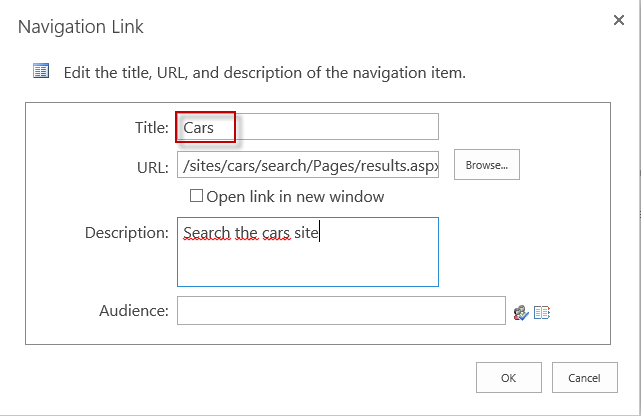
- Edit Everything
Your Search Navigation list should now look something like this.
8. Verify by searching for wildcard
Now your test search site should be free of annoying stuff that gets in your way. Search for wildcard (*) to verify that you get only regular content you added.
Ah, looks clean! I know where all of this comes from. No built-in stuff here to confuse me.
You can repeat this procedure to create multiple test sites. Typically I work with multiple customers and I want separate content and search interface per customer, and this is the easiest way to do it in my opinion.
