Create custom Windows 10 policy in Microsoft Intune using OMA-URI
Today I want to introduce you how to use the recently added “Windows Custom Policy” for Windows 10 in Microsoft Intune.
Before creating the Windows 10 custom policy, there’s some prerequisites on the device side:
- Windows 10 device is Azure AD joined (see this blog post to Azure AD join your Windows 10 device)
- Windows 10 device is enrolled in Microsoft Intune (from Settings –> Accounts –> Work Access –> Connect)
Once the device is ready to be managed, open Microsoft Intune admin console and create a “Windows Custom Policy (Windows 10 and Windows 10 Mobile) ” .
Give a name to the policy and in the “OMA-URI Settings” panel, click on “Add”. This will open a windows like this:
You can find a list of custom URI settings for Windows 10 devices on this TechNet link.
I’m gonna give an example of how to use these settings: let’s say we want to forbid the manual unenrollment of a Windows 10 devices. if we go through the list of URI settings from the previous link, you will find the following corresponding setting:
Coming back to the Microsoft Intune Windows 10 custom policy settings window, you will need to configure it like below:
On the above window, “OMA-URI (case sensitive) ” field corresponds to “URI full path” from the TechNet site.
We are almost done! Save the setting then save the policy. Deploy it the group which contains your Windows 10 device.
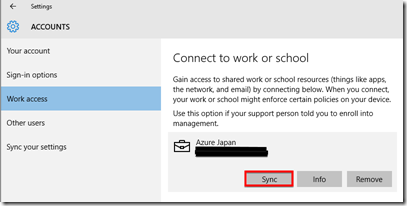
To download the latest “Custom Windows Policy” on your Windows 10 device, click the “Sync” button from [Settings –> Accounts –> Work Access –> Connect].
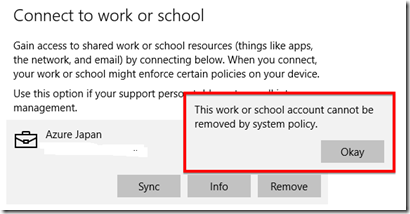
And finally, to verify that our setting added in the “Custom Windows Policy” has been taken into account, try to click on the “Remove” button. It should give you the following message:
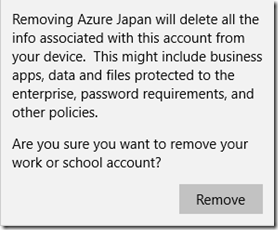
Just wanted to finish by showing you the behavior when the “Custom Windows Policy” is NOT applied, you should get this message:


