Introduction to Support Diagnostics Platform (SDP)
Hello everyone!
In this blog we like to share some information about the IE Support Diagnostic Platform (SDP) utility used by our Support teams. The SDP is simply a manifest to be use by the Microsoft Support Diagnostic Tool and designed for specific product/services case scenarios. The SDP Tool will collect relevant registry data, configuration files, and application event log information to help troubleshoot common issues. Below, I provide you with some answers to common questions regarding SDP/MSDT use, including some screenshots to help you get familiarized with the tool.
What is the Microsoft Support Diagnostic Tool?
The Microsoft Support Diagnostic Tool is an ActiveX Control that can enhance your support experience and make it easier for you to submit a support incident. The Microsoft Support Diagnostic Tool can collect information about your machine configuration. You can then use the tool to send the information to Microsoft Support over the Internet. If you contact Microsoft Support as part of a support request, your support professional might ask you to use the tool to help determine the cause of the problem. The tool can help Microsoft Support solve configuration scenarios more efficiently than by diagnosing over the phone or by using e-mail.
What should I expect to see when I run this tool?
When you open a Microsoft Support Incident, the support professional will send you an email containing a link to download a manifest configuration design to target your specific scenario. For example, lets say your call is about some type of Internet Configuration issue and you need help identifying where is this configuration stored. In this scenario, the IE Support Professional will send you an IE SDP Manifest file, for your respective OS and IE Versions running on your environment.
TIP: If the computer reporting the configuration scenario is connected to the Internet, you can send the results directly to Microsoft. If the computer with the issues cannot connect to the Internet, you can use a different computer to save the diagnostic tool to removable storage (such as a USB flash drive), transfer the removable storage to the computer with the issue, and then run the tests on that computer. When the tests are finished, save the results to the removable storage, and then return it to the first computer to send the results. The information you send to Microsoft is encrypted and secure.
Here is an example of what the e-mail may look like
Dear Customer, To allow us to better support you please click the web link below or copy and paste the HTTP line below into your Internet browser's address bar to run the Microsoft Support Diagnostic Tool. The tool gathers diagnostic information useful in resolving your issue. From a computer that is connected to the internet: 1. Click on the link below https://support.microsoft.com/sdp/xxxxxxxxxxxxxxxxxxxxxxxxxxxxxx 2. Click on the Run Now button (recommended) to start the diagnostic process 3. Follow the onscreen instructions to run the diagnostics on this computer, or a different computer. Please note that this support key can be used to submit 10 time(s) the diagnostics results back to Microsoft until time(UTC) :2012-06-08T15:48:29.564Z. For frequently asked questions about diagnostic data collection and uploading tools click the link below: https://support.microsoft.com/kb/2598970 Thank you Support Professional contact Information |
Here is how the steps may look like:
- Open the incident with Microsoft support
- Specialty Support Professional assess case scenario
- Support Professional identifies proper SDP Package to be send
- Customer receives the email. (similar to the example showed above!)
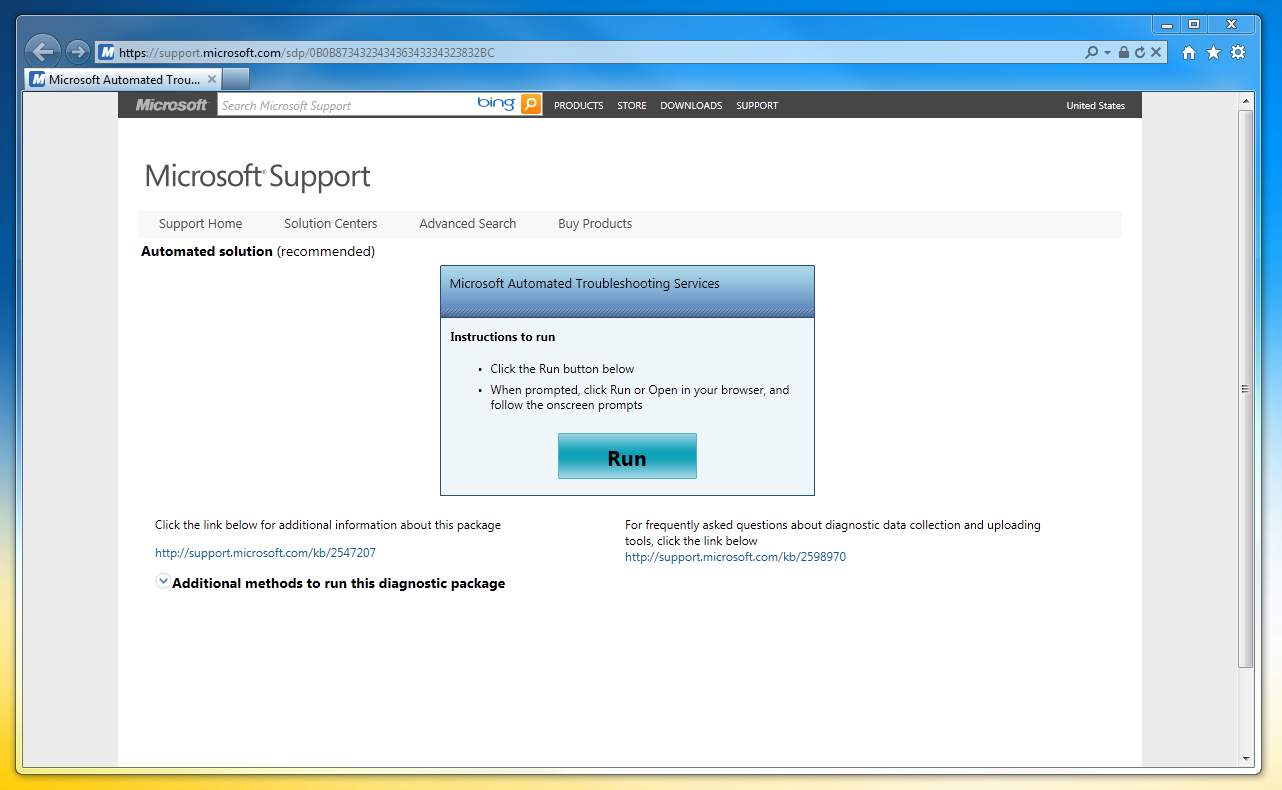
- Customer clicks on the link and select to RUN the SDP Diagnostic. See Screenshots of all steps below!
Step 1: Download and Run the SDP included in the Email sent by the support professional
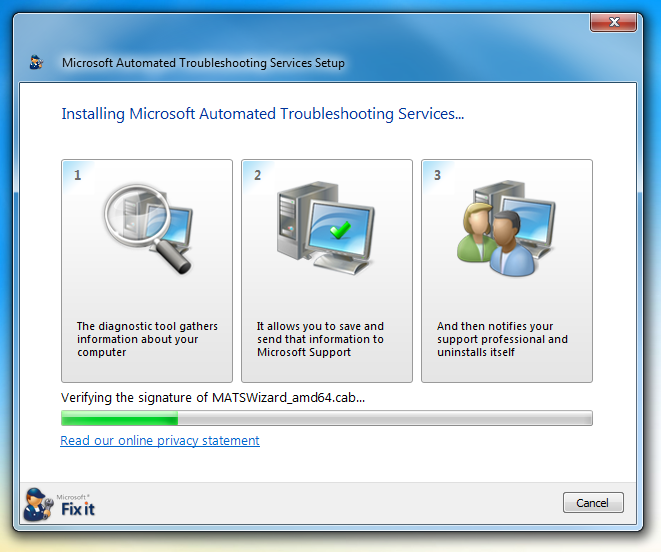
Step 2: Select Run to install the SDP Tool…
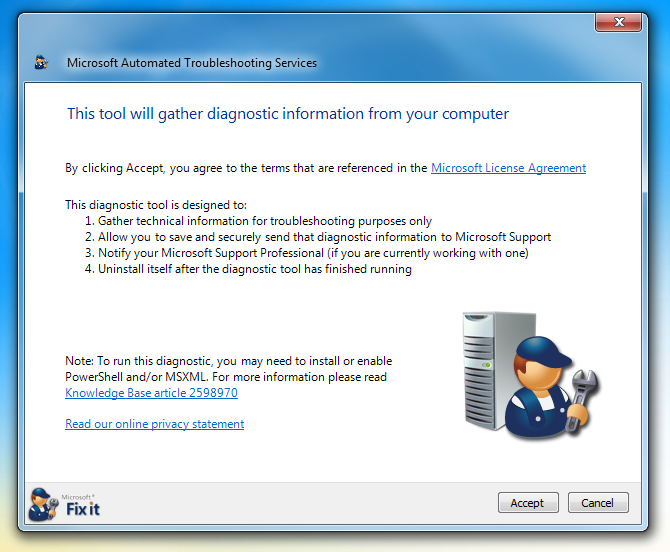
Step 3: Click on Accept to get started
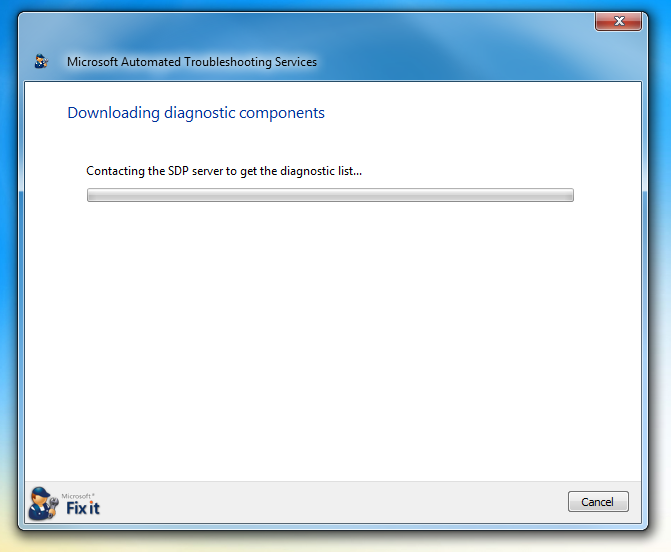
Step 4: The SDP containing the IE manifest will be downloaded to your computer.
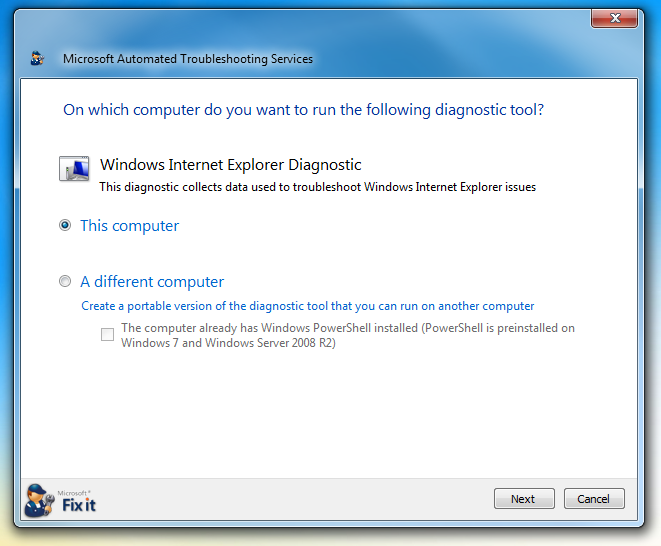
Step 5: Wizard will allow you to select the targeted computer.
Step 6: Wizard will execute the manifest on the targeted computer.
Step 7: Wizard will prompt you to START the collection. After you click on start, you may receive a small window with the logon user information. Select the user and click ok.
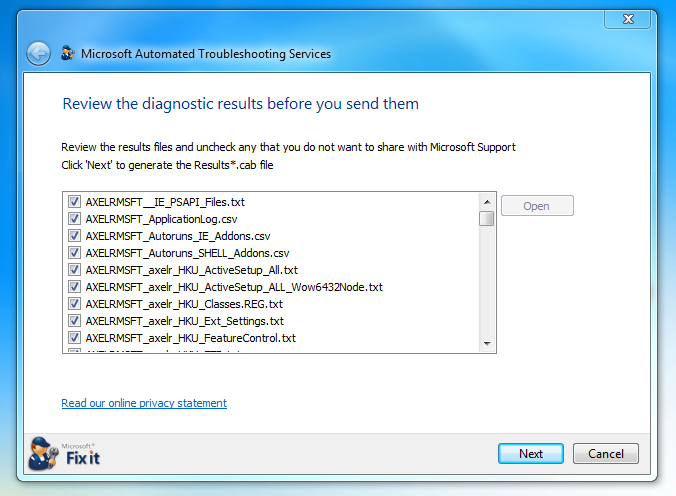
Step 8: Wizard will Preview the files.
Step 9: Compressing the results and generate a cab file.
Step 10: Wizard will prompt and allow you to either Send the files for review or to save a copy on your system.
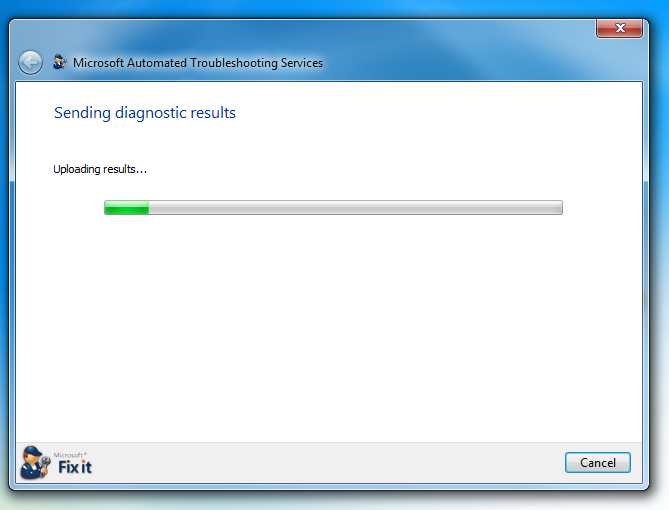
Step 11: Sending Results progress…
Step 12: Wizard and SDP Collection completed.
Resources:
- For additional information about the SDP IE Diagnostic package
- For frequently asked questions about diagnostic data collection and uploading tools, click the link below
That’s is for now and I hope this information gives you a good understanding of what to expect while running the SDP IE Data Collector.
Best Regards,
The IE Support Team
Comments
- Anonymous
September 14, 2012
Will there be a viewer similar to the MPS viewer? - Anonymous
October 09, 2012
Hi Chad,That is a good question and I will follow up with you on it. We do have an internal application that helps parse these logs but not sure if these will be available to the public.Thanks for your question!The IE Support Team - Anonymous
October 15, 2012
As we stand today, there is no publicly available parser for SDP data but this could verywell change in the future. If I hear anything I will post it here! - Anonymous
September 09, 2013
Hi there,Any chance you can share the parser with us?Thanks,John - Anonymous
June 29, 2014
Hi,"Here is how the steps may look like:Open the incident with Microsoft support..."How to this one? Can you publish a link? Please! - Anonymous
July 01, 2014
@svetlana Here is the support page that you can use to open a Microsoft Support Case:http://support.microsoft.com/Microsoft Support Options | See the options for Home or Businesssupport.microsoft.com/.../microsoft-support-options
