Windows Server 2012 Backup to a CIFS share
Windows Server 2012 Backup to a CIFS share
Here are the steps needed to take backup from Windows to Linux CIFS/SMB share and restore it back.
For instance: To take backup of Testbackup folder on Windows 2012 onto a CIFS Share on linux.
On Linux Machine:
#mkdir /myshare
#chmod 777 /myshare (To give read,write and execute permissions on the folder)
Make necessary modifications in Samba Configuration file to make a share available for windows.
#vi /etc/samba/smb.conf
The “strict allocate = yes” option of Samba above will force it to not have UNIX style behavior of creating sparse file.
Add the lines to the last of smb.conf for the share to be created from Linux.
Set root user for Samba and restart the smb service.
On Windows 2012:
Add the Windows Backup Feature.
Access the CIFS Share from windows :
Provide the root credentials , to access this share.
Access the myshare directory there. (Myshare is the name given in this example)
Once we are sure that we are able to access the CIFS share from windows, we can go ahead with backup.
Local Backup -> Backup once Wizard -> Different Options -> Custom
We have selected C:\testbackup folder .
On the linux machine we can find the WindowsImageBackup folder created in the share.
To Restore :
On Windows machine:
Delete the C:\TestBackup folder.
Go to Windows Backup -> Local Backup -> Recover
Provide the root credentials to access the share if asked for.
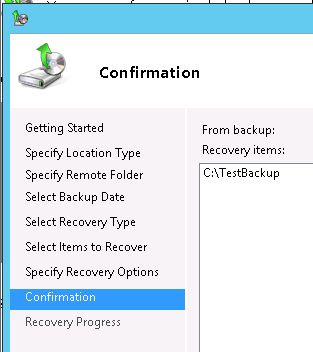
On the next few screens , select what to recover and where to till you arrive at the confirmation screen.
We can find the testbackup folder in C:\
***
DISCLAIMER
The opinions expressed here are my own personal opinions and do not represent my employer's view in anyway. All posts are provided "AS IS" with no warranties, and confers no rights.
Comments
- Anonymous
January 01, 2003
Nice work


