Publishing Websites from Visual Studio...
We can Publish our web application in different ways using visual studio in to AZURE or any other host. The publishing differs by the location where we gonna deploy and what mode (debug or release) we use to deploy.
- Select your application then right click on it to select publish.
- Select the profile from the listed profiles or you can create one from custom. In the below screen shot I am created a new profile called test.
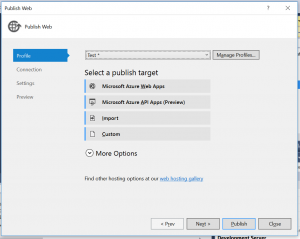
- In the Connection step you can select the type of publish
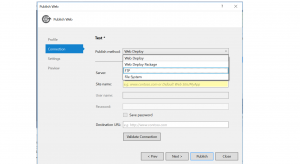
- Web Deploy, In this you can directly deploy your web app to your host site by entering the required fields.
- Web Deploy Package, In this you can deploy your package to the given site by pointing it to the local folder.
- FTP, You can deploy the site directly to the destination URL by filling up the required fields in the fields.
- File System, When you don't know where to deploy it or, if you want to publish your code to local path and use the deploy folder then go with it. It is easy and one of the most used one by me. Selected File system from previous window.
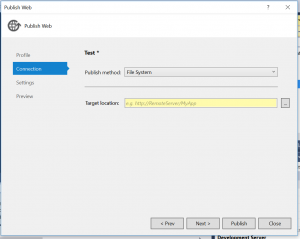
- After selecting the file system mode you should chose the target path to save the publish folder.
- In settings you can choose which way you want to deploy the package, Is it release mode or debug mode.
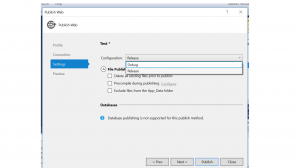
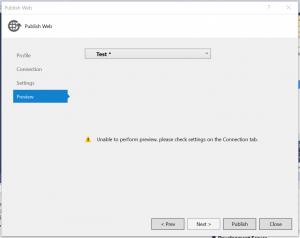
- In the last step you can see the preview of the selected profile, then click on the publish.
- You can see the published files in the target path, you can deploy that to any server and point it by any IIS server web application.This way you can host your web apps.