The easiest way to create Azure VM that can access your Azure SQL Managed Instance
Azure SQL Managed Instance is fully managed and secured SQL Server Database engine hosted in Azure cloud, placed in your private Azure VNet. In order to access your Managed Instance, you need to create VM in your VNet where you will access the instance using SSMS. Azure portal makes this process much easier.
Once you create your Azure SQL Managed Instance, you would need to create an Azure VM (so called jump-box) with the installed SSMS to run the query against the instance. The VM must be in a subnet in the same VNet as your Managed Instance (or in the VNet that is peered with the VNet where you placed the instance.)
Configuring VM, downloading and installing SSMS might be complex and tedious job, but the Azure portal makes this process very easy. Once you create your Managed Instance, you can open the details of the instance in the portal and see new get started message:
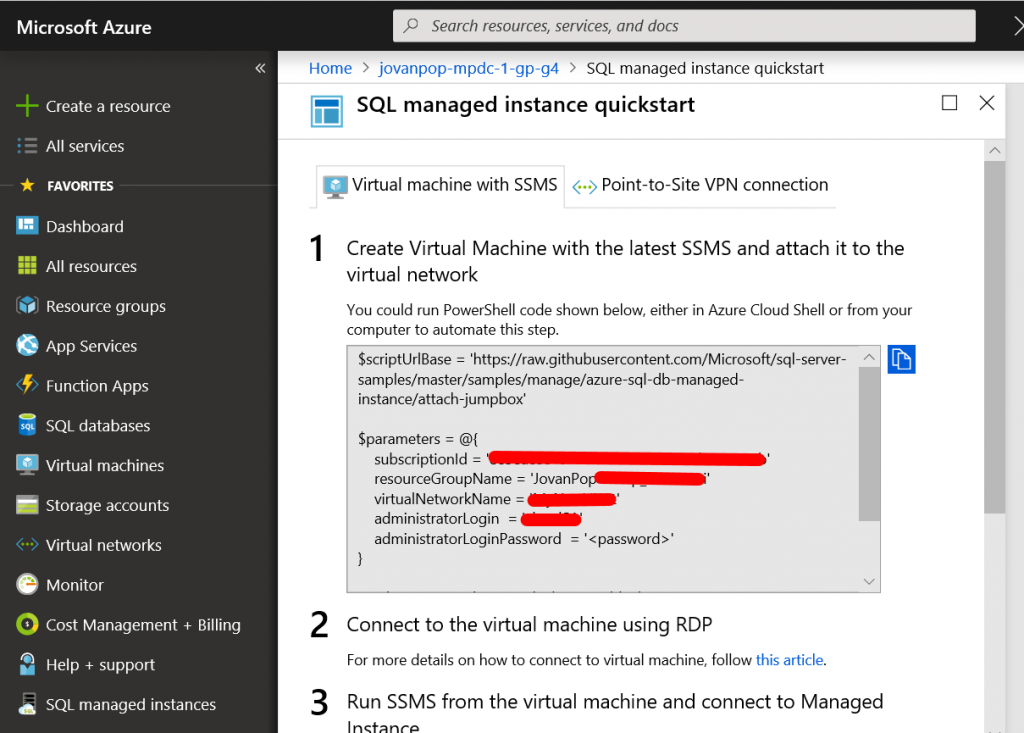
If you follow this link, you will see prepared PowerShell script that you can use to create VM that cna access the instance. In addition, this script will install the SSMS on the machine. The blade with the script looks like:
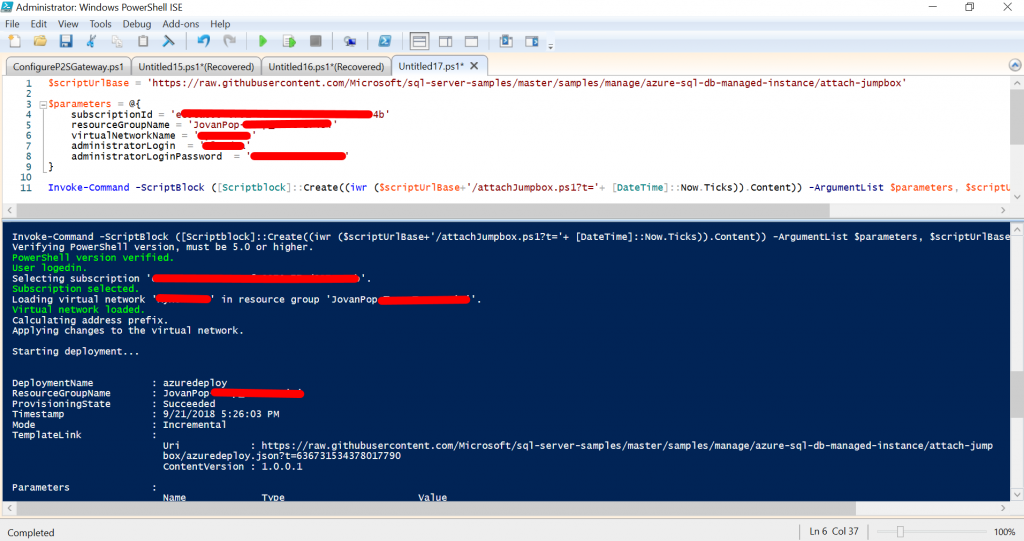
Once you copy this script to your power shell command line or integrated environment, you would need to set the password for VM and execute script. Once you execute the script, you will see that it deployed your VM:
As a result you will see a new subnet called "Management" with the prepared VM and installed SSMS that you can use to query databases in the Managed Instances.


